
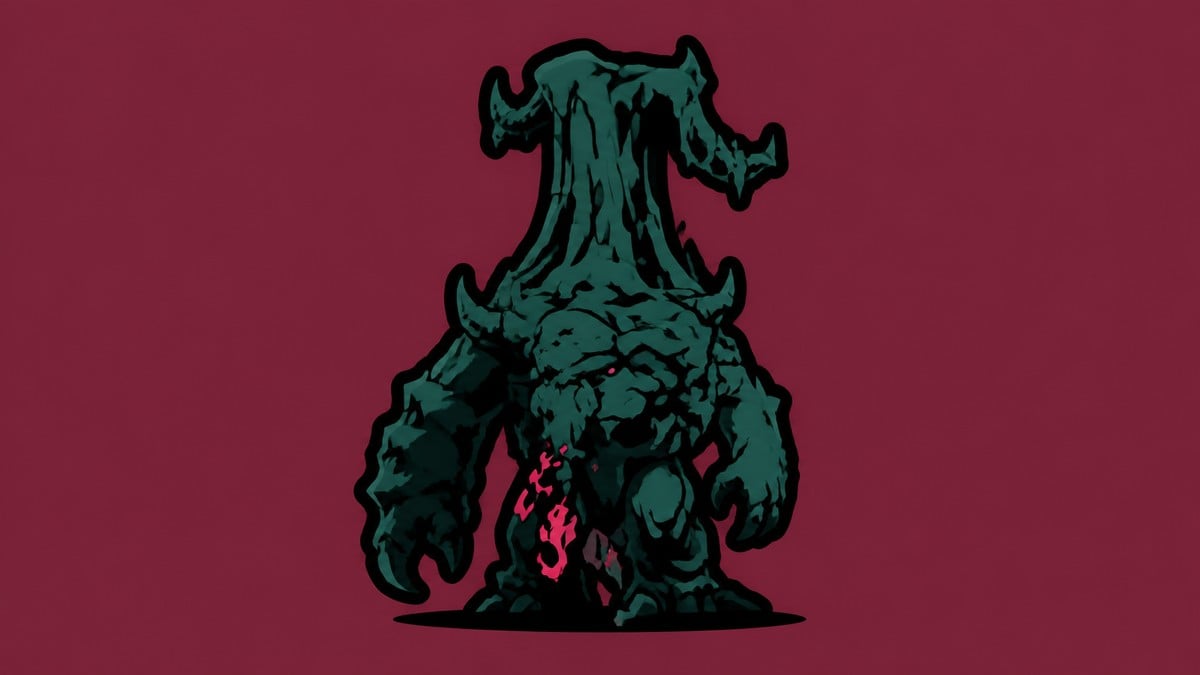
Beat The Monolith by using a durable shell and a controlled melee rhythm, punishing its open-center windows, dodging instead of forcing risky parries, and saving your biggest patience for the laser-heavy final stretch.
The Monolith is one of the longest fights in Mortal Shell 2, a huge stone construct with a punishing health pool that guards the Obsidian Vault stretch of the Unfound Path. The plan below leans on survivability over flashy trades, so you win by chipping it down in short, repeatable bursts rather than out-damaging it head-on.
- Where The Monolith fits and why it drags on
- Recommended Proxima build for a cleaner kill
- Attack windows and defensive rules that carry the fight
- How to beat The Monolith in Mortal Shell 2
- Handling the laser phase without getting trapped
- Common mistakes that make the fight harder
- Rewards for defeating The Monolith
- Frequently Asked Questions
Where The Monolith fits and why it drags on
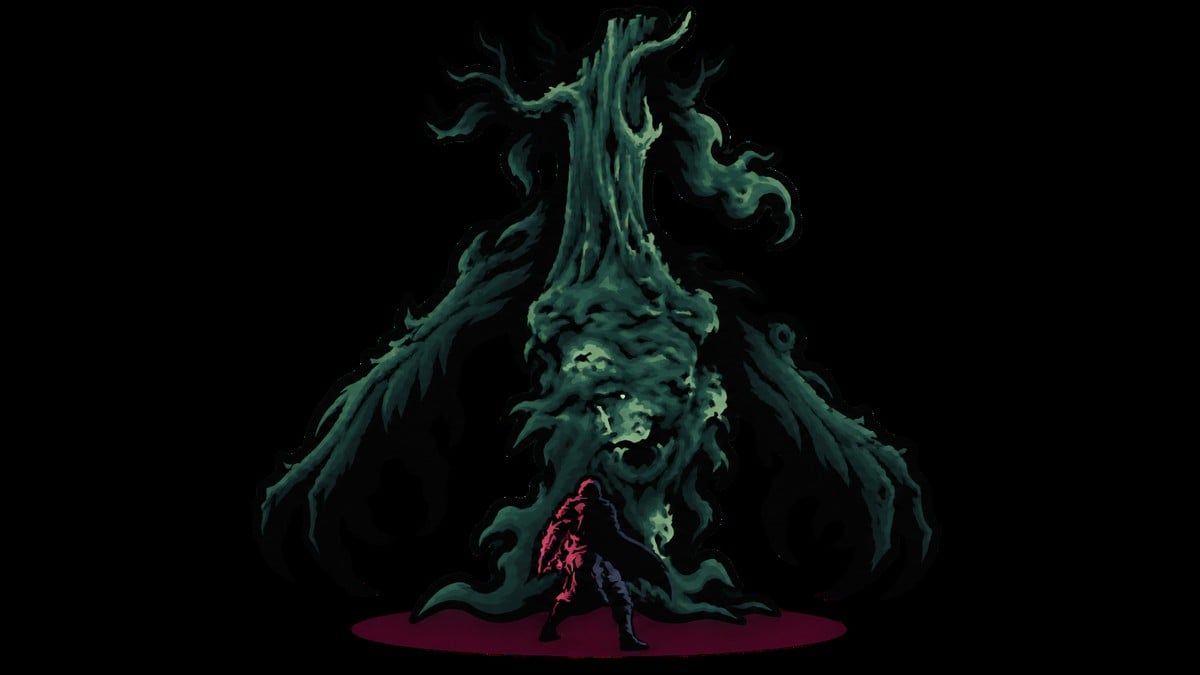
You reach The Monolith deep in the Unfound Path, past the Obsidian Vault Beacon, in a dedicated arena. It is effectively a moving wall: its two halves split to reveal a fleshy center that opens and closes, and that exposed middle is the only reliable place to land real damage.
What makes it dangerous is stamina, not surprise. It shrugs off huge amounts of damage, opens with heavy jumping slams, and then adds sweeping energy beams once you knock it past the halfway mark. Think of the fight in three escalating stages, though some players frame the back half as a single laser phase that kicks in around half health. Either way, the win condition is the same: hit the open center, respect the slam and the beams, and never overstay your welcome.
Recommended Proxima build for a cleaner kill
| Slot | Recommendation |
|---|---|
| Shell | Proxima, chosen for her durability and survivability |
| Weapon | Black Needle, a spear for quick poke-and-retreat hits on the center |
| Stones and abilities | Optional — the core build wins without relying on them, so use your preferred setup |
| Item | Burnt Effigy to blunt Burn during the laser phase |
The build here is built around outlasting the boss. Proxima is the shell of choice purely for her durability, and the Black Needle spear gives you the reach to poke the center and pull back before the halves close. Stones and abilities are flexible — the core loop works fine without leaning on any specific setup, so bring what you already trust.
Attack windows and defensive rules that carry the fight
| Situation | What |
|---|---|
| Center is open | Attack the fleshy middle — this is your main damage window |
| Center closes or side-rolling attack | Back off and stop chasing damage |
| After two clean hits | Get out; do not greed a third |
| Awkward, hard-to-read animation | Dodge instead of forcing an inconsistent parry |
| Delayed slam | Sidestep with roughly a one-second delay |
| Lasers active | Commit to one spacing and dodge across the beam, never along it |
Key Every stage rewards the same discipline. When the fleshy center is open, that is your cue to strike; when it closes or the boss winds into a bigger move, that is your cue to leave. Because many of its attacks have awkward, hard-to-read animations, dodging is the safer default whenever a parry feels like a guess. The whole fight is a rhythm of two hits and out, not a slugging match.
Leave after two hits and reset — the single biggest cause of a failed run is greeding a third swing into a slam.
How to beat The Monolith in Mortal Shell 2
Follow the boss through its three stages, trading short bursts of damage for clean exits until the lasers are done.
STEP 1/10
Open with a safe two-hit rhythm
Land two hits and reset — this build can parry, but two clean hits and out is the reliable baseline.
STEP 2/10
Chain a fast double parry only if you’re consistent
You can parry twice in quick succession for extra damage, but skip it and stick to two hits if your timing wavers.
STEP 3/10
Sidestep the delayed slam
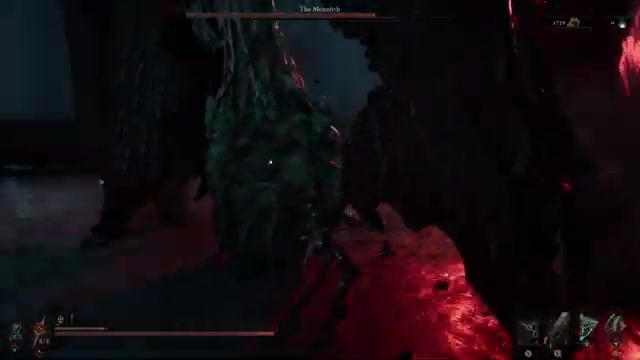
Step to the side with about a one-second delay to slip the wind-up attack that can trip you up early.
STEP 4/10
Circle into the second stage
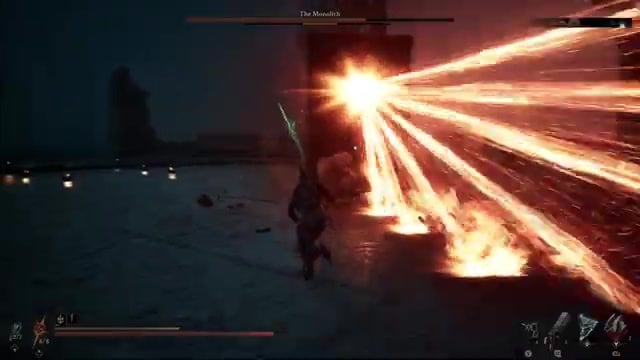
Move around the boss and hit its open center while its slower attacks leave gaps.
STEP 5/10
Dash through attacks you can’t out-space
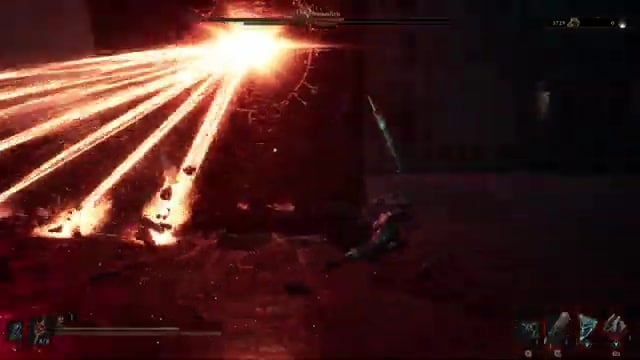
Dash straight through the moves to avoid them when simply backing off isn’t enough.
STEP 6/10
Recover your shell if you die
Retreat to the back of the arena, top back up to full, and climb back into your shell.
STEP 7/10
Stay back as the third stage begins
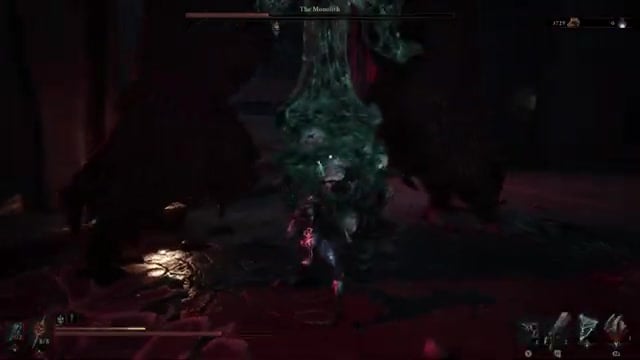
Hold your distance — the boss opens this stage with two attacks, the wild one and the jump.
STEP 8/10
Punish after the jump and between laser sets
Deal your damage in that opening, then get clear before the next volley of beams.
STEP 9/10
Dodge away from the beams, never along them
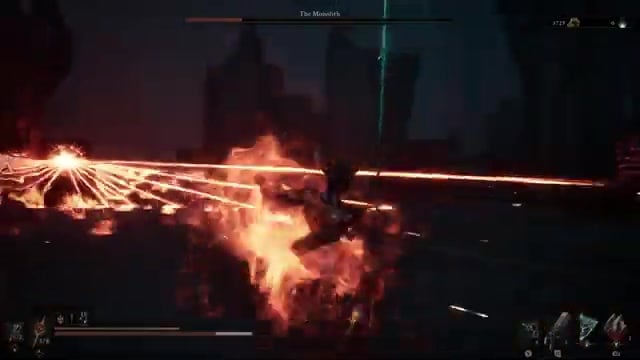
When the lasers sweep, roll the opposite direction rather than into the beam’s path.
STEP 10/10
Close it out with quick hit-and-run damage
The boss recovers fast at the end, so land a few hits and immediately get out.
Video help
Handling the laser phase without getting trapped
Once the beams come out, positioning becomes a real playstyle choice, and both camps are valid. One approach hugs the boss and dodges through the shorter laser arcs, betting that a tighter distance means a shorter roll to safety. The other stays out at range and only steps in after a safe attack, treating the beams as a wall to wait out rather than something to weave through.
The staying-away pattern is often the calmer read, especially during the spinning rotation where beams fan out at once. Whichever you pick, the beginner-safe answer is the one you can repeat without panicking: settle on a single spacing, learn its dodge timing, and deal damage only in the gap before the lasers fire again.
Common mistakes that make the fight harder
| Mistake | Fix |
|---|---|
| Greeding a third hit after two | Leave after two hits and reset your spacing |
| Dodging along the laser | Roll the opposite direction, away from the beam |
| Forcing parries on awkward animations | Dodge instead when your parry timing isn’t reliable |
| Standing where a slam will land | Vacate the landing spot before it comes down |
| Ignoring Burn during lasers | Bring Burnt Effigy to mitigate the chip damage |
Most deaths here come from a handful of avoidable habits, and every one of them is a spacing or patience error rather than a gear problem.
Rewards for defeating The Monolith
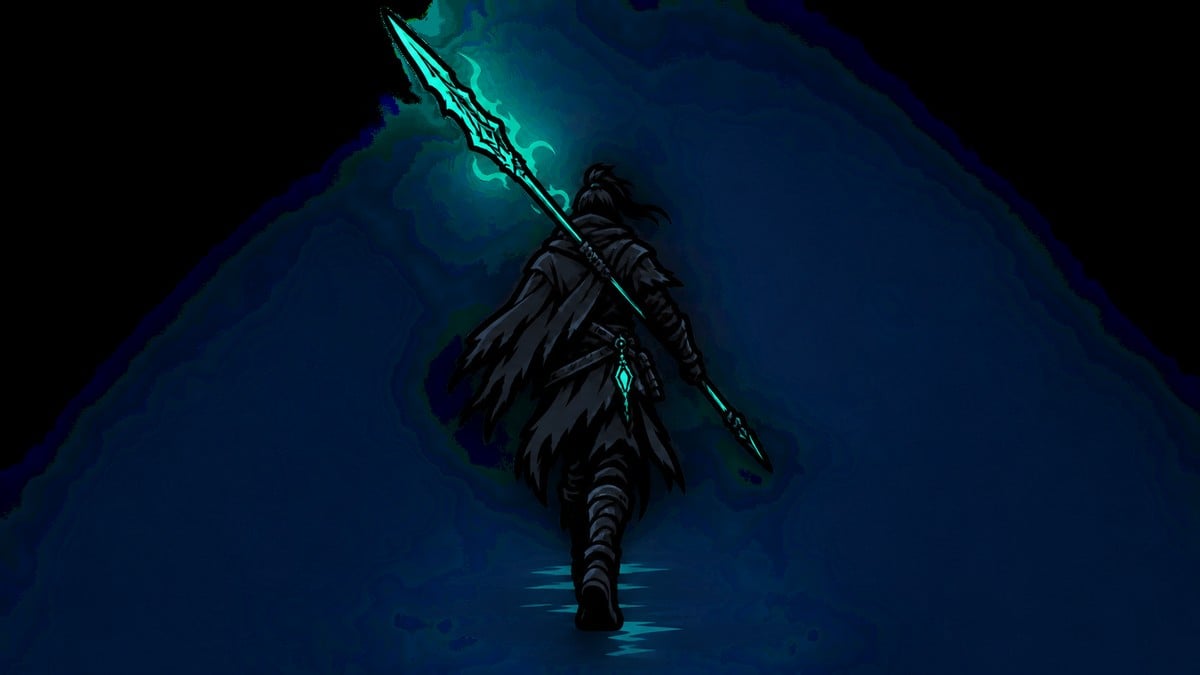
Clearing The Monolith hands you a Monolith Fragment, the fight’s signature drop. You also pick up a chunk of Gloom — current builds list it at around 65,511 — and the Fragment can be sold for roughly 5,000 coins, though those exact figures still shift between builds as the economy gets tuned.
Related Mortal Shell 2 guides
Frequently Asked Questions
Can you beat The Monolith without the Proxima and Black Needle build?
Yes. That pairing just makes the fight simpler by trading raw survivability for short, repeatable punishes. Any durable shell with a weapon whose timing you already trust will do the job, and a fast dual-blade on a nimble shell works well too, since the whole encounter rewards movement over standing and trading blows.
Should you parry The Monolith or dodge it?
Dodge as your default. The boss has unusual, awkward animations that make parry timing unreliable, so parries are best saved for the windows you have practiced and are confident in. If you would rather not risk it at all, you can lean on your sidearm to chip the boss while keeping distance, which suits how easy it is to stay away from this one.
Should you stay close during the lasers or back away?
Both work, and it comes down to what you can execute cleanly. Staying close shortens your dodge distance, but the rotation is riskier up there; staying far is simpler, except the first beam can outrun a straight sprint, so don’t try to flee in a dead line. If you play it at range, the middle of the arena tends to give the safest footing to read the beams from.






Leave a Reply