
Open the secret cave by launching the projectile from the catapult near Outskirts of Mammon, then teleport to Castigator’s Keep and clear the newly opened cave for four Glimpses, a Synpatic Vessel, and the Clockwork Shardstone.
This is a two-Beacon job. You set it up at Outskirts of Mammon, then cash it in at Castigator’s Keep, where a fired projectile punches open a cave that most players run straight past. Inside sits a tight cluster of rewards — four Glimpses, a Synpatic Vessel, and the Clockwork Shardstone after a short fight — plus one more Glimpse tucked behind a separate illusory wall if you want the full sweep.
Every reward and the two-Beacon setup
| Reward | How to get it |
|---|---|
| Four Glimpses | In the cave’s upper room, past the illusory wall behind the book wall |
| Synpatic Vessel | Sitting with the Glimpses in that same upper room |
| Clockwork Shardstone | Dropped by the mini-boss in the lower cave |
| One bonus Glimpse | Behind a separate illusory wall on the optional Beacon route |
Key The trick is that the cave you loot at Castigator’s Keep doesn’t exist until you’ve fired a catapult clear across the map back at Outskirts of Mammon. Once that projectile lands, the wall caves in and the whole reward room opens up. Here’s what you walk away with, split between the main cave and the optional detour.
Fire the catapult at Outskirts of Mammon before you teleport to Castigator’s Keep — the cave only opens once the projectile lands, so if you warp over first you’ll find solid rock and think the route is wrong.
How to open the secret cave in Mortal Shell 2
The whole run splits into two halves — arm and fire the catapult at Outskirts of Mammon, then teleport to Castigator’s Keep to loot what it opened, with one optional Glimpse at the very end.
STEP 1/14
Set off from Outskirts of Mammon
Warp to the Outskirts of Mammon Beacon and follow the path out.
STEP 2/14
Grab the makeshift projectile
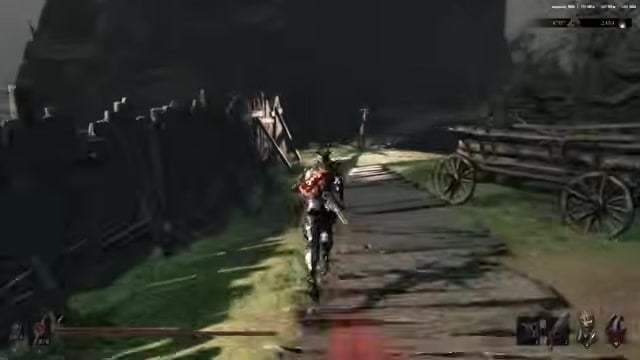
Pick up the makeshift projectile where the path ends — this is the ammo the catapult needs.
STEP 3/14
Head back to the starting teleporter
Backtrack to the same Beacon you set out from, projectile in hand.
STEP 4/14
Load the catapult
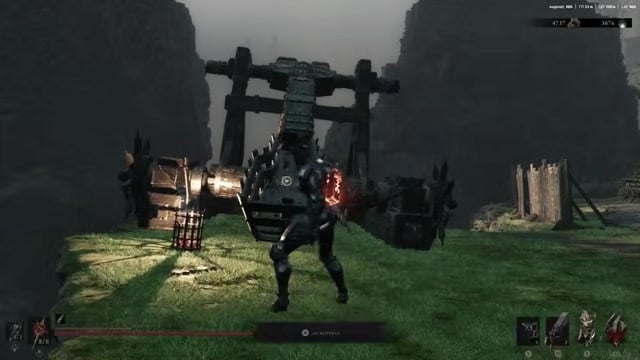
Place the projectile onto the catapult beside the teleporter.
STEP 5/14
Fire it across the map
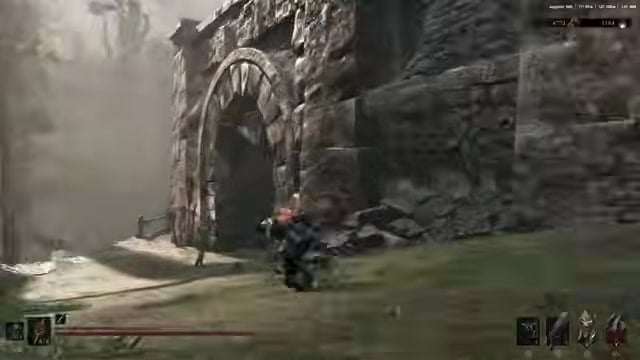
Launch the catapult and send the projectile flying toward Castigator’s Keep.
STEP 6/14
Teleport to Castigator’s Keep
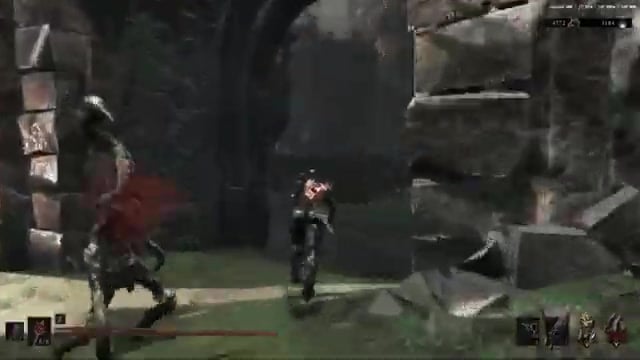
Fast-travel to the Castigator’s Keep Beacon and take the route from there.
STEP 7/14
Enter the newly opened cave
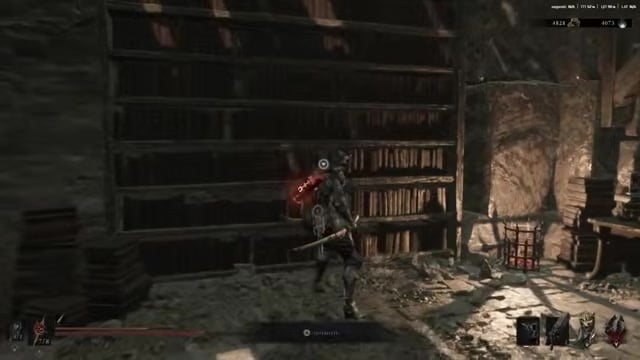
The fallen projectile has smashed open a fresh cave along this path — head inside.
STEP 8/14
Break the illusory wall
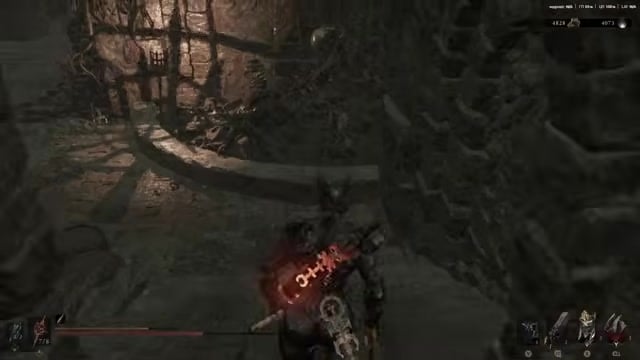
Behind the book-lined wall is an illusory wall; attack it to open the way through.
STEP 9/14
Leave the mushroom alone
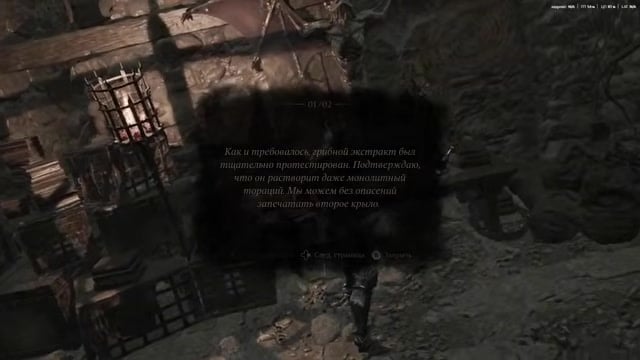
Skip the mushroom growing here — using it triggers a lingering ailment that only clears on its own.
STEP 10/14
Collect four Glimpses and the Synpatic Vessel
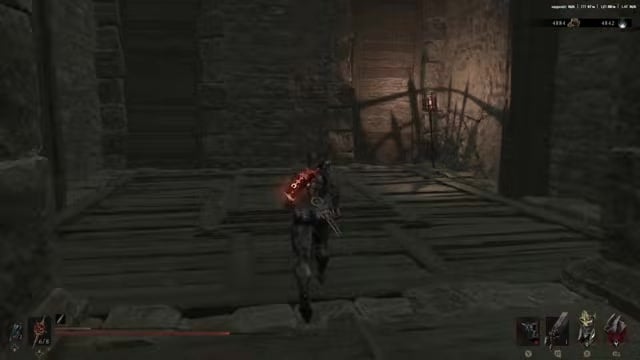
Grab all four Glimpses and the Synpatic Vessel from the upper room before heading down.
STEP 11/14
Beat the mini-boss for the Clockwork Shardstone
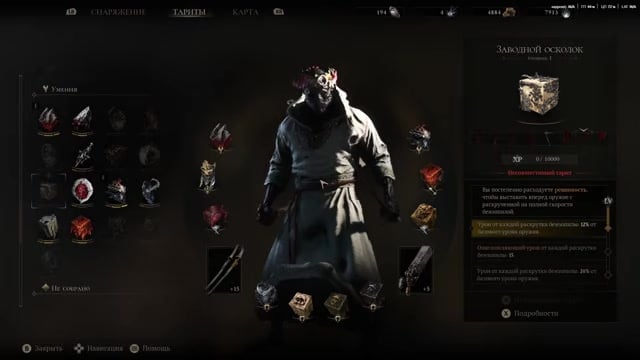
Drop to the lower level, clear the mini-boss, and claim the Clockwork Shardstone at the end.
STEP 12/14
Warp to the bonus Beacon
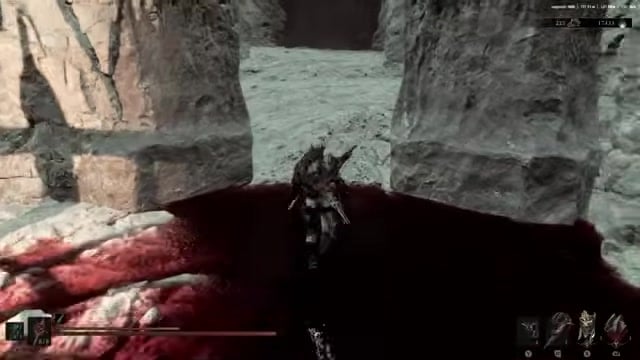
For one extra Glimpse, fast-travel to the separate Beacon shown here and follow its route.
STEP 13/14
Jump up on the left
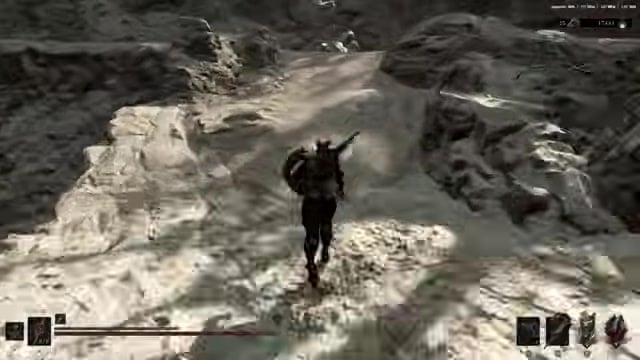
Take the left side of the path and climb up to the higher ledge.
STEP 14/14
Break the last illusory wall
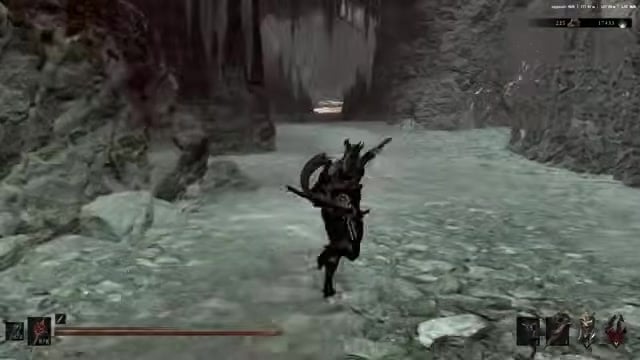
Smash the illusory wall up here to grab one more Glimpse behind it.
Video help
Spending your Glimpses at Zhirelle
Glimpses are Mortal Shell 2’s limited progression currency — there’s no reliable farm for them, and a full run only holds enough to fully build out roughly two Shells, so treat every one you find as a one-time investment. You spend them at Zhirelle in Marrow Keep to raise Shell stats, unlock passive effects, and deepen Shell Bond tiers.
The five you pull from this route are physical pickups, and that matters. Physical Glimpse items sit safely in your inventory, while the loose Glimpses shown in your HUD drop along with your Tar when you die. Looting them from the world is the “free” part — once they’re yours, they can’t be lost.

One bit of older advice no longer applies. Since the August 21 economy update, Shell-location maps cost Gloom instead of Glimpses, and any Glimpses previously spent on those maps were refunded at Zhirelle — so there’s no reason to hoard these for map purchases.
Related Mortal Shell 2 guides




Leave a Reply