

Alchemist’s Workshop is a hidden Mammon-region dungeon unlocked by finding the Makeshift Projectile, firing it from the Outskirts of Mammon catapult, then entering the newly opened rock-wall entrance near Castigator’s Keep.
Alchemist’s Workshop is one of Mortal Shell 2’s hidden dungeons, tucked into the Ruins of Mammon and sealed behind a rock wall you can’t just walk through. Getting in is a small puzzle: track down the Makeshift Projectile, fire it from a catapult, and let the shot blow open the entrance for you. Clear what’s inside and you walk out with a Synaptic Vessel, a stack of Glimpses, and the Clockwork Shardstone.
- What you get from Alchemist’s Workshop
- Unlock route at a glance
- Finding the Makeshift Projectile in Outskirts of Mammon
- Firing the catapult to open the dungeon
- Reaching the Alchemist’s Workshop entrance
- Clearing the dungeon and its hazards
- Rewards inside Alchemist’s Workshop
- Common mistakes and Balance Patch 1 notes
- Frequently Asked Questions
What you get from Alchemist’s Workshop
| Feature | Detail |
|---|---|
| Region | Ruins of Mammon, between Outskirts of Mammon and Castigator’s Keep |
| Access item | Makeshift Projectile, fired from the Mammon catapult |
| Entrance | Impact crater in a rock wall near the miner worksite by Castigator’s Keep |
| Key rewards | Synaptic Vessel, five Glimpses, Clockwork Shardstone |
| Layout | 4 chests, 21 enemies, 8 traps, 9 gates and hidden walls, 1 lift |
| Main hazards | Trap-filled rooms and the disorienting alchemical brew |
This is a secret, compact dungeon rather than a mandatory stop, so the reason to go is the loot and the access route it carves through Mammon. The headline pulls are a Synaptic Vessel for your healing flask, five Glimpses for shell progression, and the dungeon’s marquee item, the Clockwork Shardstone. Along the way you’ll pick through chests, dodge trap-lined rooms, read a handful of notes, and meet one genuinely strange bit of set dressing: an alchemical brew that yanks your camera sideways.
Unlock route at a glance
| Goal | What |
|---|---|
| Reach the region | Fast travel to the Outskirts of Mammon Beacon. |
| Get the ammo | Grab the Makeshift Projectile from the southern cliffs past Vlas. |
| Load the catapult | Return to the siege weapon and use Place Ammo to fire. |
| Open the entrance | The shot cracks a rock wall near Castigator’s Keep. |
| Clear the dungeon | Enter the crater and collect the Synaptic Vessel, Glimpses, and Clockwork Shardstone. |
The whole chain runs out of a single hub. Everything you need to open the dungeon starts and loops back through the Outskirts of Mammon Beacon, so cleanse it first and treat it as your base for the run.
Finding the Makeshift Projectile in Outskirts of Mammon
Fast travel to Outskirts of Mammon
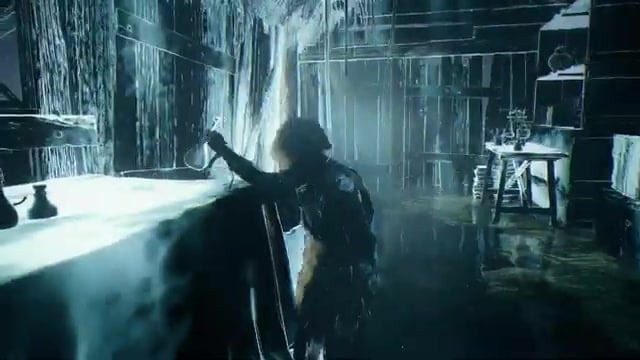
Start at the Outskirts of Mammon Beacon in the Ruins of Mammon.
Cross the bridges south
Head south and southeast across the rope and hanging bridges down into the lower part of the zone.
Pass Vlas and go under the stone bridge
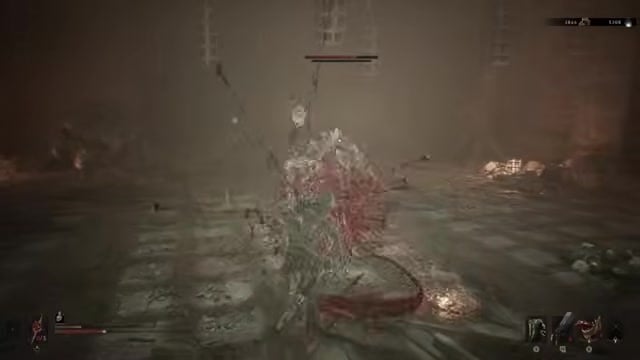
Continue past the NPC Vlas and move beneath the large stone bridge, hugging the southern edge toward the cliff.
Grab the glowing rock
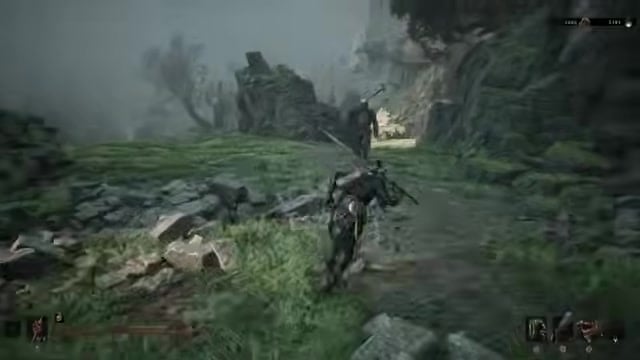
Near the cliff edge, clear or slip past the Grisha Hunters and pick up the glowing rock to claim the Makeshift Projectile.
Firing the catapult to open the dungeon
Return to the catapult
The siege weapon is close to the Outskirts of Mammon Beacon, southeast toward the statue where Ruk hands over a Map of Mammon fragment.
Interact and place the ammo
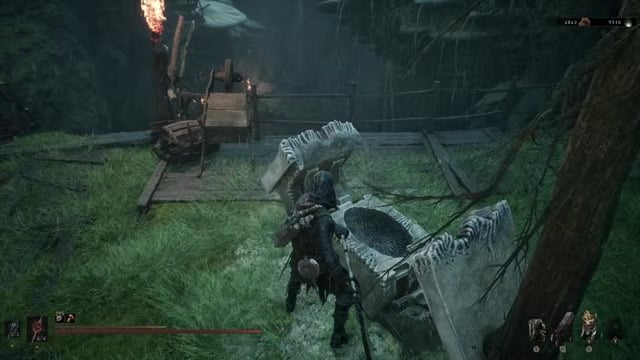
Choose the Place Ammo prompt and select Yes to load the Makeshift Projectile.
Fire the shot
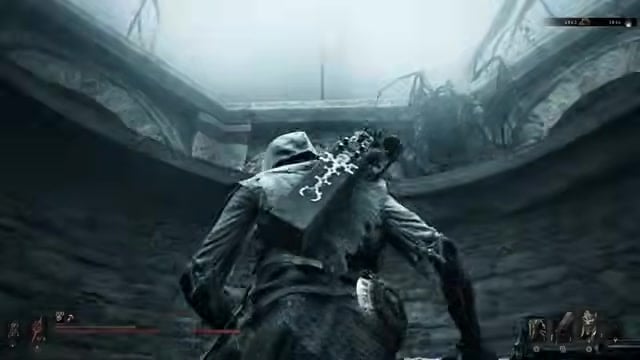
The catapult launches the projectile into the distance, where it smashes a rock wall across the region and reveals the dungeon.
Reaching the Alchemist’s Workshop entrance
Travel toward Castigator’s Keep
From the Outskirts of Mammon, make your way to the central Castigator’s Keep area.
Follow the cliffside path west
Drop to the lower ground and follow the wooden platforms southwest toward the construction site and its Miner enemies.
Enter through the impact crater
At the projectile’s impact site, the shattered rock wall near the miners opens into the Alchemist’s Workshop.
Run the entire southern cliff loop for the Makeshift Projectile in one trip before you backtrack to the catapult — the ammo and the siege weapon share the same Beacon, so grabbing both in a single pass saves a long round trip.
Clearing the dungeon and its hazards

There’s no fixed room-by-room path to memorize here, and the layout is small enough that you can sweep it in one careful run. Expect the usual mix of enemies packed into tight spaces, plus trap rooms and explosive hazards that punish sprinting in blind, so move deliberately and check corners before you commit.
Progress leans on the environment as much as combat. You’ll pass through gated doors and at least one hidden wall to strike open, ride a lift down toward the lower shaft, and find readable notes worth a look if you care about the workshop’s story. Loot lives in scattered chests, and one desk holds the alchemical brew that’s easy to trigger by accident — worth knowing before you interact with everything in sight.
Rewards inside Alchemist’s Workshop
| Reward | Use |
|---|---|
| Synaptic Vessel | Upgrades the Mether’s Flask, improving your healing. |
| Five Glimpses | Deepen your Bond with Shells and open advanced shell skill tiers. |
| Clockwork Shardstone | The dungeon’s major reward, taken at the end of the run. |
| Chests and pickups | Four chests plus permanent pickups scattered through the rooms. |
Key The dungeon’s value is front-loaded onto three items, with chests and pickups filling out the rest. The Clockwork Shardstone is the run’s headline reward, though sources differ on exactly how you get it — some describe it dropping from a Shell Thief guarding the end, others place it in a chest at the very bottom of the dungeon. Either way it’s what you came for, so clear the place out fully before you leave.
Common mistakes and Balance Patch 1 notes
The biggest time-waster is hunting for the entrance the wrong way round — attacking the rock wall or circling Castigator’s Keep before you’ve fired the catapult, when there’s nothing to find yet. Fire first, then follow the crater. The other easy miss is blowing past the Makeshift Projectile itself: the glowing rock sits among Grisha Hunters in the southern cliffs, and it’s simple to ignore that whole pocket if you’re skipping the fights down there.
Finally, don’t plan your upgrades around old economy numbers. On PC, Balance Patch 1 (August 20, 2026) cut Tarforge smelting costs by 75% and switched smelting to consume Gloom instead of gold, refunding the old gold costs — so any pre-patch gold-smelting advice you’ve read no longer applies.
Related Mortal Shell 2 guides
Frequently Asked Questions
Can you enter Alchemist’s Workshop without firing the Makeshift Projectile?
For almost everyone the answer is no — the rock wall only breaks open once the catapult shot lands, so firing the projectile is the reliable way in. One account suggests the wall can be struck down with normal attacks and the shot skipped, but treat the projectile route as the dependable method.
Where does the Makeshift Projectile land?
It lands right in front of the dungeon entrance, smashing a crater into the mountainside near the miners by Castigator’s Keep. The exact landmark gets described a few different ways — a miner construction site west or southwest of Castigator’s Keep, an island chain west of the fortress, or a spot east of the Gate of Mammon Beacon — but all point to the same cliffside impact zone.
What does the alchemical brew inside the workshop do?
Drinking the brew from the desk tilts your camera hard to one side, which makes moving around the dungeon genuinely disorienting. It isn’t permanent — interact with the prompt on the desk again and the effect clears.
Video help






Leave a Reply