

Break the three glowing Golden Tombstones in the yellow-flower graveyard at Stones of Remembrance, and the sealed stone door opens automatically into the Feeding Grounds dungeon.
The sealed door in the graveyard at Stones of Remembrance has no lever, no key, and no interact prompt — so a lot of players circle it looking for a switch that isn’t there. The lock is the trio of runed gravestones scattered around the flowers, and once you understand that, the whole thing takes about a minute. Here’s exactly where the three tombstones sit and how the seal drops.
Where the sealed door sits in Fainweald
You’ll find the door in the northeastern part of Fainweald, northeast of the Blackridge Pass beacon, in the Stones of Remembrance area. It’s a stone slab set into a graveyard carpeted in yellow flowers, marked with glowing yellow-gold symbols that read as rune signs across its face.
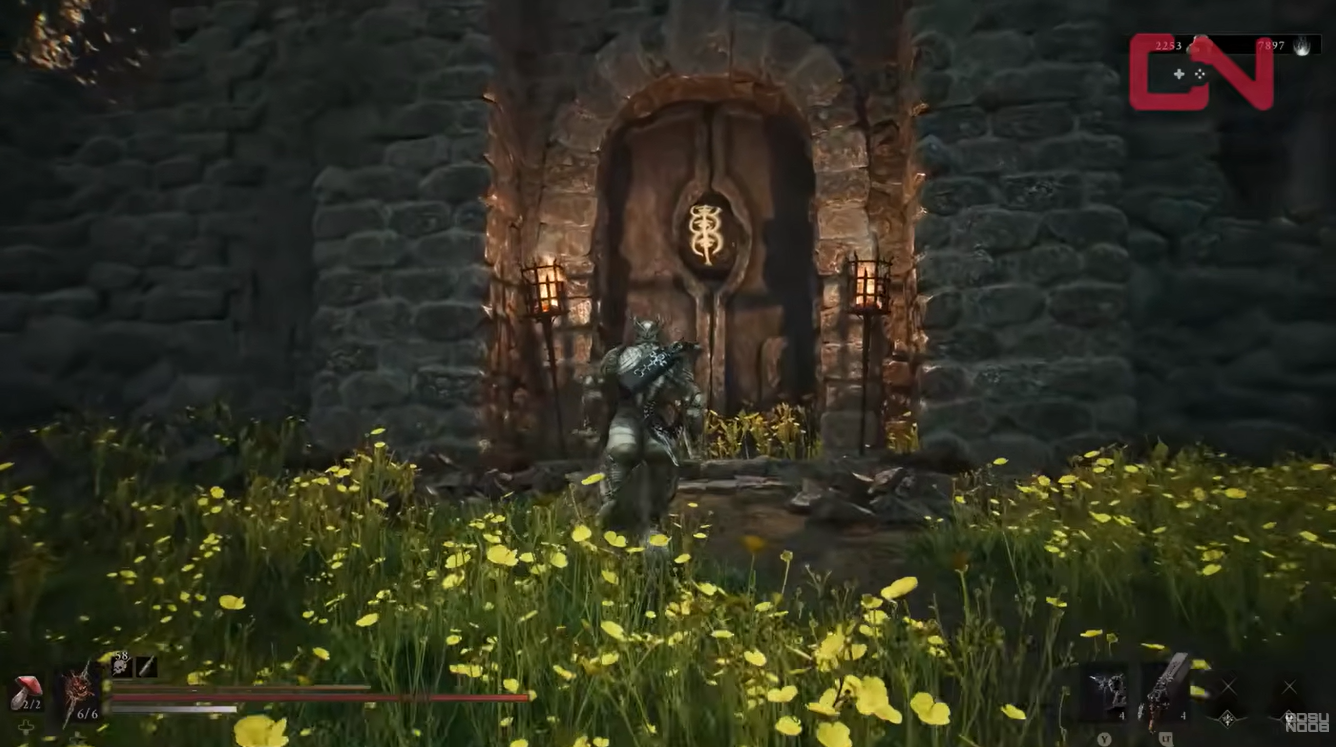
Key That magic seal is the whole point of the door — it stays shut until you clear the graveyard’s puzzle, and there is nothing on the door itself to press or unlock.
How to unlock the Yellow Rune door and access Feeding Grounds in Mortal Shell 2
Break the first Golden Tombstone by the stairs
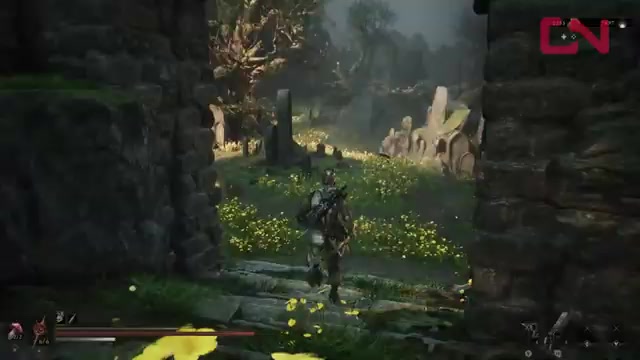
Face the sealed door, turn around, and walk down the stairs; the first glowing tombstone sits right where the stairs end, on your right. Hit it with a weapon or sidearm to shatter it.
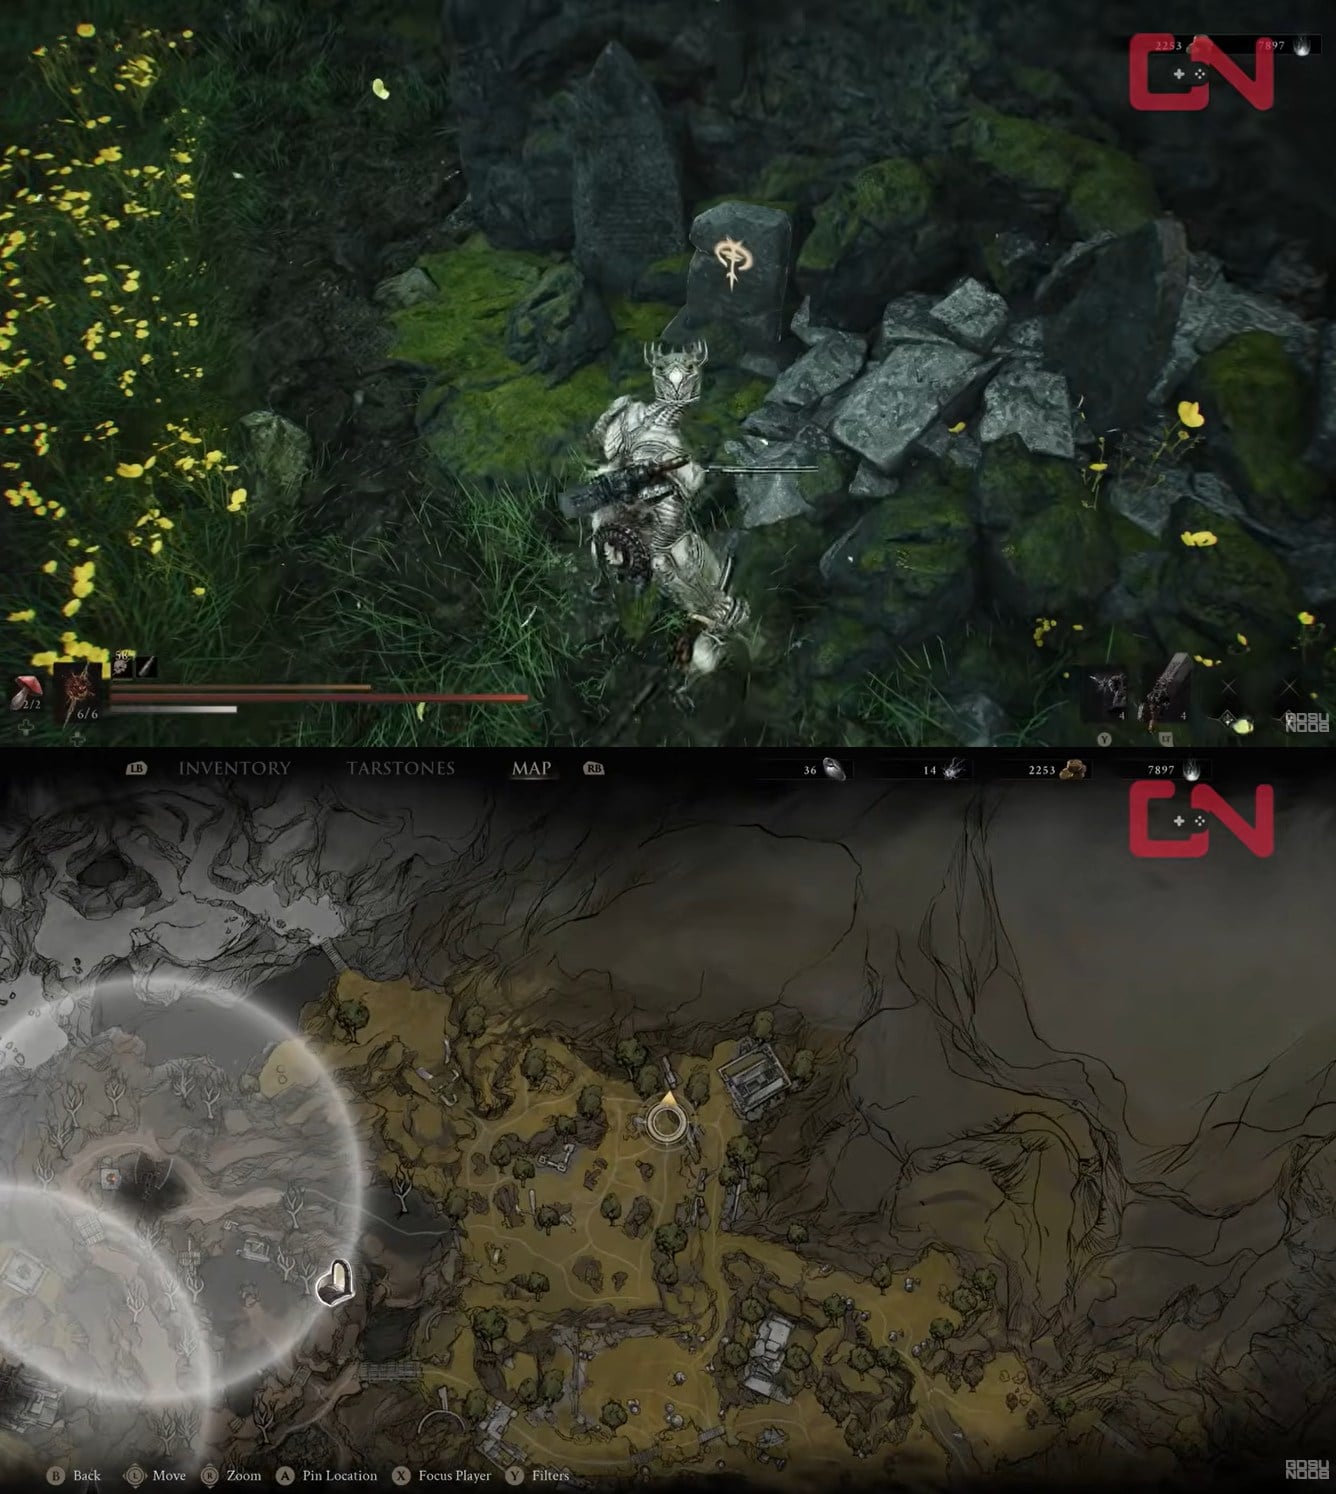
Break the second tombstone near the stone arch
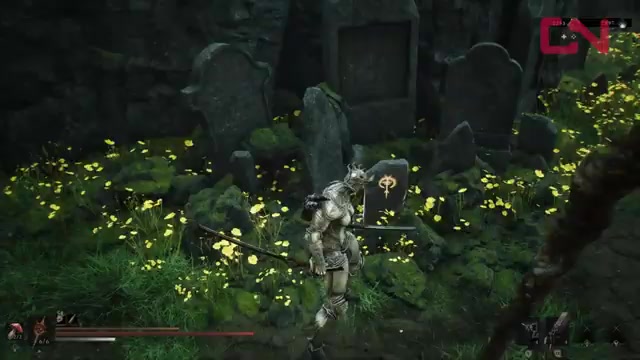
From that first grave, look toward the large stone structure with an arch that holds a chest with Ossinite; the second gravestone is under a nearby arch, tucked away from the door and easy to miss.
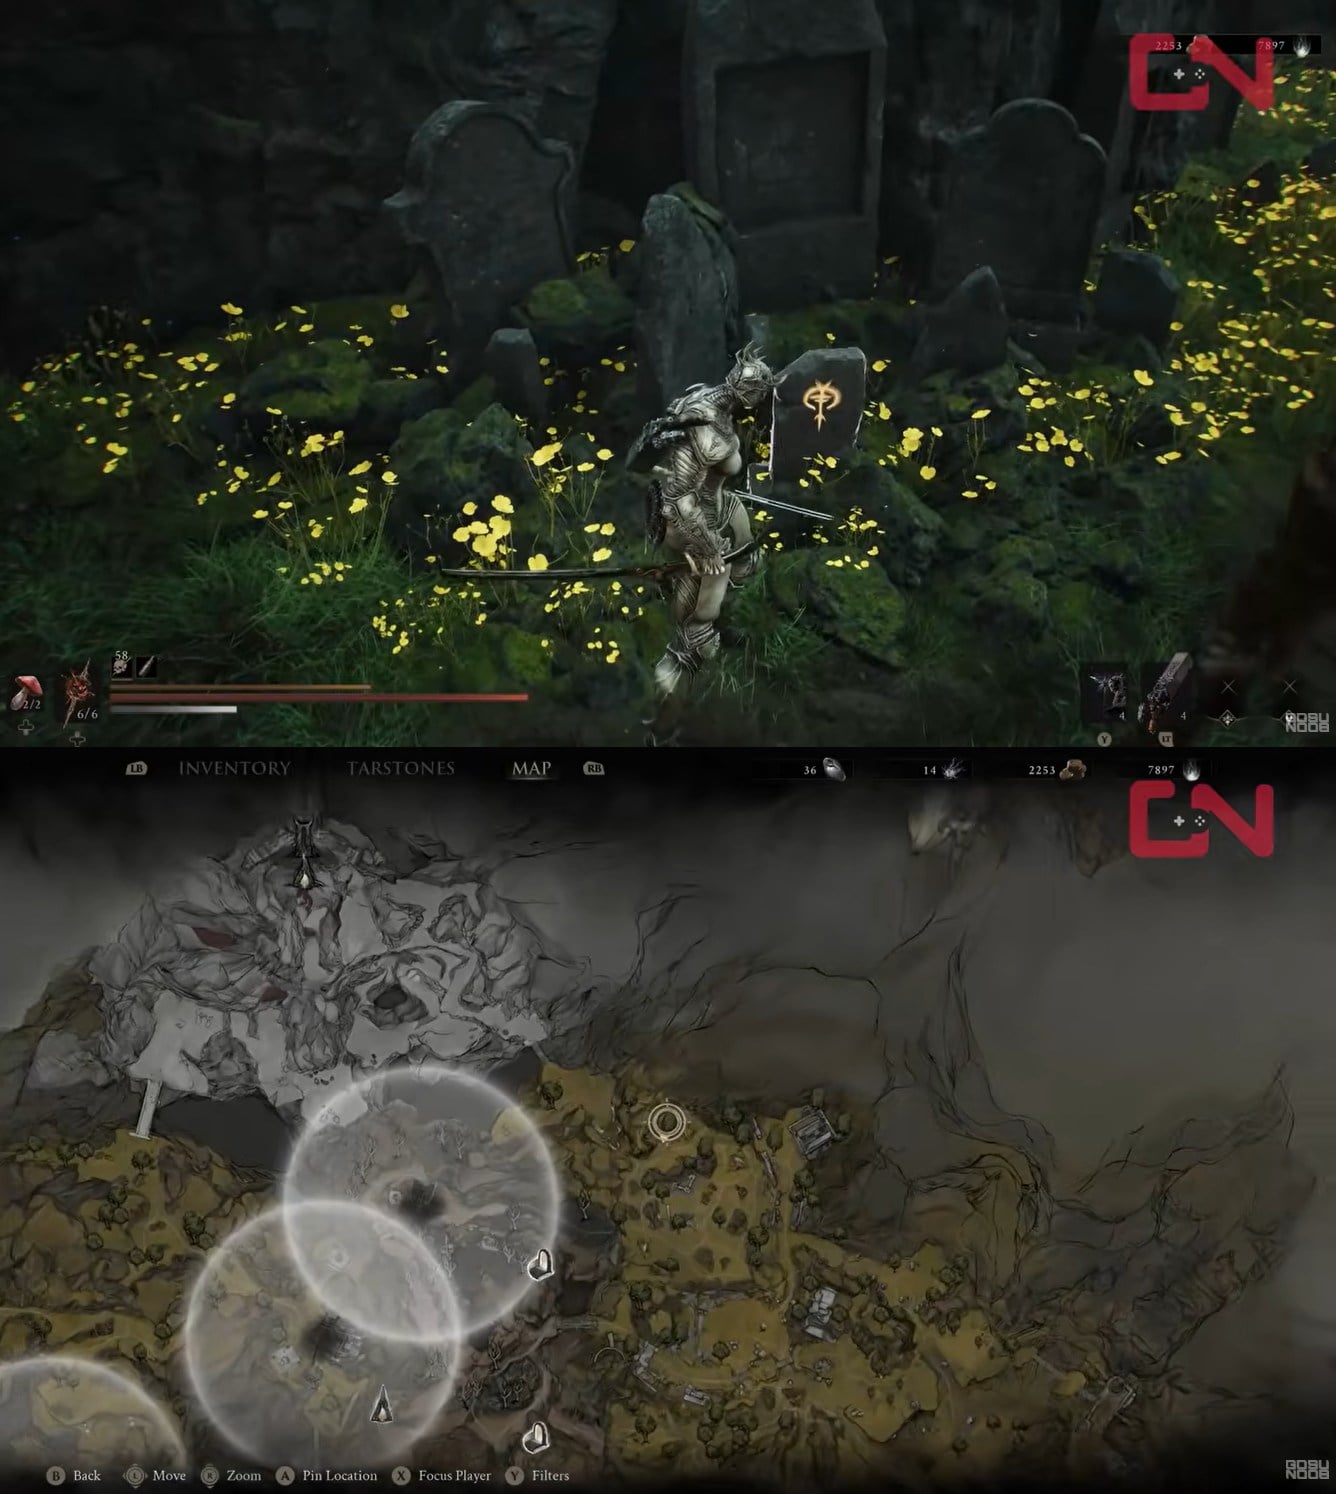
Break the third tombstone on the north edge
The last one is out in the graveyard on the top path along the north edge of the area — sweep the yellow flowers until you find the third glowing grave and destroy it.
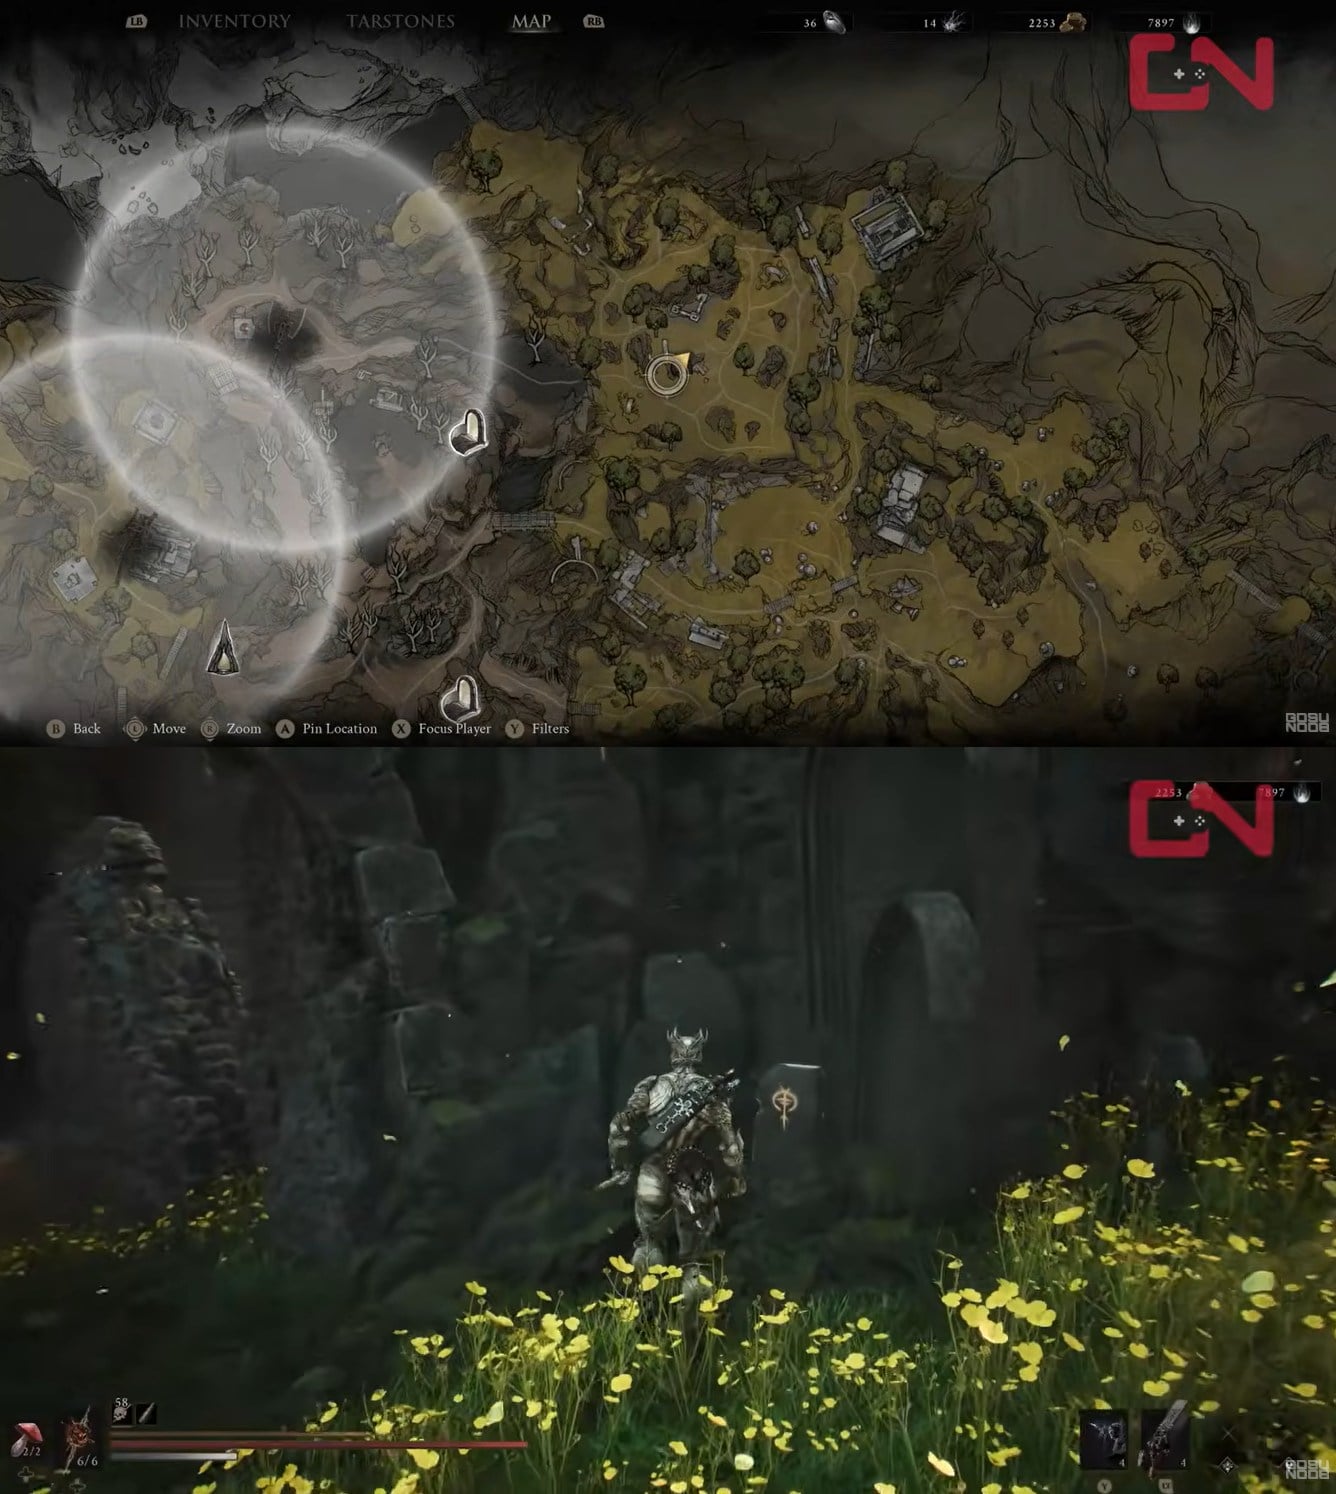
Return to the door as the seal drops
With all three broken, the magic seal dissipates automatically and the stone door swings open — no interaction needed.
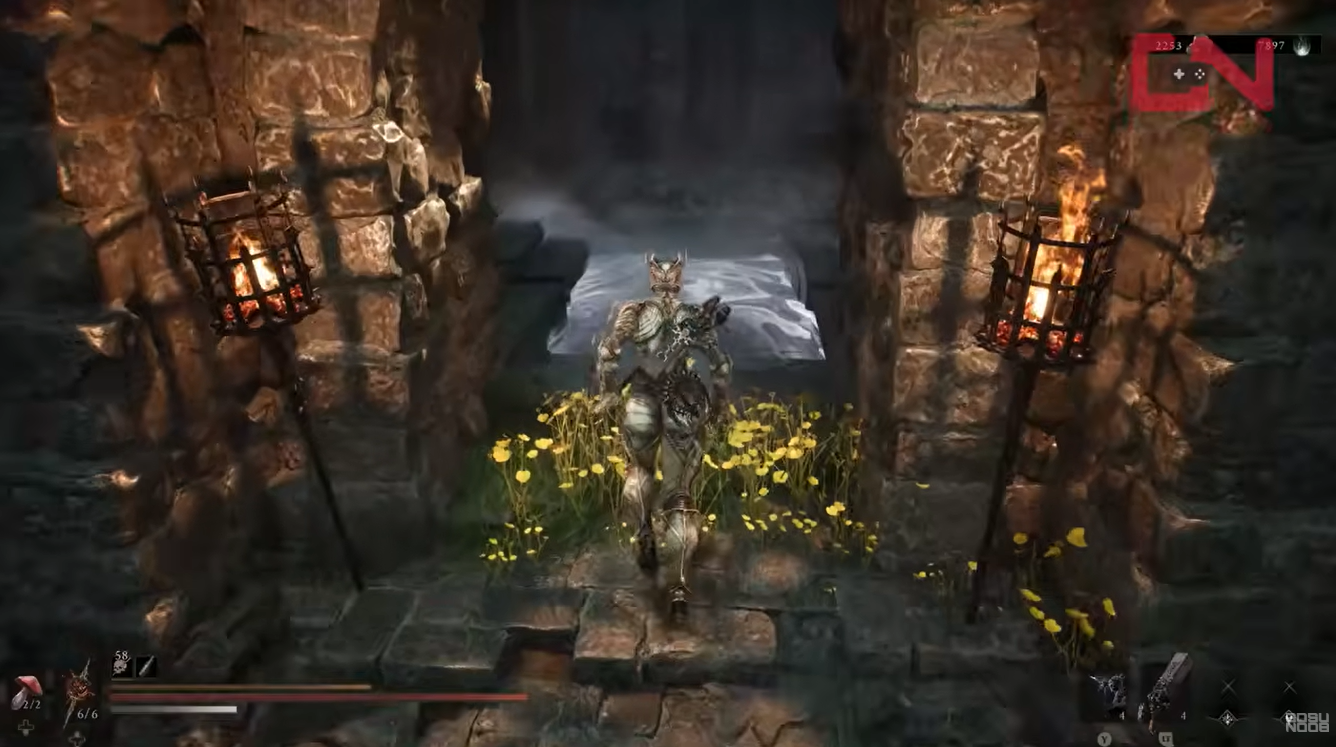
If you’re stuck on two of three, the missing grave is almost always the one farthest from the door, under or beside the stone arch behind the Ossinite chest — that’s the tombstone most people walk right past.
Mistakes that keep the door shut
The door never gives you a prompt, so don’t wait for one — it reacts only to the seals breaking. Ordinary grave markers in the yard do nothing either; the puzzle keys off the three glowing Golden Tombstones specifically, so swinging at every headstone just wastes time.
What waits past the graveyard door
Opening the seal reveals the entrance to the Feeding Grounds dungeon, a fairly compact area you can clear without much trouble. Beyond the fights, one solid reason to step inside is the loot — a chest deeper in the dungeon holds the Myriad Stone Tarstone, which makes the detour worth it even if you’re just passing through Fainweald.
Video help
Related Mortal Shell 2 guides






Leave a Reply