

Beat Vrago, Solkar Champion with the perfect-dodge invisibility loop: stay close to bait his swings, dodge at the last moment to disappear, punish him while he attacks empty air, and use your sidearm for safe chip damage or the finishing shot.
Vrago, Solkar Champion is one of Fainweald’s heaviest hitters, but perfect-dodge invisibility shuts down his oversized shield and turns the fight in your favor. Each perfect dodge makes Vrago lose track of you, giving you free windows to attack while he swings at empty air. Add sidearm shots between loops and you can finish this fight quickly without trading blows.
Where to find Vrago and why this fight punishes greed
| Detail | Answer |
|---|---|
| Boss | Vrago, Solkar Champion |
| Area | Abandoned Shrine, south-west Fainweald |
| Closest Beacon | Nochtean Gate Beacon |
| Main danger | Fast multi-hit shield combo into an unblockable leap |
| Easiest tactic | Perfect-dodge into invisibility, then punish |
Vrago waits at the bottom of the Abandoned Shrine, the dungeon that opens after you Cleanse the Nochtean Gate Beacon in south-west Fainweald, south of the Citadel of Penance. Ride the elevator down from the beacon, clear the shrine’s encounters, and drop into his arena.
Vrago hits extremely hard, and his fast, repetitive attack strings leave almost no room for careless retaliation. If you overcommit, he catches you with a four-hit combo ending in a leaping shield smash, an unblockable attack that covers a huge distance. Limit every opening to a controlled punish, then reset the invisibility loop before he can lock onto you again.
The shell setup that makes Vrago easier
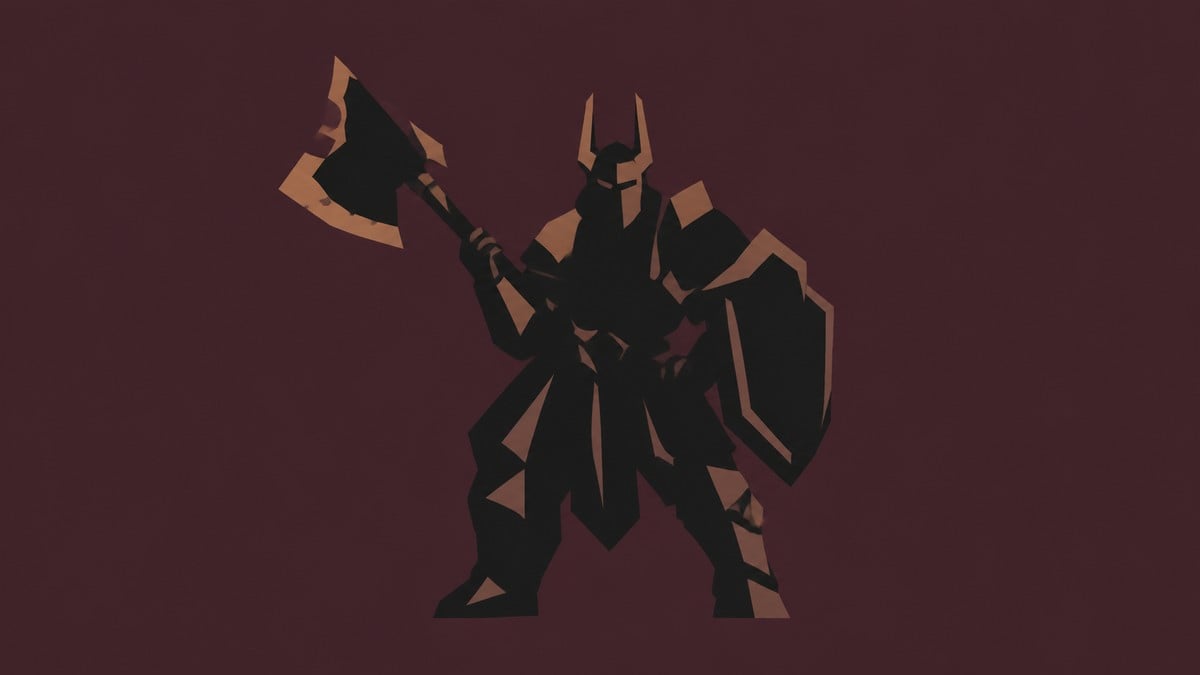
Key Equip a shell that turns invisible on a perfect dodge. The run uses the Teal shell. As soon as your dodge triggers invisibility, Vrago loses your position and continues attacking empty space, giving you a clean punish window without waiting for the narrow gap after his combo.
Keep your sidearm ready as supplemental damage. Use it for safe ranged chip damage between dodges and to remove the last sliver of Vrago’s health, while relying on melee punishes for most of your damage.
How to beat Vrago with the perfect-dodge invisibility loop in Mortal Shell 2
Open with ranged damage, close the distance, and repeat the dodge-and-punish loop while Vrago swings at a target he cannot find.
STEP 1/8
Open with ranged pressure
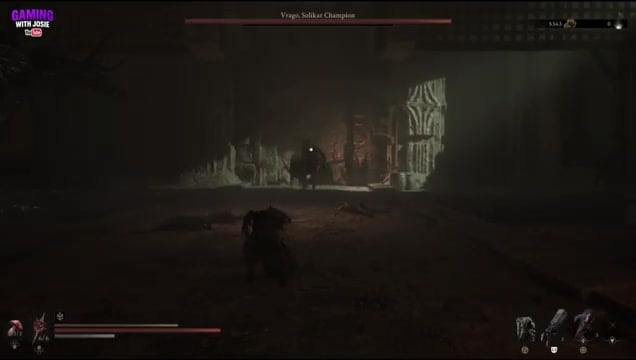
Enter the arena firing your sidearm to chip away at Vrago’s health before he closes the gap.
STEP 2/8
Bait a close-range swing
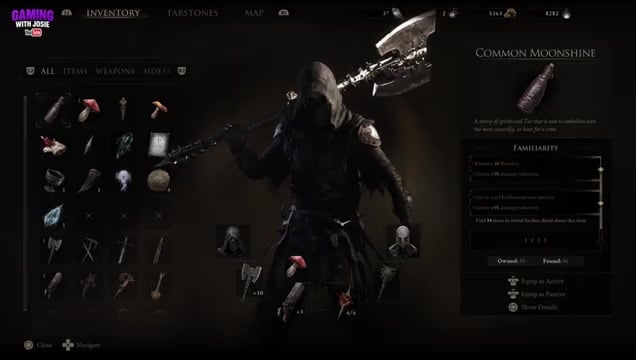
Stay near Vrago until he commits to a swing, then focus on timing the dodge. You can absorb a hit or two while settling into the rhythm.
STEP 3/8
Perfect-dodge into invisibility
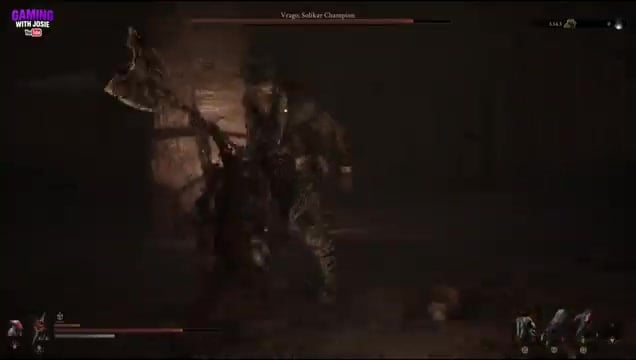
Dodge as his swing reaches you to trigger the shell’s invisibility. Vrago immediately loses track of your position.
STEP 4/8
Punish while he’s blind
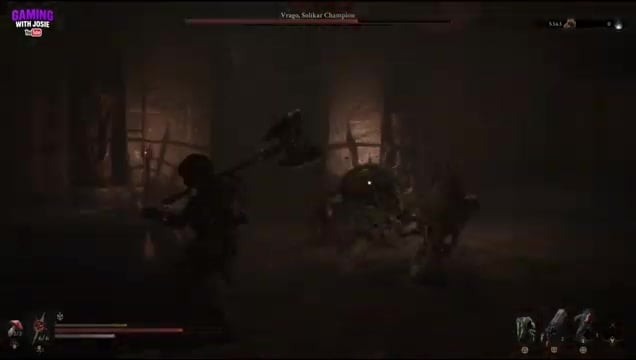
Move in and land free hits while Vrago flails at empty air. He swings wildly because he has lost your position.
STEP 5/8
Stay close and repeat the loop
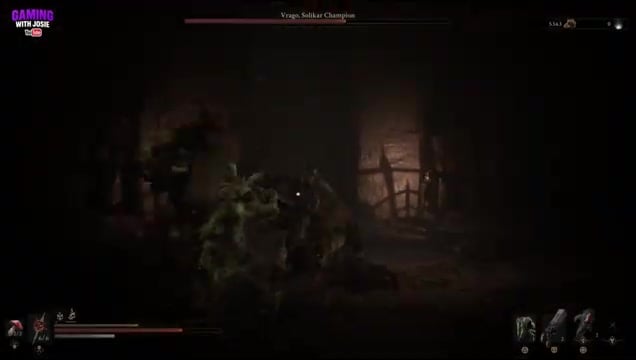
Remain close after each punish so you can bait the next swing and trigger another perfect dodge without resetting the fight at range.
STEP 6/8
Watch his health drop
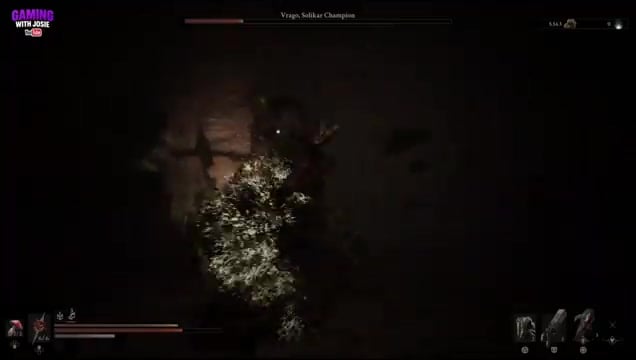
The loop strips Vrago’s health quickly, bringing him to around half health after only a couple of clean invisibility punishes.
STEP 7/8
Heal and use the sidearm as needed
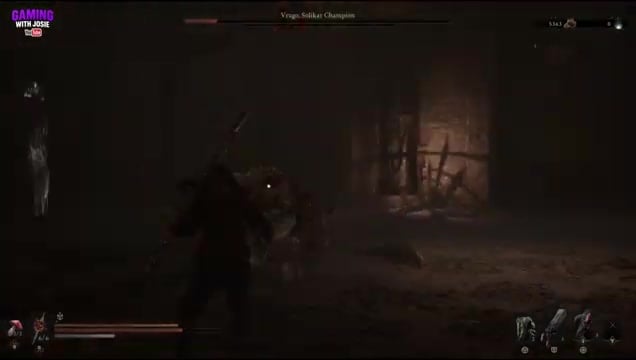
Heal only when your health demands it, and fire the sidearm between dodges for safe extra damage.
STEP 8/8
Finish him with the sidearm
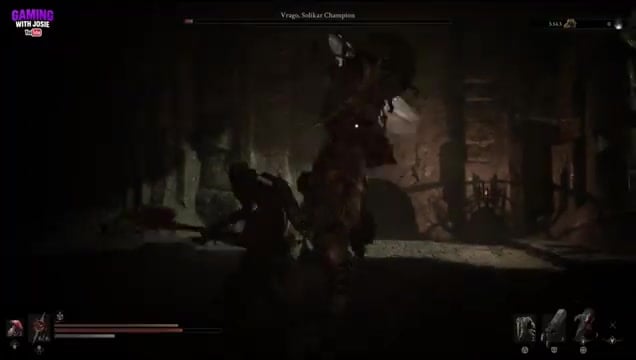
When Vrago reaches low health, finish him with a final sidearm shot instead of risking another melee exchange.
Stay glued to Vrago after every perfect dodge — attack immediately from melee range before he reacquires you and closes the invisibility punish window.
Video help
Vrago’s attacks and how to answer each one
| Attack | Response |
|---|---|
| Multi-hit combo into a leaping smash | Dodge sideways through the string, then punish only after he lands and the combo fully ends |
| Boomerang shield throw | Dodge the outgoing shield, then wait for the return path before moving in |
| Spinning shield attack | Stay out of its radius and wait it out — don’t try to squeeze in damage |
| Fast shield swings | Bait one, perfect-dodge into invisibility, then punish while he’s lost |
Read Vrago’s attack before choosing your dodge direction. His combo runs up to four hits before the leap, so dodge sideways rather than backward because the jump catches backward dodges. When he throws his shield, avoid the outgoing strike and wait for the return path to pass before rushing in. When he plants his feet and starts spinning, move beyond the attack’s radius and wait until it stops.
What you get for beating Vrago
| Reward | Use |
|---|---|
| Voltaic Crown | Upgrade material for weapon and Harbinger progression |
| Glimpse ×2 | Progression currency |
| Gloom | Spend at Beacons to level the Harbinger |
| Room’s Ovas | Beating him clears the corruption and opens the arena’s Ovas |
Vrago drops the Voltaic Crown, also called the Voltaic Crown Tarstone; Voltaic Crown is the reward name, and Tarstone is its upgrade-material category. You also receive two Glimpse and the usual Gloom. Defeating Vrago clears the corruption from the room and opens its Ovas, letting you continue your progression.
Related Mortal Shell 2 guides






Leave a Reply