

The Devout Stone is in the chest behind the lever-opened gate north of Sester’s Gate Beacon, and the fastest route is to start from that beacon if it’s unlocked, or run there from Outskirts of Mammon.
The Devout Stone is one of the more useful Resolve-focused pickups in the game if you actually lean on your Sidearm, and it’s tucked away behind a gate that’s easy to walk past. It doesn’t come from a vendor or a random drop — it’s a fixed chest, so once you know the route it’s the same grab every time. Below is exactly where it sits, both ways to reach it, and how to squeeze the most out of it.
- Where the Devout Stone is and what it does
- Reaching the abbey from Outskirts of Mammon
- How to reach the abbey approach from Outskirts of Mammon in Mortal Shell 2
- Finishing the run to Sester’s Gate Beacon
- Getting the most Resolve from Devout Stone
- Other Resolve Tarstones worth chasing next
- Frequently Asked Questions
Where the Devout Stone is and what it does
| Detail | Answer |
|---|---|
| Item type | Support Tarstone |
| Effect | Killing an enemy with your Sidearm generates Resolve |
| Nearest beacon | Sester’s Gate Beacon |
| Chest location | Behind the lever-gate north of the beacon, up the steps past the ranged enemies |
| Fastest start | Sester’s Gate Beacon if unlocked; otherwise Outskirts of Mammon |
The Devout Stone is a Support Tarstone found in a single fixed chest north of the Sester’s Gate Beacon. Climb the steps to where a pair of ranged enemies wait, and you’ll find a wall lever beside a locked-looking gate — flip it, step inside, and the chest is right there. Its effect is straightforward: killing an enemy with your Sidearm generates Resolve.
Because it lives in a static chest rather than a shop, there’s no cost, currency, or vendor stock to worry about. If you’ve already unlocked the Sester’s Gate Beacon, warping there and doing the short backtrack to the lever is by far the quickest grab. If you haven’t, you’ll run the full route from Outskirts of Mammon, which everyone has early.
Reaching the abbey from Outskirts of Mammon

How to reach the abbey approach from Outskirts of Mammon in Mortal Shell 2
This first leg takes you from the Outskirts of Mammon beacon along the Road to Absolution and up through the jump pads to the Abbey entrance beacon.
STEP 1/9
Set off from Outskirts of Mammon
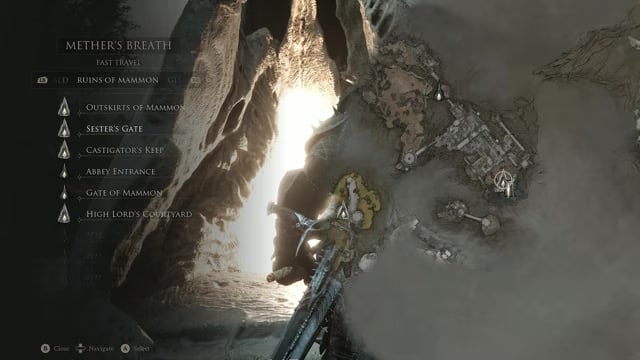
Start at the Outskirts of Mammon beacon, which every player has this early, and follow the road forward.
STEP 2/9
Drop off the broken left side
At the broken stretch on the Road to Absolution, drop down off the left-hand edge.
STEP 3/9
Step around the floor traps
Watch the ground through here, since the floor traps will chunk your health if you barrel through them.
STEP 4/9
Push past the hunters
Slip past the hunters instead of fighting — they drop little and only slow the run down.
STEP 5/9
Take the jump gate across
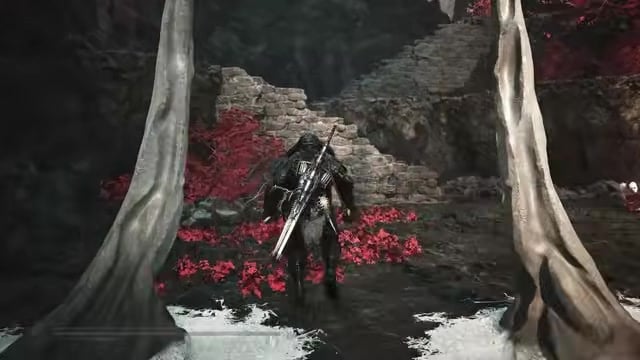
Use the jump gate at the far end to launch onto the platform directly across from you.
STEP 6/9
Cut through the Revenant Graves
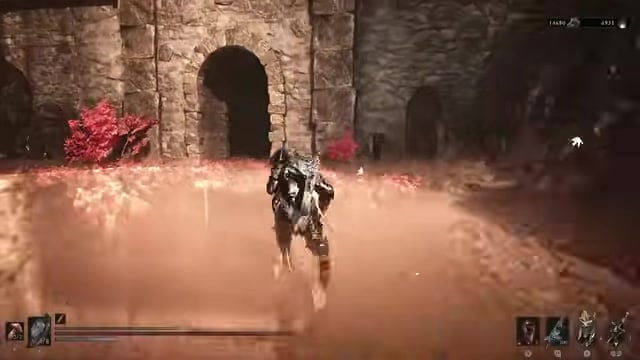
Head right through the archway into the Revenant Graves, bypassing enemies as you go.
STEP 7/9
Ride the first jump pad
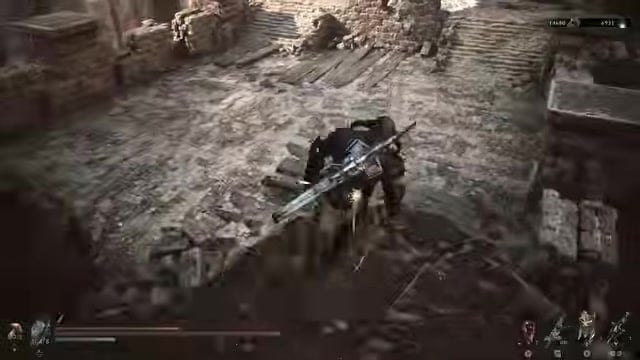
On the right, step onto the jump pad — the first of a short chain of them.
STEP 8/9
Chain up to the top
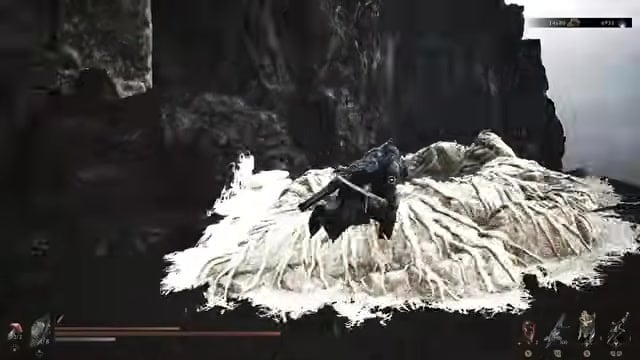
Take the second and third jump pads in a row to reach the upper level.
STEP 9/9
Light the Abbey entrance beacon
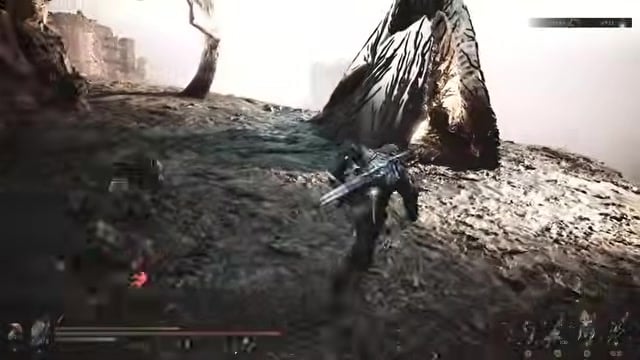
Through the next jump gate you can highlight the Abbey entrance beacon.
Video help
Finishing the run to Sester’s Gate Beacon
How to finish the route to the Devout Stone chest in Mortal Shell 2
From the Abbey entrance beacon you push up to the Sester’s Gate Beacon, then double back a few steps to the lever and the chest — if you already have that beacon, warp in and pick up from the backtrack step.
- Head up through the abbey — Keep pushing up and through from the Abbey entrance beacon into the next area.
- Hit the switch past the enemies — Flip the switch back at the start of the room to handle the enemies before you press on.
- Climb the stairs — Work your way up and around the staircase through this stretch.
- Reach the Sester’s Gate Beacon — Head down the stairs to the Sester’s Gate Beacon and light it if you haven’t already.
- Backtrack up the stairs — From the beacon, backtrack the short way up to where you were on the stairs.
- Clear the ranged enemies — On the right, take out the pair of ranged enemies so they can’t tag you from behind.
- Pull the wall lever — Activate the lever on the wall beside the gate to open it.
- Open the chest — Step inside and open the chest to claim the Devout Stone.
The Devout Stone only pays out on the killing blow, so chip an enemy down with your melee weapon and then land the final hit with your Sidearm — a weapon most players barely touch — to bank the Resolve every time.
Getting the most Resolve from Devout Stone

Key The catch worth internalizing is that the Resolve only comes from Sidearm kills. A melee finisher gives you nothing from this stone, so if you leave your Sidearm holstered you’re effectively wearing dead weight. Leveling it up scales the payout hard — at max level a single Sidearm kill returns 28 Resolve, which is a serious chunk of a resource that normally trickles in.
Resolve is what powers your Shell skills, Sidearm abilities, and any Tarstone effects that spend it, so a steady stream of it keeps your toolkit online in longer fights. The Devout Stone essentially rewards you for using a weapon that’s easy to forget about, turning near-dead enemies into fuel for everything else you want to do.
Other Resolve Tarstones worth chasing next
If you’re building around Resolve, the Zealot Stone is the natural follow-up — it’s another Tarstone geared toward generating Resolve, so it stacks nicely with a Sidearm-heavy setup. The Faith status, applied through Infusion Tarstones, temporarily makes melee attacks regenerate extra Resolve, which covers the gap for the times you’d rather swing than shoot.
Beyond Resolve, combat Tarstones like the Berserker’s Stone and the Spite Stone are common next targets once your regen is sorted, both pulled from chests tied to their own dungeons. Grab the Devout Stone first, then branch into those as your build takes shape.
Related Mortal Shell 2 guides
Frequently Asked Questions
Can you get the Devout Stone before unlocking the Sester’s Gate Beacon?
Yes. The chest itself only needs the wall lever, not the beacon, and you actually pass and light the Sester’s Gate Beacon during the full run from Outskirts of Mammon. So there’s no gating here — the beacon just makes future trips faster once you have it.
Does the Devout Stone restore Resolve from melee kills?
No. Only a kill landed with your Sidearm counts, and there’s no partial credit for melee or heavy-weapon finishers — the very last hit has to come from the Sidearm to trigger the Resolve gain.
Is the Devout Stone affected by the Balance Patch 1 economy changes?
No. Since it comes from a static chest rather than a vendor, the cost and availability tweaks in Balance Patch 1 — the PC update from August 20, 2026 (a few trackers list August 21) — don’t touch it. The grab is the same regardless of the economy changes.






Leave a Reply