

Bulwark Stone and Grudge Stone are both on the Citadel of Penance route: defeat the Bloodcursed Lithopod for the Citadel Gate Lever, open the Citadel gate, grab Grudge Stone near the checkpoint, then head left through the ruins to the broken-bridge chest for Bulwark Stone.
Both stones live along the same stretch — the Citadel of Penance route — and share one gatekeeper, the Citadel Gate Lever. Clear the path to that lever once and you can walk away with two of the game’s better damage-negation Tarstones in a single trip. Below is the whole route from Widow’s Overlook down to the Lithopod and back up to both chests.
Route overview for both Tarstones
| Item | Where to get it |
|---|---|
| Grudge Stone | Stone chest by the checkpoint just inside the Citadel gate, south of the Citadel of Penance Beacon |
| Bulwark Stone | Chest at the far end of the broken bridge, left from the gate past the heavy guards |
The run is one long loop with a dependency in the middle: you can’t reach either stone until the Lithopod hands you the lever and you use it on the Citadel gate. Everything before that is just getting down to the mini-boss; everything after is a split — Grudge Stone to the right of the gate, Bulwark Stone to the far left. Start at Widow’s Overlook, drop through Gloomshade Grove, clear the corruption, beat the Bloodcursed Lithopod, then collect Grudge Stone before Bulwark Stone.
What you need before the run
The one hard requirement is Mether’s Breath, the breath item that dissolves Gloom corruption. You pick it up fairly early back at Marrow Keep while working through the beacons there, and without it the corrupted choke point on the way down into Gloomshade Grove is a dead end. You also need the map opened as far as Widow’s Overlook, since that fast-travel point is where the whole route begins. Beyond that, there’s nothing special to prep — just bring enough healing for a couple of hard-hitting guards.
How to reach Grudge Stone and Bulwark Stone in Mortal Shell 2
Key This is the full chronological route — descend to the Lithopod for the lever, open the Citadel gate, then split off to each chest.
STEP 1/10
Fast travel to Widow’s Overlook
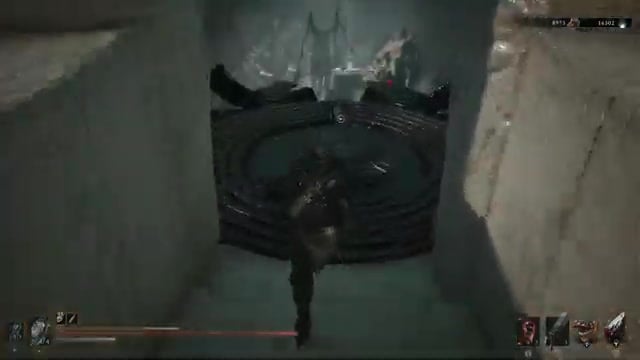
From Marrow Keep, ride the lift down and select Widow’s Overlook on the map to start the run.
STEP 2/10
Cross the bridges toward Gloomshade Grove
Follow the main path forward over two rope bridges and down the dirt trail until the Gloomshade Grove banner appears.
STEP 3/10
Clear the corruption with Mether’s Breath

Open your inventory, use Mether’s Breath on the red corruption blocking the narrow ravine, then run through the cleared passage.
STEP 4/10
Drop to the bottom floor via the jump gate
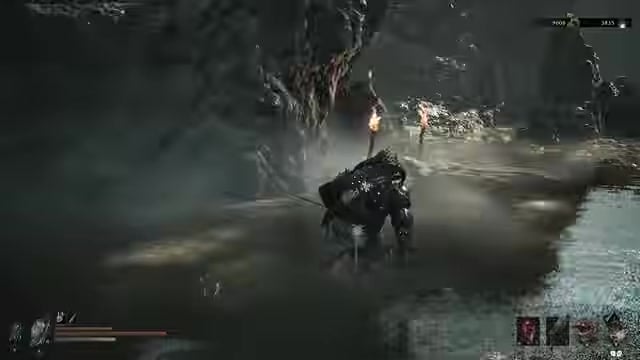
Follow the cliffside path down and step into the white jump gate to descend safely to the watery riverbed below.
STEP 5/10
Defeat the Bloodcursed Lithopod
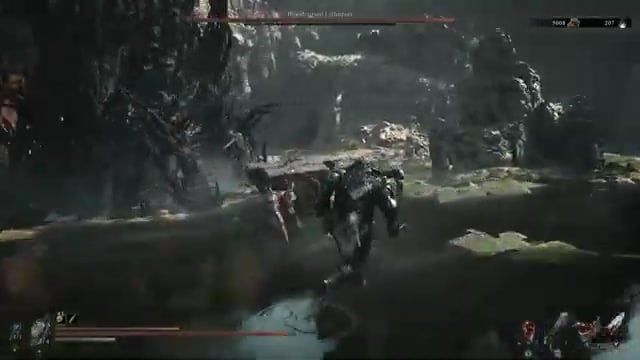
Find the Bloodcursed Lithopod mini-boss in the shallows and take it down to claim the Citadel Gate Lever it drops.
STEP 6/10
Backtrack up toward the castle
Head back through the riverbed, use the jump gate again to climb, then push up and left past the roaming enemies toward the fortress gate.
STEP 7/10
Insert the lever and open the Citadel gate
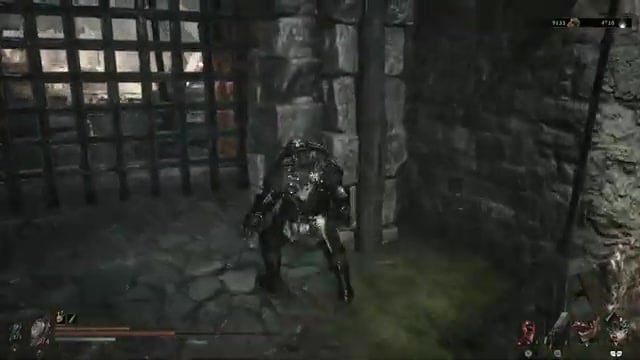
Beat the hard-hitting armored guard at the portcullis, then use the mechanism on the right wall to slot in the Citadel Gate Lever and pull it.
STEP 8/10
Grab Grudge Stone by the checkpoint
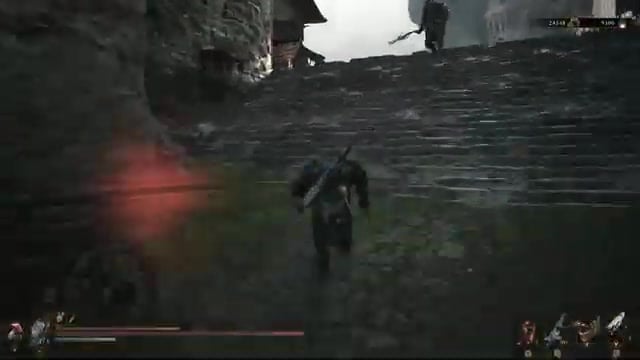
Turn right inside the gate to the stone chest near the checkpoint, just south of the Citadel of Penance Beacon, and open it for Grudge Stone.
STEP 9/10
Head left for the broken bridge
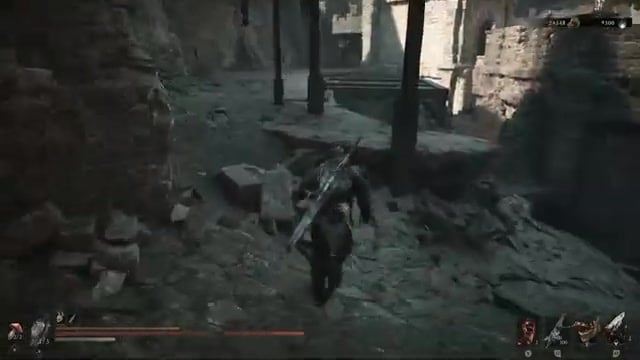
Return to the gate and go left up the stairs and along the ramparts, dropping to the lower path toward the bridge at the far end — a 350 Coin Pouch sits on the left near the start.
STEP 10/10
Open the chest for Bulwark Stone

Clear or sprint past the two Armed Knaves and two Stoners on the bridge, then open the chest at the very edge for Bulwark Stone.
The gate south of the Citadel of Penance Beacon stays sealed until you kill the Bloodcursed Lithopod for the Citadel Gate Lever — grab it on the way down, or you’ll run the whole descent a second time.
Video help
What Bulwark Stone and Grudge Stone do
Bulwark Stone hands you a big chunk of damage reduction that kicks in after you kill an enemy, so its value scales with how many kills you’re stacking up — it’s a survivability pick for waves and dungeon crawls rather than a set-and-forget defensive buff. Grudge Stone is the other half of the pairing: a strong defensive Tarstone that guides regularly flag as a top priority to temper at the Tarforge once you’re investing Gloom into upgrades.
Both were buffed in Balance Patch 1 — the update raised the damage reduction on Grudge, Bulwark, and Parasitic together — but the notes never published exact new figures. Treat any hard percentage from an older breakdown as out of date and judge the effect off the in-game description you see once it’s equipped.
Mistakes that stall this route

The most common one is reaching the Citadel and assuming the stones are bugged or missing because the gate won’t open. It isn’t broken — it simply needs the Citadel Gate Lever, and that only drops from the Bloodcursed Lithopod down at the bottom floor. Skip the mini-boss and there’s no way in.
The second trap is the bridge itself. The final stretch to Bulwark Stone throws two Armed Knaves and two Stoners at you on a narrow ledge, and it’s easy to sprint straight in, get cornered, and die near the chest — losing your progress right before the payoff. Clear them or dodge with intent, and don’t get greedy chasing the 350 Coin Pouch mid-fight. Finally, don’t build around exact damage-reduction numbers copied from pre-patch guides; the rebalance changed those stones, so the old figures no longer line up.
Related Mortal Shell 2 guides
Frequently Asked Questions
Can you grab Bulwark Stone before Grudge Stone once the gate is open?
Yes. Both stones sit behind the same Citadel Gate Lever, so the moment the gate opens you can take them in either order. Grudge Stone is the faster pickup — it’s right of the gate by the checkpoint — while Bulwark Stone is a longer haul left along the ramparts to the bridge, so most players sweep Grudge first and finish at the far chest.
Is Bulwark Stone worth using against bosses?
Not really. Its damage reduction only activates once you land a kill, and a one-on-one boss fight with no adds never gives it anything to trigger on. Save it for mob-heavy areas where kills come steadily; for a straight boss duel, a defensive stone that’s always active will do more for you.




Leave a Reply