
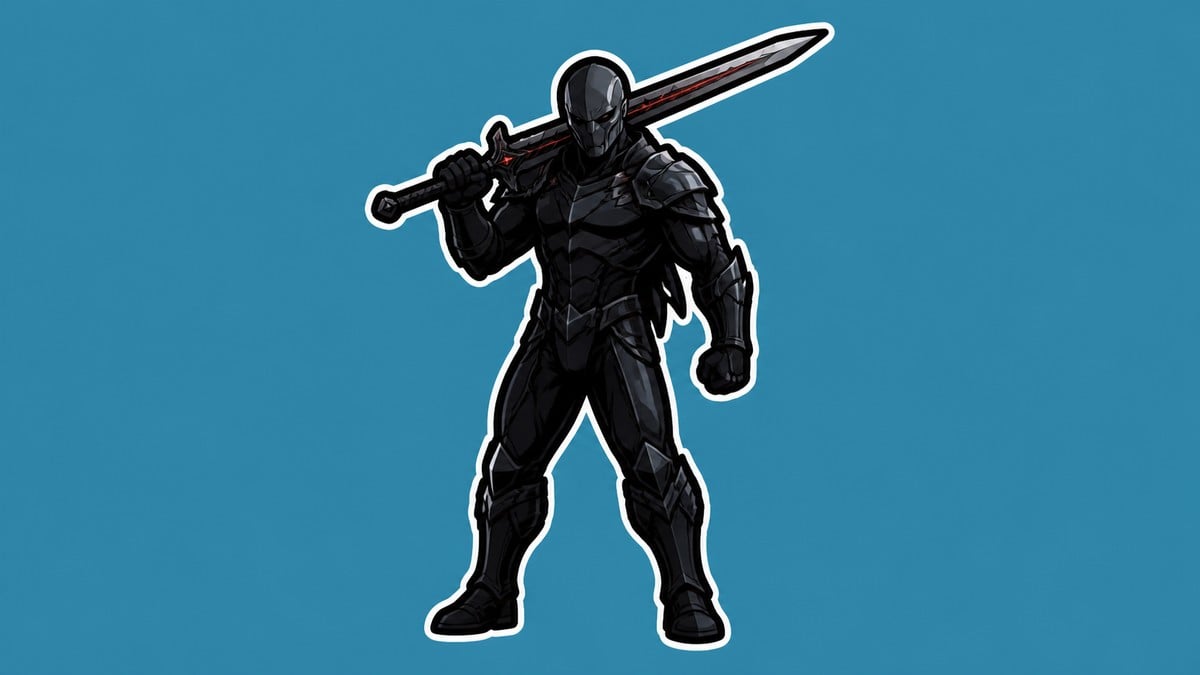
To get Inflamed Clawstone in Mortal Shell 2, travel from Widow’s Overlook through Blackridge Pass to the Blackridge Hamlet well, enter the Holding Cells, grab the Feeding Room Key, unlock the Feeding Room, and defeat the Rabid Grisha Pack for the Tarstone.
The Inflamed Clawstone is a Tarstone that infuses your weapon with Burn, and it is easily one of the most satisfying stones to slot onto a heavy axe. There is no vendor and no chest for it — you earn it at the end of a short but specific run that starts at a beacon and finishes at a twin-boss fight deep under Blackridge Hamlet. Here is the full route, the key you need on the way, and what the stone actually does once it drops.
Where Inflamed Clawstone drops and what it does
| Detail | Answer |
|---|---|
| Item type | Tarstone (weapon Burn infusion) |
| Location | Holding Cells, beneath Blackridge Hamlet |
| Drop source | Rabid Grisha Pack (twin bosses) |
| Route requirement | Mether’s Breath to cleanse corruption |
| Reward | Inflamed Clawstone (plus the Grisha Remnant summon) |
| Main use | Spend Resolve to infuse your weapon with Burn |
The stone sits at the bottom of the Holding Cells dungeon and only comes loose after you beat the Rabid Grisha Pack — a pair of bear-like bosses fought in the same arena. Once it is yours, you equip it to a compatible primary weapon and spend Resolve to set that weapon alight, dealing Burn damage over time. It is the infusion the Veteran’s Battle Axe is built around, so if that axe is your main, this is the stone you want.
Requirements to get Inflamed Clawstone
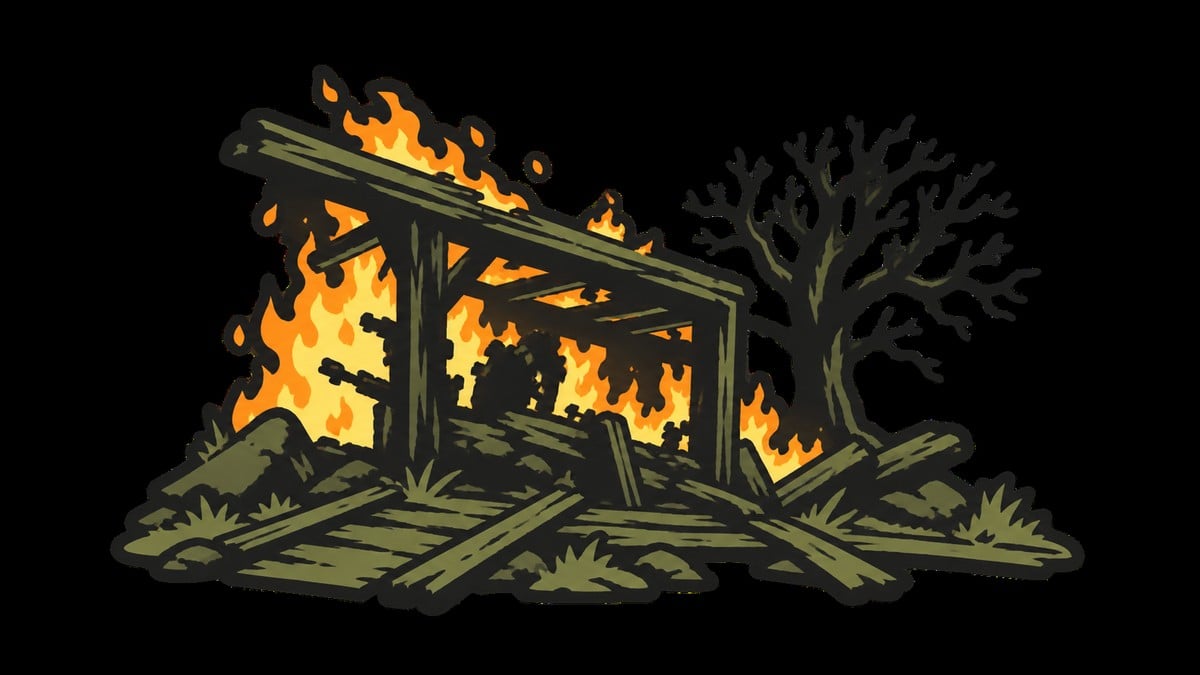
The one thing that will stop this run cold is corruption. On the way from Blackridge Pass toward the village, a corruption wall blocks the path, and you need Mether’s Breath in your inventory to clear it. You earn Mether’s Breath earlier by completing a delivery at Marrow Keep, so make that trip first if you have not already — without it, you simply cannot reach the well.
Everything else on the route is optional. There are loose pickups scattered around Blackridge Hamlet and inside the dungeon, but none of them gate the stone, so grab what you like and skip the rest.
How to get Inflamed Clawstone in Mortal Shell 2
This is the complete path from the first beacon to the boss drop, so follow it in order and you will not get lost.
STEP 1/10
Start at Widow’s Overlook
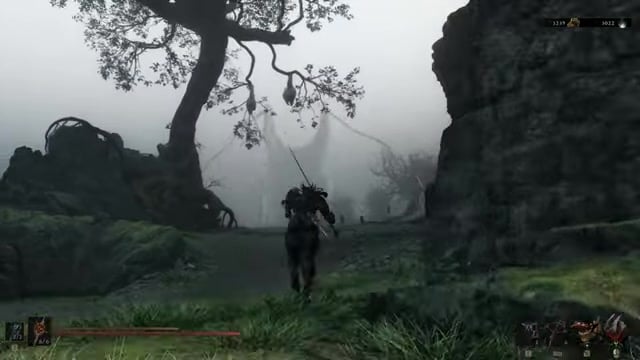
Fast-travel to the Widow’s Overlook beacon and set off toward Blackridge Pass.
STEP 2/10
Cleanse the Blackridge Pass corruption
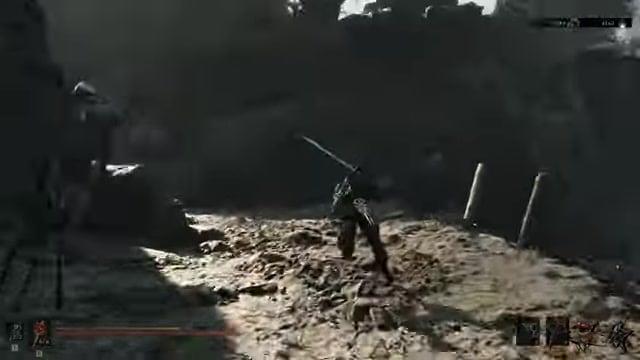
At Blackridge Pass, use Mether’s Breath to clear the corruption wall blocking the path ahead.
STEP 3/10
Head for the well in Blackridge Hamlet
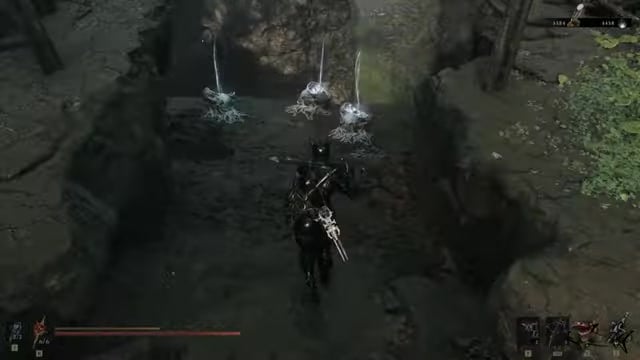
Push through the village, clearing enemies, toward the well on the left side of the hamlet — grab the optional Coin of Mammon and Devout’s Chalice on the way if you want them.
STEP 4/10
Watch the barrels by the well
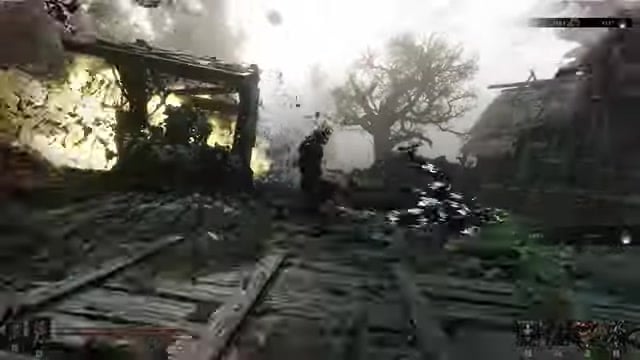
Enemies guard the well, so leave the explosive barrels alone unless you want them detonating in your face.
STEP 5/10
Drop into the Holding Cells
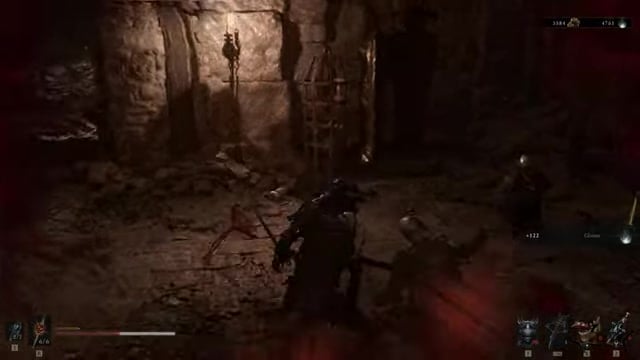
Interact with the well to descend into the Holding Cells dungeon; if you only want the stone, sprint past most enemies rather than clearing every room.
STEP 6/10
Take the central elevator down
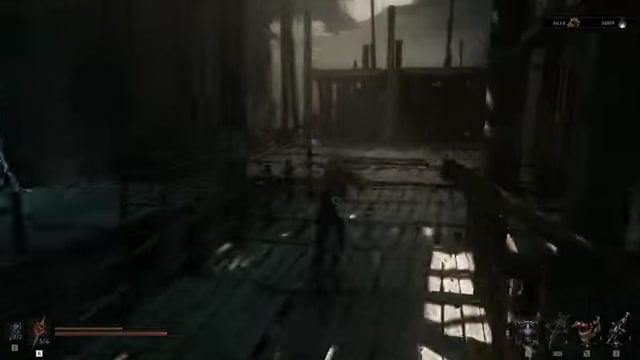
Ride the elevator into the flooded lower chamber instead of exploring the side cells.
STEP 7/10
Grab the Feeding Room Key
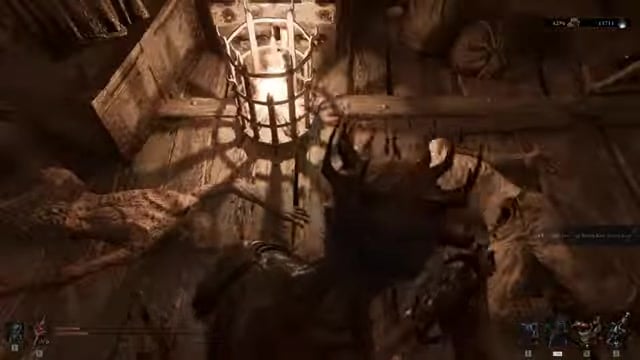
Find the ruined wooden shack out in the flooded chamber and take the Feeding Room Key from inside it.
STEP 8/10
Reach the Feeding Room door
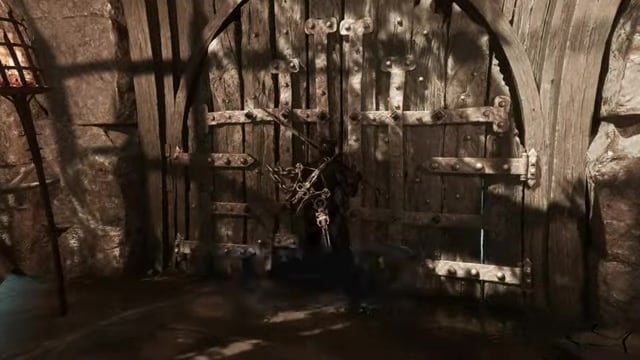
Wade back to the large locked door in the middle of the chamber and open it with the key.
STEP 9/10
Trigger the Rabid Grisha Pack fight
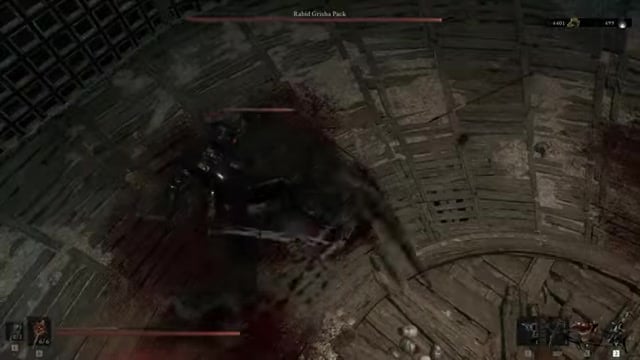
Head up the stairs and ride the elevator down into the arena, then step forward to start the twin-boss encounter.
STEP 10/10
Claim the Inflamed Clawstone
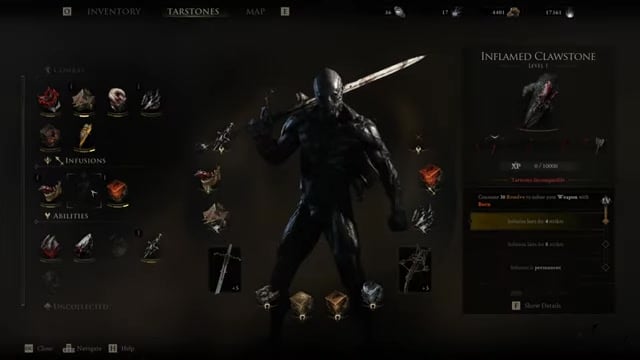
Defeat the Rabid Grisha Pack to receive the Inflamed Clawstone, along with the Grisha Remnant summon.
Key The Rabid Grisha Pack is two bosses in one arena, and it is very manageable with a little prep. The Shrike Stone lets your weapon leap in for big damage and does a lot of the heavy lifting here, and the Grisha Remnant summon — which you can pick up well before this point — gives you an ally to split their attention. Neither is required, but both turn a messy twin fight into a clean one.
Bring the Shrike Stone and a Grisha Remnant summon into the arena — the twin bosses hit hard, but the leap damage plus a summon to draw aggro makes the whole fight far shorter.
Video help
Upgrade tiers and how to infuse Burn
| Level | Effect |
|---|---|
| Level 1 | Spend 30 Resolve to infuse your weapon with Burn |
| Level 2 | Burn lasts 4 strikes |
| Level 3 | Burn lasts 8 strikes |
| Level 4 | Burn is permanent until you die or rest at a beacon |
Using the stone is simple: equip it to your compatible weapon, then hold the infusion input to spend Resolve and light the blade. The first tier only unlocks the infusion — the burn window then grows as you level the stone up, from a handful of strikes to a permanent flame that lasts until you die or rest at a beacon. You raise its level at the Tarforge in Marrow Keep. Tarstone costs were tuned in a recent balance patch, so the 30 Resolve figure reflects the live build.
Telling Inflamed Clawstone from the sidearm burn stone
Burn shows up on more than one Tarstone, and that is where players get their wires crossed. Inflamed Clawstone is a weapon infusion — the one that sets your axe on fire. The similarly-themed Emberseed Stone is a sidearm burn stone, so if you are trying to make a gun or crossbow burn, that is the stone you are after, not this one. In the same slot as the Clawstone you will also see infusions like Arbiter’s Prize, which applies Bloodcurse rather than fire, so read the effect line before you commit Resolve.
Related Mortal Shell 2 guides
Frequently Asked Questions
Is Inflamed Clawstone the same as Emberseed Stone?
No. Inflamed Clawstone is a weapon infusion pulled from the Rabid Grisha Pack. Emberseed Stone is a separate sidearm burn infusion that fits the Naylshotte, Forgotten Crossbow, and Ballistazooka, costs 20 Resolve, and only applies Burn on critical hits. It comes from a chest you open while cleansing the Mushroom Village beacon, and because it lives in the sidearm slot you can run it alongside Inflamed Clawstone for burn on both your weapon and your sidearm.
Can you get Inflamed Clawstone without beating the Rabid Grisha Pack?
No. There is no chest, vendor, or alternate pickup for it — the stone is the pack’s drop, so the twin bosses have to fall. The trash mobs on the way in can all be ignored if you would rather run to the door, but the fight itself is mandatory. The upside is that it is a guaranteed drop, so a single clean win is all it takes.




Leave a Reply