


Quick Answer: The Evacuation Zone 1 Map Kit is obtained by restoring an offline signal tower on the rooftops in Control Resonant. You need to activate the relay dishes around the neighboring rooftops before the main tower can be calibrated.
The Evacuation Zone 1 Map Kit in Control Resonant is tied to a small rooftop calibration puzzle. Unlike a conventional item pickup, you first need to restore a signal tower by activating several relay dishes scattered across nearby rooftops. The puzzle is straightforward once you identify the offline tower, but reaching the relays can be slightly confusing because the route takes you across several elevated areas.
| Quick overview | Details |
|---|---|
| Area | Evacuation Zone 1 |
| Puzzle type | Rooftop signal calibration |
| Main objective | Restore the offline signal tower |
| Required action | Activate the surrounding relay dishes |
| Completion | Interact with the restored central tower |
| Reward | Evacuation Zone 1 Map Kit |
How to reach the offline signal tower
Start on the main street in Evacuation Zone 1 and look for a way onto the rooftops. The route uses the exterior scaffolding and nearby ledges, so you should not expect to find a conventional staircase leading directly to the objective.
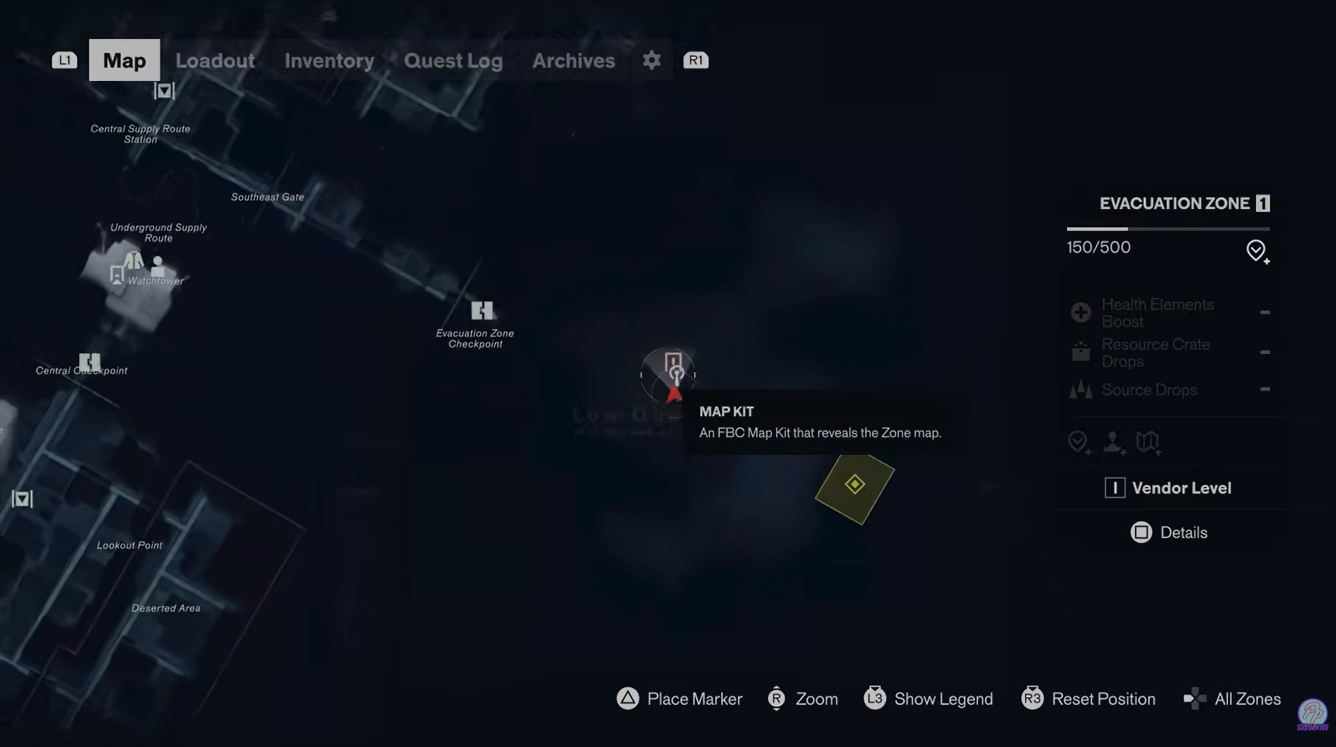
Once you’re above street level, move toward the rooftop containing the large signal tower. The tower is clearly marked as “Tower Offline: Calibration Required.” This is the central device you ultimately need to restore.
Don’t worry if interacting with it doesn’t immediately complete anything. The tower cannot be fully activated until the surrounding relay dishes have been calibrated.
How to get Evacuation Zone Map Kit in Control Resonant
From the central tower, look toward the surrounding rooftops for the smaller relay installations. These are the devices that need to be activated before the main tower can come online.
Calibrate the first relay
Move from the main tower toward the secondary rooftop terminal. Interact with the terminal to activate the relay. When the calibration is successful, its indicator changes to green.
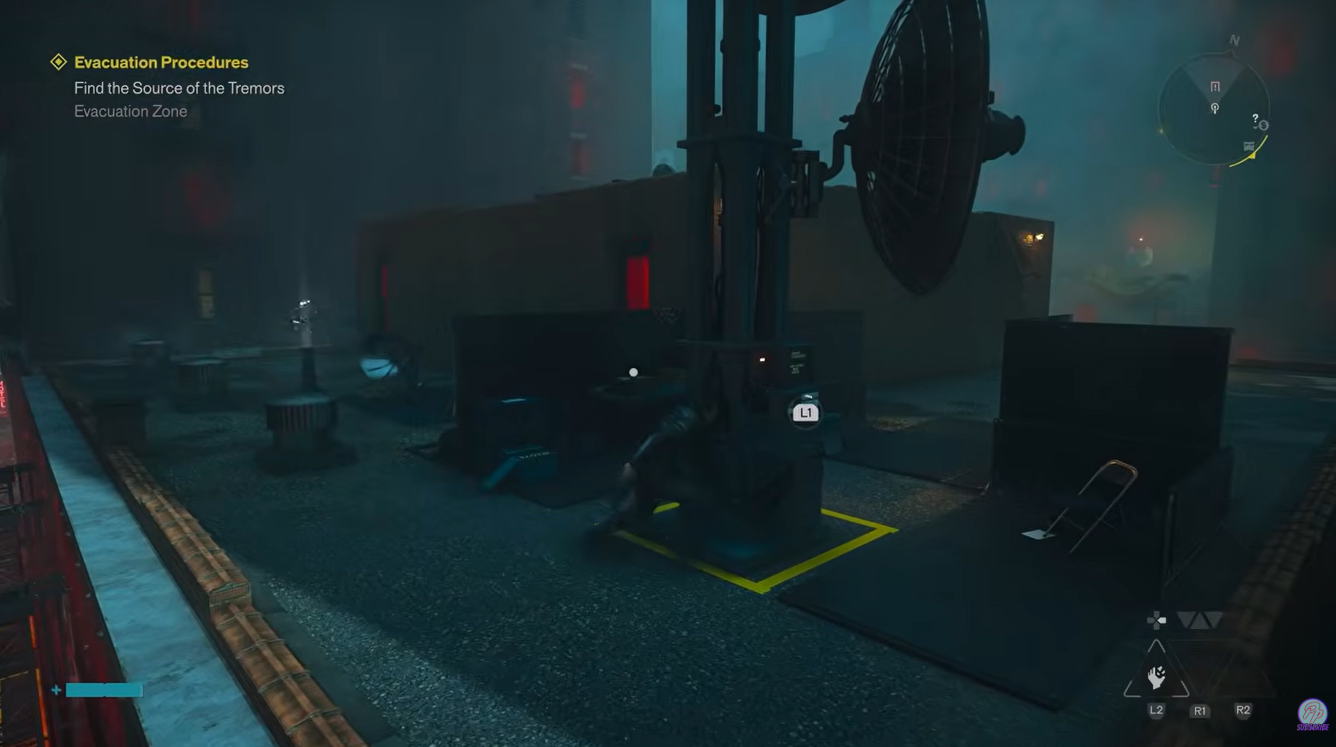
The green indicator is important because it provides a visual confirmation that the relay has been successfully activated. If a dish still has its inactive indicator, you need to interact with it before returning to the main tower.
Reach the remaining rooftop relays
After activating the first relay, use the neighboring rooftops to continue the route. You need to cross between the buildings using the available ledges and rooftop paths.
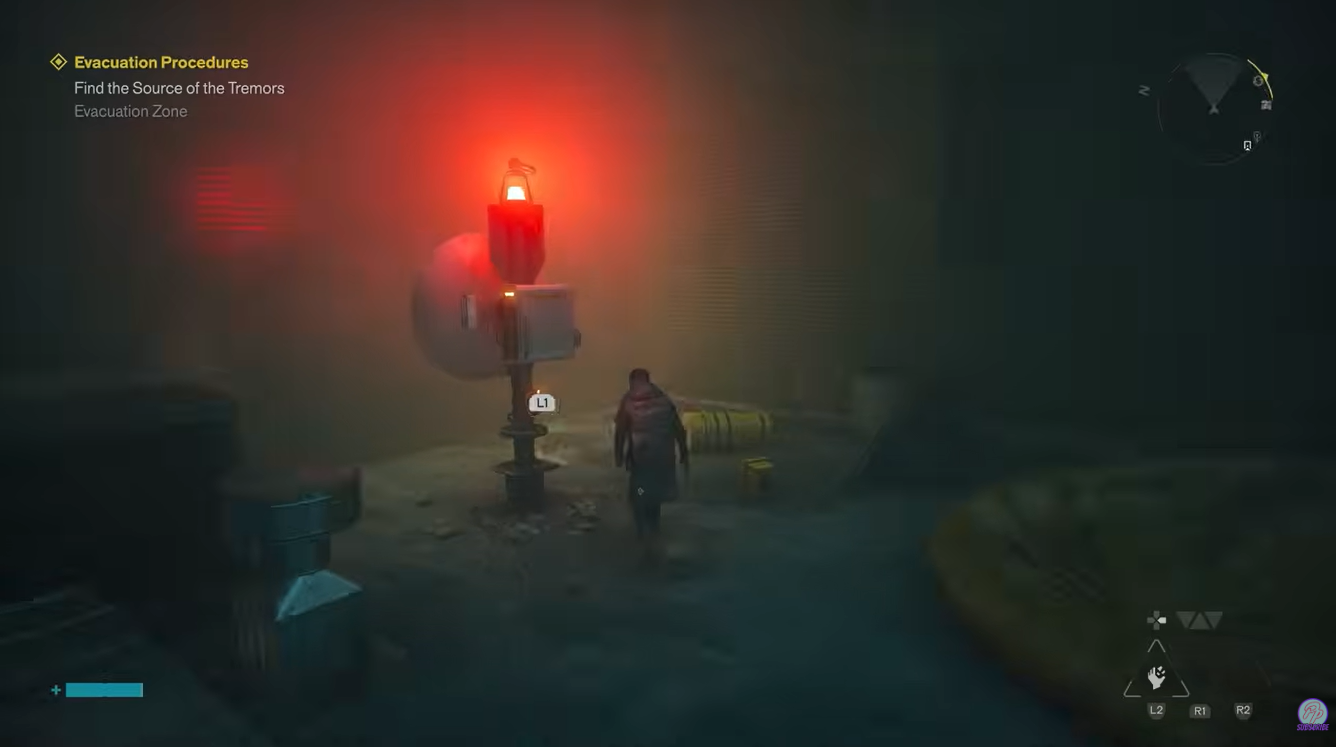
The remaining relay dishes are positioned on nearby roofs rather than directly beside the central tower. This means the puzzle is partly a traversal challenge: you need to keep moving across the rooftops instead of repeatedly returning to the central tower.
Interact with each relay as you reach it and confirm that its indicator has turned green. If a relay does not appear to activate, make sure you’re interacting with the actual terminal or dish rather than simply approaching it.
Restore the main signal tower
Once all of the surrounding relay dishes have been calibrated, return to the central rooftop where you found the offline tower.
Interact with the main signal tower again. With the relay network restored, the tower can now complete its calibration sequence and come back online.
The successful restoration unlocks the Evacuation Zone 1 Map Kit, completing this rooftop puzzle.
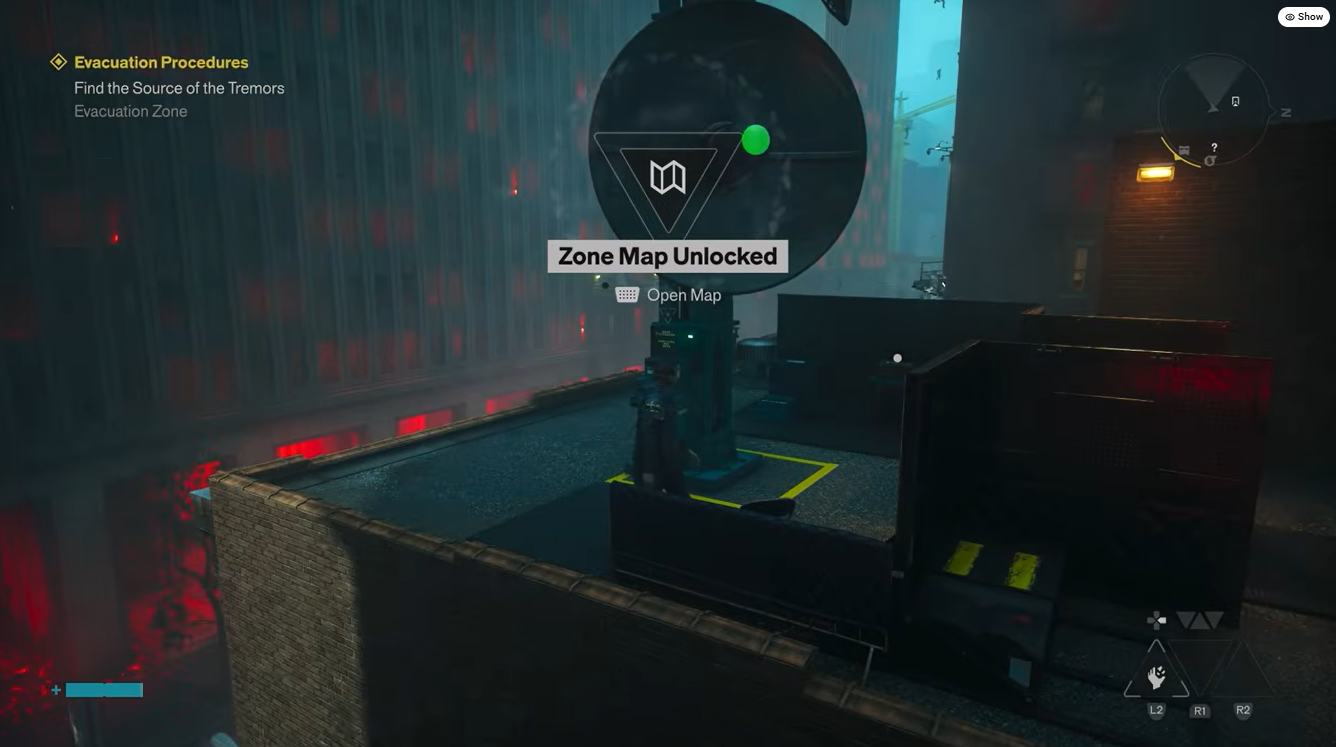
Evacuation Zone 1 Map Kit rewards
| Reward | How you obtain it |
|---|---|
| Evacuation Zone 1 Map Kit | Restore the central signal tower after calibrating the rooftop relays |
| Evacuation Zone 1 map information | Unlocked through the completed Map Kit |
What to do if the tower will not activate
If the main tower still reports that calibration is required, check the surrounding rooftops again. The most likely cause is an unactivated relay dish.
Look for any relay whose indicator has not changed to green. Because the devices are spread across neighboring rooftops, it is easy to overlook one while following the traversal route.
You also do not need to keep interacting with the central tower between relay activations. Activate every relay first, then return to the main tower for the final calibration.
The puzzle follows a simple sequence: reach the rooftops, find the offline signal tower, activate the secondary relay, cross the neighboring roofs, activate the remaining relay dishes, and then return to the central tower.
The key thing to remember is that the tower itself is not the puzzle’s first step. The surrounding relay dishes have to be calibrated before the tower can be restored. Once all of their indicators are green, the final interaction at the central tower unlocks the Evacuation Zone 1 Map Kit.
Video help:




Leave a Reply