
To find the last symbol in Chapter 5 (Desolation It Wrought), solve the light-lens puzzle in the underground chamber — use the beams to burn away the dust, then align the green, red and blue lights into their matching symbols on the central pillar to activate all three at once.
The last symbol objective in Chapter 5 drops you into an underground Trial chamber where three colored light beams — green, red and blue — each have to reach a matching socket on a central pillar. The catch is the dust smothering the room: until you burn it off, half the lenses you need stay hidden. Below is the full route in, plus the beam order that lights all three.
Where the last symbol puzzle sits in Chapter 5
| Colored beam | What to do with it |
|---|---|
| Blue | Sweep it across the whole room to burn off the dust first, then drive the final beam into the blue socket. |
| Green | Shine it across to the far lens, then redirect it into the central green symbol. |
| Red | Bounce it off the far-left lens and into the central red symbol. |
Key This is the puzzle you reach after the tree-lined hallway dead-ends at a locked metal door — the way in is up a ladder behind you, not through the door. Once you drop into the chamber, the shape of the puzzle is simple to describe even if it plays out messily: there are three colored lenses, and each beam has one job. Get all three symbols on the central pillar lit and the objective completes.
How to find the last symbol in Resonance A Plague Tale Legacy
Follow this order to get into the chamber, clear the dust, and route each beam home — the beams share lenses, so the sequence matters.
STEP 1/8
Reach the locked metal door
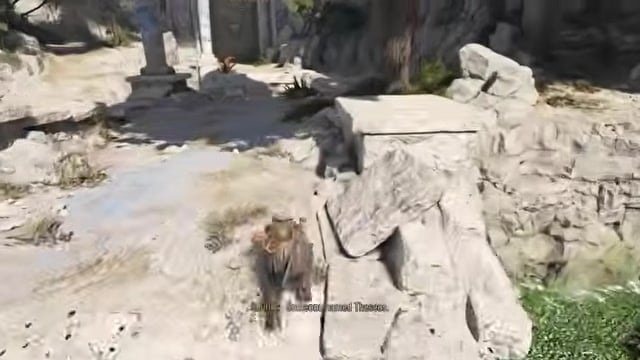
Follow the tree-lined hallway with the tree at its end until you hit the large locked metal door.
STEP 2/8
Climb the ladder behind you
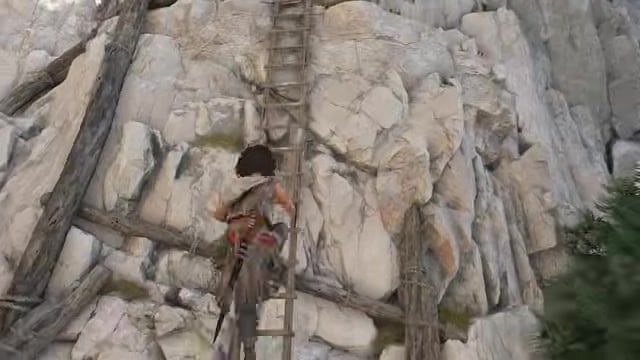
Turn around from the door, climb the ladder up the cliff, and crawl through the crack in the rocks into the temple chamber.
STEP 3/8
Activate the pillar and drop in
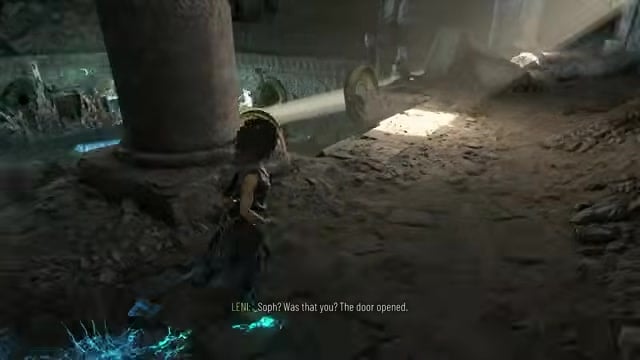
On the upper ledge head left and activate the light pillar, then return to the center and grapple down into the puzzle chamber — the collectibles up here are optional grabs you can skip.
STEP 4/8
Burn away the dust with the blue light
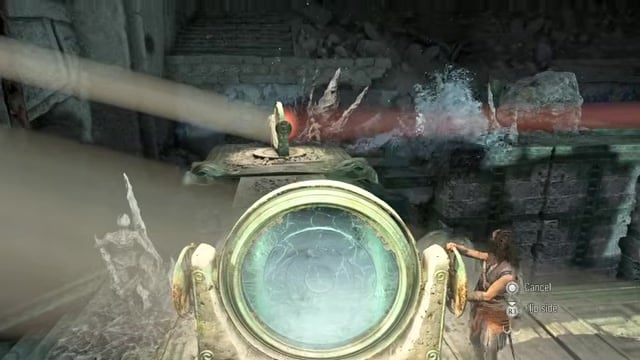
Take the central blue projector and sweep the beam across the left, middle and right platforms to clear every dust patch covering the lenses.
STEP 5/8
Clear the last dust with the red lens
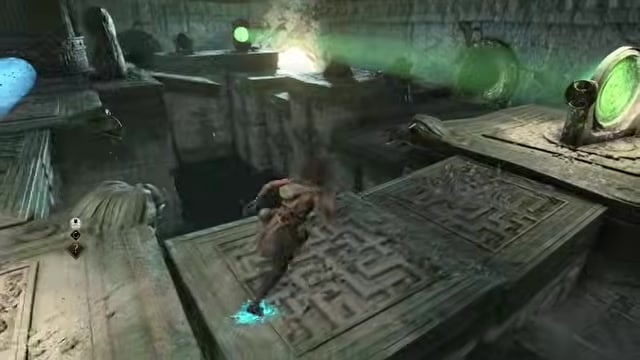
Move to the red lens on the left and burn out the remaining dust sitting in its path.
STEP 6/8
Route the green beam into its symbol
From the front, shine the green lens across to the far lens, then cross over and redirect that light into the green symbol on the central pillar.
STEP 7/8
Bounce the red beam into its symbol
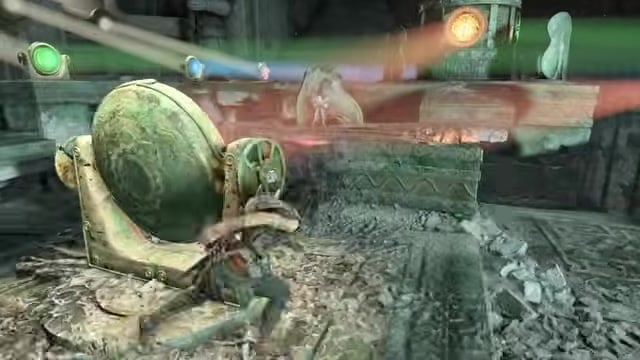
Over on the right, aim the red lens across to the far-left lens, then rotate that lens to feed the red light into the central red symbol.
STEP 8/8
Land the blue beam to finish
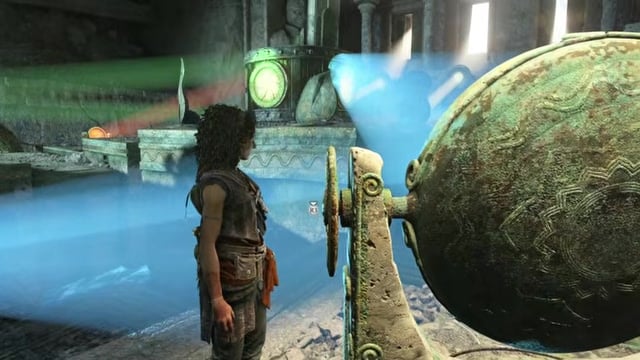
Spin the front blue lens behind the rock to reveal the hidden lens, shift the red beam over to the right so the shared lens frees up, then drive the blue light into the blue socket to light all three at once.
Video help
Why the blue beam is where players get stuck
This puzzle is non-linear, and that is exactly what trips people up. The central pillar can’t be rotated, so every beam has to be bounced into place from the sides — and some lenses feed more than one color. That means you can’t just line up green, then red, then blue and walk away: to land the blue beam you usually have to go back and re-route a beam you already solved, shifting the red light over to the right side so the lens it was using is freed up for blue.
If blue refuses to reach its socket, go back to the front red lens and swing that beam to the right side — it still hits the red symbol, and it hands the shared lens over to blue so you can finally complete the pillar.
Related A Plague Tale: Requiem guides
Frequently Asked Questions
Do the three lights have to be aligned in a set order?
There’s no forced order — you can tackle the colors however you like. In practice, though, it pays to clear all the dust with the blue beam first, then solve green and red before blue, because blue is the fiddliest and often needs you to move an earlier beam to finish. Doing it in that sequence just means less back-and-forth.
Is this the same as the spike-tile symbol-platforms crossing?
The objective name shows up in more than one place, so it’s easy to mix them up. This guide covers the on-screen light-lens puzzle, where you route the green, red and blue beams into the central pillar. Some walkthroughs instead describe the last symbol step as a spike-tile crossing, where you step across platforms following the pattern Points → Squid → Points → Flower → Squid. If your room is a grid of spiked tiles rather than a lens chamber, that pattern is the one you want; if you’re looking at colored beams and a central pillar, the steps above are your solution.



Leave a Reply