What to know
- There’s an additional safety feature on the Safari app on iOS 17 or newer versions – Require Face ID to Unlock Private Browsing.
- To enable this feature, go to Settings > Safari > Privacy & Security and turn on the Require Face ID to Unlock Private Browsing toggle.
- When this feature is enabled, Safari will prompt you to authenticate your identity using Face ID before letting you access tabs inside Private Browsing.
- Find the detailed guide with screenshots below.
What is Face ID for Private Browsing on Safari in iOS 17?
Apple constantly rolls out a bunch of new privacy and security features. You can enable the “Locked” Private Browsing feature on iOS 17 or newer versions, preventing people other than you from accessing or using private tabs inside Safari. After updating the latest system versions, the feature can be enabled on all iPhones, iPads, and Macs. It provides an additional safety step when browsing privately on your Apple device.
When Face ID for Private Browsing is enabled, the Safari app on your iPhone will ask you to reveal your face to start browsing the web privately. Since tabs you open inside Private Browsing mode on Safari are still accessible at later times, the need for Face ID to continue using Private Browsing prevents others who have access to your iPhone from viewing your private tabs.
Safari will ask for Face ID access whenever you switch from regular tabs to private tabs or lock your iPhone with your private tabs open. If your device fails to detect your face twice in a row, you’ll be prompted to enter your device passcode to continue accessing Private Browsing on the app.
How to enable Face ID for Private Browsing on an iPhone
- Requirements: iOS 17 update (check under Settings > General > Software Update).
To enable Face ID for Private Browsing, open the Settings app on your iPhone.
Inside Settings, scroll down and tap on Safari.
On the Safari screen that appears, scroll down to the “Privacy & Security” section and turn on the Require Face ID to Unlock Private Browsing toggle.
Safari will now be enabled with the new feature and will ask you to reveal your face for a Face ID scan whenever you open a private tab on the app.
How to unlock Private Browsing using Face ID on Safari on an iPhone
Once you’ve enabled the “Require Face ID to Unlock Private Browsing” feature inside Settings, you can take this feature for a trial run by opening the Safari app on your phone.
Inside Safari, swipe up from the bottom Tab Bar until you see all your open tabs on the screen.
When you see the active tabs on your screen, tap on the Private tab from the bottom left corner or swipe from left to right on the bottom bar.
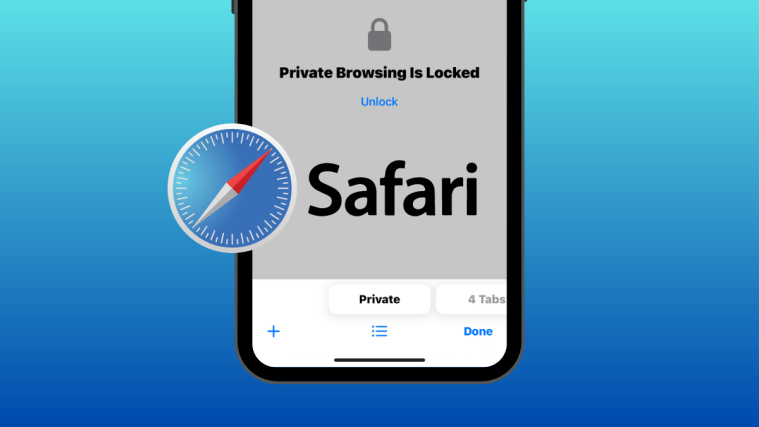
This will open the Private Browsing screen which will show as “locked” as you may have expected. To continue browsing privately, tap on Unlock.
iOS will now prompt you with the Face ID scanner that needs access to your face to proceed.
Once Face ID is authenticated, you should see your existing Private Browsing tabs or a new private tab on the screen.
To lock your private tab again, you can either lock your iPhone’s screen or switch to a regular tab inside Safari.
RELATED
- iOS 17: iPhone Is Too Close Issue: 4 Ways to Fix
- iOS 17: How to Customize the Privacy of Your Contact Photo and Poster on iPhone
- iOS 17: How to Set Early Reminders on iPhone
- iOS 17: How To Enable and Use Screen Distance on iPhone
- iOS 17: How To Listen to A Page on iPhone and What Is It
- iOS 17: How to Get Call and Message Buttons for A Contact Widget on iPhone


