

What to know
- You can create a collage with two pictures side-by-side using the native Shortcuts app on your iPhone.
- Similar collages can also be created using third-party apps like Layout, Canva, and Instagram.
- Check out the post below to learn how to do it.
Photo collages can help you display transformations, comparisons, and a lot more. Apple has a fairly decent photo editor inside the native Photos app but it does not offer a way to put two pictures side by side on your iPhone.
In this post, we’ll explain all the ways you can create a collage with two pictures side-by-side on an iPhone.
How to put two photos side by side on iPhone [4 methods]
The best way to put two pictures side by side is by creating a dedicated shortcut that can be accessed through your share sheet. This will automate the combining process, allowing you to easily combine two pictures whenever needed. You can also use the Pages app to combine two images and store them on your iPhone.
Lastly, if you’re looking for more creative control over your edits, then you can opt to use a dedicated third-party image editing app. Here’s how you can use either of these methods to combine two pictures on your iPhone.
Related: How to clear space on iPhone
Method 1: Using the Shortcuts app
Use the steps below to create a dedicated shortcut that will help you combine two pictures side by side on your iPhone.
Step 1: Create the Combine Photos shortcut
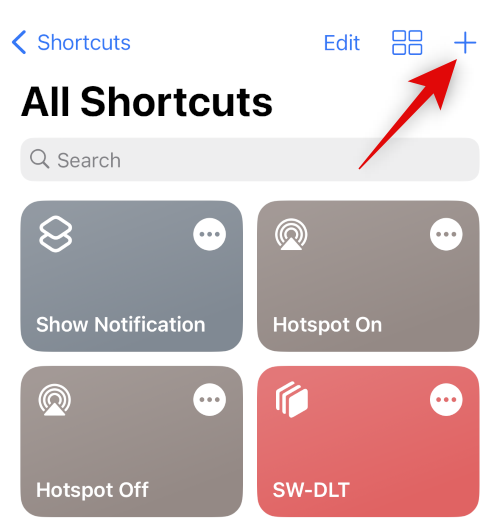
- Open the Shortcuts app on your iPhone and tap the + icon.
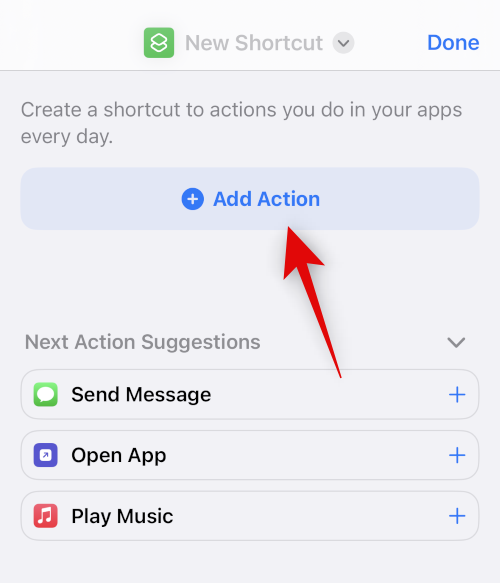
- Now tap + Add Action.
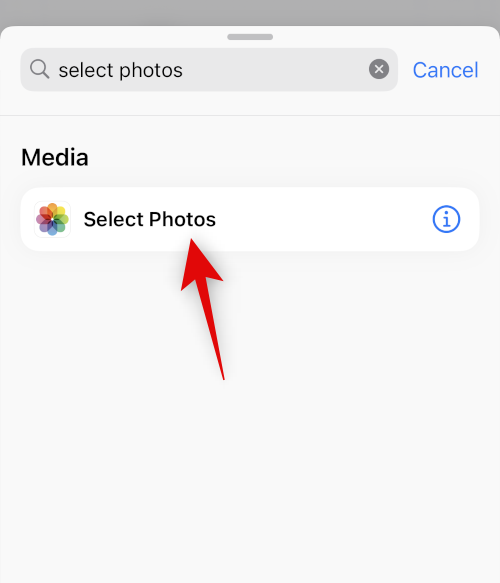
- Use the search bar to search for Select Photos. Tap on the same once it shows up in your search results.
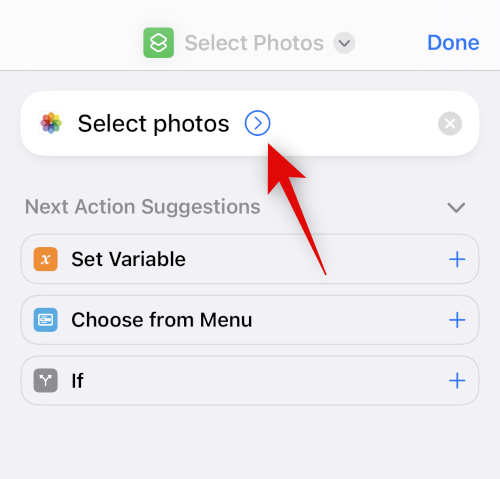
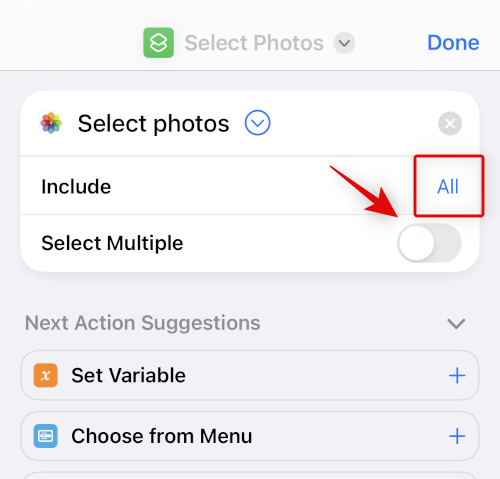
- Tap the > icon beside the newly added action.
- Ensure All is set for Include and turn on the toggle for Select Multiple.
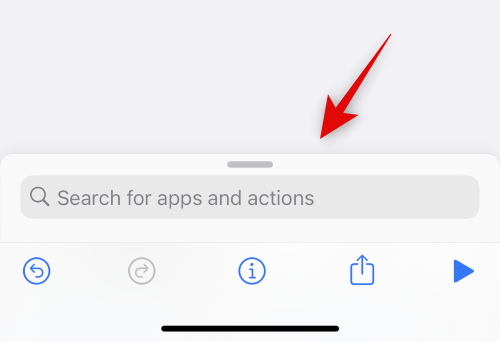
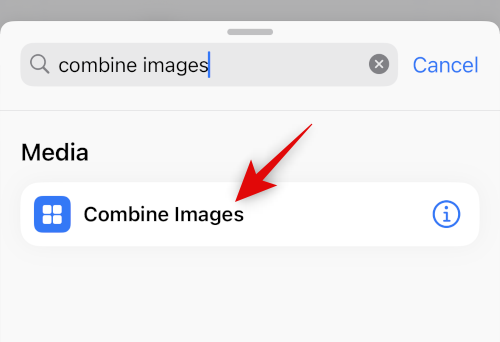
- Use the search bar at the bottom to search for Combine Images.
- Tap and select Combine Images from the search results.
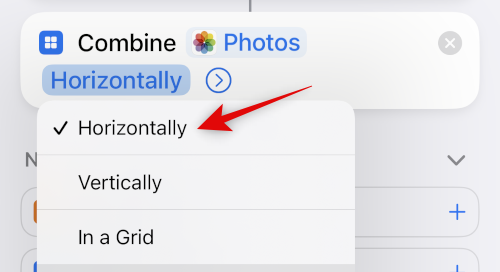
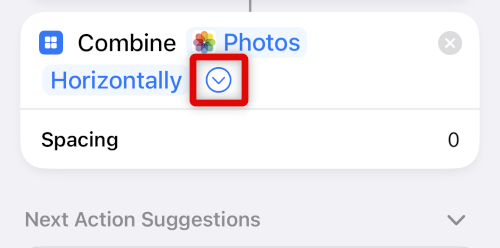
- Ensure that Combine is set to Horizontally. If you don’t wish to combine images horizontally, tap on it and select your preferred image orientation.
- Tap the > icon beside your image orientation.
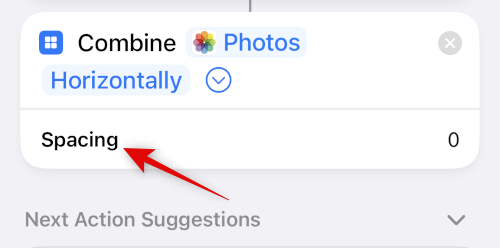
- Select the space you wish to appear between the two combined images. If you don’t wish to space your photos, you can set this value to 0.
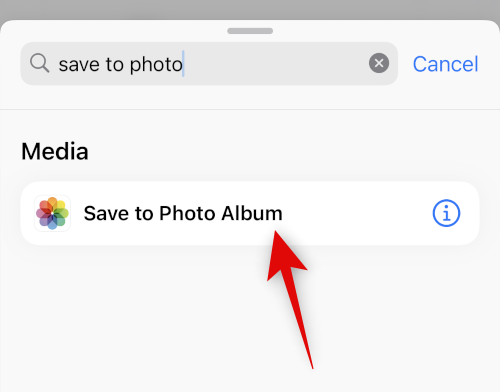
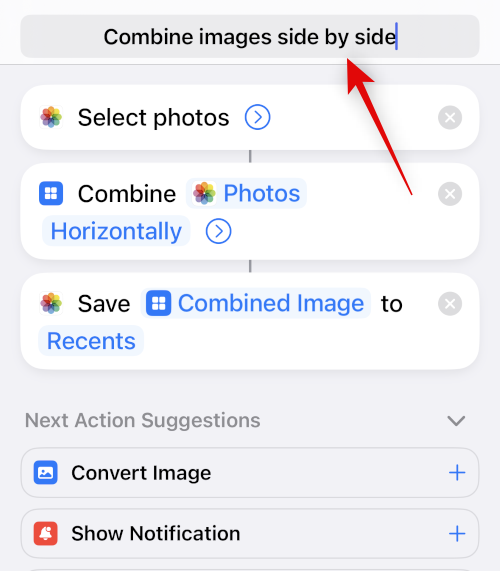
- Now use the search bar at the bottom again and search for Save to Photo Album. Tap and select the same from your search results.
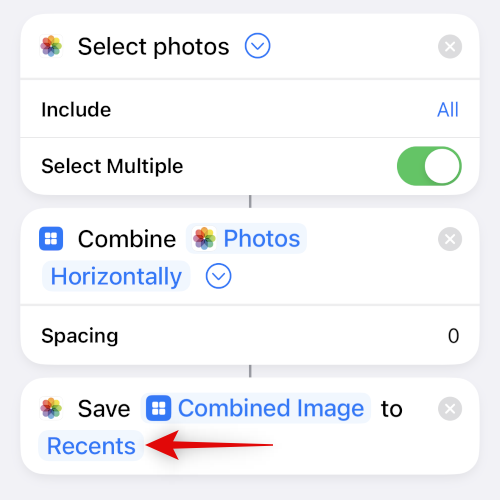
- Tap Recents and select your preferred album where you’d like to store your combined images.
- Tap the default name at the top and select Rename.
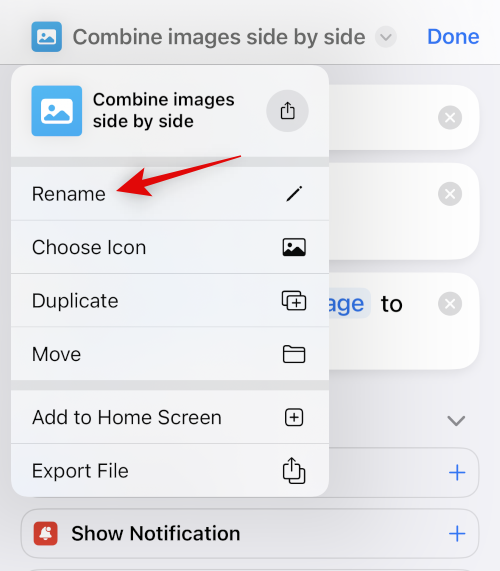
- Now type in a preferred name that you’ll be able to identify in your share sheet easily.
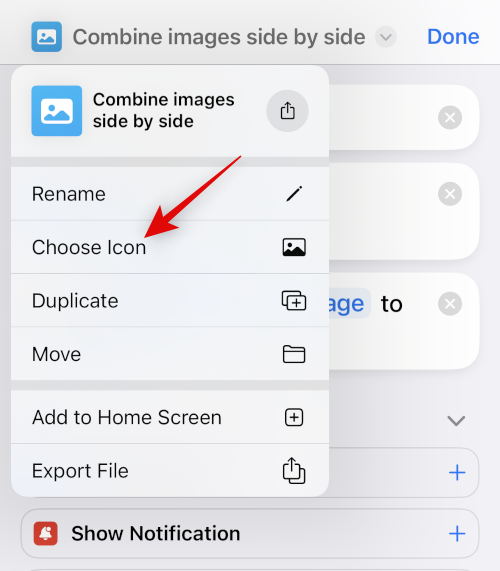
- Tap the name again and select Choose Icon.
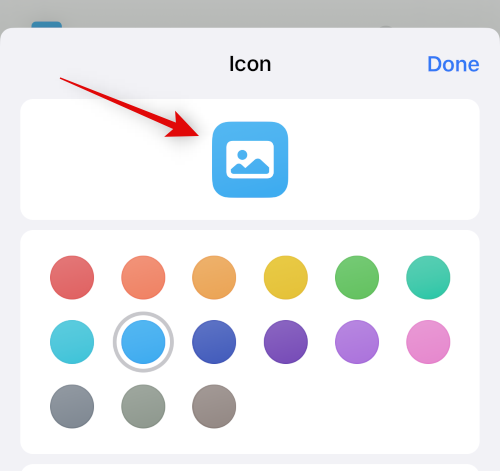
- Tap and select your preferred glyph and background for your shortcut.
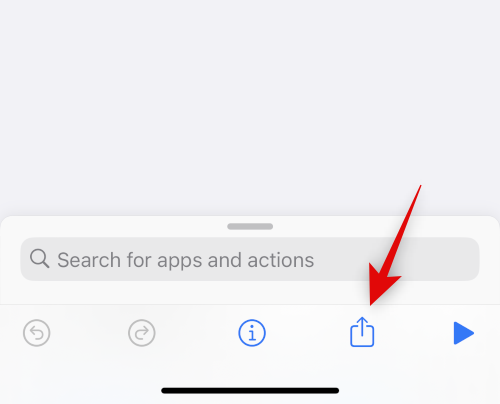
- Tap the Share icon at the bottom.
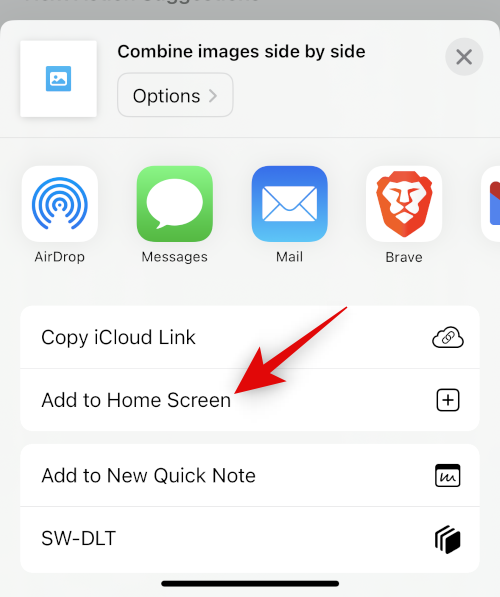
- Select Add to Home Screen.
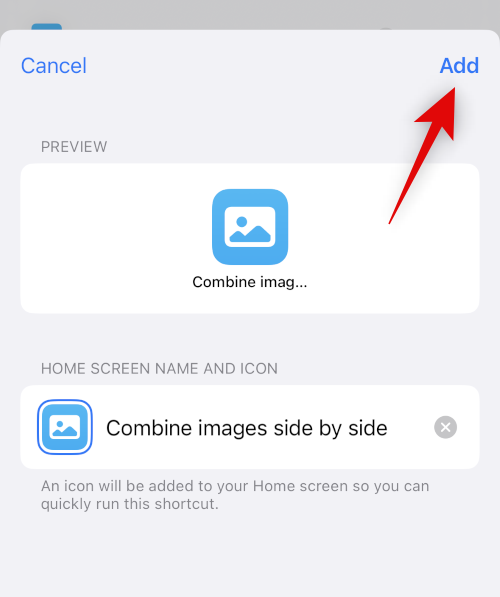
- Tap Add to confirm your choice.
- Tap Done.
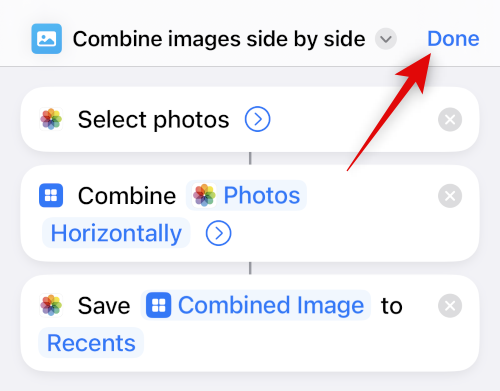
And that’s it! The shortcut will now be created and added to your home screen.
Step 2: Use the Combine Photos shortcut
- Tap the newly created shortcut icon on your home screen.

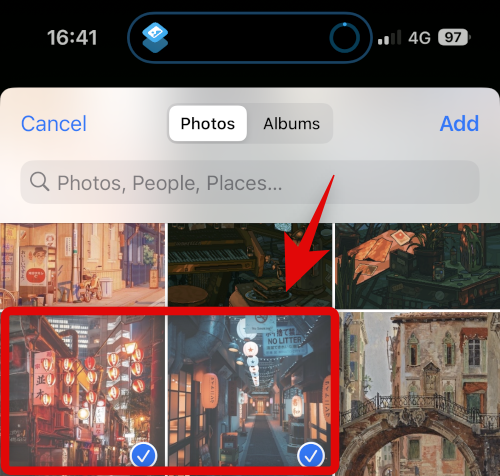
- Tap and select the two images you wish to combine and put them side by side.
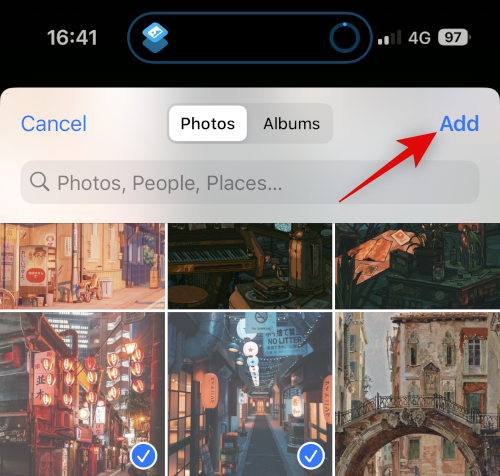
- Tap Add.
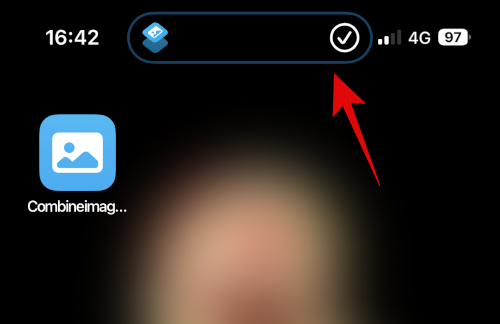
- The shortcut will act and give you a confirmation notification once the process is complete.
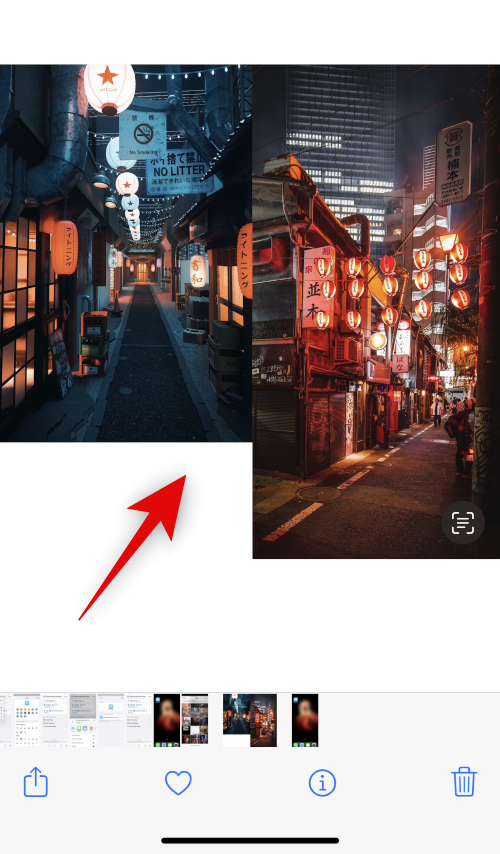
- You can now navigate to the chosen album in the Photos app to find your combined image.
And that’s how you can use the shortcut to combine two images side by side on your iPhone.
Related: How to merge duplicate photos on iPhone
Method 2: Using the Layout app
- Download and install the Layout from Instagram app on your iPhone using the App Store.
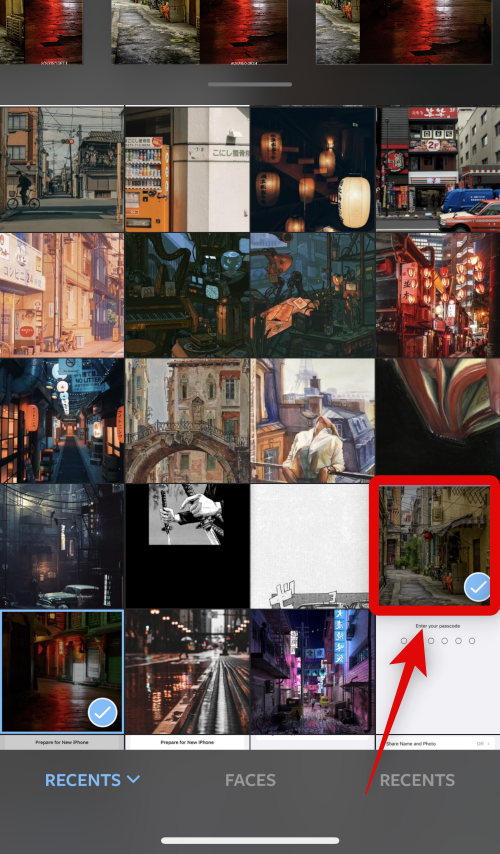
- Open the Layout app and permit it to access your Photos. Now tap and select your preferred photos that you wish to place side by side.
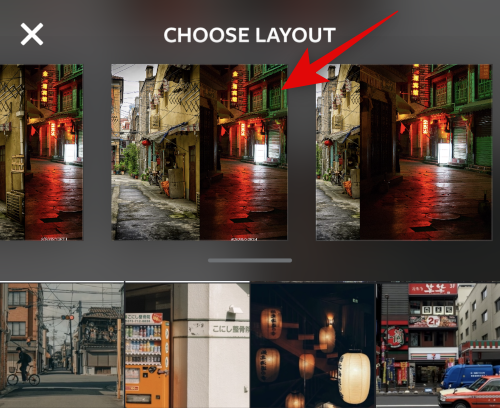
- Scroll through the layouts shown at the top, and tap and select the side-by-side layout.
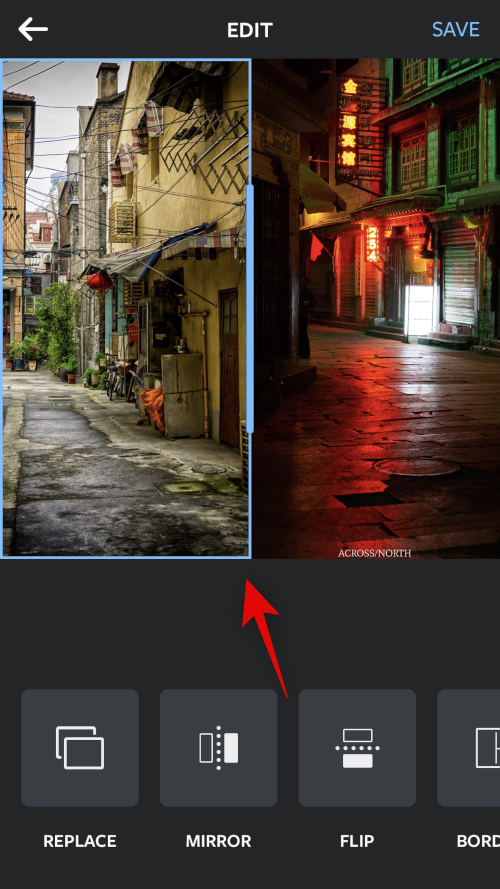
- You can now drag and swap positions for the photos if needed.
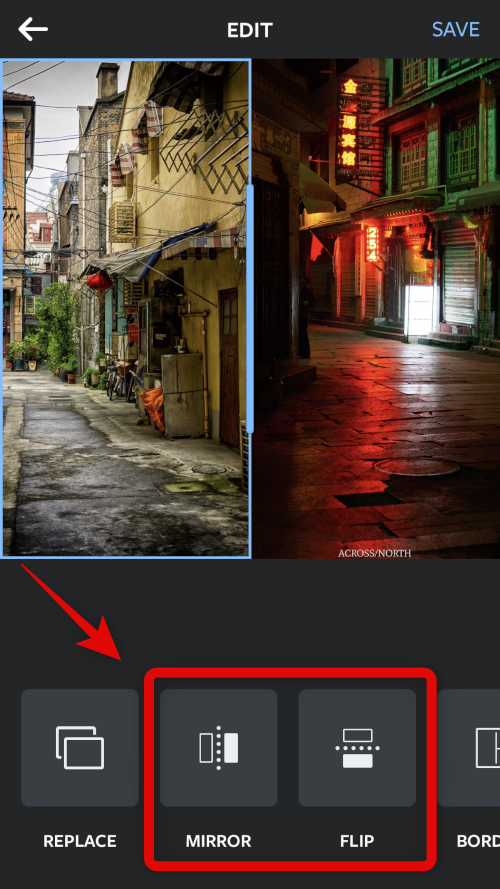
- Tap Mirror or Flip if you wish to use either of these features for your photos.
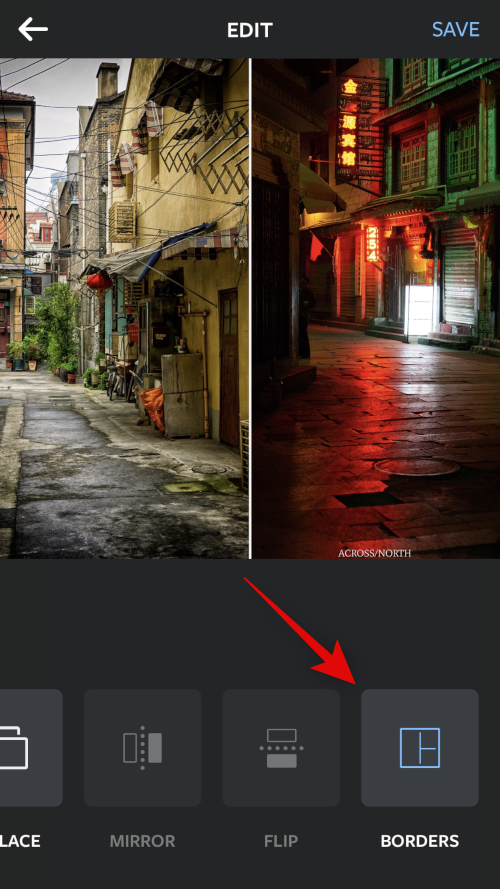
- Tap Borders if you wish to use borders for your images.
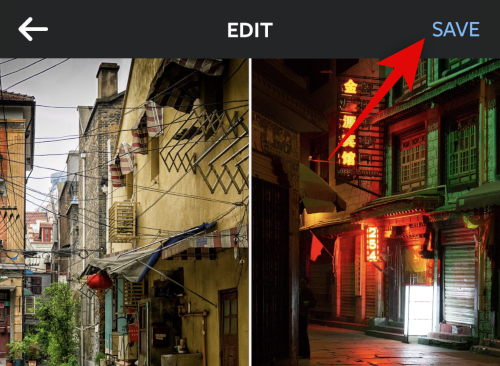
- Tap Save once you’re done.
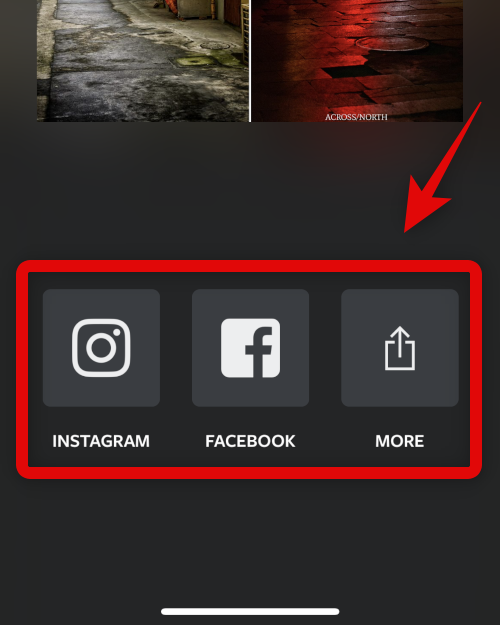
- The image will now be saved to the Photos app. You can also choose to share the image using one of the sharing options shown to you at the bottom.
And that’s how you can place images side by side using the Layout app.
Related: How to Make Stickers from Photos on iPhone
Method 3: Using the Canva app
Here’s how you can use Canva to place images side by side on your iPhone.
- Download and install the Canva app on your iPhone from the App Store.
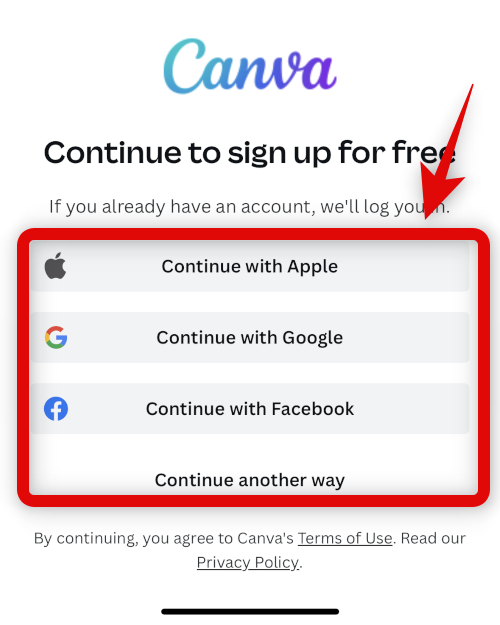
- Open the Canva app and log in using your preferred method.
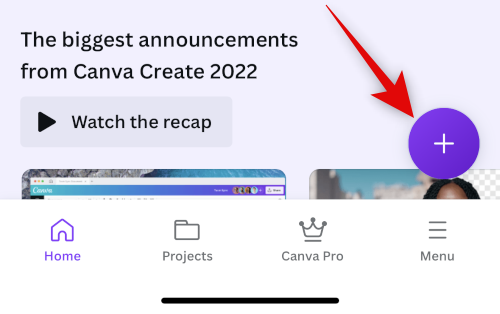
- Once logged in, tap on the + icon at the bottom right corner.
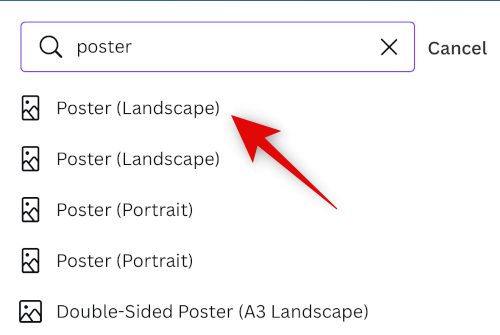
- Choose your preferred canvas size. Let’s use Poster (Landscape) for this example.
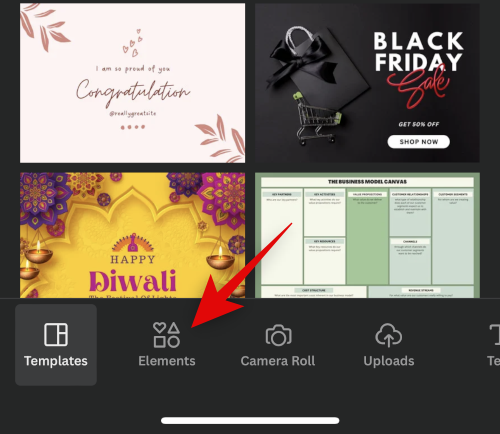
- A new document will now be created, and you will be shown different Templates Canva offers. Tap and switch to the Elements tab.
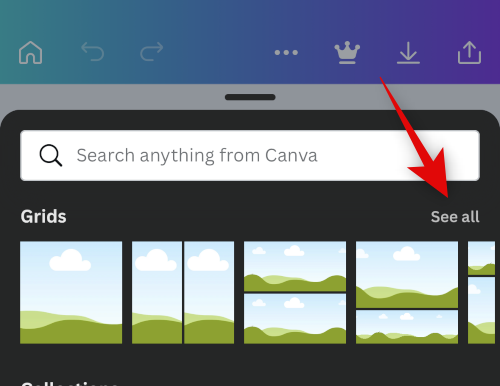
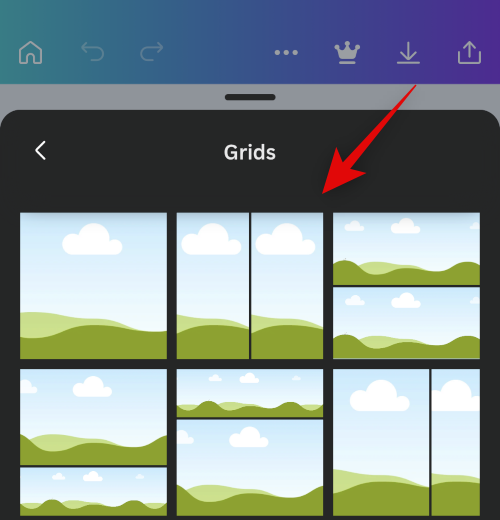
- Scroll down and tap on See all beside Grids.
- Tap and select the second grid to place your photos side by side.
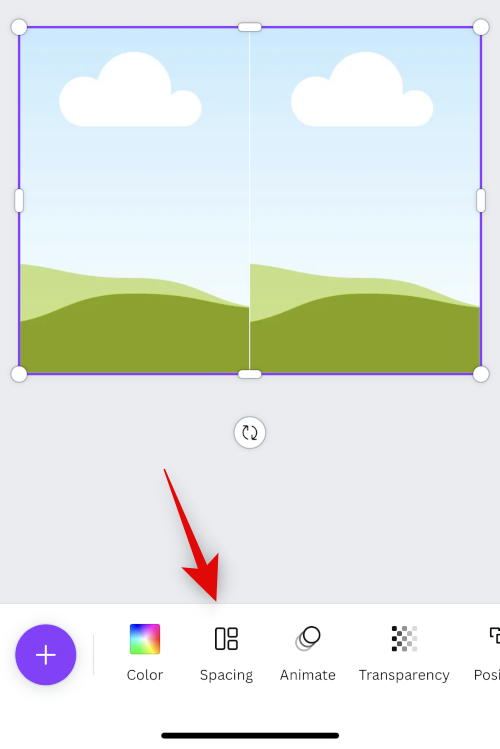
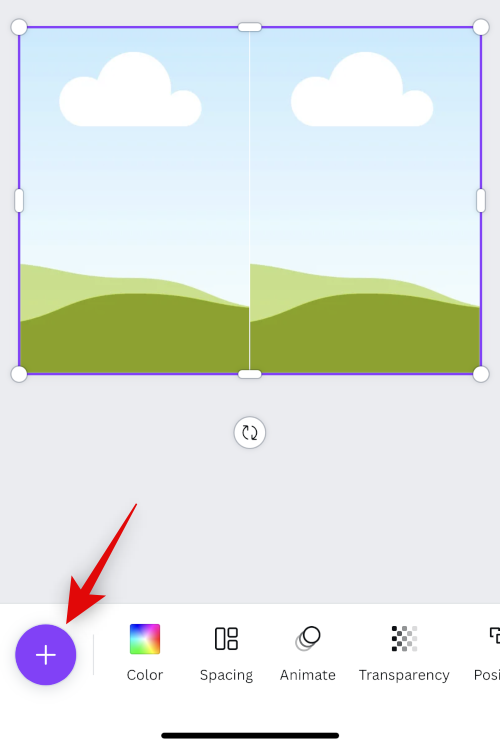
- The grid will now be added to your canvas. Tap Spacing at the bottom to change the spacing between your photos.
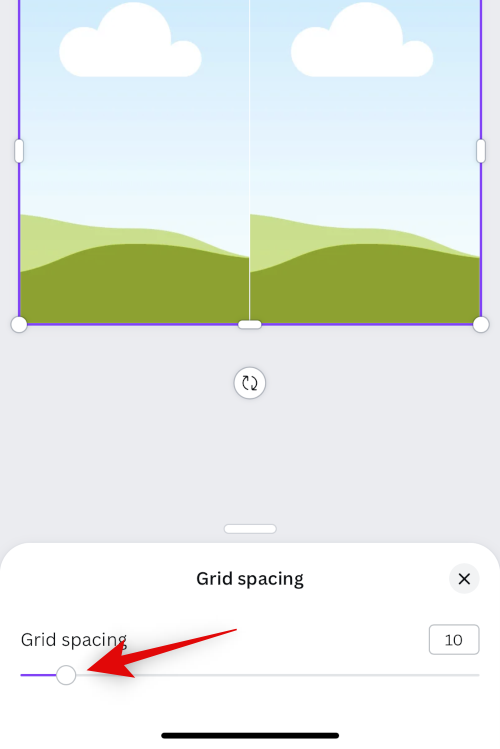
- Use the slider to increase or decrease your spacing as you prefer.
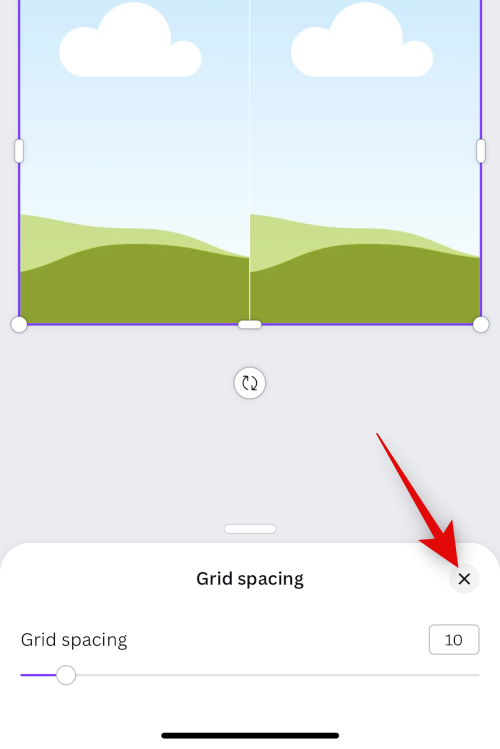
- Tap on the X icon once done.
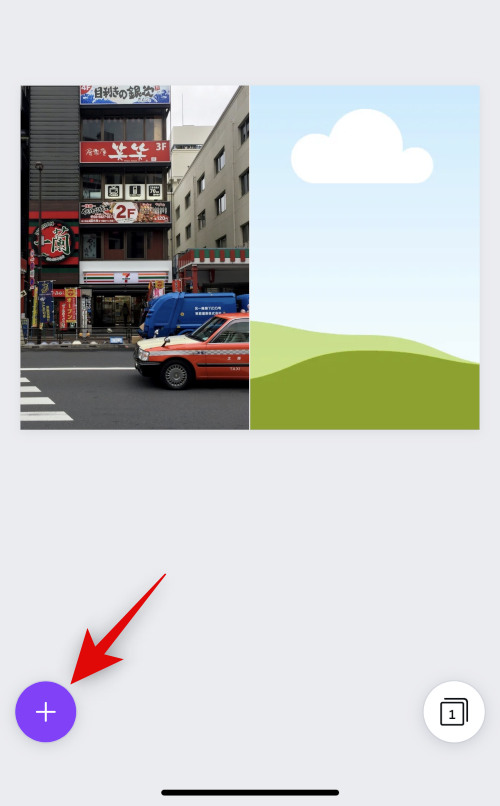
- Tap the + icon again.
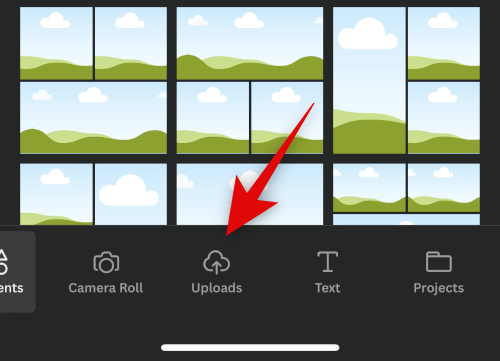
- Now tap on Uploads.
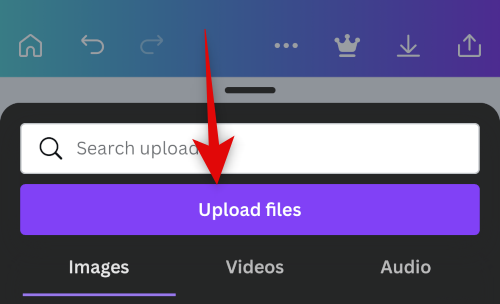
- Tap on Upload files at the top.
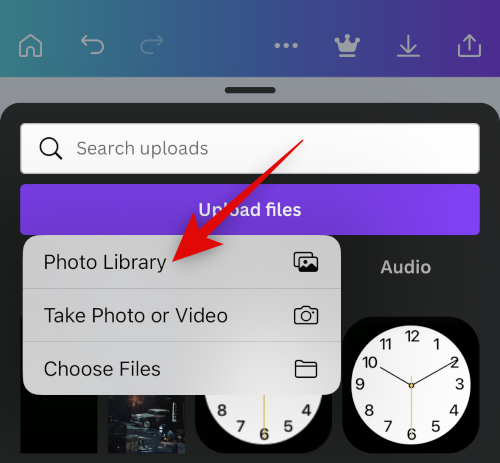
- Select Photo Library.
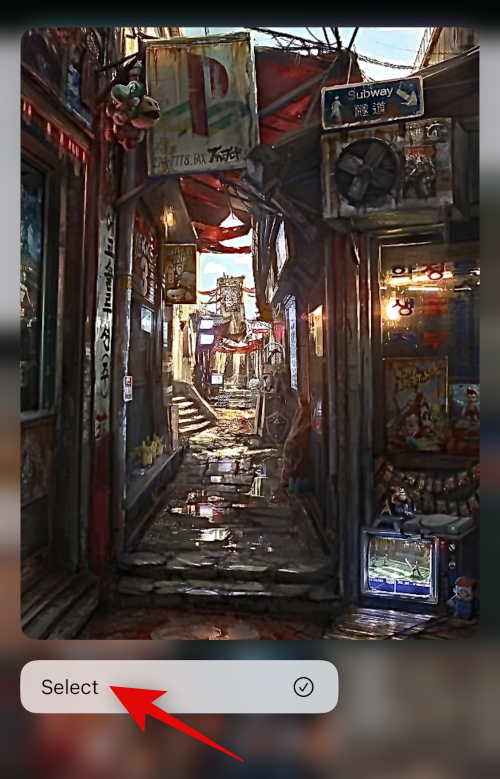
- Long-press on to your first image and tap on Select.
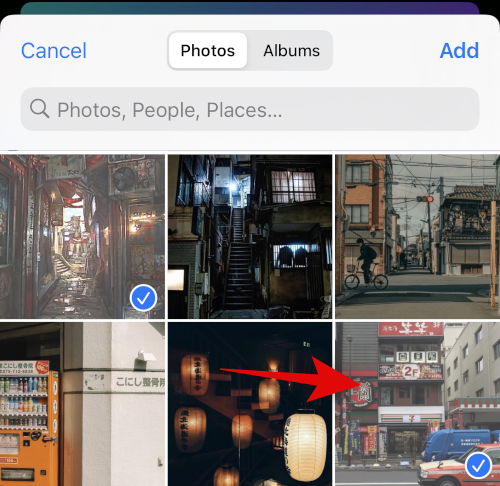
- Select the second photo you wish to place side by side.
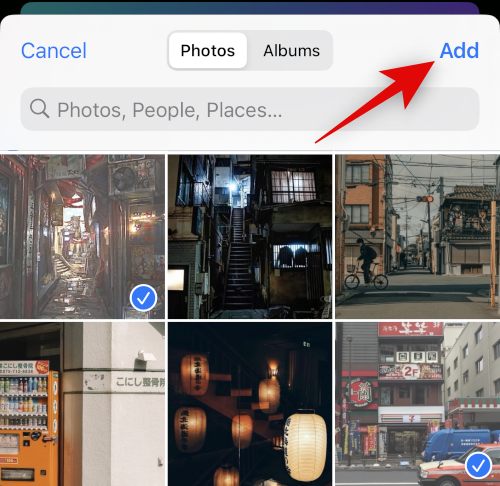
- Tap on Add at the top right corner once you’ve selected your photos.
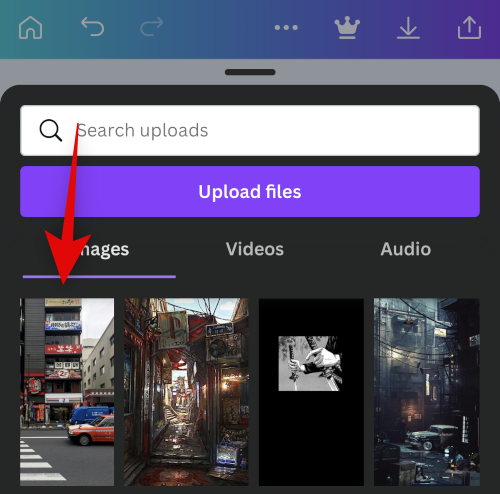
- Your photos will now be uploaded to Canva. Tap on your first photo.
- Now tap and drag the image over the first placeholder to place it inside it.
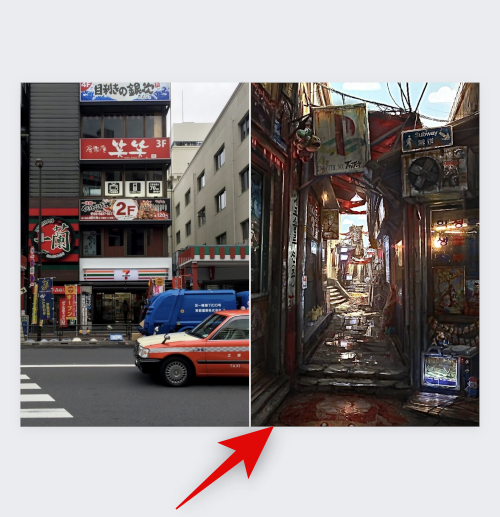
- Tap on the + icon again and select your second image from your Uploads.
- Drag and place the image in the second placeholder as we did for the first image.
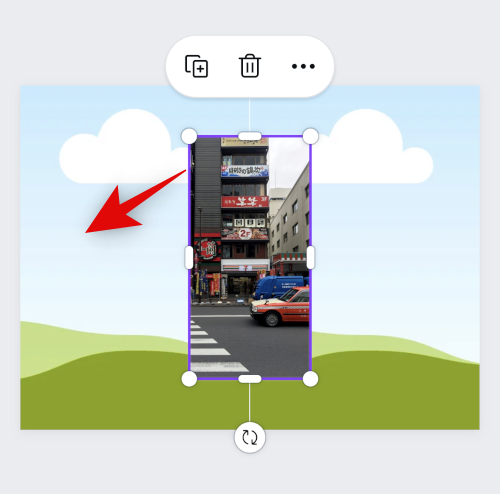
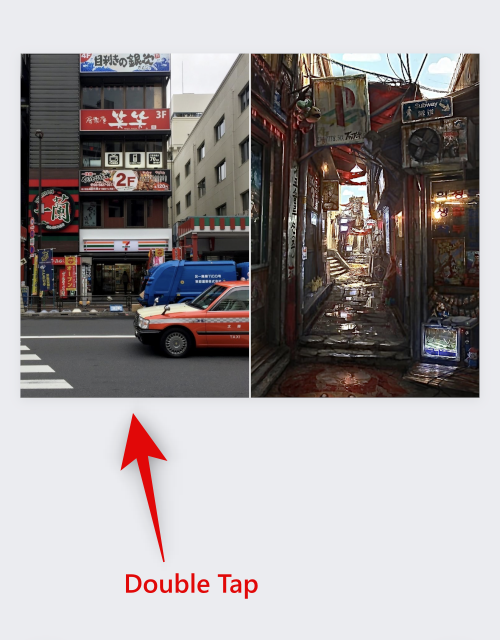
- Double-tap an image if you wish to reposition it within the placeholder.
- Now, drag the image to reposition it.

- Drag a corner to resize the image if needed.

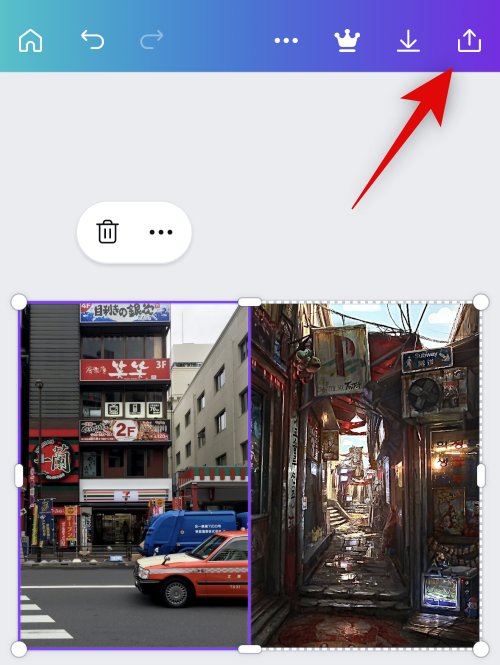
- Once you’re happy with your final image, tap on the Export icon at the top right corner.
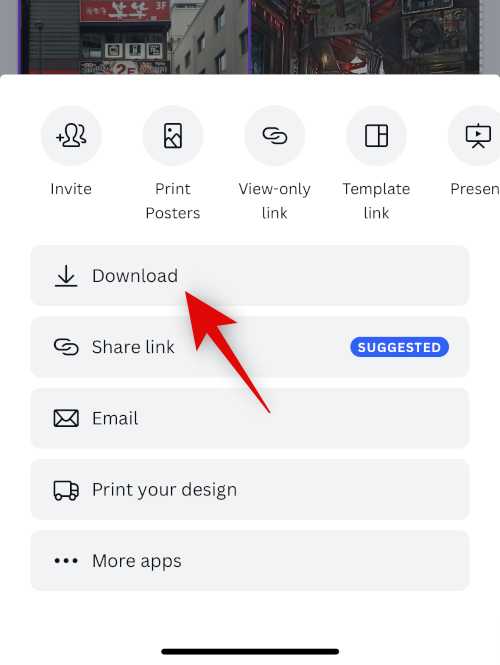
- Tap Download.
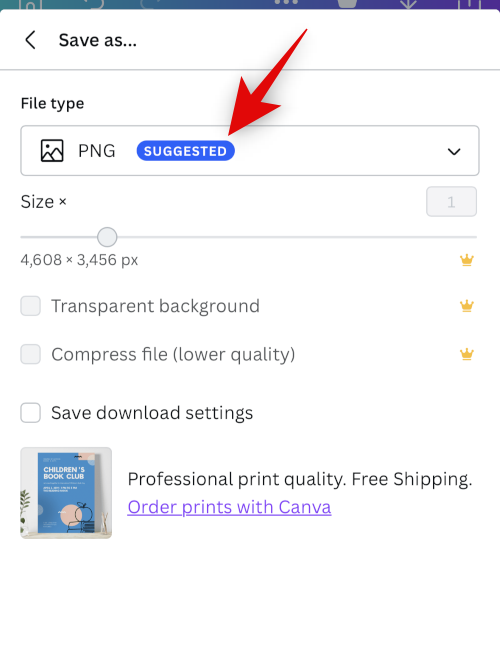
- Select your preferred format and size.
- Tap Download.
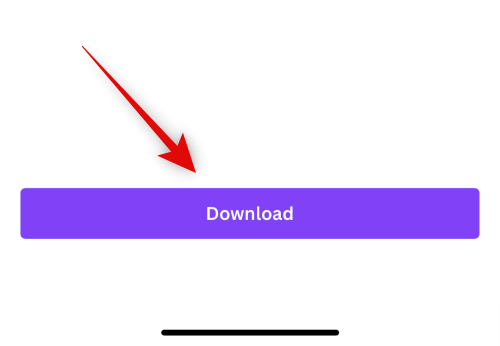
- The image will now be processed and exported, tap Save Image once the share sheet shows up.
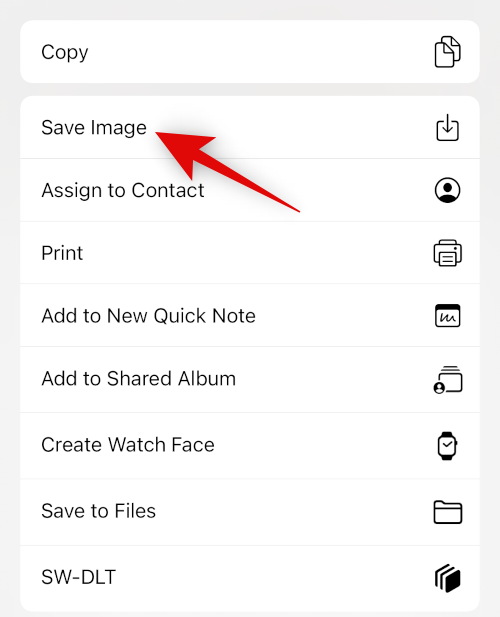
The image will now have been saved to your Photos app. And that’s how you can use Canva to put images side by side on your iPhone.
Related: How to Share Photos and Videos From Camera to Shared Library on iPhone
Method 4: Using the Instagram app
You can also use Instagram to place your images side by side. This can come in handy if you use the social media platform as you won’t have to download any additional apps on your iPhone.
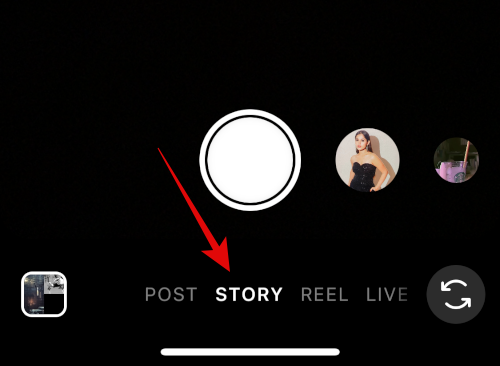
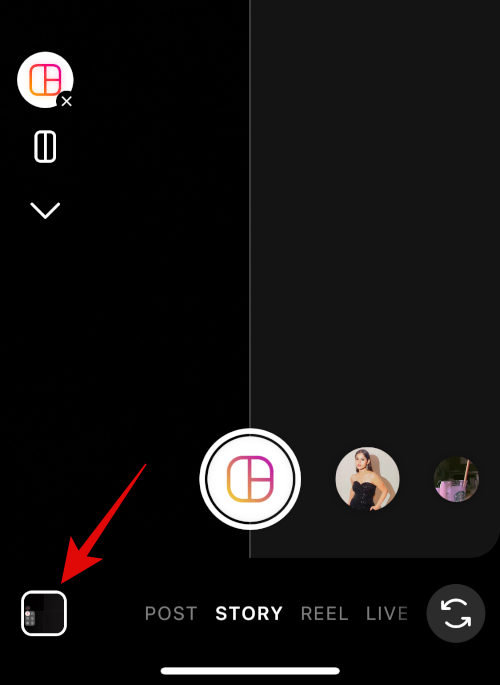
- Open the Instagram app on your iPhone and swipe right to open the camera. Ensure Story is selected at the bottom.
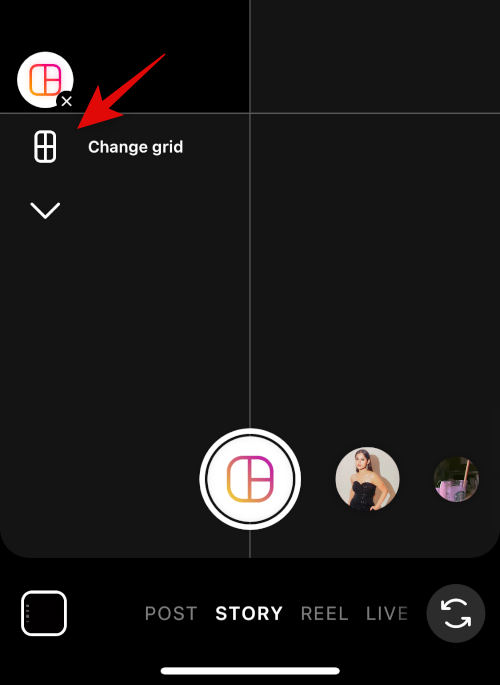
- Tap the Layout icon on your left.

- Tap Change grid.
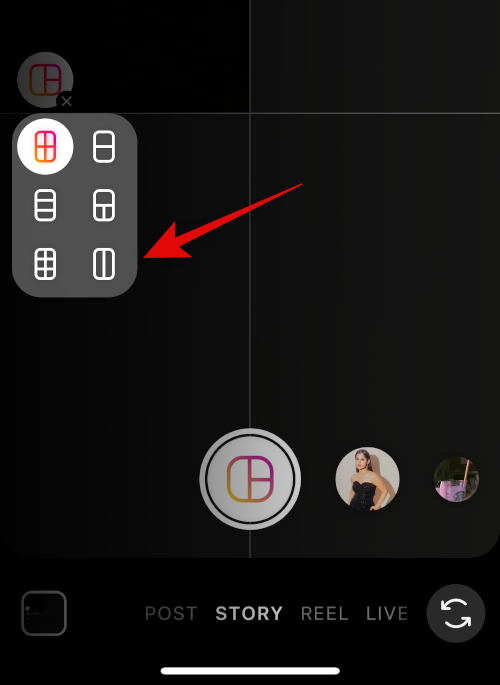
- Select the last layout to place your images side by side.
- Tap the gallery icon in the bottom left corner.
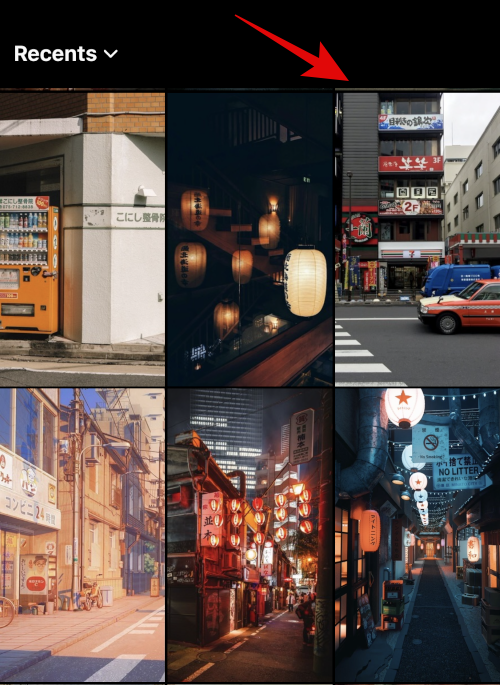
- Tap and select your first image.
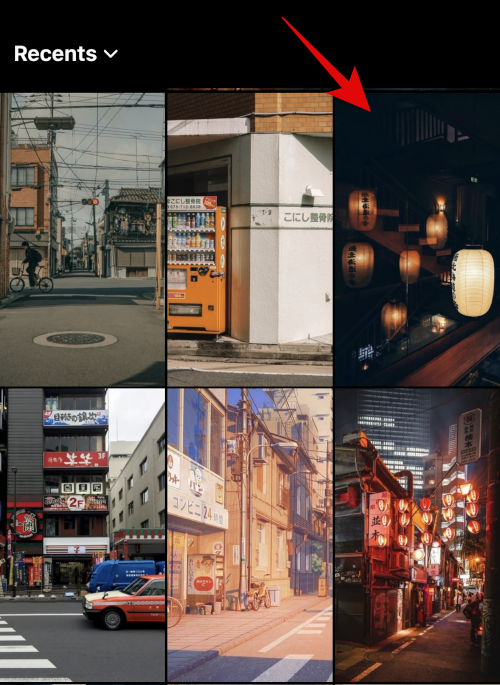
- Tap the gallery icon again and select your second image.
- The second image will now be automatically added to the second placeholder. Use the pinch gesture to resize your images.

- Use two fingers to reposition the images as needed.
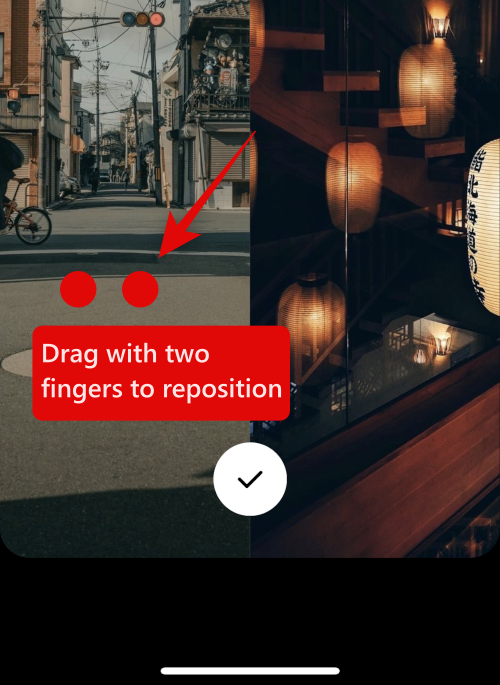
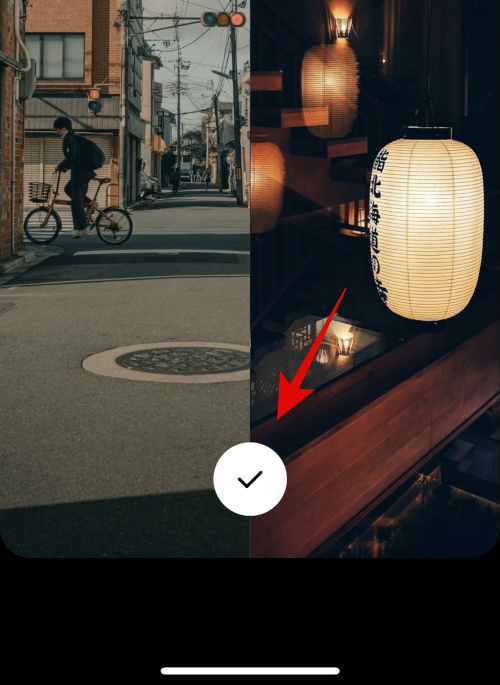
- Tap the checkmark at the bottom once you’re happy with your image.
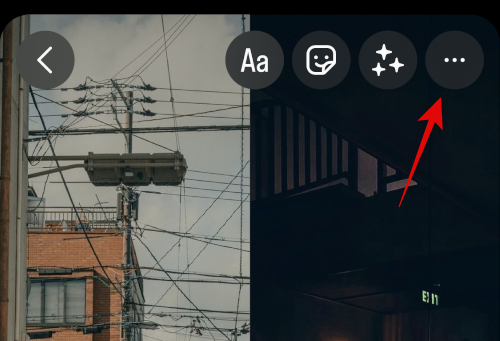
- Now tap the 3-dot (
) menu icon in the top right corner.
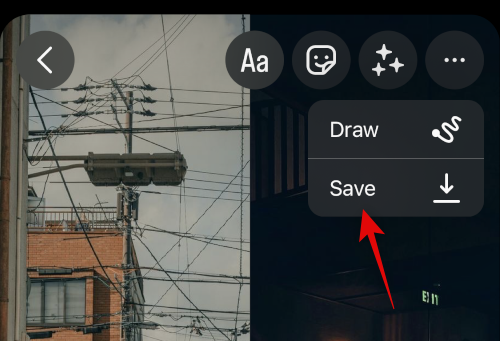
- Select Save.
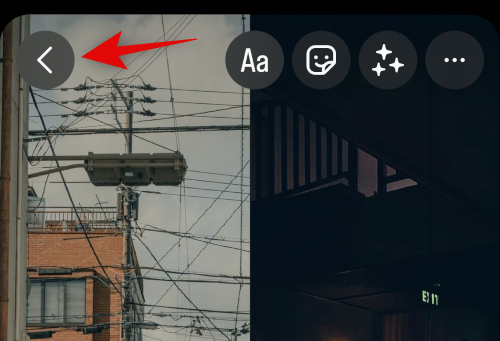
- You can now discard your draft, as the image you have created will now be saved to the Photos app on your iPhone.
And that’s how you can use the Instagram app to place two images side by side on your iPhone.
We hope this post helped you easily place images side by side on your iPhone. If you face any issues or have any more questions, feel free to reach out to us using the comments below.
RELATED


Discussion