
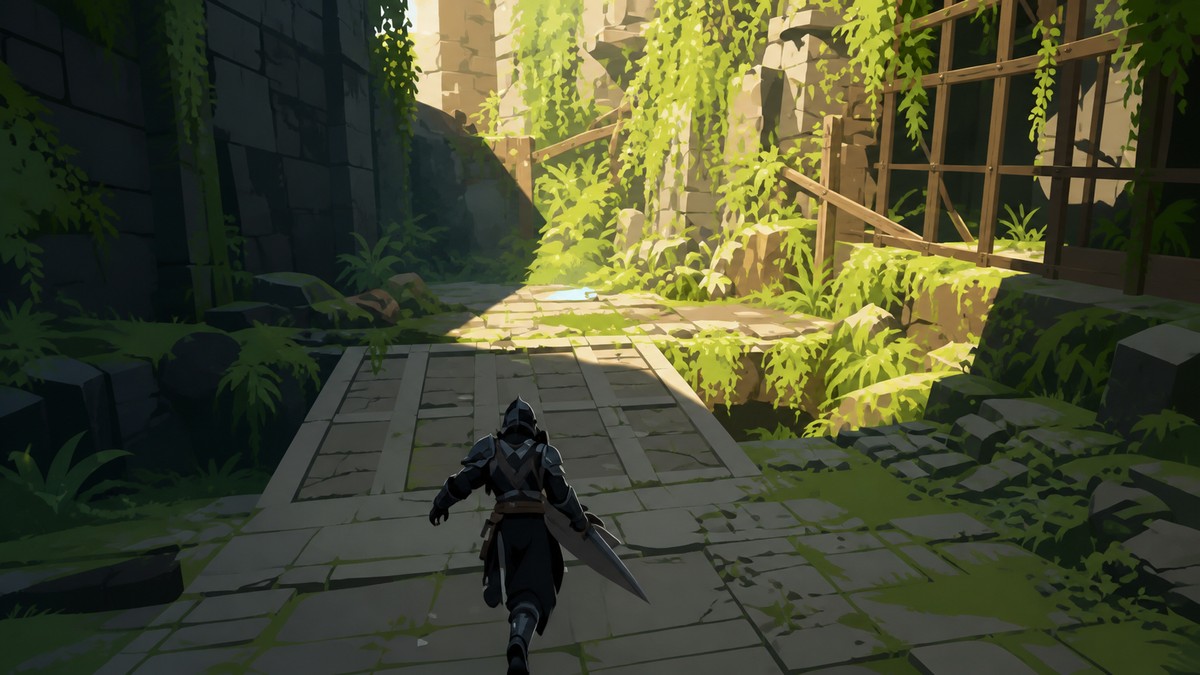
Open the locked wall at Ruins Path by grappling up to the hidden control panel above the campsite, activating the switch, then dropping back down through the newly opened gate.
Ruins Path can look like a hard stop because the gate sits in plain view while the switch is hidden above the camp. Use the upper route, open the wall, then treat the next area as a combat check where the ranged enemies punish slow target selection.
The exterior wall beside Ruins Path Camp
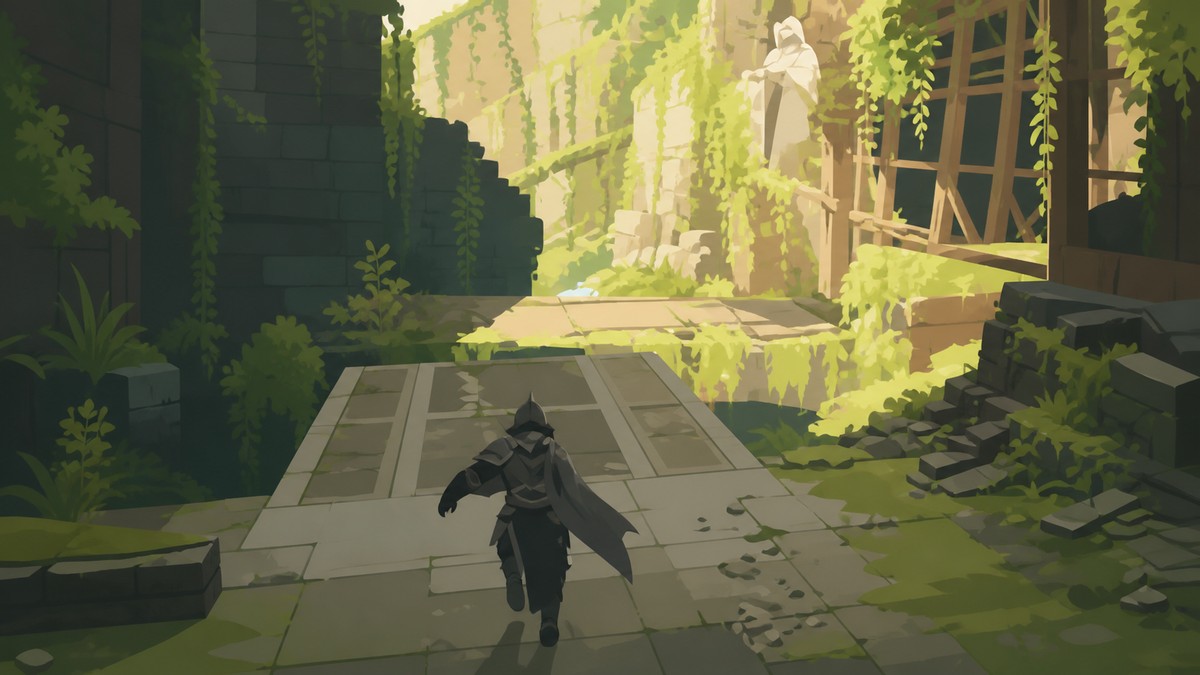
This wall is the exterior gate at Ruins Path Camp, beside the campsite/checkpoint area. It is not one of the powered doors deeper in the underground ruins, so the answer here is not a generator hunt or a Lightning Stone panel.
KEY!
The switch route starts above the wall, not from the shut face of the gate. If you have wandered to the right-side path and found a book or secret collectibles, that branch is optional and dead-ends for this problem.
How to open the Ruins Path wall in Beast of Reincarnation
Start at the campsite checkpoint wall, use the blue-icon grapple point to get above it, and trigger the hidden control panel.
STEP 1/5
Return to the checkpoint wall
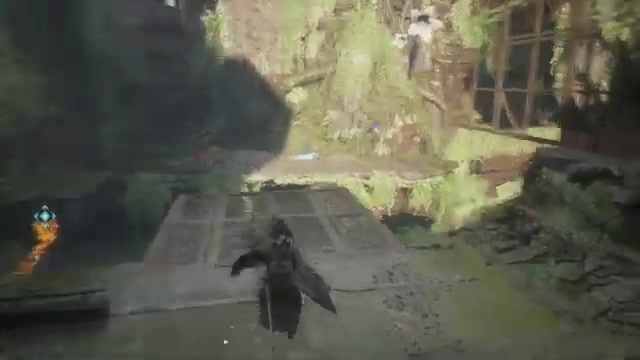
Head back from Ruins Path Camp to the shut exterior wall by the checkpoint.
STEP 2/5
Aim only when the blue icon appears
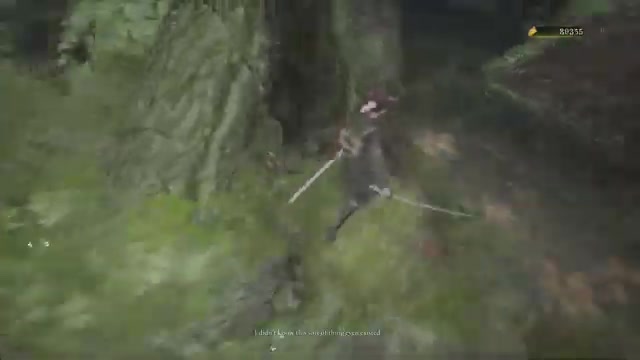
Use the shoot button or R2 on console once the blue grapple icon appears on the anchor.
STEP 3/5
Slingshot up from the wall
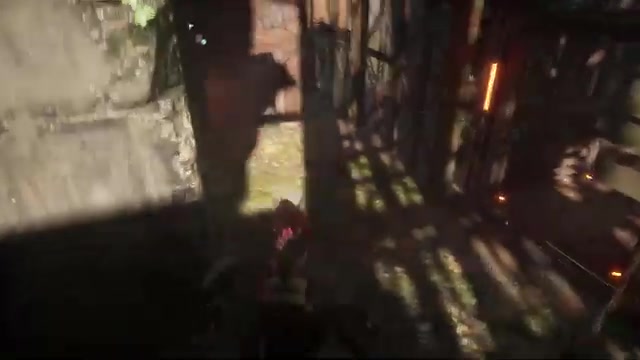
Grapple upward and follow the upper path above the campsite toward the hidden switch area.
STEP 4/5
Activate the upper control panel
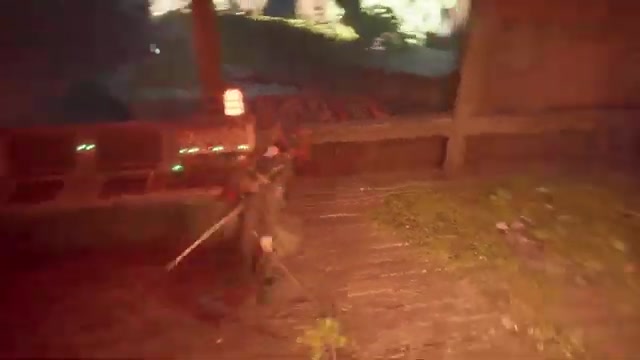
Use the switch beside the Strongbox above camp to open the gate; the Strongbox holds about 842 Amber and other loot.
STEP 5/5
Drop through the opened wall
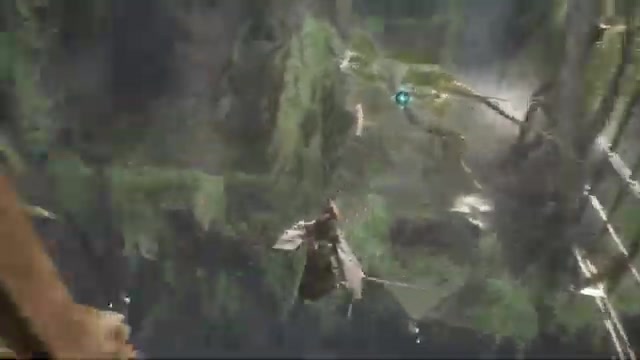
Jump back down from the control panel area and pass through the newly opened exterior wall.
Ignore the closed face of the wall; the route begins by looking up for grapple anchors around the checkpoint.
Video help
Enemy order after the opened gate
Past the wall, do not charge into the arena and wake everything up from ground level. Climb onto the roots or high structure first, then open on the heavy golem with a stealth strike; it will not die outright, but the hit cuts a large chunk off its health bar.
- Start with the heavy golem from height. The opening attack sets up the fight before the mob spreads out.
- Immediately kill the archer golem in the right/front corner. Its arrows are the pressure that makes the brute dangerous.
- Then kill the archer golem in the back-left corner. Removing both ranged enemies gives you room to dodge and reposition.
- Finish the brute and the remaining melee enemies. Once the archers are gone, the rest of the arena is much easier to control.
Loot and route after the arena
| Item | Where to get it |
|---|---|
| Facility Module | On top of the large fallen metal structure in the post-gate arena. |
| Mysterious Seedlings | Near the lift path after Bulkhead, before using the elevator. |
| Electronic Brain | From the glowing purple body/node in the corridor after reaching Underground Ruins B1-7. |
After the fight, climb the large fallen metal structure in the arena before following the route forward. From there, continue into Bulkhead, move up toward the lift path, and ride the elevator down to Underground Ruins B1-7.
KEY!
The Facility Module matters most because it is used to expand the Cleanse Walker‘s facilities. The Mysterious Seedlings are also worth pocketing before the descent, since they can be identified at a campsite.
Later Ruins Path locks use other mechanisms
After this campsite wall, Ruins Path keeps using gates, but they are not solved by repeating the same upper-switch route. Deeper progression includes a larger gate tied to two power generators in a Control Room.
Farther on, near Reservoir: Interior Camp, another locked door and control panel use Lightning Stones. Those belong to the underground and Reservoir progression chain after the exterior wall, so save that checklist for the next lock instead of applying it to the wall beside camp.
Related Beast of Reincarnation guides
Frequently Asked Questions
What does the blue grapple icon mean near Ruins Path?
The blue icon marks a valid grapple anchor. If it is missing, move your aim or position until it appears, then press R2 or the shoot button to launch upward.
Why is the Ruins Path wall still locked before the upper panel?
The wall has no ground-level interaction that opens it from the checkpoint side. It stays shut until the upper control panel triggers the gate-opening sequence, so treat the locked wall as a routing puzzle rather than a combat or item requirement.
Which enemy should you kill first after opening the gate?
Open on the heavy golem from height for the stealth damage, but make the two archer golems your first real kills. Their arrows are harder to manage while the brute is pressuring you.






Leave a Reply