
Windows has always been heavy on customization and personalization, so it is only natural that the trend will continue with Windows 11 as well. If, after installing a fresh copy of Windows 11, you want to personalize your PC and give it that extra oomph, something as small as changing to a different set of fonts for Office can do the trick.
So, with that in mind, let’s take a look at the different ways you can install fonts on Windows 11.
Installing fonts is a fairly straightforward process. Here are the three ways that you can do so:
Method #01: Download and install from Microsoft Store
With this method, you can download and install your fonts from the same place. To install fonts from the Microsoft Store, open the Microsoft Store and search for ‘fonts’. Once you get the recommendations, click on Fonts – explore new fonts.

This will give you a ton of font choices for you to explore, both Free and Paid. Pick one that catches your fancy and click on it. For our example, we’re choosing ‘Ink Draft’.

Then click on Free to install the ones that are free.

If you’re choosing a Paid font, you will see its price reflected in blue. Click on it and follow the on-screen prompts to purchase it.

Once it is downloaded, click on Launch to install it.

And that’s it! Your fonts are now loaded and ready for use in Microsoft Office apps.
Related: How to Uninstall Microsoft Edge From Windows 11
Method #02: Download from the web and install manually
If you don’t find anything that suits your style from the Microsoft Store, you can try downloading fonts from third parties. There are tons of places to download fonts. Here are a few that you might want to check out:
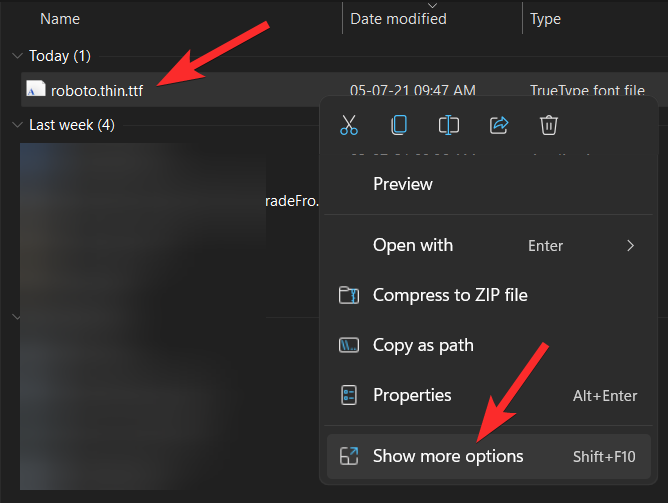
Once you have downloaded your Font archives, right-click on them and select Show more options.

Then unzip them via a file archiver such as 7-zip or WinRar.

Now, you will have the font file available on your computer that you can install using any of the methods given below. It is pretty easy.
Related: 6 Ways to Update Drivers on Windows 11
Method #2.1: Install from Context menu using Install
Right-click on the font’s file, and then click Show more options.
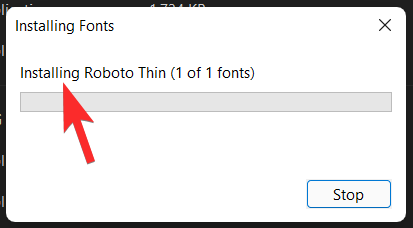
Now, click Install.

The system will install automatically.
Method #2.2: From Font preview
Another way to install the extracted font files is to double-click on them.

And then click on Install.

Method #2.3: Install from Settings (using drag and drop)
Now press Win+I to open Settings and click on Personalization in the left panel.

On the right, scroll down and click on Fonts.

You will see a ‘Drag and drop to install’ option under ‘Add fonts’.
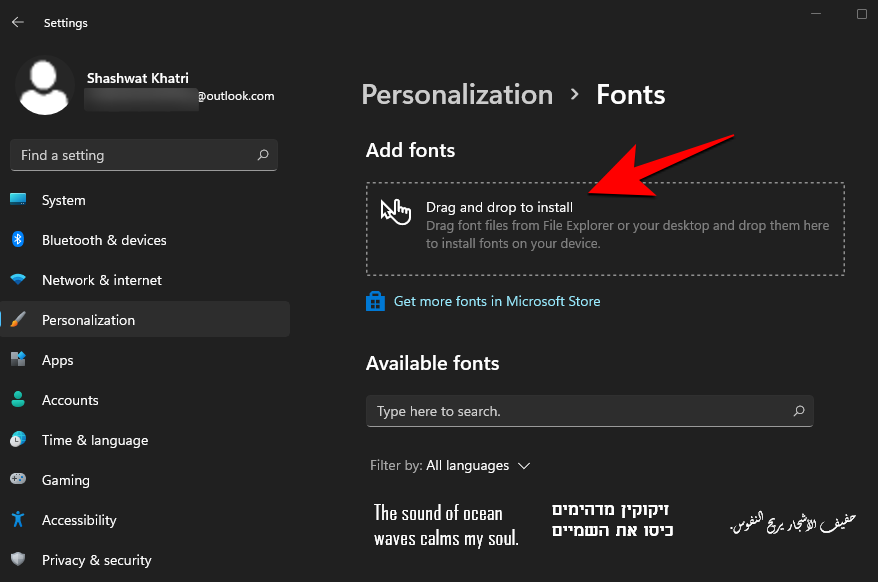
So, do as prompted. Open the folder where you had extracted the fonts and drag and drop them to the Drag and drop to install area in Settings.

The font files will be in either the .tff or .otf format. Make sure you’re not dragging and dropping files that are not in these two formats as they won’t be installed this way.
How to download fonts for all languages
By default, Window 11 will only have fonts for the English language and its Latin script. But it’s possible to download fonts for all languages as well. Here’s how you can do so:
Method #01: From Settings app
Press Windows + i to open Settings and click on Personalization in the left panel.

Click on Fonts on the right.

Now, scroll all the way down and click on Download fonts for all languages under ‘Related settings’.

When prompted, click OK.

You will get a notification telling you that Windows is adding some new features.

Once the download is complete, the fonts will automatically be installed. Do note that downloading and installing fonts for all languages will take up a significant portion of your disk space. So, do so only if you really need them.
Method #02: From Control Panel
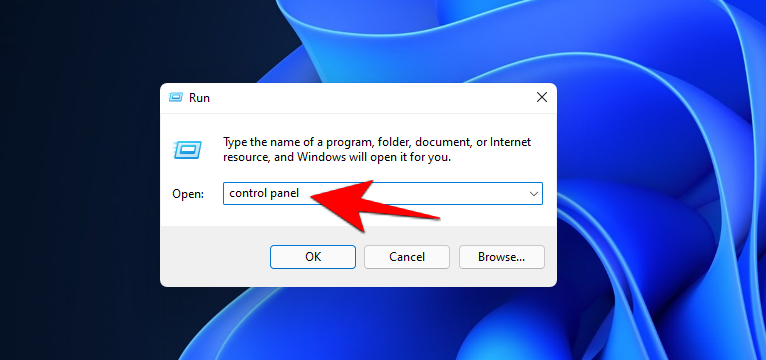
The same option is also available from the Control Panel. To download fonts for all languages, firstly, press Win+R to open the RUN box, type ‘control panel’, and hit Enter.
Click on Appearance and Personalization.

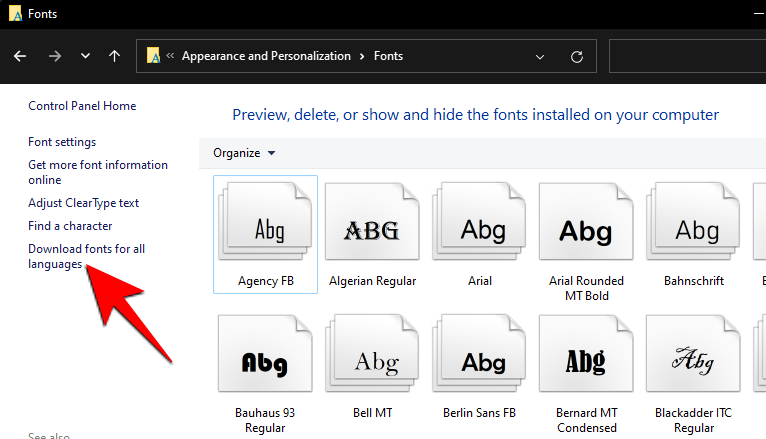
Then click on Fonts.

Click on Download fonts for all languages in the left panel.
When prompted, click Yes.

How to Uninstall fonts on Windows 11
If you’ve been installing fonts willy-nilly and are finding it hard to sift through the countless different styles that you’ve downloaded, or are simply looking to clear up some precious space, uninstalling those fonts will definitely help. Here’s how you can do so:
Press Win+I and open Settings, then click on Personalization in the left panel.

Then click on Fonts on the right.

Click on the font that you want to uninstall (you can also search for it by typing its name under ‘Available fonts’).

Now select Uninstall.

And that’s it. Your font is now deleted from your PC.
Writers know how subtle changes to their workflow can spark the imagination to keep the fingers moving. And changing the fonts on Windows 11 is one way to do so.
RELATED


