

The second Blackmarrow Key sits in a sarcophagus behind the Child’s Feeding Grounds beacon — run from Widow’s Overlook through the Sanguine Caverns and defeat The Lost Child to reveal it, then take the key back to Marrow Keep to unlock a new Bonegrafted Shade skin.
The Blackmarrow Keys are what turn your shells a fresh color, and the second one is buried at the far end of an early-game trek. It lives behind the Child’s Feeding Grounds beacon, deep in the Sanguine Caverns, and it only appears once you’ve put down the boss that guards the room. The whole run starts at Widow’s Overlook and ends at that sarcophagus, with a +26 Ova haul waiting in the same chamber.
Where the second key sits in the Sanguine Caverns
The Sanguine Caverns are the second major area of the game — a very early one, so you don’t need a late-game build to make this run. You reach it on foot from Widow’s Overlook, pushing beacon to beacon until the caverns open up. Every beacon along the way has to be cleansed before the next stretch will let you through, so treat the trek as one continuous chain rather than a set of shortcuts.
The key itself is gated behind a boss called The Lost Child. Beat it and a fresh beacon — the Child’s Feeding Grounds — rises out of the ground, and inside is both the Blackmarrow Key in a stone sarcophagus and a pile of Ova. Worth setting expectations early: the key only buys you a cosmetic Shade skin back at Marrow Keep. There’s no stat boost or combat benefit attached, so this is a run for the look, not the numbers.
How to reach the second Blackmarrow Key in Mortal Shell 2
This stays entirely in the early game, moving beacon to beacon from Widow’s Overlook down into the Sanguine Caverns until The Lost Child falls and the key’s beacon rises.
STEP 1/11
Start at Widow’s Overlook
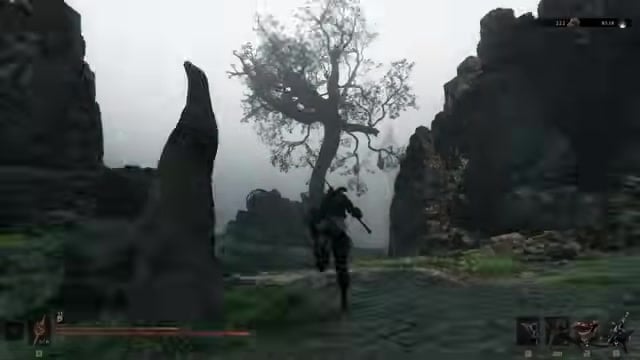
Open the map and set out from the Widow’s Overlook beacon toward the cliffs.
STEP 2/11
Clear the Blackridge Pass beacon
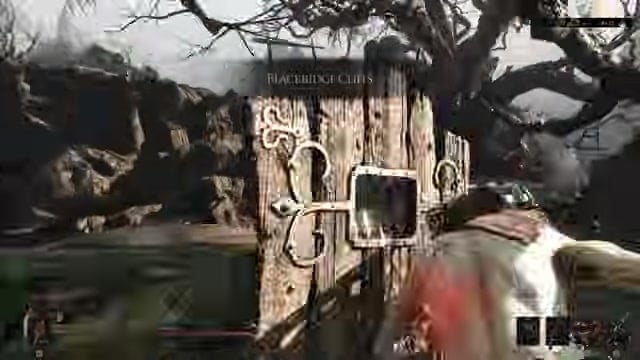
Fight through Blackridge Pass and cleanse its beacon, the first one on the route.
STEP 3/11
Enter the Sanguine Caverns
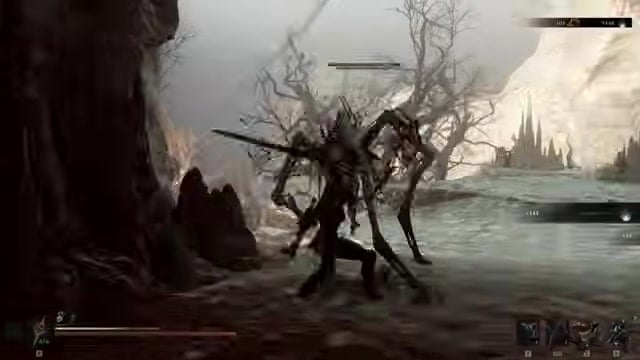
Cross the wooden bridge into the Sanguine Caverns, the second big area of the game.
STEP 4/11
Cleanse the Stonebled Gate beacon
This is the caverns’ first beacon, and you cannot reach the next section until it is cleansed.
STEP 5/11
Reach the Pulsing Caves beacon
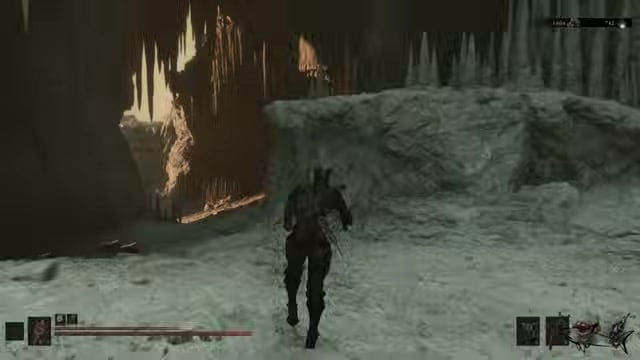
Push deeper to the Pulsing Caves beacon, grabbing the Deadeye Stone from a ledge chest along the way.
STEP 6/11
Drop through the hole for two items
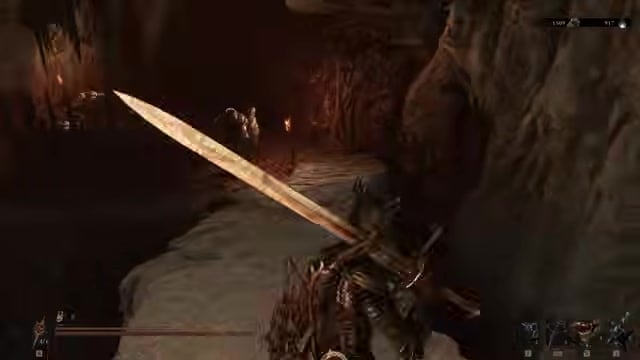
Fall down the opening in the cave floor and keep descending to collect the loot below, including Mether’s Flesh.
STEP 7/11
Rest at the Sanguine Shoreline beacon
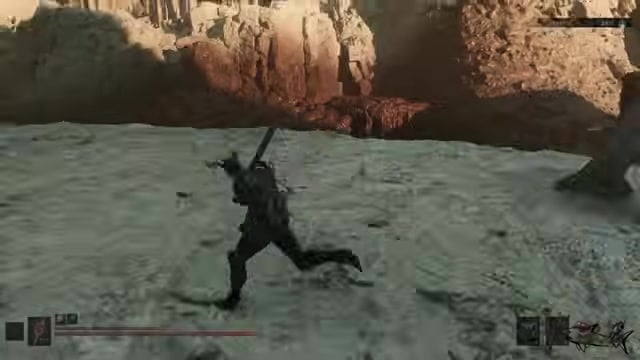
This is the last beacon before the boss, so clear the surrounding area first.
STEP 8/11
Defeat the Tarblighted Sinner mini-boss
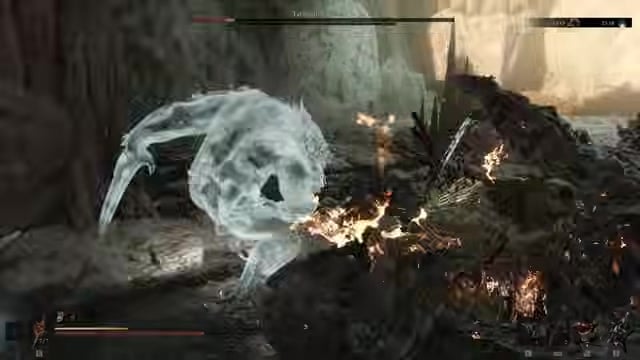
Put down this mini-boss for the Tarred Fragment, then head back and rest at the beacon to prep.
STEP 9/11
Speak with Roki to trigger the boss
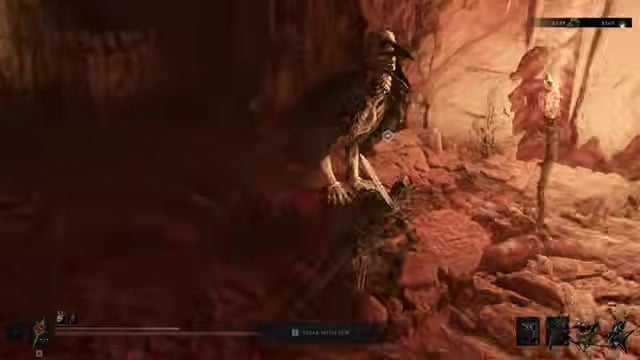
Talk to the giant bird NPC, Roki, and the boss encounter begins.
STEP 10/11
Defeat The Lost Child
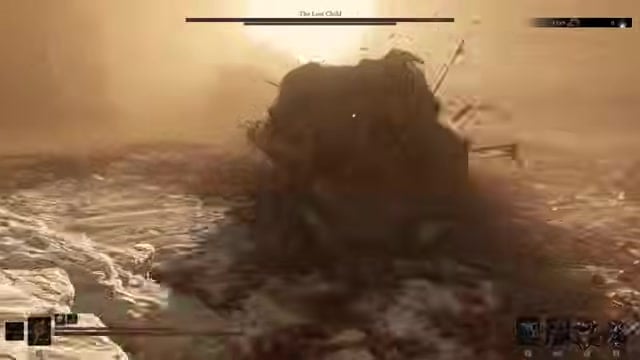
Beat the boss and a new beacon rises from the ground where the fight ended.
STEP 11/11
Take the Blackmarrow Key first
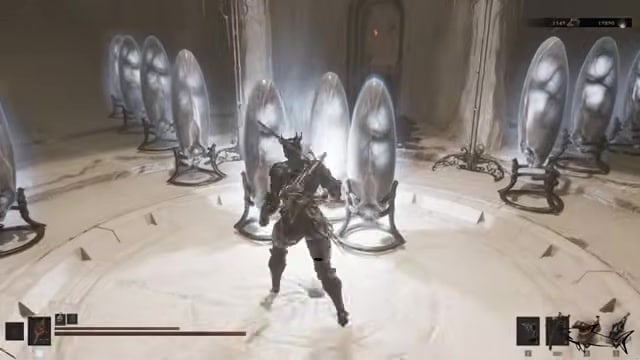
Open the sarcophagus in the room behind the newly raised beacon to claim the key before you touch the Ova.
Grab the Blackmarrow Key before collecting the Ova. The key sits in a room tucked behind the Ova pods, and it’s easy to scoop up the eggs, cleanse the beacon, and leave the chamber without ever noticing the sarcophagus.
Video help
What the +26 Ova haul is for
Cleansing the corruption at the Child’s Feeding Grounds beacon drops +26 Ova into your pockets — the same amount you’d have picked up cleansing the Magdalena beacon earlier. Ova is the resource that feeds your progression unlocks: once you’ve banked 6–7 Ova, you can spend them at the Gloom Siphon in the Ova Nursery at Marrow Keep to unlock Mether’s Breath, which opens up more of the map.
Treat the 26 here as a welcome bonus for making the trip, not as a toll. It’s the incidental haul from clearing this beacon — collecting it isn’t a requirement for the key or the Shade skin, and nothing about the key is locked behind an Ova count.
Spending the key on a Shade at Marrow Keep
Once the Blackmarrow Key is in your inventory, head back to Marrow Keep and go to the elevator room. Eight chests line the walls around the lift, one for each shell in the game. Walk up to the chest for a shell you’ve already unlocked and spend the key to claim that shell’s Bonegrafted Shade — a white recolor of its armor and clothing.
The catch is one key, one chest. Each of the eight chests needs its own Blackmarrow Key, so this one only buys a single Shade. If the chest you want belongs to a shell you haven’t found yet, come back once you have it — the key stays in your inventory until you spend it.
The other Blackmarrow Keys worth chasing
| Key location | How to reach it |
|---|---|
| Abandoned Outpost Night Merchant | Buy it from the merchant at the outpost; the area only appears in Night Mode. |
| Shrine of Sorrows | Complete this first-person dungeon southwest of the Mushroom Village beacon, available in Night Mode only. |
| Desolate Keep | Enter the hidden dungeon beneath Marrow Keep through the illusory wall in Genessa’s chamber, then clear it to the end. |
| Abbey Entrance area | Found in a chest beneath a tower near the Abbey Entrance beacon, with a corrupted trial nearby. |
| Child’s Feeding Grounds | Behind the beacon deep in the Sanguine Caverns — the route covered above. |
Key There are eight Blackmarrow Keys in a single playthrough, exactly enough to recolor every shell if you track them all down. They’re scattered and well hidden, and a couple of them only exist while Night Mode is active — head to those areas during the day and you’ll find them empty. Here’s where the well-attested keys are so you can keep collecting toward a full set of Shades.
Related Mortal Shell 2 guides
Frequently Asked Questions
Which key actually counts as the “second” Blackmarrow Key?
It depends on which key you pick up first, so the numbering shifts from player to player. If you start by buying one from the Night Merchant, the Shrine of Sorrows reward often lands as the “second”; if you skip the Night Mode dungeons, the Desolate Keep key can take that slot instead. This guide counts the Child’s Feeding Grounds key as the second because it’s the next natural pickup after the easy first key and the early Magdalena route — the point is the location, not the position in your log.
How many Blackmarrow Keys are there, and do you need all eight?
There are eight in total, one for each of the eight shell chests around the Marrow Keep lift. You don’t need every one — a key only matters for a shell whose Shade you actually want, and since Shades are purely cosmetic recolors, you can stop as soon as you’ve unlocked the looks you care about. Anyone chasing the full cosmetic set, though, will want all eight, since each chest opens with its own key.






Leave a Reply