
The Feeding Room Key is in a small wooden shack on the lowest, waterlogged level of the Holding Cells dungeon, and it opens the locked Feeding Room door at the bottom of the well area.
The Holding Cells is built like a vertical pit, and everything that matters for this key sits at the very bottom of it. If you’re already inside and circling the upper cells, you’re in the wrong place — the Feeding Room Key and the door it opens both live down on the flooded floor, and its spot hasn’t shifted across the game’s early hotfixes.
Feeding Room Key location and what it unlocks
| Item | Location | Use |
|---|---|---|
| Feeding Room Key | Wooden shack on the lowest waterlogged floor of the Holding Cells dungeon, far side from the Blackridge entrance | Opens the locked Feeding Room door at the bottom of the well |
The key is tucked in the shack at the opposite end from where you drop in, so it’s easy to walk past if you hug the entry wall. Once it’s in your inventory, the only thing it does is unlock the rounded Feeding Room door a short walk away in the same flooded area.
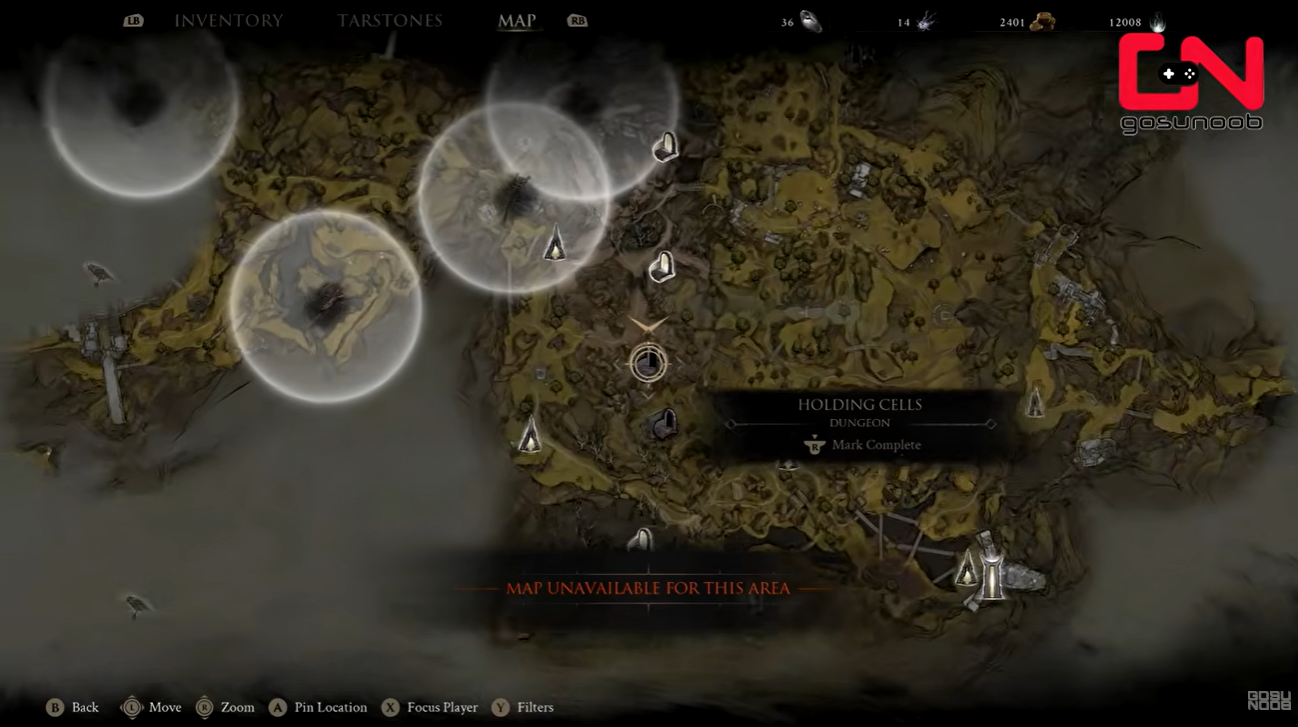
Reaching the shack at the bottom of Holding Cells
Enter Holding Cells through the well

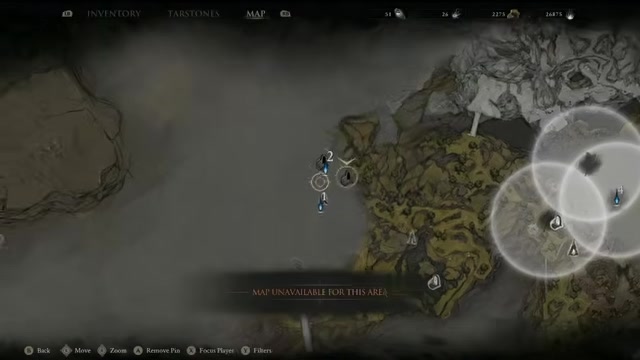
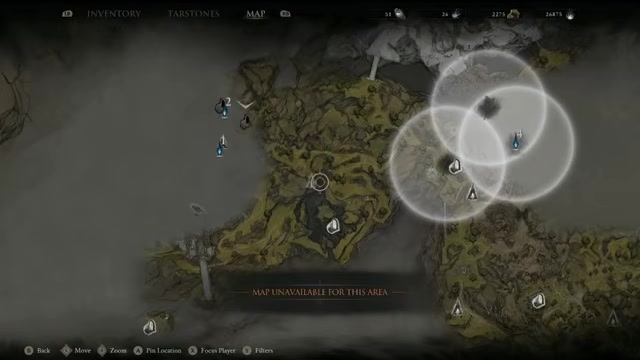
Drop into the well in Blackridge Hamlet to enter the dungeon.
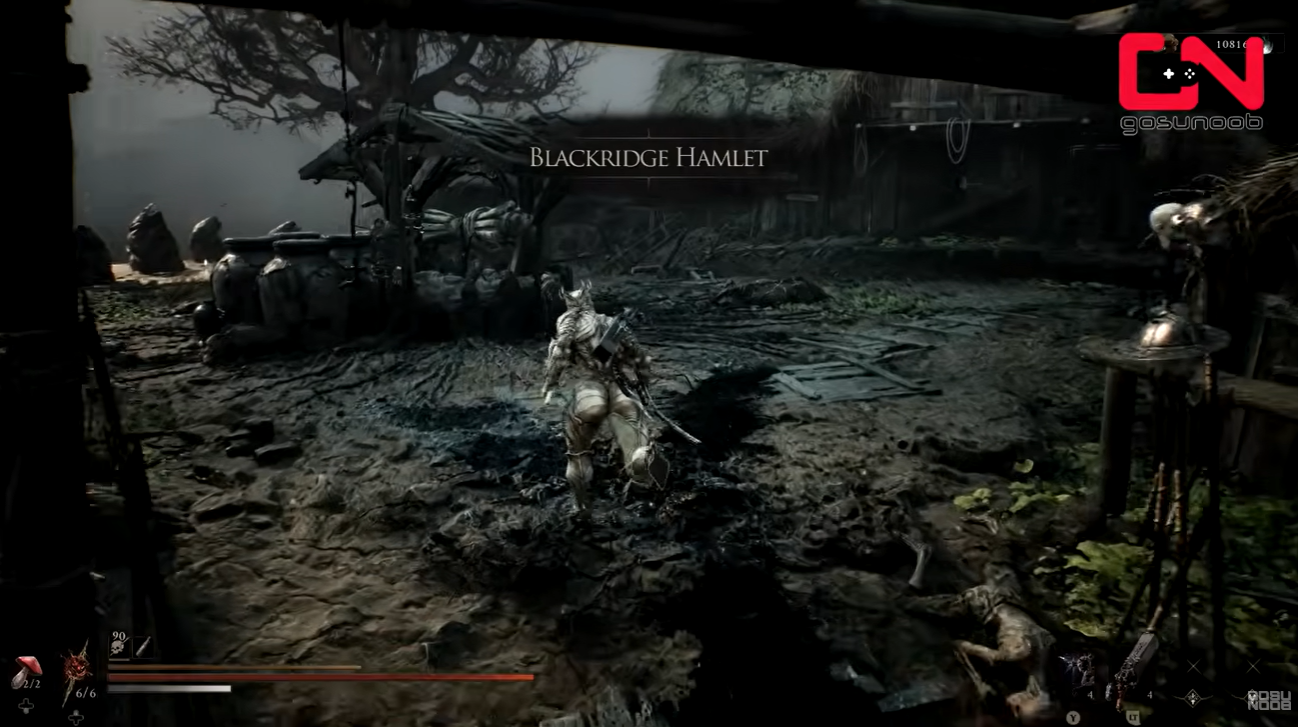
Descend to the waterlogged pit
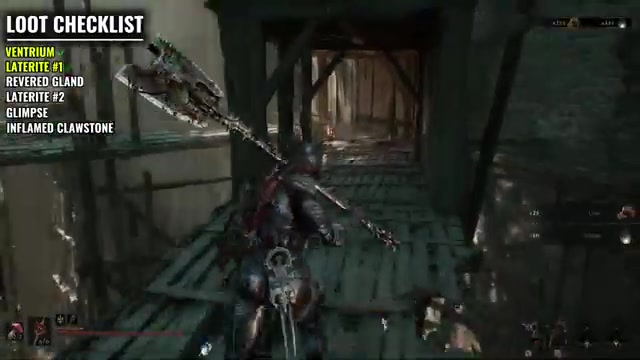
Work down past the upper cells and wooden platforms, using the elevator or a plunging attack to reach the lowest, flooded level.
Clear or rush the bottom arena
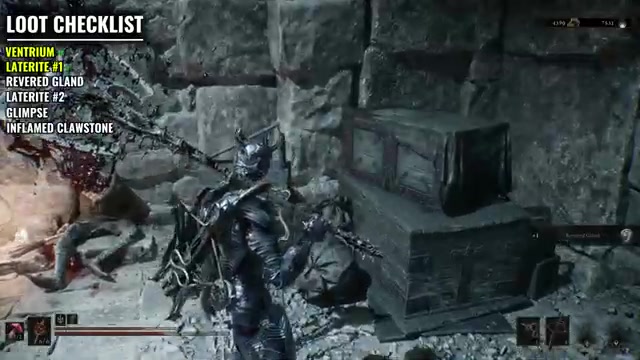
The pit is thick with bats, poison enemies, and burrowing worms, and the floor is dotted with bear traps, so either thin the crowd out or sprint through depending on how confident you feel.
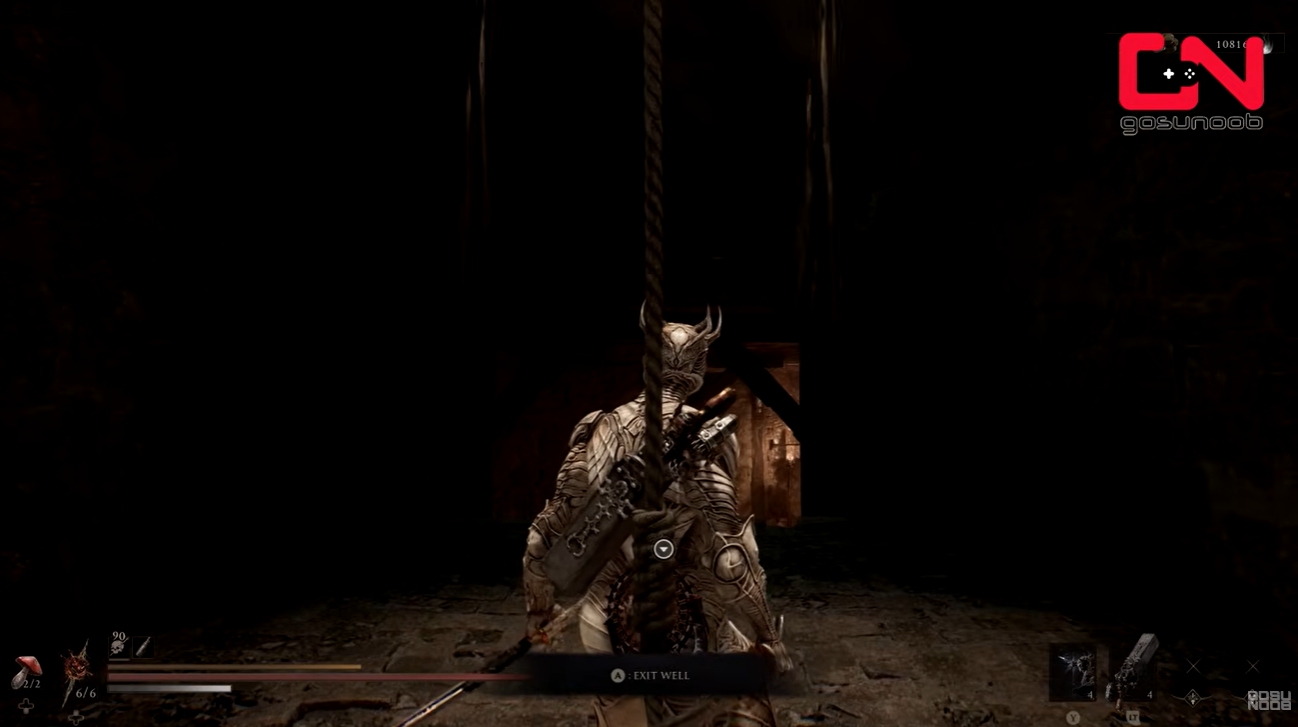
Cross to the far-side shack
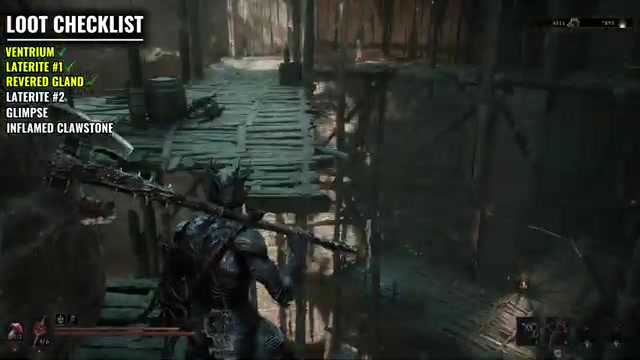
Head to the small wooden shack on the opposite side from the Blackridge entrance — this is the one that holds the key.
Loot the key inside
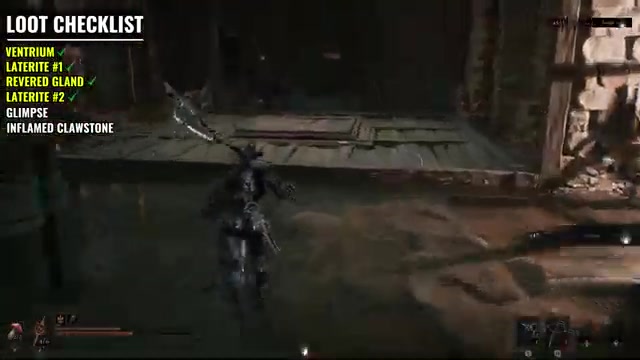
Grab the Feeding Room Key from the corpse on the floor inside the shack.
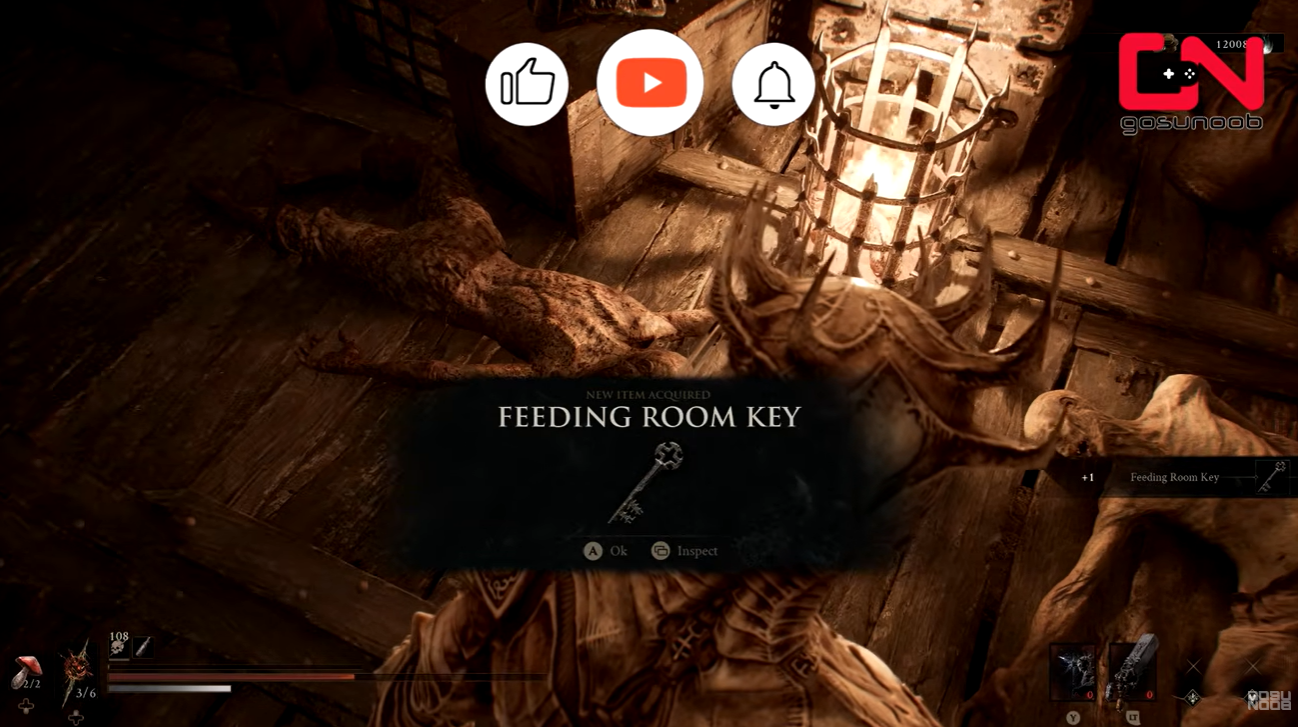
Head straight to the shack on the far side of the pit, opposite where you dropped in — the upper walkways hold nothing you need for this key.
Where to use the Feeding Room key after you grab it
Return to the locked door
Head back to the rounded Feeding Room door in the bottom waterlogged area, marked out by the bear traps ringing it.
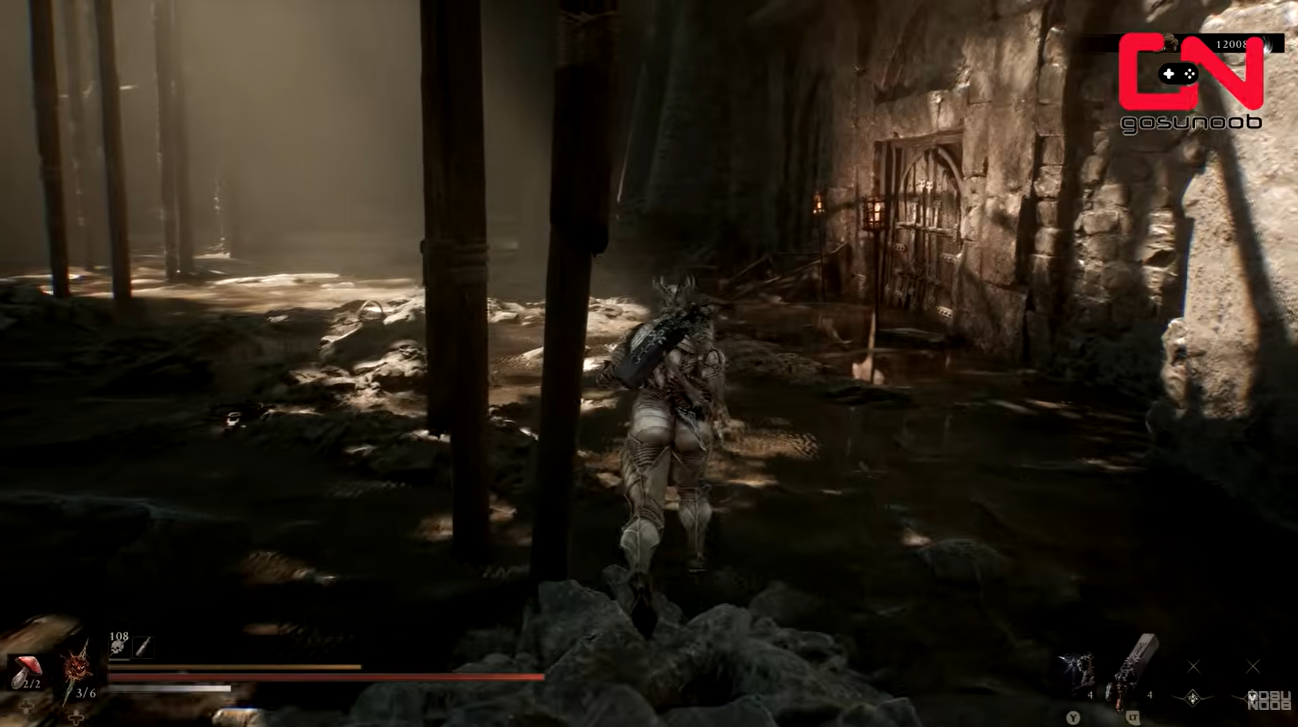
Unlock it with the key
Use the Feeding Room Key on the door to open the way forward.
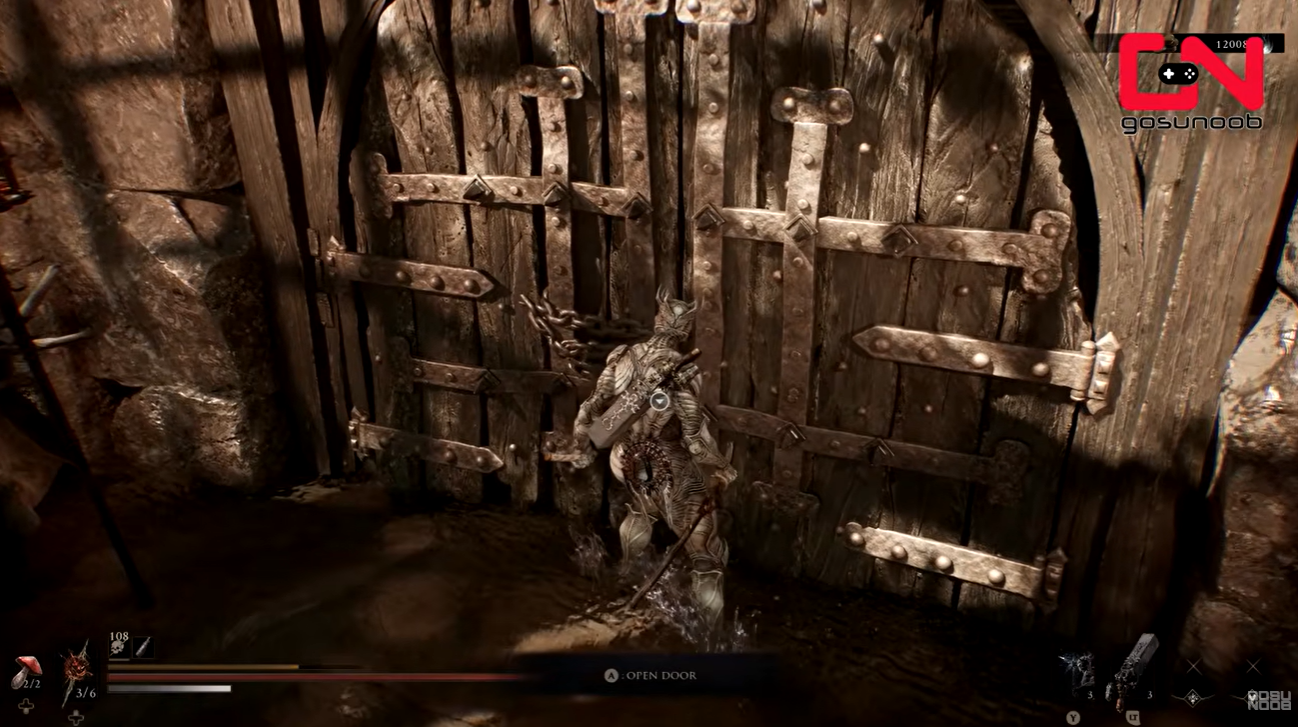
Ride the elevator into the Feeding Room
Past the door, an elevator carries you down into the Feeding Room itself.
Top up before you commit
The Rabid Grisha Pack boss fight kicks off almost immediately, so restock your heals first — plenty of players reset the dungeon here just to walk in with full flasks.
Some descriptions call this a single door at the bottom of the well and others call it two rounded double doors leading to an elevator — it’s the same bottom-area Feeding Room route either way, so don’t second-guess yourself if the wording you saw doesn’t match exactly.
Common mix-ups near the Feeding Room door
Key The biggest trap here is the name. Feeding Room is the room behind this door inside Holding Cells; it is not the same as Feeding Grounds, a separate area entirely, so a key search that drifts over there is looking in the wrong place.
The other common miss is height. Once you can reach the flooded bottom pit, stop combing the upper walkways and cells — the key and its door are both down here, and nothing on the levels above gates them.
What waits past the Feeding Room door
The elevator drops you straight into the Rabid Grisha Pack, a two-target fight that hits hard if you go in low on heals, which is exactly why the reset trick above is worth it. Clearing it rewards Inflamed Clawstone along with a pair of Grisha Remnant, and there’s a Glimpse sitting on the crates near the lift once the fight is done.
Video help
Related Mortal Shell 2 guides






Leave a Reply