
Blackmarrow Keys are cosmetic keys that open the Shade chests near the Marrow Keep elevator to unlock alternate looks for Shells you already own, and the three most dependable sources are the Night Merchant, Desolate Keep, and Shrine of Sorrows.
Blackmarrow Keys open the Shade chests beside the Marrow Keep elevator. The game gives you these keys without ever explaining them, so use the routes below to collect them and spend each one on the chest for the Shell whose alternate look you want.
- What Blackmarrow Keys do in Mortal Shell 2
- Where Blackmarrow Keys come from
- Buying a Blackmarrow Key from the Night Merchant
- Clearing Desolate Keep for a Blackmarrow Key
- Running Shrine of Sorrows for a Blackmarrow Key
- Extra Blackmarrow Key spots to check before you route
- Using Blackmarrow Keys at the Marrow Keep elevator
- The Lower Marshlands crypt gate mix-up
- Frequently Asked Questions
What Blackmarrow Keys do in Mortal Shell 2
Key A Blackmarrow Key is a purely cosmetic key item. Its one job is opening the locked Shade chests that line the elevator room in Marrow Keep, and each chest you open gives you a Shade — an alternate skin for one specific Shell, such as the white Bonegrafted Shade. It does not open new areas, change stats, or advance your progression; it gives a Shell you’ve already unlocked a fresh look.
Where Blackmarrow Keys come from
| Source | How to get it |
|---|---|
| Night Merchant | Buy one for 1,500 Gold from the night-only vendor at the Abandoned Outpost in Mammon. |
| Desolate Keep | Clear the secret dungeon hidden inside Marrow Keep, across from Sester Genessa. |
| Shrine of Sorrows | Complete the Night Mode dungeon tied to Mushroom Village. |
Plan your route around these three key sources. The Night Merchant and Shrine of Sorrows require Night Mode, while Desolate Keep is a secret dungeon inside Marrow Keep. Follow the routes below to collect all three efficiently.
Buying a Blackmarrow Key from the Night Merchant
Buy the easiest key from the night-only vendor at the Abandoned Outpost in Mammon. He appears only while the world is in Night Mode, so switch to Night Mode before traveling to the outpost, then open his stock and choose Buy.
The Blackmarrow Key costs 1,500 Gold, which is a real dent this early. His stock also includes four exclusive Tarstones, a Glimpse, and some Thoracium, so clear out the stall as well if your wallet can take it.
Clearing Desolate Keep for a Blackmarrow Key
Clear Desolate Keep, the secret dungeon inside Marrow Keep, to earn a Blackmarrow Key. Enter Sester Genessa’s chamber and face the wall directly across from her. The illusionary wall is marked with a white arrow-like symbol; hit it to remove the illusion.
Clear the chains blocking the passage by shooting all four, then continue to the chained chalice. Break the chalice’s chains and interact with it to drop into Desolate Keep. The dungeon contains plenty of loot and weapon-upgrade materials such as Ventrium, and completing it awards the Blackmarrow Key. It hits harder than the early-game areas, so enter at around level 20 or higher.
Running Shrine of Sorrows for a Blackmarrow Key
Enter Shrine of Sorrows through the giant mushroom southwest of the Mushroom Village Beacon. The mushroom and dungeon are available only after dark in Night Mode. Inside, complete the ritual puzzle by solving the riddles and collecting the books.
Finishing the ritual awards a Blackmarrow Key plus an extra item you can sell to a vendor for 500 Gold. Take the key back to the Marrow Keep elevator room and use it on your chosen Shade chest.
Extra Blackmarrow Key spots to check before you route
| Location | Route |
|---|---|
| Child’s Feeding Ground | After the Lost Child boss in Sanguine Caverns, re-enter the beacon dungeon, work back to the room you cleansed, and open the chest in the newly opened room. |
| Sester’s Refuge (Abbey Entrance) | From the Abbey Entrance Beacon in Mammon, head into the castle and down into Sester’s Refuge, drop to the lower sections off the scaffolding, and grab the chest. |
Two additional Blackmarrow Keys are found at Child’s Feeding Ground and Sester’s Refuge. The Child’s Feeding Ground key becomes reachable after you defeat the Lost Child boss in Sanguine Caverns and return to the beacon. The Sester’s Refuge key is inside a chest in the lower castle near the Abbey Entrance. Use these as bonus routes after collecting the three main keys.
Interactive maps list a full set of eight keys, but several slots remain blank. Route around the five placed keys instead of searching the unmarked slots.
Using Blackmarrow Keys at the Marrow Keep elevator
Go to the elevator room
Travel to Marrow Keep and enter the elevator room. A row of coffin-shaped Shade chests lines one side of the room.
Pick a chest for a Shell you own
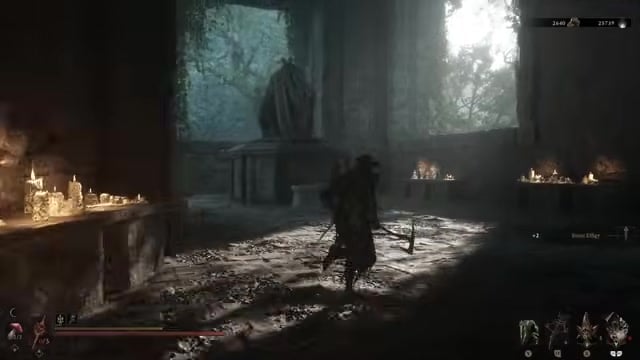
Each coffin belongs to one of the eight Shells. Choose the coffin for a Shell you’ve already unlocked.
Read the confirmation prompt
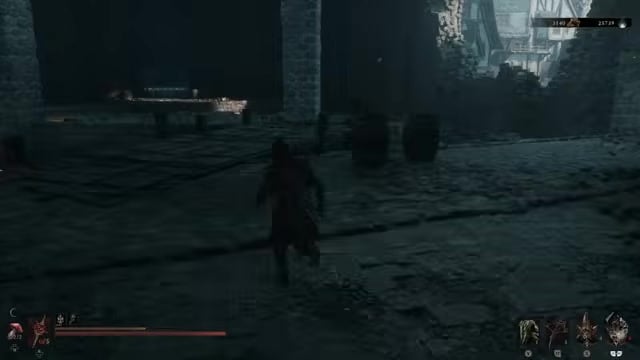
Interact with the chest and read the prompt, which names the exact Shell and Shade you’re about to unlock.
Spend the key
Accept the prompt to spend one key, open the coffin, and unlock that Shade.
Apply the new Shade
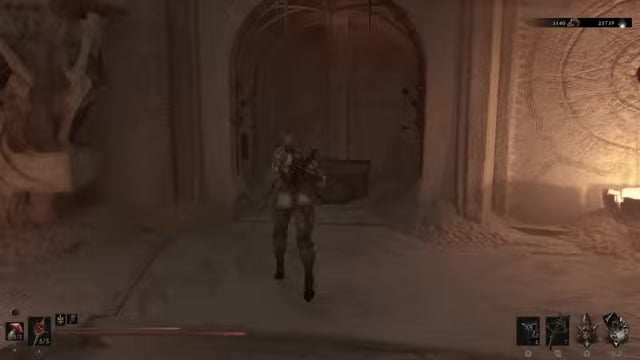
Equip the new Shade to that Shell from the same screen when prompted.
Grab both Night Mode keys in one trip — switch to Night Mode once and hit the Abandoned Outpost merchant and Shrine of Sorrows back to back before you swap back to day.
The Lower Marshlands crypt gate mix-up
Skip the Lower Marshlands crypt gate. A Blackmarrow Key does not fit the reinforced iron gate beneath the shrine or open a route to rare upgrade materials. Blackmarrow Keys open the Shade chests beside the Marrow Keep elevator, so save every key for those coffins.
Related Mortal Shell 2 guides
Frequently Asked Questions
Can you open a Shade chest before unlocking its Shell?
No. Each coffin is locked to one specific Shell and will not open until you’ve unlocked that Shell. If a chest refuses to open while you’re carrying a key, unlock its Shell first.
All Blackmarrow Keys consumed when used?
Yes. Every chest costs exactly one key, and the key is consumed the moment you accept the prompt. There is no refund, so check the named Shell and Shade before spending it.
How many Blackmarrow Keys are there right now?
Five keys have placed routes: the Night Merchant, Desolate Keep, Shrine of Sorrows, Child’s Feeding Ground, and Sester’s Refuge. Interactive maps include eight slots to match the eight Shade chests in the elevator room, but three slots are still blank. Plan your current run around the five available routes.
Video help






Leave a Reply