Creative writers and authors spend months and years of their lives crafting their manuscripts. It’s understandable, then, that their final output, though substantively good, can sometimes look less than professional.
When sending your manuscripts to agents or publishers, you must format your manuscript just right so it looks professional and pegs you as a writer who knows what he or she is doing.
Related: How to Alphabetize in Microsoft Word: Everything You Need To Know
The following guide will show you how to format your manuscript using Microsoft Word and spruce up your work.
Format your manuscript using MS Word
A lot of the time, the exact formatting you need for your manuscript will depend on the guidelines provided by your agent, editor, or publishing house. However, if none is provided, a generalized formatting should still be applied. Follow the steps below to review every detail and format your manuscript accordingly.
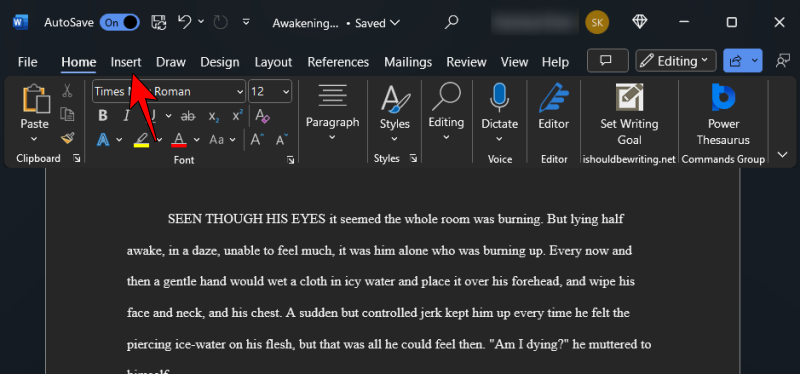
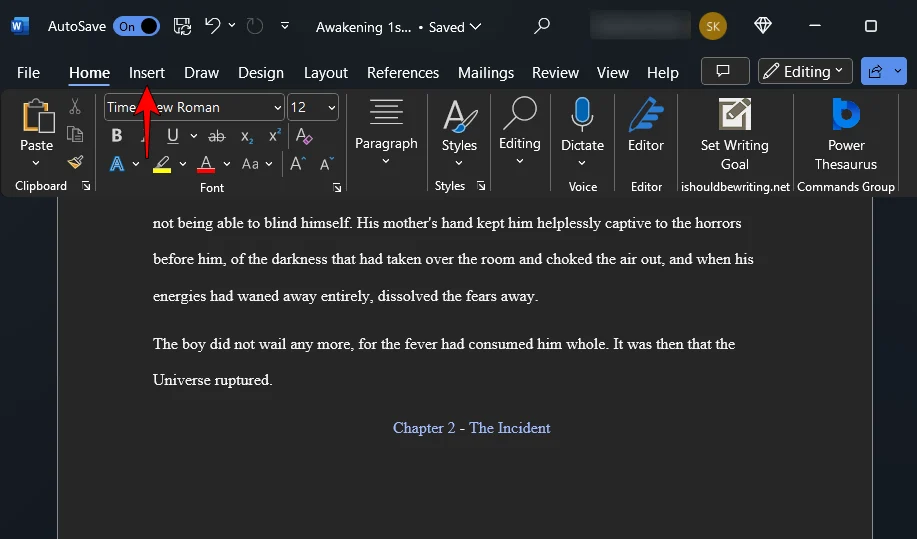
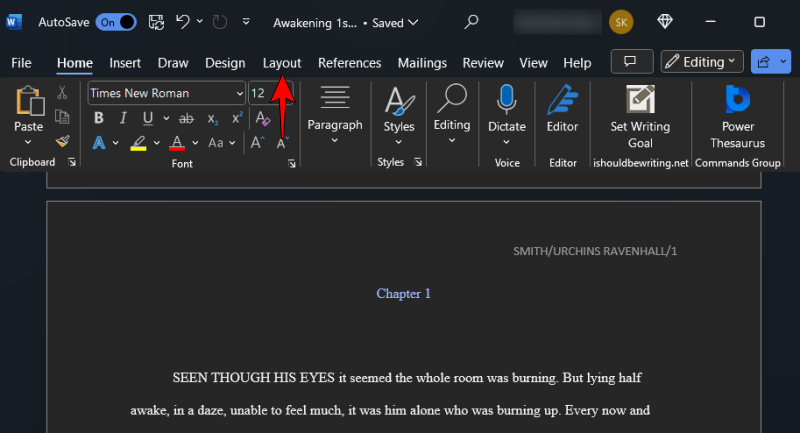
1. Set font and font size
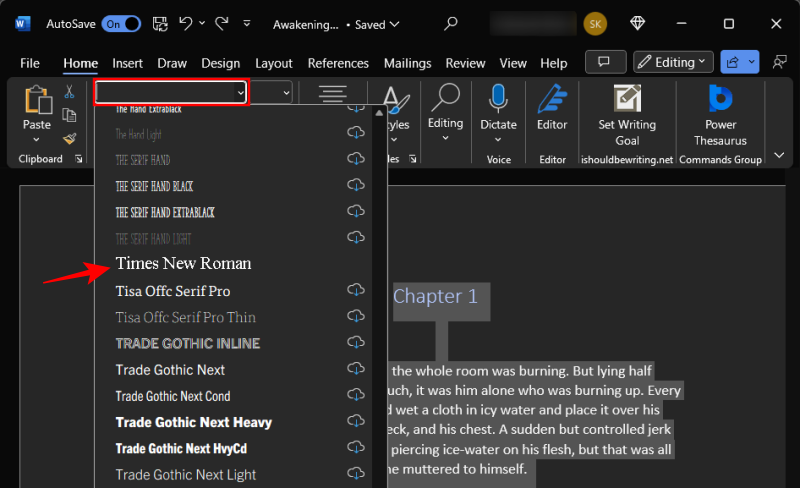
First things first, you want your readers to be able to read your manuscript easily. Some agents and editors may prefer a font type such as Sans Serif or Arial. But if it isn’t specified, you can go with the tried and tested standard font style of Times New Roman.
- Select your entire document by pressing
Ctrl+A, and set your font to Times New Roman.
- Similarly, the size of your font matters too, for which the industry standard is 12. So, select your entire document and click on the drop-down menu next to Font Style to set your font size. Then set the font size to 12.
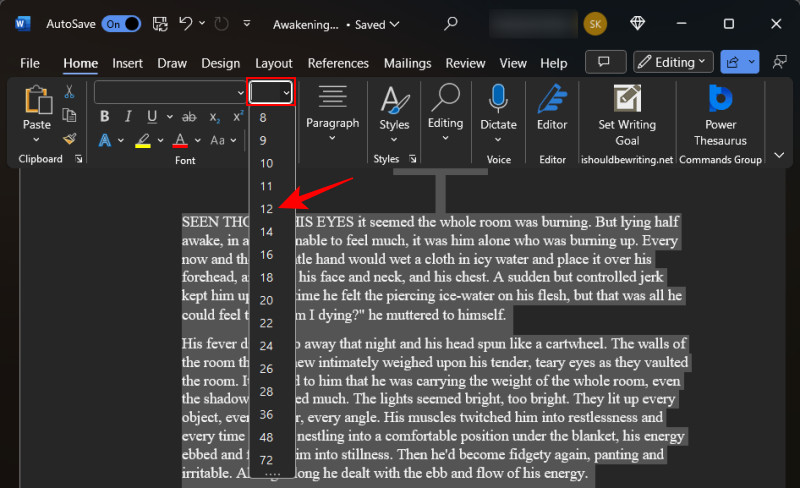
Anything lower will make your readers squint; anything more will be needlessly large and wasteful.
Related: How to Split a Paragraph Into Sentences in MS Word
2. Left align your text
In published books, the text is justified. However, that only happens after tons of editing and formatting and is often taken care of by the editing team itself.
At this stage when you’re sending off your manuscript to an editor or an agent, it is best to Left align the main body of your manuscript (that is, everything except the Title page and the Chapter titles). Fortunately, Left alignment is the default alignment on MS Word. But if you’ve changed it, you might want to change it back to Left alignment.
- To do so, click the ‘Paragraph’ section under the ‘Home’ tab.
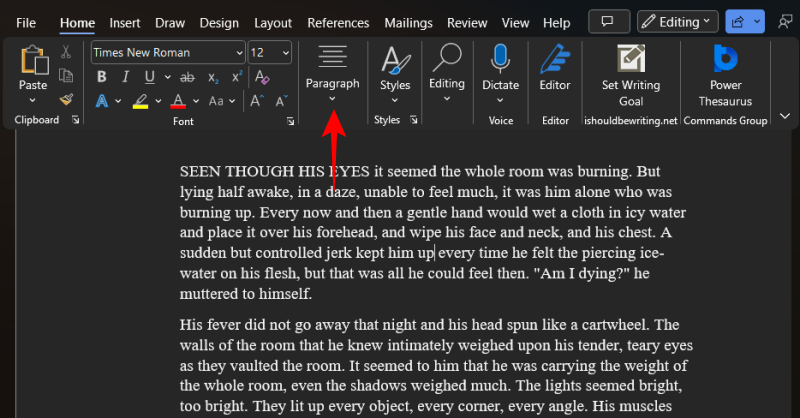
- Then select the ‘Left indent’ option.
Related: How to Number Lines, Paragraphs, and Sentences in MS Word
3. Double-space your manuscript
Another thing that will help the readability of your manuscript will help your readers connect better. And double spacing your manuscript will do just that.
- To do so on Microsoft Word,
Ctrl+Aand select your entire manuscript. Then under the “Home” tab, click the “Line and Paragraph Spacing” button.
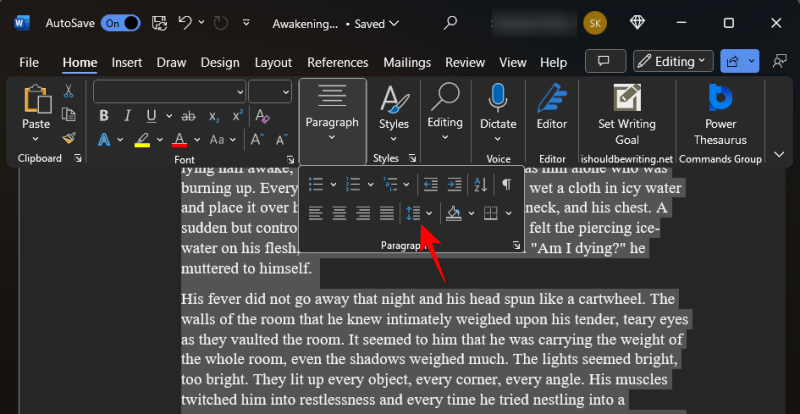
- Select 2.0.

This will double-space your entire manuscript and make it that much easier to read.
Related: 6 Ways to Open a Pages File on Windows 11
4. Indent paragraphs
Every new chapter (as well as dialogue) ought to begin with an indentation. Most writers hit the ‘Tab’ button to indent the start of their paragraphs. But instead of this, one can simply change the indentation of paragraphs by half an inch.
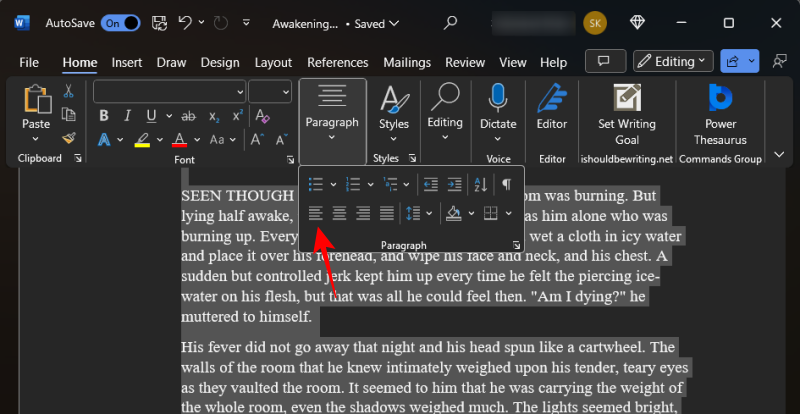
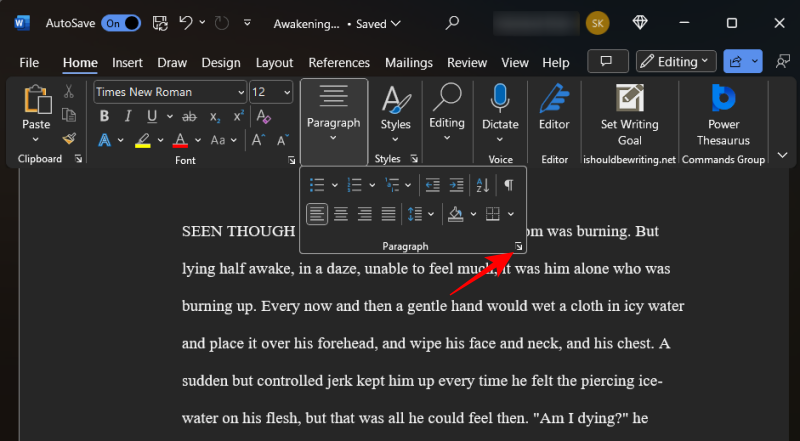
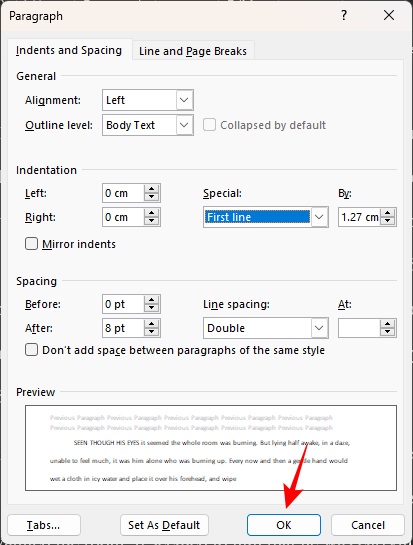
- To do so, first, make sure you are on the ‘Home’ tab. Then in the ‘Paragraph’ section, click on the arrow to open the fly out.
- Under the ‘General’ section, set the Alignment to Left and Outlive level to Body text.

- Then, under ‘Indentation’ section, select First line from the ‘Special’ drop-down menu.
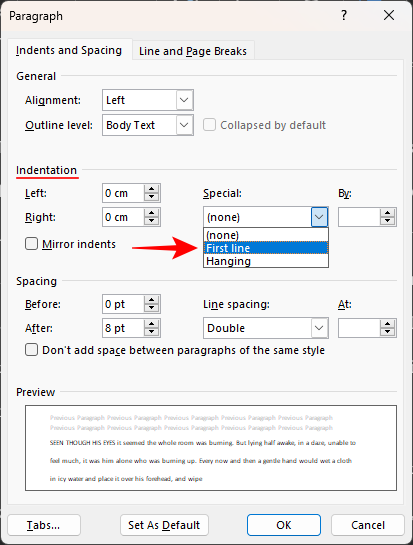
- And set it to 0.5″ or 1.27 cm.

- Click OK to apply.
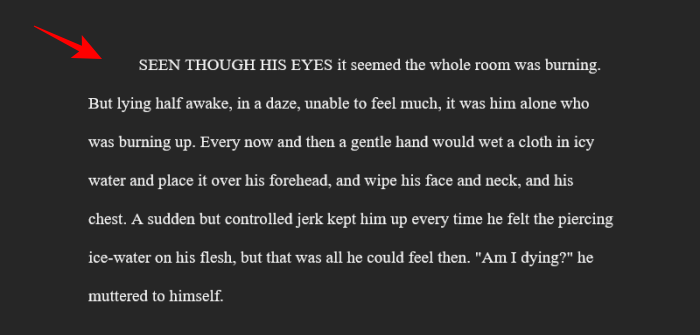
- Make sure all your new paragraphs are indented as such, except the start of a new chapter or scene.
Related: How to Split a Paragraph Into Sentences in MS Word
5. Create the front page
If you don’t already have a front title page, it is time to create one. The formatting of the title page will be the same as the rest of the manuscript. But there are a few things that you must add on the first page, namely – your contact details, the word count, the title of the book, and the genre. Here’s how to set it up.
- Your contact details come at the top left corner of the page. Type your name, address, phone number, and email here. Or, if you have an agent, enter your agent’s contact details here (Left aligned).
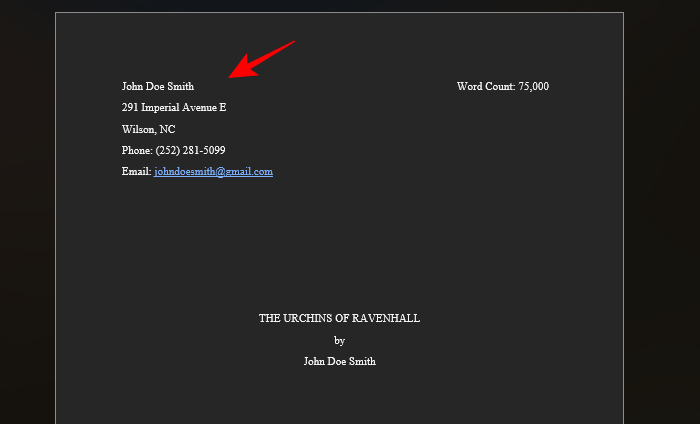
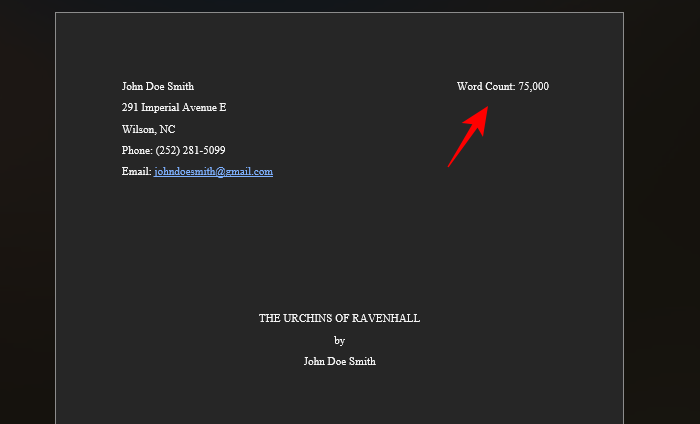
- To the top right corner, enter the word count of your book (approximated to the nearest thousand, and Right aligned).
- Smack in the middle will be the title of the book. Make sure it is all capitalized. Below this (separated by a line) will come the author’s name, all center-aligned.
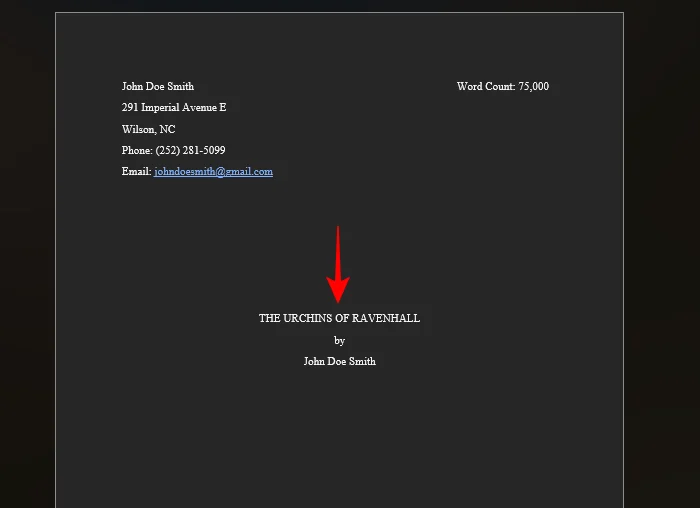
- Finally, at the bottom of the page, center-aligned, will come the category and the genre of the book.

- Category refers to the intended age of the readers, such as Easy Reader, Middle Grade, Young Adult, Adult, etc. Genre, on the other hand, refers to such things as Fantasy, Coming-of-age, Thriller, Mystery, etc.
6. Add headers and page numbers
Headers are necessary to create a space above the body of the text where you include your name (ideally just the surname), the title of the book, as well as the page numbers. All three of these things are necessary so that the agents and editors at all times know whose manuscript they’re reading, the title of the book, and the page number they’re on. Here’s how to add headers first:
- Click on the Insert tab at the top.
- Select Page number in the ‘Header & Footer’ section.

- Choose Top of page and select Simple – Page number 3 to align the page numbers to the right.
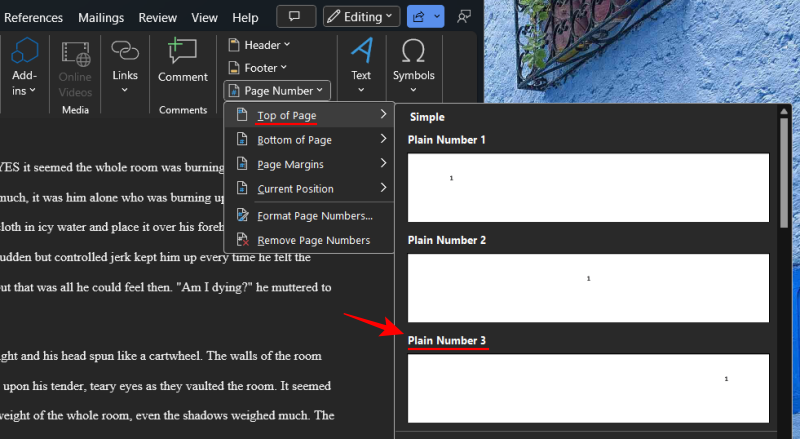
This will number your pages in the header. - Under the ‘Header & Footer’ tab, click on Page Number.
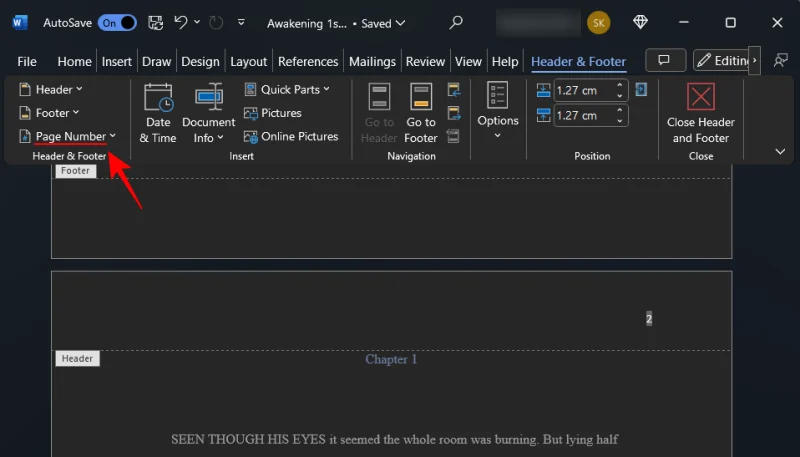
- And select Format Page numbers…
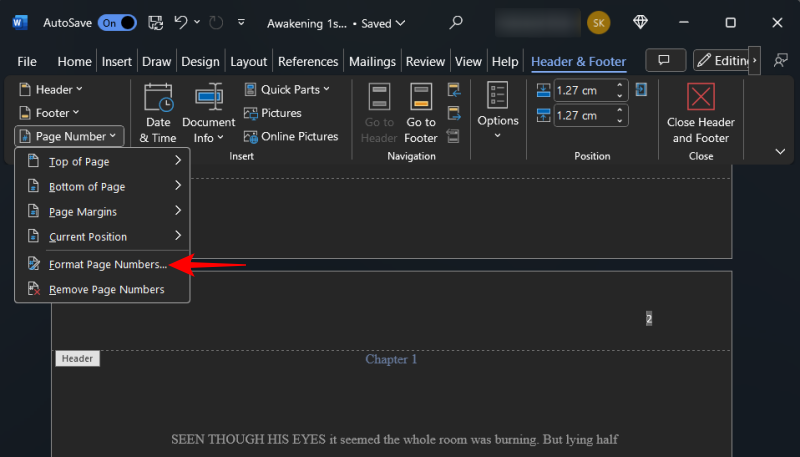
- Keep everything as it is except ‘Page numbering. Click on Start at and select 0. Click OK.

This will ensure that the front page isn’t numbered, and the first page number begins with the first chapter. - Now double-click inside the header area at the top, and enter your name (surname) and the title of the book.
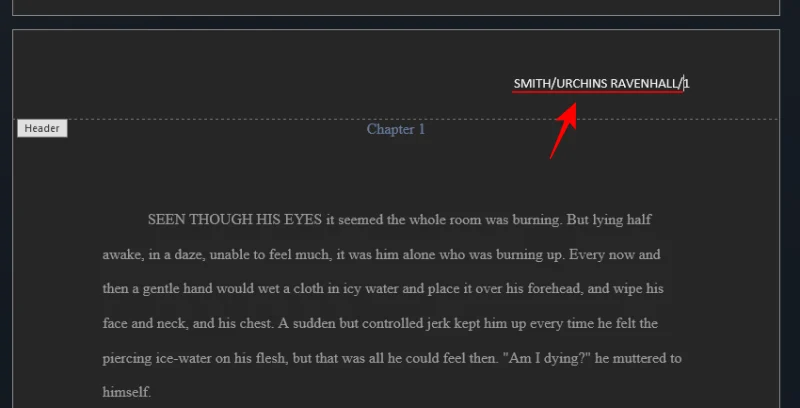
Tip: If your manuscript title is too long, pick a few keywords and use them as the title abbreviation in the header.
Also, align your name and title to the right so that it matches the page number.
7. Insert page breaks
Every new chapter should be on a new page. So, once you finish the last line of the previous chapter, add a page break afterward.
- To do so, click on Insert at the top.
- Then under the ‘Pages’ section, select Page Break (or
Ctrl+Enter).
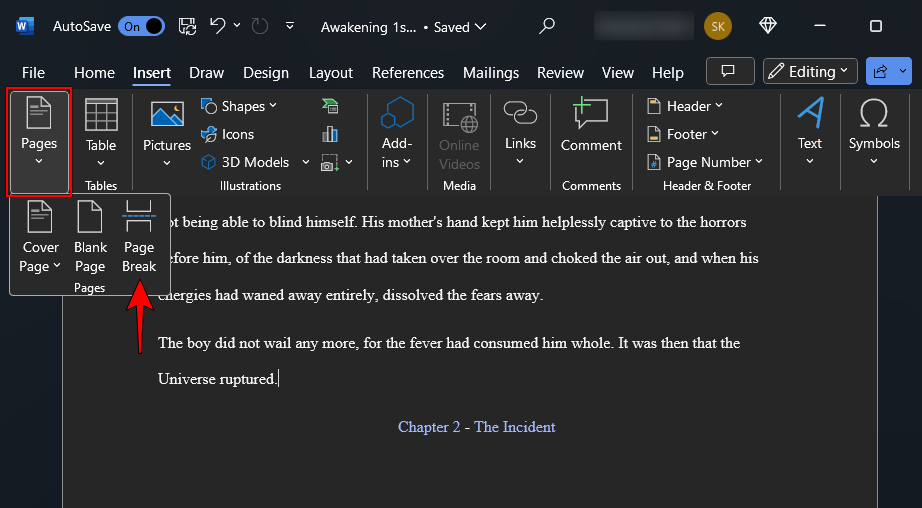
- This will ensure that your chapter begins on a fresh page.
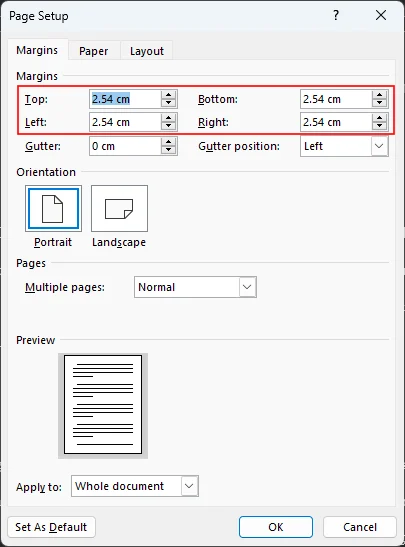
8. Set Margins
By default, Microsoft Word sets a one-inch margin on all sides of the page. This is the white space that you see on the sides, the top, and the bottom. Some writers tend to change this to shrink the sides so every line gets fewer words and looks a bit more like a book. However, when submitting your manuscript, you must comply with the specifications of the editor. And if there are none, at least adhere to the industry standards.
- Click on Layout at the top.
- Then, in the ‘Page Setup’ section on the left, click on the fly-out.
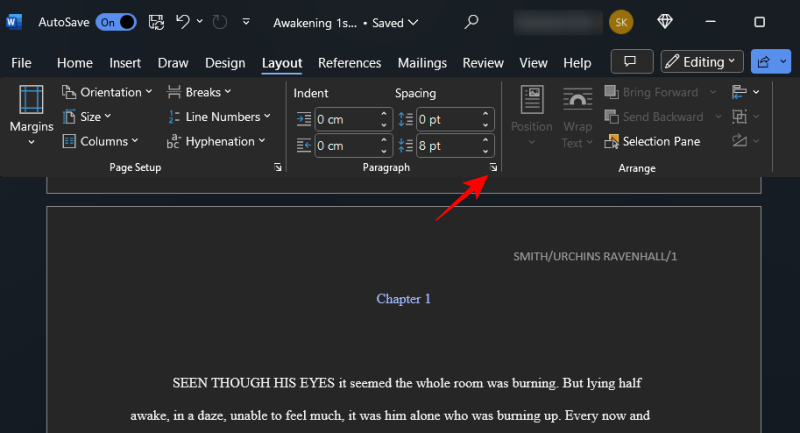
- And make sure that the margins are all set to 1 inch (or 2.54 cm).
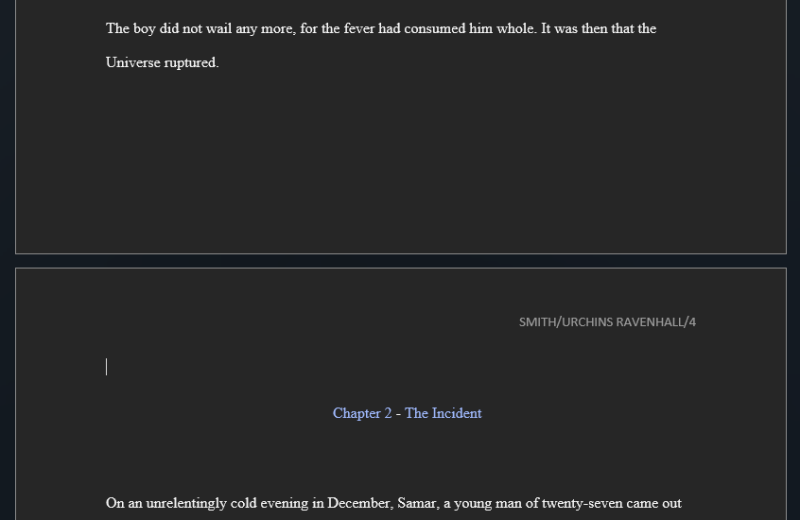
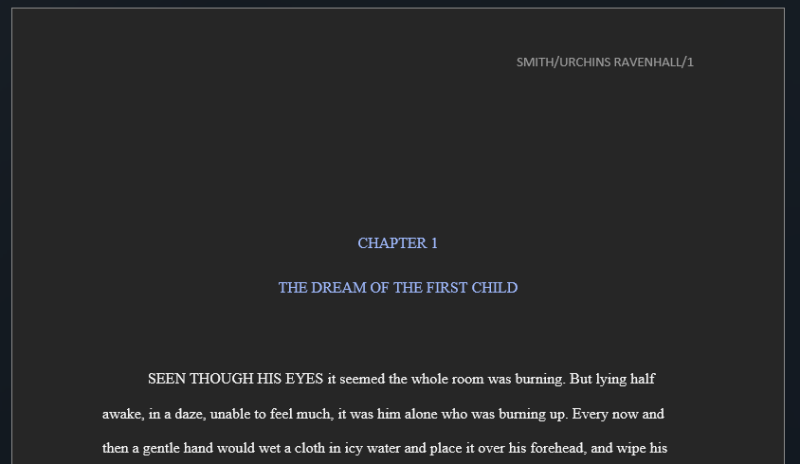
9. Format your chapters – Titles and Section breaks
Chapter formatting is crucial to make your manuscript appear professional. One can’t simply add the heading at the top and start from the first line thereafter. As you’d find in most books, the chapter numbers and the chapter titles are offset by a little from the top. This makes it clear for anyone simply flipping through the manuscript to see where the different chapters are. So, make sure the new chapter title (or the chapter number) is slightly lower down the page.
- On the new chapter page, hit Enter until you’re about one-third of the way down the page.
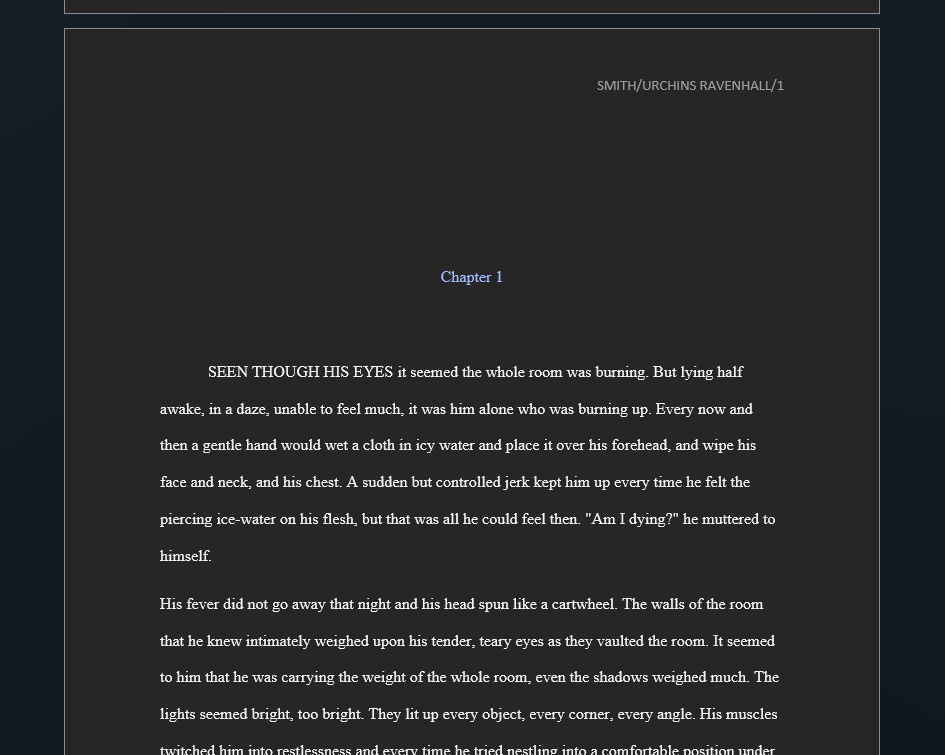
- Then enter your chapter number in all caps and align it to the center. Additionally, if you have to enter the title of the chapter below the chapter number, make sure it is in all caps and center-aligned as well.
10. Create a table of contents
A table of contents isn’t always necessary. But it helps to quickly refer to certain sections or chapters easily. So, unless your editor or agent has specifically asked to include or exclude it, you may consider creating one for their benefit. Here’s how:
Ideally, the table of contents comes after the front page of the manuscript.
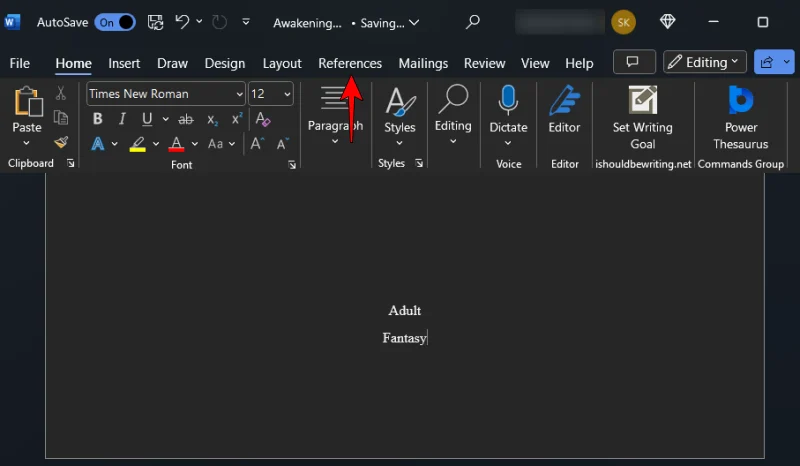
- Place your cursor after the first page, and click on the References tab at the top.
- Then click on Table of Contents.
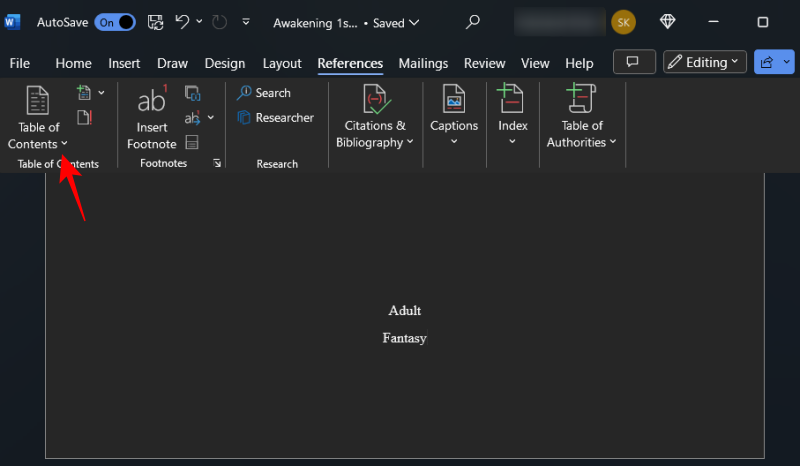
- Select an automatic table.
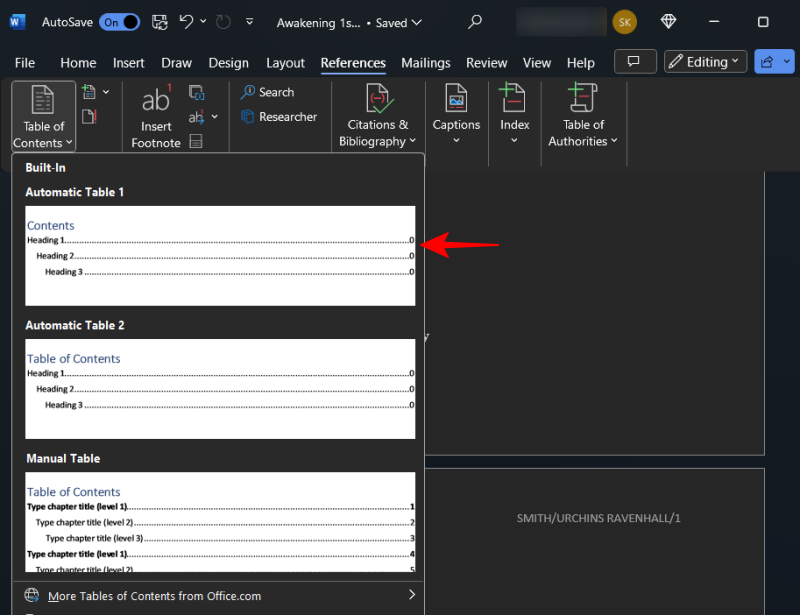
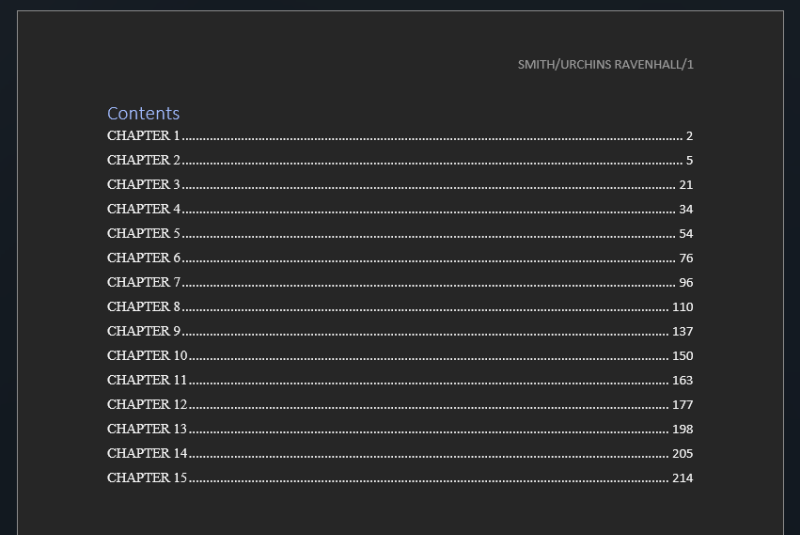
- This will add the Table of Contents to your manuscript.
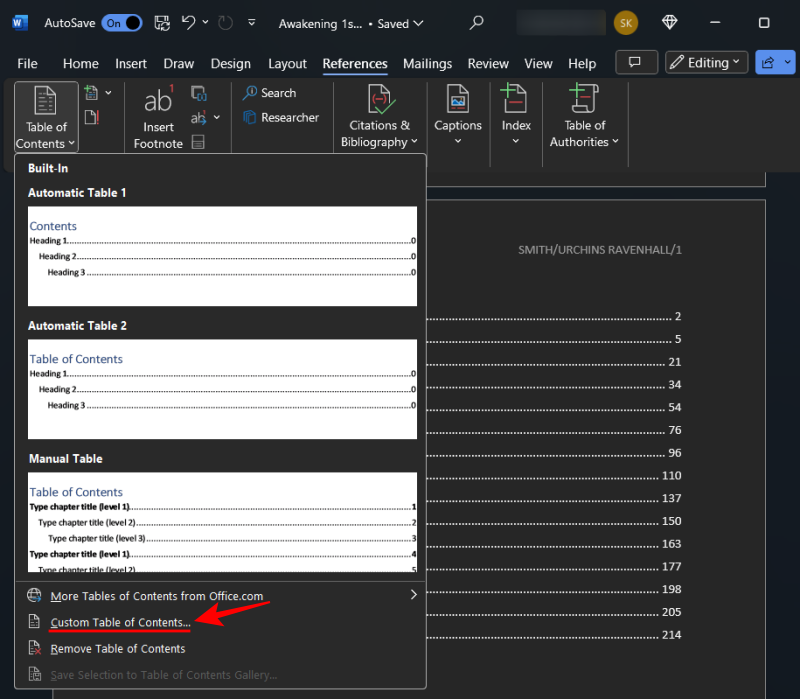
- If you’ve got different levels in your table, go back to ‘Table of Contents’ and select Custom Table of Contents.
- Under ‘General’, change the Show levels to 1.
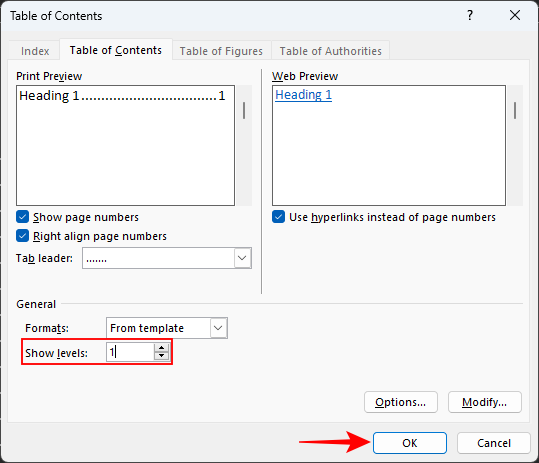
- When asked to replace your current Table of Contents, select OK.
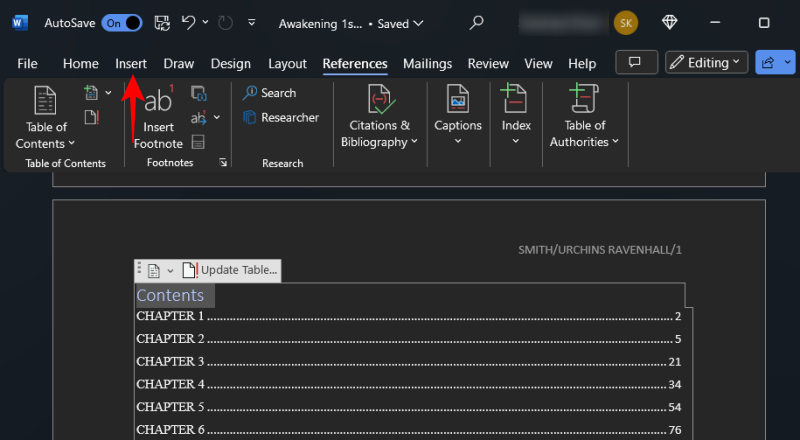
- You will also need to bookmark the TOC so your readers can hop around and get back to the table of contents without much effort. To do so, highlight the words ‘Contents’. Then click on the Insert tab at the top.
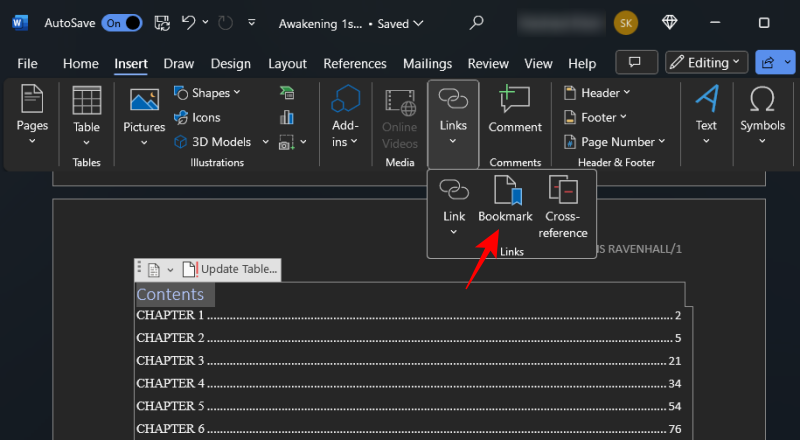
- In the ‘Links’ section, click on Bookmark.
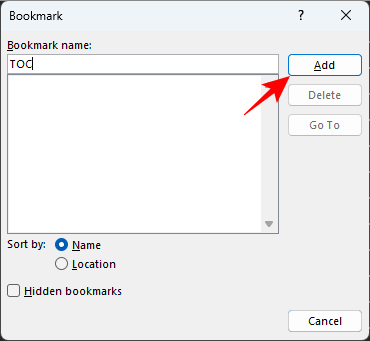
- Type TOC to label the bookmark. And click Add.
11. Export to PDF
Finally, it’s time to export your manuscript as a PDF file. Make sure to proofread your work and ensure that everything else is in order.
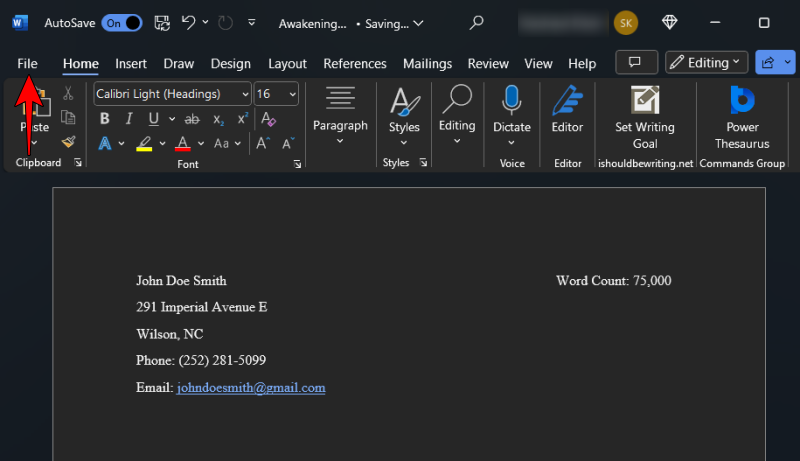
- Click on File.
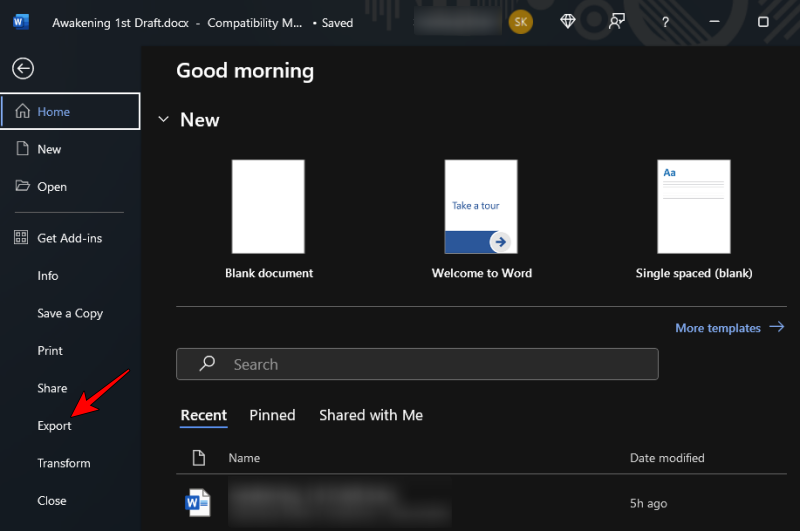
- Select Export.
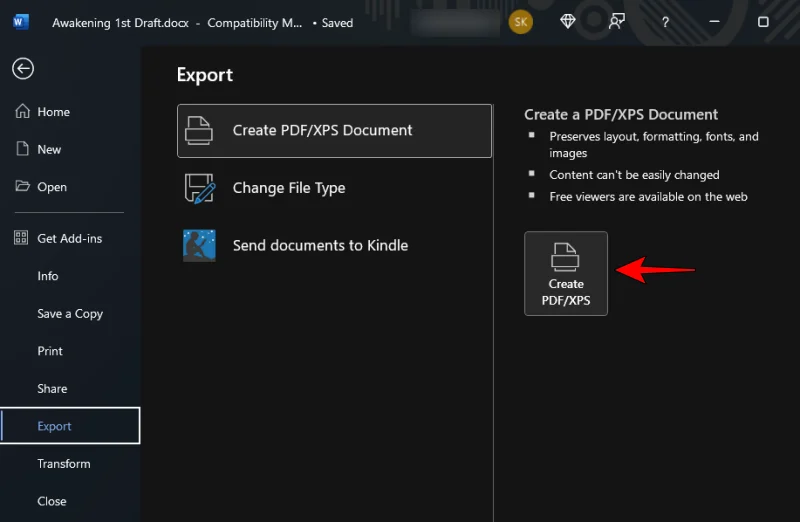
- With the “Create PDF/XPS Document” selected on the left, click on Create PDF/XPS on the right.
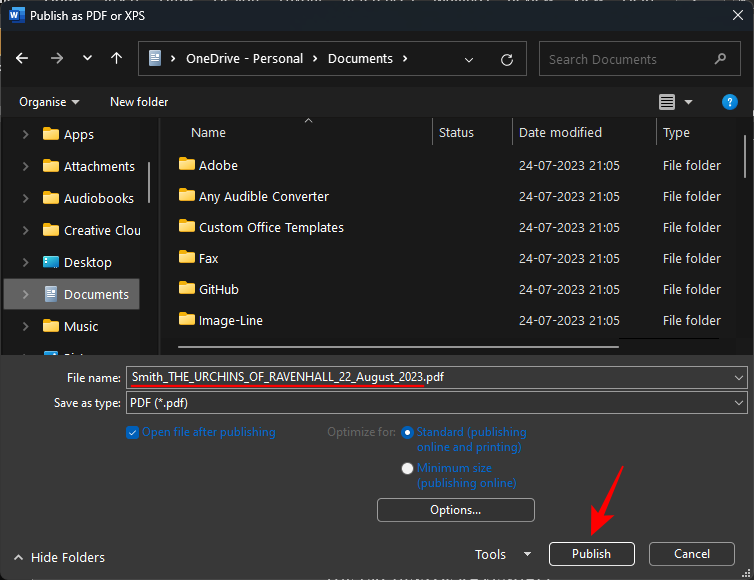
- Name your file in this format – YourLastName_TITLE_date.pdf. And click on Publish.
That’s about it! You have now formatted your manuscript as per the industry standards.
FAQ
Let’s consider a few commonly asked queries about formatting your manuscript on Microsoft Word.
Which font style is the industry standard for publishing?
Always comply with the guidelines provided by your editor. If none is available, stick with Times New Roman.
How do I send my manuscript to a Kindle?
Microsoft Word has a new Send to Kindle feature that you can access from File > Export and select ‘Send documents to Kindle’.
Should I create a Table of Contents for my manuscript?
Although not all books and manuscripts require a Table of Contents, some editors might require you to have that to navigate through your document easily. Also, if you want to publish on Kindle, Amazon requires all Kindle books to have a TOC.
Related: How to Convert PDF to Word Document for Free: Without Watermark, Online and Offline
Formatting your manuscript the right way will make it easier for editors and agents to read your work and set you apart from the rest as a professional writer. We hope this guide helped you achieve the same. Until next time!