

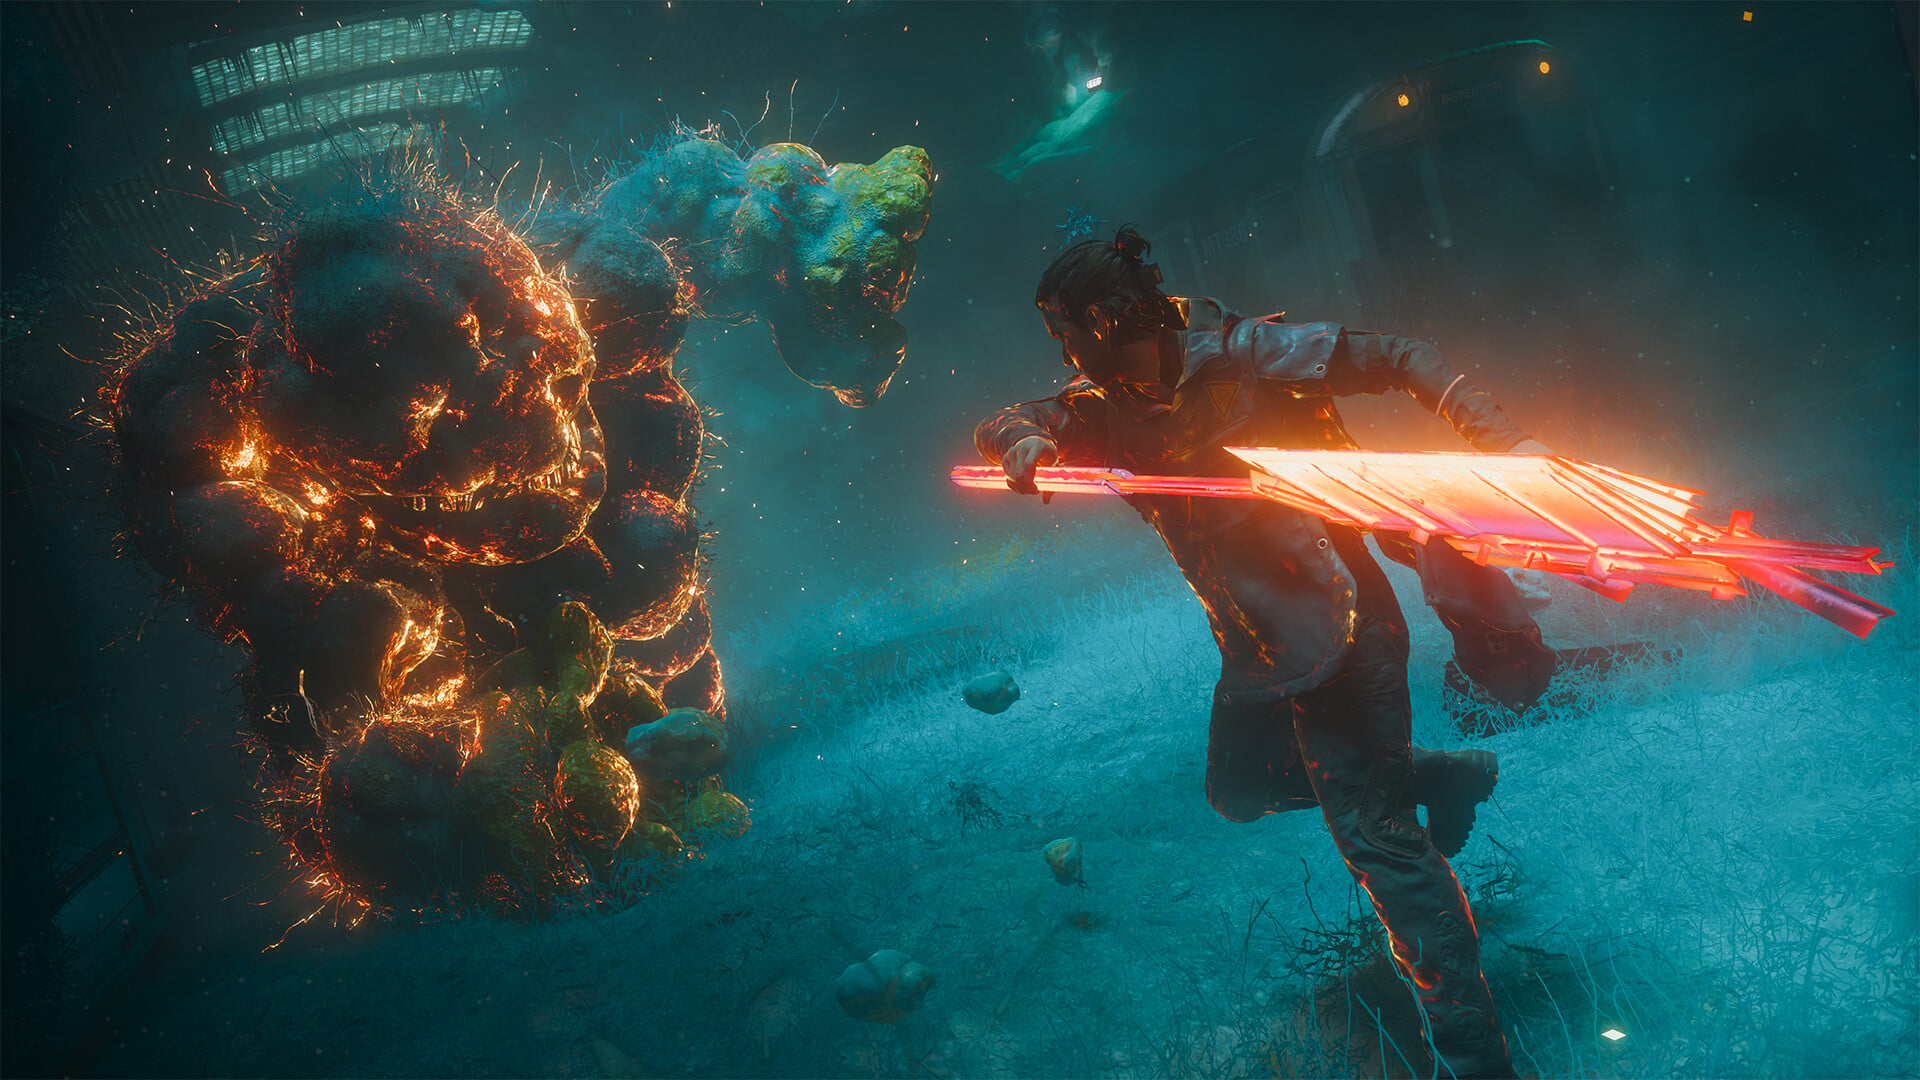
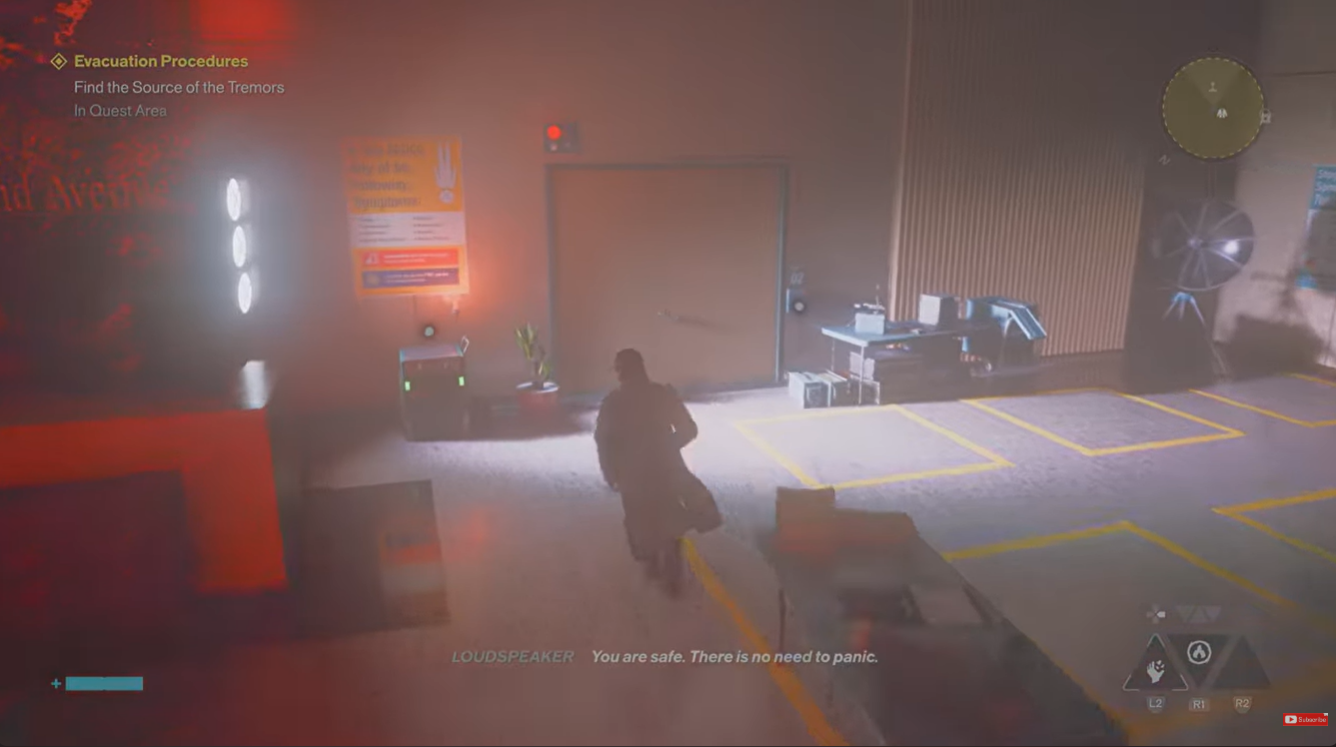
If you’re stuck on the Find the Source of Tremors objective in Control Resonant, the important part is that the garage cannot simply be opened from the ground. You first have to restore power using a nearby Power Core Station. Once the garage opens, you can destroy the Hiss orb inside and continue toward the source of the tremors.
| Objective | What you need to do |
|---|---|
| Mission | Evacuation Procedures |
| Area | Central – Evacuation Zone |
| Garage purpose | Contains one of the Hiss orbs |
| Required item | Power charge |
| Power source | Power Core Station |
| Target | Rooftop power box |
| Result | Garage opens and Hiss orb can be destroyed |
| Mission rewards | Living Shard, Agent Uniform, Level 2 Keycard/Clearance |
| Achievement | Rescue Mission |
Where the garage is located
The garage is in the Evacuation Zone, southwest of the main Evac Building. After entering the area, you will notice red Hiss energy trails leading toward the building. These trails help identify the locations of the three Hiss orbs that are preventing you from entering the Evac Building.
How to open the garage and find the source of the tremors
Step 1: Reach the Evacuation Zone
From the Central Supply Route Station, follow the road southeast until you reach the Evacuation Zone. Your main landmark is the building with the large red Hiss formation extending from its roof.
The entrance to this building is initially blocked, so you need to eliminate the Hiss orbs around the surrounding area first.
Step 2: Find the garage’s Hiss orb
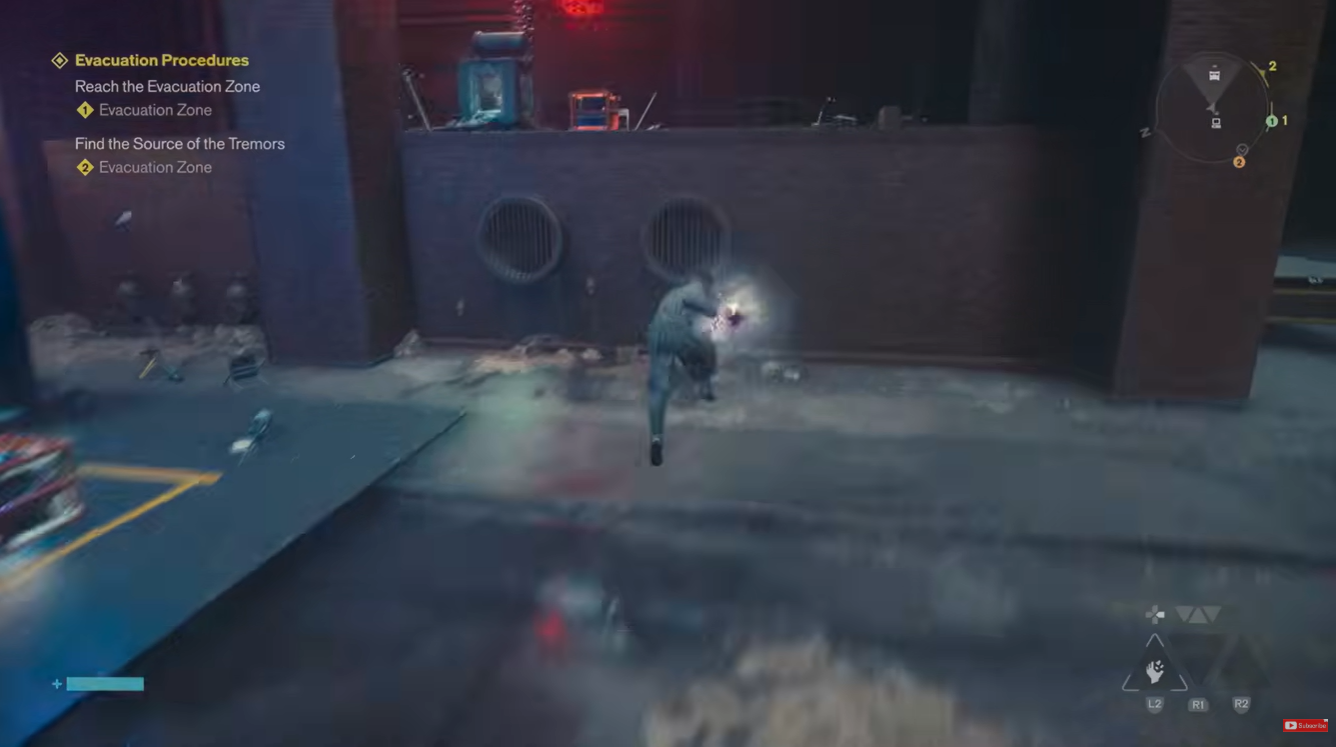
Head southwest from the Evac Building and enter the alley area south of the nearby street corner.
There are several Hiss enemies here, including two healing orbs. Deal with the healing orbs first so that the other enemies cannot continuously recover health.
After clearing the area, follow the red Hiss trail. It leads toward a closed door near the garage, but you cannot reach the orb directly from this side.
Step 3: Find the Power Core Station
Look for the Power Core Station marked on your map. Interact with it to obtain a power charge.
This is the key item required to open the garage. The charge must be carried to the power box on the rooftop.
Step 4: Carry the charge to the rooftop
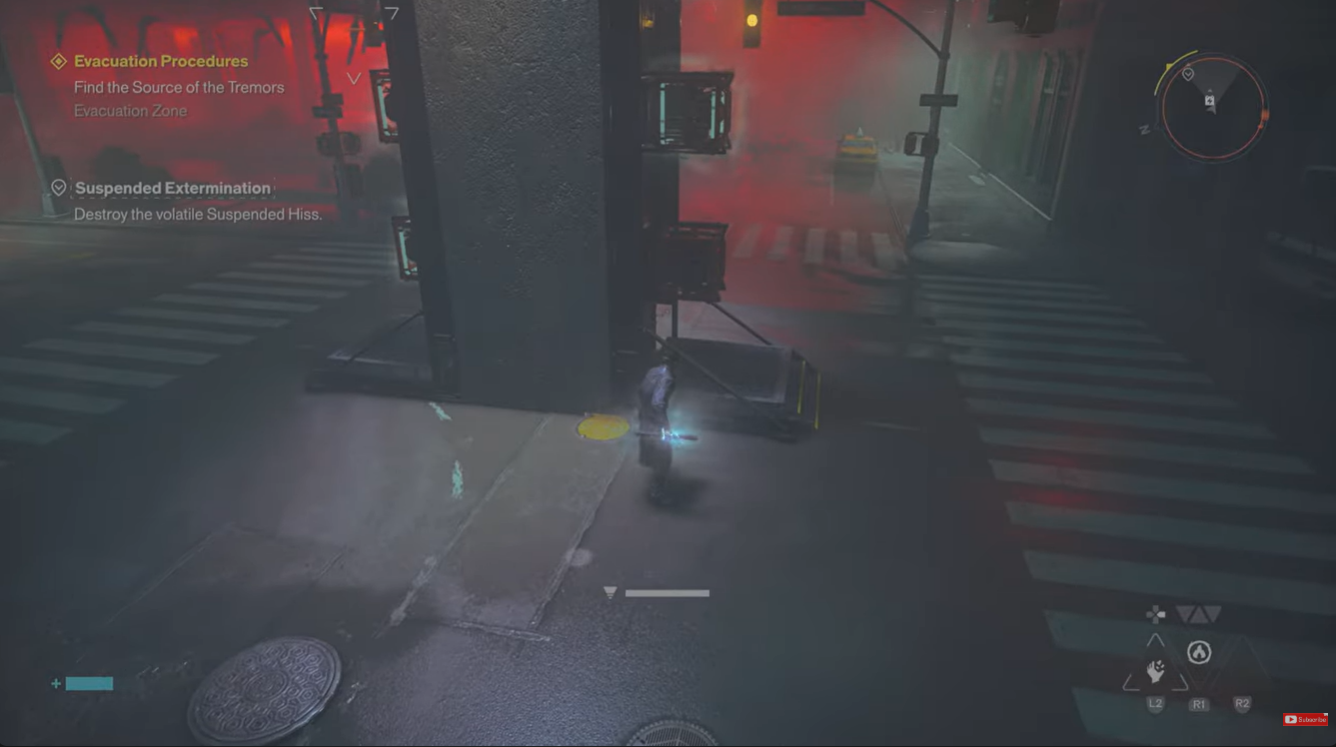
With the charge in hand, make your way up to the nearby rooftop.
Look for the power box and use the charge on it. Restoring power activates the mechanism connected to the garage.
The garage door can now be opened.
Step 5: Enter the garage
Return to the garage and go inside. The previously inaccessible Hiss orb is now reachable.
Destroy the Hiss orb inside the garage.
This removes one of the barriers preventing access to the Evac Building.
Step 6: Destroy the other Hiss orbs
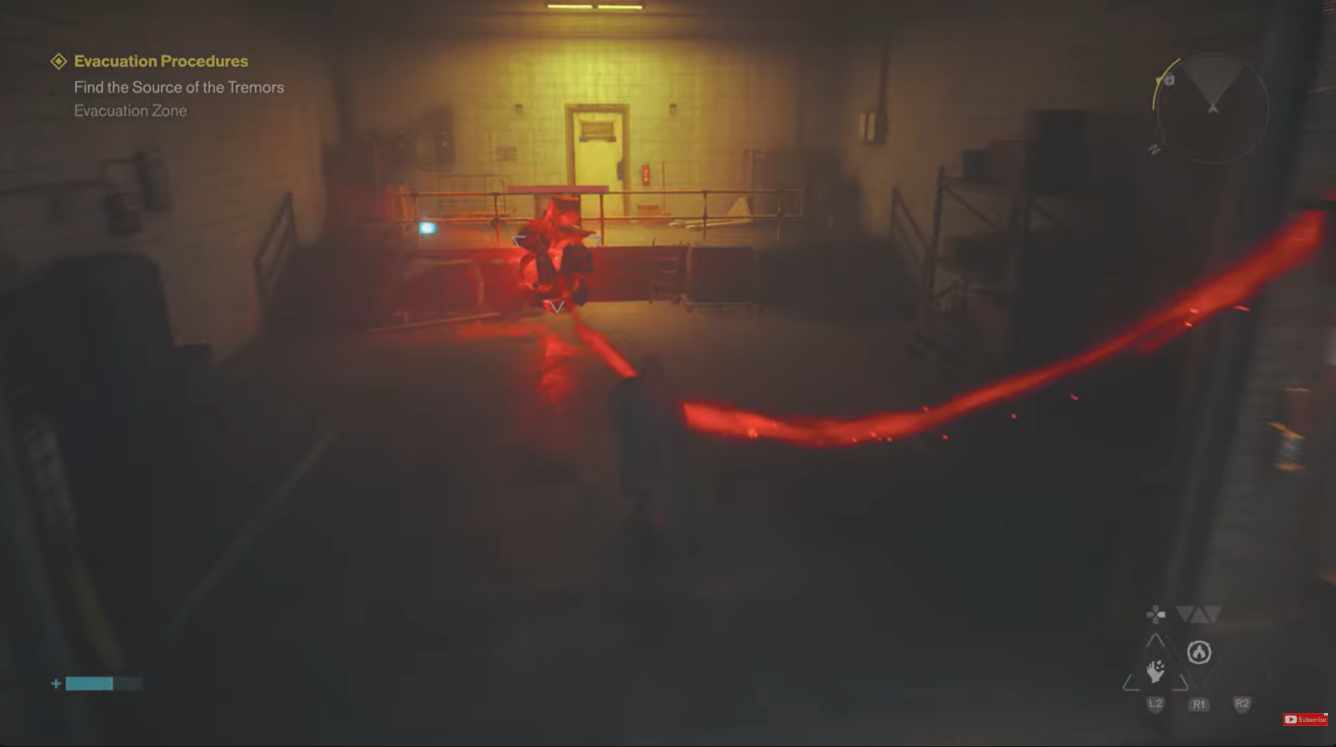
The garage orb is only one of the required targets. You need to destroy all three Hiss orbs surrounding the Evac Building.
The first orb is located in the open area directly in front of the building. The third is north of the building near shielded floating enemies; defeat those enemies and use the nearby rooftop to reach it.
Once all three have been destroyed, return to the Evac Building. The front entrance is now accessible.
What happens after you open the Evac Building
Enter the building and take the elevator on the left to the 12th floor. Follow the available route until you reach a large room containing Hiss enemies.
Clear the room, then head toward the southern side and look for the hallway with the blue light above the entrance. Follow the route through the scaffolding.
Eventually, you will reach another room containing a Hiss orb. Destroy it to gain access to another elevator, then select the 15th floor. This continues the investigation into the tremors and eventually leads to the survivor, Arish.
Evacuation Procedures rewards
| Reward | How you obtain it |
|---|---|
| 1 Living Shard | Complete Evacuation Procedures |
| Agent Uniform | Complete the mission |
| Level 2 Keycard | Obtained during the mission while rescuing Arish |
| Level 2 Security Clearance | Granted by the Level 2 Keycard |
| Rescue Mission | Trophy/achievement for completing the mission |
The Level 2 Keycard is particularly useful because it gives you Level 2 Security Clearance, opening previously inaccessible doors. During the escape section, you can also use the clearance to access rooms containing material crates.
How to continue after finding the tremor source
After reaching Arish, you need to get him out of the building. On the way back, a Hiss orb blocks your route, so destroy it before continuing. Arish then gives you the Level 2 Keycard, allowing you to open the nearby Level 2 door.
Continue through the building, deal with the remaining Hiss, and return to the lobby. From there, use the elevator to reach the ground floor and leave the building to complete Evacuation Procedures.
Finding the garage is the key to the tremor objective
The garage section can be confusing because the Hiss orb is visible but initially inaccessible. The solution is to stop trying to enter through the locked door and instead restore power from the nearby Power Core Station. Carry the charge to the rooftop power box, activate it, and then return to the garage.
Once the orb inside is destroyed, finish off the remaining Hiss orbs around the Evac Building. You can then enter the building and continue the mission toward the actual source of the tremors.




Leave a Reply