What to know
- Google Maps lets you see updated ETAs and next turns from route overviews and the lock screen.
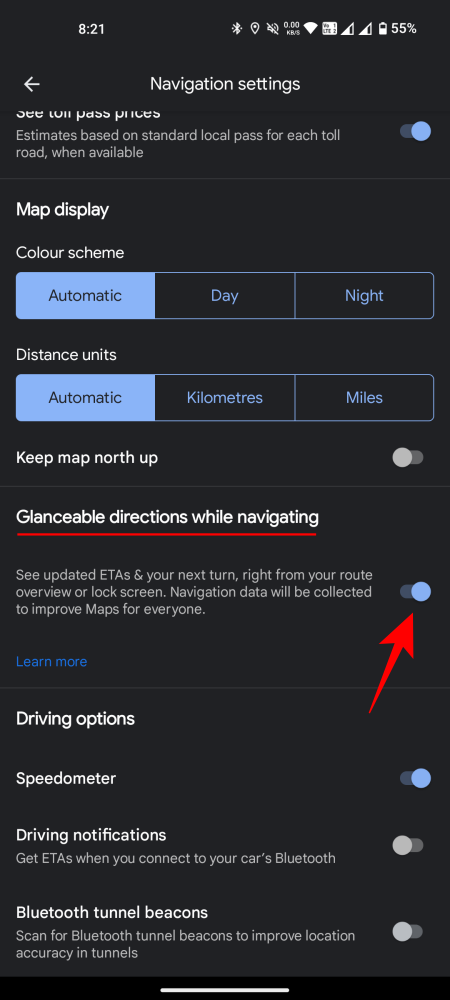
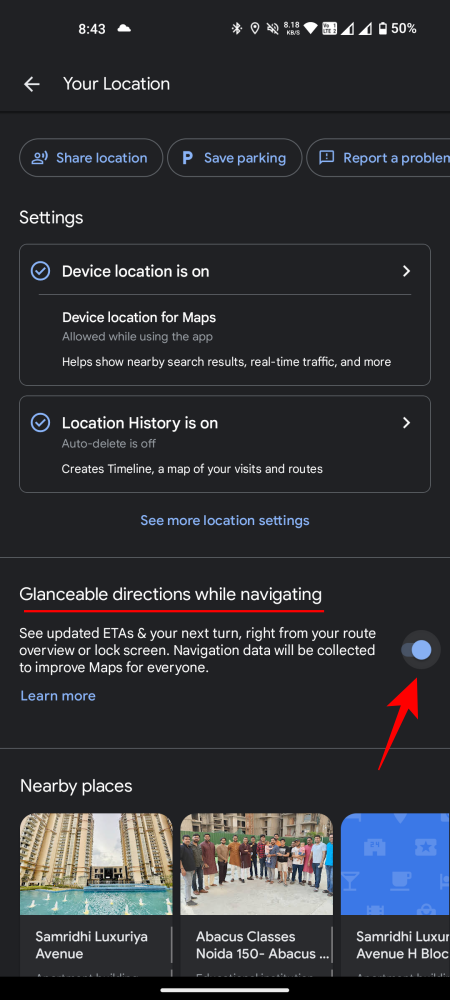
- To enable this ‘Glanceable directions’ feature, go to Settings > Navigation settings > enable ‘Glanceable directions while navigation’.
When on the road, the fewer interactions you have with your phone, the better it is for your safety. But it’s not so easy when you have to rely on Google Maps to get directions, especially when the information you’re after requires unlocking. Fortunately, Google has introduced an important feature called Glanceable Directions that makes it easy to gather all important information with nothing more than a glance. Here’s everything you need to know about it.
What is Glanceable Directions on Google Maps
By default, Google Maps lets you see updated ETAs of different routes and where to turn only when you unlock your phone. Moreover, you don’t get to track and compare the routes from the overview itself. But all this changes with the rollout of glanceable directions.
In short: , with glanceable directions enabled, you can compare routes and get updated ETAs without starting your journey, that is, from the route overview itself. And once begun, you don’t have to unlock your phone to see updated ETAs, where to turn next, or have your path updated when you choose to take the road less traveled. In terms of convenience and safety, Glanceable Directions is one feature that needs to stay enabled for good.
How to use Glanceable Directions on Google Maps
Glanceable directions are disabled by default. So make sure to enable them first using the guide below.
Enable Glanceable Directions on Google Maps
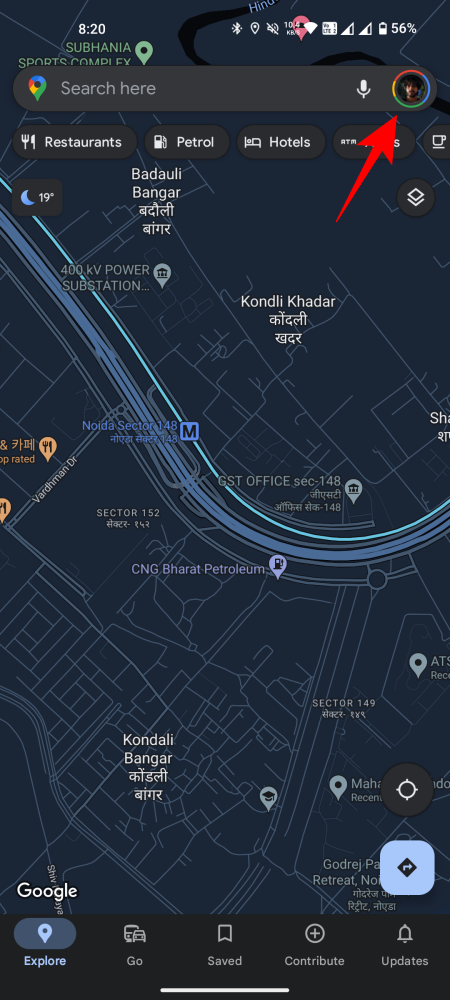
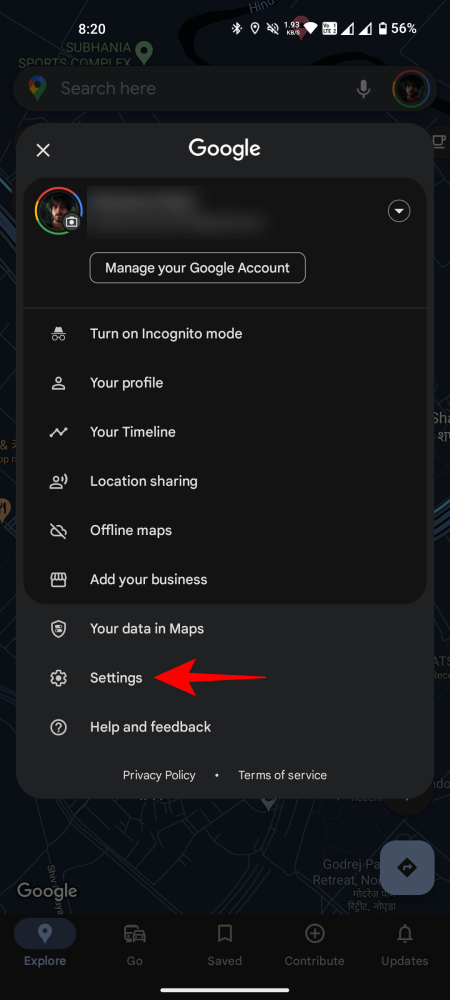
- Open Google Maps, tap on your profile icon, and select Settings.
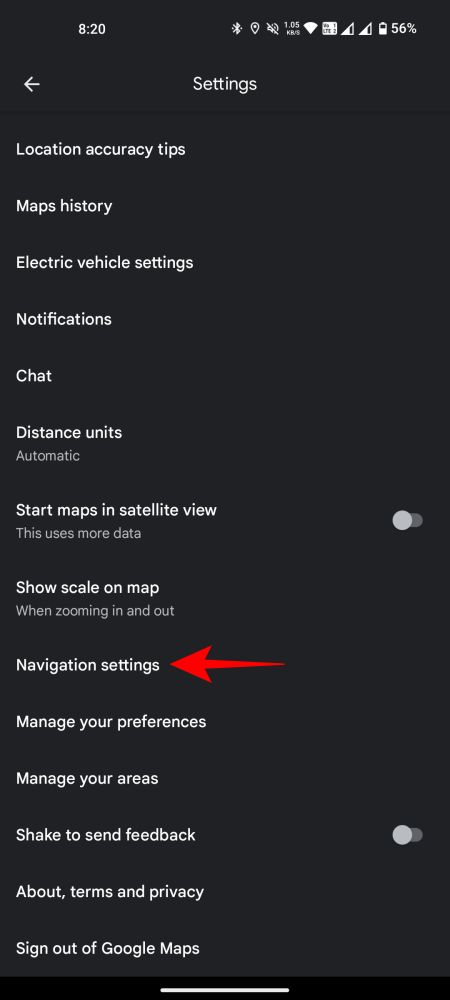
- Scroll down and tap on Navigation settings. Then enable Glanceable directions while navigating.
- An alternate way to enable glanceable directions is to tap on the blue dot after you’ve chosen your direction (but before starting the trip). Then scroll down and enable Glanceable directions.
Track your journey while navigating
Now, let’s see how ‘Glanceable Directions’ helps in the real world while navigating.
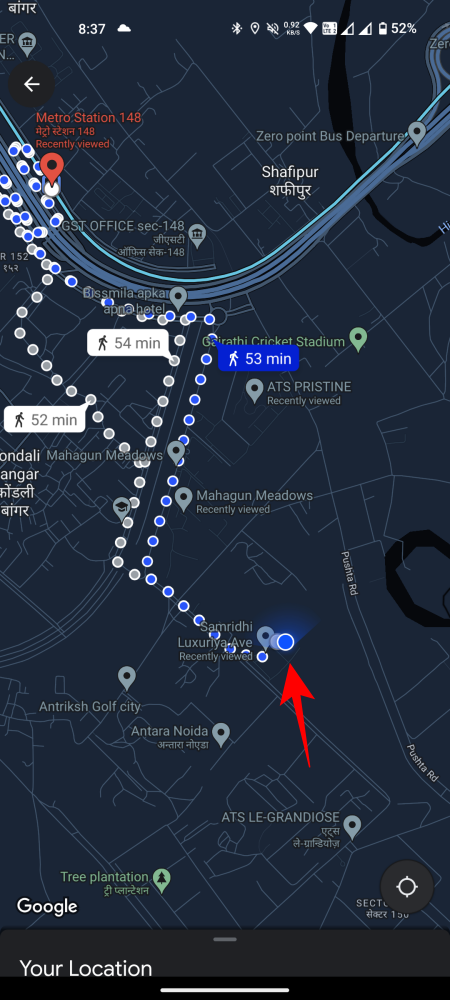
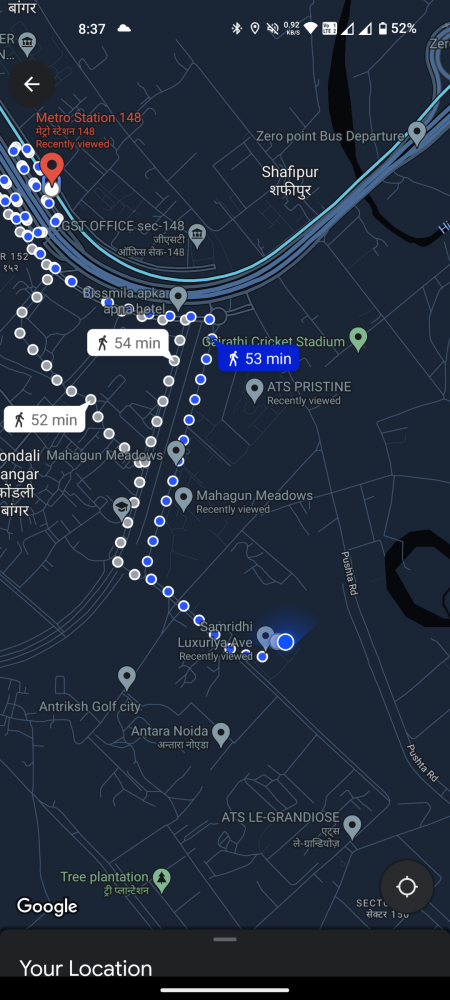
- Firstly, enter your destination and tap on Directions. In the route overview itself, you’ll be able to see the ETA and where to make the turns along the journey. You’ll also see the blue dot turn into a blue directional arrow, highlighting where to go.
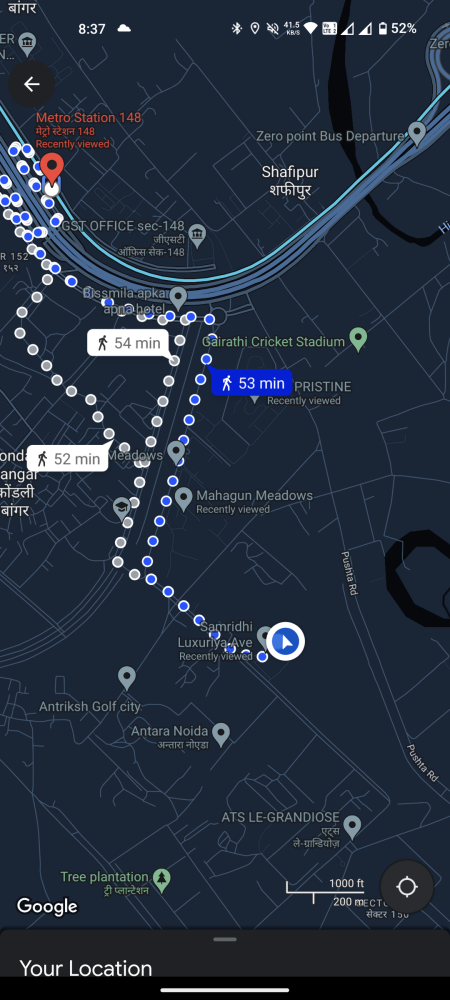
- If you have ‘Live view’ working, you can even see exactly how your journey will pan out, as shown in the GIF below.
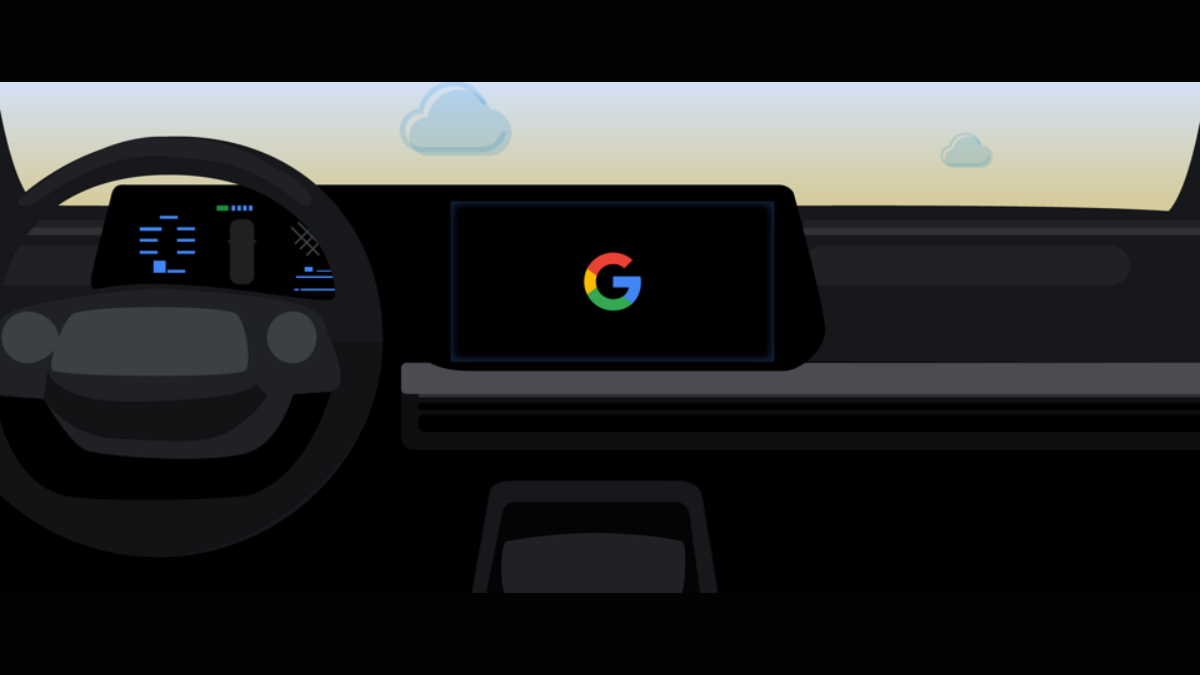
Image: blog.google - Once you hit Start, you will also get real-time updates such as your ETA and your next turn right from your lock screen.
Though the changes may be small, they can prove immensely useful on the road. Not only does the ‘Glanceable directions’ feature make it convenient, it is a much safer way to navigate while getting directions from Google Maps.
FAQ
Let’s consider a few commonly asked questions about Glanceable directions on Google Maps.
Is Glanceable Directions available on iOS?
Yes, Glanceable Directions is available on iOS as well.
What is the benefit of using Glanceable Directions on Google Maps?
Glanceable Directions is as much a safety feature as it is a feature of convenience. While navigating on the road, not only does it minimize unlocking/locking the phone every time you want to check the ETA or your next turn, but it also lets you view the entire journey before even tapping ‘Start’.
We hope you were able to enable and use Glanceable Directions while navigation on Google Maps. Until next time! Stay safe.