Apple released iOS 14 last week and we still can’t have enough of the customizability options that come packed with the new version of the company’s mobile ecosystem. Not only can you change app icons with shortcuts of your own, customize app icons even more, and place widgets on the home screen, but iOS 14 also allows you to create custom widgets and welcomes support for third-party widgets for users to try out.
In this post, we’ll be discussing how you can add a preset widget on iOS 14, and show you several ways to create custom widgets based on what you want to be shown on your home screen.
Related: 80 Awesome Aesthetic App Icons for iOS 14
How to add a widget on iOS 14
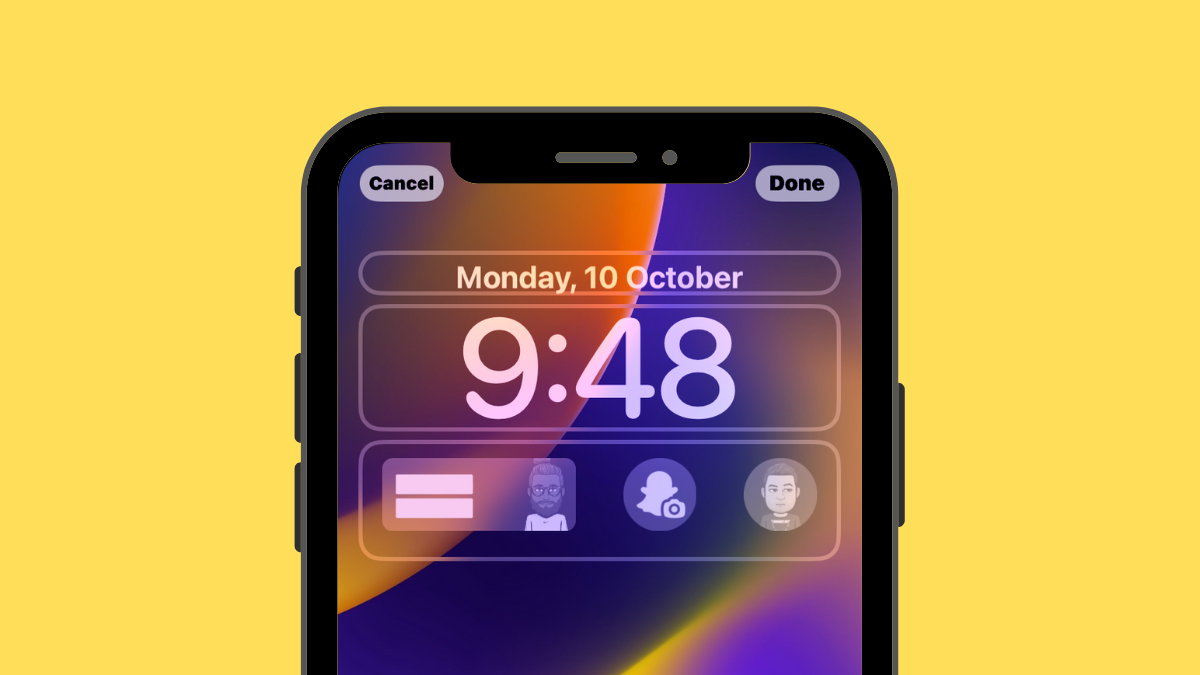
To add a preset widget on your home screen, tap and hold on an empty space on the home screen till the apps and widgets on your home screen begin to jiggle. When they do, tap on the Plus icon at the top right (or left) corner and select a widget from the list of preset widgets that’s available for the Apple apps that are available on your iPhone natively.
You can choose from an assortment of widgets that are already available at the top from different native apps like Weather, Photos, News, Music, TV, and Notes. Besides that, you can also scroll down the widgets list to choose a widget from a specific app on your iPhone.


After you have decided on which widget to add, tap on it, and choose a size you want to set for it on your home screen. You can select the desired size by swiping left or right on this screen and after you have selected a preferred size for the widget, tap on the ‘Add Widget’ button at the bottom.


Your widget will now be added to the home screen and you save your changes by tapping on an empty part of the screen which will make your icons and widgets from jiggling. 
Related: How to Color Apps in iOS 14
How to create customized widgets on iOS 14
While Apple has finally welcomed the idea of widgets on iOS, there’s still a lot of work that needs to be done to make them more useful or at least more aesthetic to be looked at. In order to create a customized widget for your home screen on iOS 14, you need to download and install third-party apps on your iPhone.
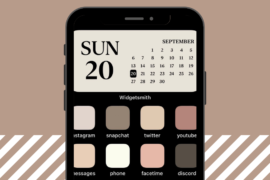
Among the options that are currently available to you, one app that stands out is Widgetsmith. Developed by Cross Forward Consulting, Widgetsmith lets you create custom widgets that you can add to your home screen on iOS 14. Before we move to create a custom widget, download and install the Widgetsmith app from the App Store.
After you install the app, open Widgetsmith by tapping on Open. When you open the app, you’ll start with the creation of your widget depending on its size – Small, Medium, and Large. You will be able to see that there’s already a couple of widgets that have been created for you to add but you can create additional one by tapping the ‘Add (Small/Medium/Large) Widget’ button below each of the size sections.


You can start customizing your widget by tapping on any one of the widgets available inside the Widgetsmith app. Just make sure you have made up your mind about its size before creating and customizing a widget. You can learn more about customizing and creating new widgets in the sections we’ve prepared below.
To apply a newly created widget that you made with Widgetsmith, you can add it to your home screen like you would add any widget on iOS 14. To do this, tap and hold on an empty part of the home screen and then tap on the ‘+’ icon at the top right (or left) corner. When the widgets list pops up, scroll down and select the Widgetsmith app from the list, select its size by swiping left or right, and then tap on the ‘Add Widget’ button at the bottom.


If Widgetsmith applies a previously-created widget on the home screen, tap on the widget while it’s still jiggling, tap on the ‘Widget’ option and select your newly created widget from the options available on the screen.


Related: iOS 14 Home Screen Ideas: Best Setups and How To Edit Your Home Screen
Add a custom time widget
Select a widget of your preferred size from the Widgetsmith app and in the next screen, tap on the ‘Default Widget’ box.


This will load up different styles. Here, select a style that you want to set under the ‘Time’ section for creating a time widget. Select from one of the options available on the screen.
After choosing the desired style, you can make necessary modifications to the widget like Location, Font, Tint Color, Background Color, and Time Format. You can do this by tapping the relevant sections under ‘Style’ and choosing the options that suit you best.


After making the necessary changes to the widget, tap on the Widget name at the top left corner of the screen, which in this case is ‘Medium #2’. By default, your widgets will be named in this format – <Size #number>. When you tap on the name of the widget, you will be taken to the created widget’s main screen.
You can rename the widget by tapping on the ‘Tap to Rename’ option that’s highlighted under the current widget name. If not, you can proceed to save the newly created widget by tapping on the ‘Save’ button at the top right corner of the screen.


You can add this newly created widget to your home screen as mentioned in the section above.
Add a custom date widget
Open Widgetsmith, select a widget of your preferred size, and then tap on the ‘Default Widget’ box. This will open the widget’s style screen and here, you need to scroll down to the ‘Date’ section. In this section, select a style you want to apply to your date widget.
You can customize the widget further by selecting different options – Font, Tint Color, and Background Color. For setting different values or selecting an option, you will have to tap on each of these sections and then select an option as shown below.


After making the necessary changes to the widget, tap on the Widget name at the top left corner of the screen, and save the newly created widget by tapping on the ‘Save’ button at the top right corner.


Your newly created widget has been saved to Widgetsmith and you can apply it to your home screen like you normally would.
Add a calendar widget
Open Widgetsmith, select a widget of your preferred size, and then tap on the ‘Default Widget’ box. This will open the widget’s style screen and here, you need to scroll down to the ‘Calendar’ section. In this section, select a style you want to apply to your calendar widget. 
You can customize the widget further by selecting different options – Calendar, Font, Tint Color, and Background Color. For setting different values or selecting an option, you will have to tap on each of these sections and then select an option as shown below.


After making the necessary changes to the widget, tap on the Widget name at the top left corner of the screen, and save the newly created widget by tapping on the ‘Save’ button at the top right corner. Your newly created widget has been saved to Widgetsmith and you can apply it to your home screen like you normally would.


Create Solid-Colored widgets
Besides adding functional widgets, one highlight feature available on the Widgetsmith app is the ability to add an empty widget. Creating a widget with a solid color tends to boost the aesthetic of the home screen and you can add accented solid widgets to go with your wallpaper to give your iOS 14 home screen a unique look.
Before adding a solid-colored widget to your home screen, open Widgetsmith, select a widget of your preferred size, and then tap on the ‘Default Widget’ box.
This will open the widget’s style screen and here, you need to scroll down to the ‘Custom’ section. In this section, select the ‘Blank’ style from the four options available. Since this is a blank widget, you will only have to select an option to set as your ‘Background Color’.


After making the necessary changes to the widget, tap on the Widget name at the top left corner of the screen, and save the newly created widget by tapping on the ‘Save’ button at the top right corner. Your newly created widget has been saved to Widgetsmith and you can apply it to your home screen like you normally would.


Create an aesthetic widget with Custom Photos/Text
Similar to adding a solid colored widget, you can create custom widgets with a single photo, multiple photos, or a custom text using the Widgetsmith app.
To do a custom photo/text widget to your home screen, open Widgetsmith, select a widget of your preferred size, and then tap on the ‘Default Widget’ box. This will open the widget’s style screen and here, you need to scroll down to the ‘Custom’ section. In this section, select any one of these three styles – Photo, Photos in Album, and Custom Text.
Photo: Adds a single photo as a widget on your home screen.
Photos in Album: Create a widget to show multiple photos from an album.
Custom: Add a widget with a custom message to display on your home screen.
If you’re selecting any one of the first two options – Photo or Photos in Album, you will need to select a picture or multiple pictures by tapping on the ‘Selected Photos’ or ‘Selected Album’ options below the ‘Style’ section and then select a picture/album of your choice from your library.


If you chose the Custom Text style, then you can customize it further by selecting different options – Text, Font, Tint Color, and Background Color. For setting different values or selecting an option, you will have to tap on each of these sections and then select an option as shown below.
After making the necessary changes to the widget, tap on the Widget name at the top left corner of the screen, and save the newly created widget by tapping on the ‘Save’ button at the top right corner. Your newly created widget has been saved to Widgetsmith and you can apply it to your home screen like you normally would.


Add Reminders to a home screen widget
Apple lets you add reminders to your home screen on iOS 14, but if you’re not satisfied with the offering, you can try Widgetsmith’s custom reminders widget.
To add a custom reminder widget to your home screen, open Widgetsmith, select a widget of your preferred size, and then tap on the ‘Default Widget’ box. When the widget’s style screen opens, scroll down to the ‘Reminders’ section and select the ‘Reminders’ widget.
You can customize this widget by selecting different options – Lists, Filters, Font, Tint Color, and Background Color. For setting different values or selecting an option, you will have to tap on each of these sections and then select an option as shown below.


After making the necessary changes to the widget, tap on the Widget name at the top left corner of the screen, and save the newly created widget by tapping on the ‘Save’ button at the top right corner. Your newly created widget has been saved to Widgetsmith and you can apply it to your home screen like you normally would.


See your Activity bar on the home screen
Widgetsmith also lets you track your health and activity info right from your home screen.
To add an Activity bar to your home screen, open Widgetsmith, select a widget of your preferred size, and then tap on the ‘Default Widget’ box. When the widget’s style screen loads up, scroll down to the ‘Health & Activity’ section and select the ‘Activity Bar’ widget. You can customize this widget with different Fonts from the list of options available on the screen.


After making the necessary changes to the widget, tap on the Widget name at the top left corner of the screen, and save the newly created widget by tapping on the ‘Save’ button at the top right corner. Your newly created widget has been saved to Widgetsmith and you can apply it to your home screen like you normally would.
Check for moon phase / star field / sunrise-sunset times
With Widgetsmith, you also get the ability to check astronomical data that you might usually follow right from your home screen. The app lets you create widgets for showing sunrise/sunset time, Moon phases, and Starfield for your location.
To add a custom Astronomy widget to your home screen, open Widgetsmith, select a widget of your preferred size, and then tap on the ‘Default Widget’ box. When the widget’s style screen opens, scroll down to the ‘Astronomy’ section and select any one of the following widgets – Sun Rise/Set, Moon Phase, and Starfield.


You can customize each of these widgets by selecting different options – Location, Font, Tint Color, Background Color, and Time Format. For setting different values or selecting an option, you will have to tap on each of these sections and then select an option as shown below.
After making the necessary changes to the widget, tap on the Widget name at the top left corner of the screen, and save the newly created widget by tapping on the ‘Save’ button at the top right corner. Your newly created widget has been saved to Widgetsmith and you can apply it to your home screen like you normally would.


Custom widgets: Here’s what some users created
With the release of iOS 14 and the rising popularity of the Widgetsmith app, many users are trying their hands to create a unique home screen personalized to their taste. Here’s a bunch of them we think has stood out from the rest.
You’ll love this one if you’re a Friends fan.
https://twitter.com/thatonegirljj/status/1307769099192336385
A night well spent, shall we say?
https://twitter.com/heyerinevans/status/1307693518454915075
The best we could find for all of your B/W fanatics.
This one’s for the holidays!
Here’s an inspiration to those of you who want to color-theme your home screen.
What do you think about Widgetsmith and the ability to create customized widgets for your iOS 14 home screen? If you’re facing any issues with the Widgetsmith app, check out our post down below to fix the problem.
▶ How to fix ‘Widget Smith app not working’ on iOS 14
RELATED
- Best color widgets on iOS 14
- Best Aesthetic Wallpaper Pictures for iOS 14
- How to Get Spotify Widget on iOS 14
- How to Get Google Calendar Widget on iOS 14
- What Do Red, Yellow, Orange, and Green Dots Mean on iOS 14?
- What Is NFC Tag Reader in iOS 14? Where to find it?
- How to fix ‘Widget Smith app not working’ on iOS 14