What to know
- You can configure Assistive Access, how it looks, and what apps appear on it even after the initial setup.
- To access settings within the Assistive Access mode, by triple-pressing the Side button on the iPhone and selecting Settings.
- To access settings inside iOS (when Assistive Access is inactive), you can go to Settings > Accessibility > Assistive Access and modify the options available on the screen.
- FYI, here are our guides reading how to turn on and set up Assistive Access on your iPhone and how to use it.
How to customize Assistive Access on iPhone
After the initial setup, you can manage Assistive Access settings on the iPhone at any time with and without the Assistive Access mode enabled using the methods below.
Note: One thing to keep in mind is that while modification options are available inside and outside Assistive Access mode, these options are limited when you access the Assistive Access settings when this mode is active. To manage the Assistive Access settings completely, we recommend using method 2 to get more granular options to configure every single feature on Assistive Access.
Method 1: When Assistive Access is active
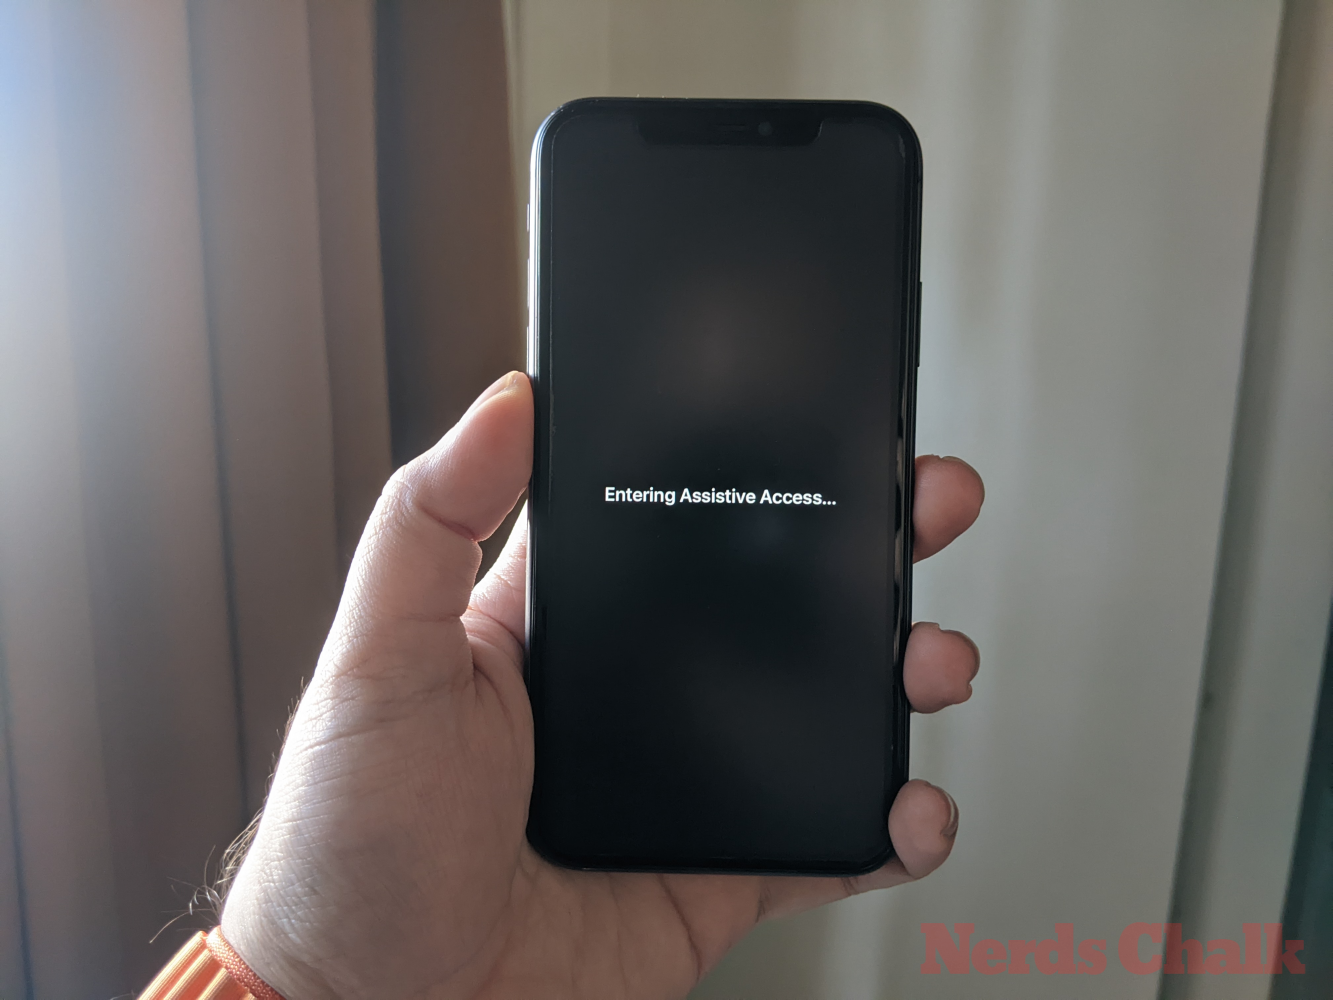
To manage Assistive Access settings using this method, you need to ensure that Assistive Access mode is active on the iPhone. You can enter Assistive Access by going to Settings > Accessibility > Assistive Access > Start Assistive Access.

When you do that, iOS will ask you to enter the Assistive Access passcode on the screen after which the screen will go black and read the “Entering Assistive Access” message.
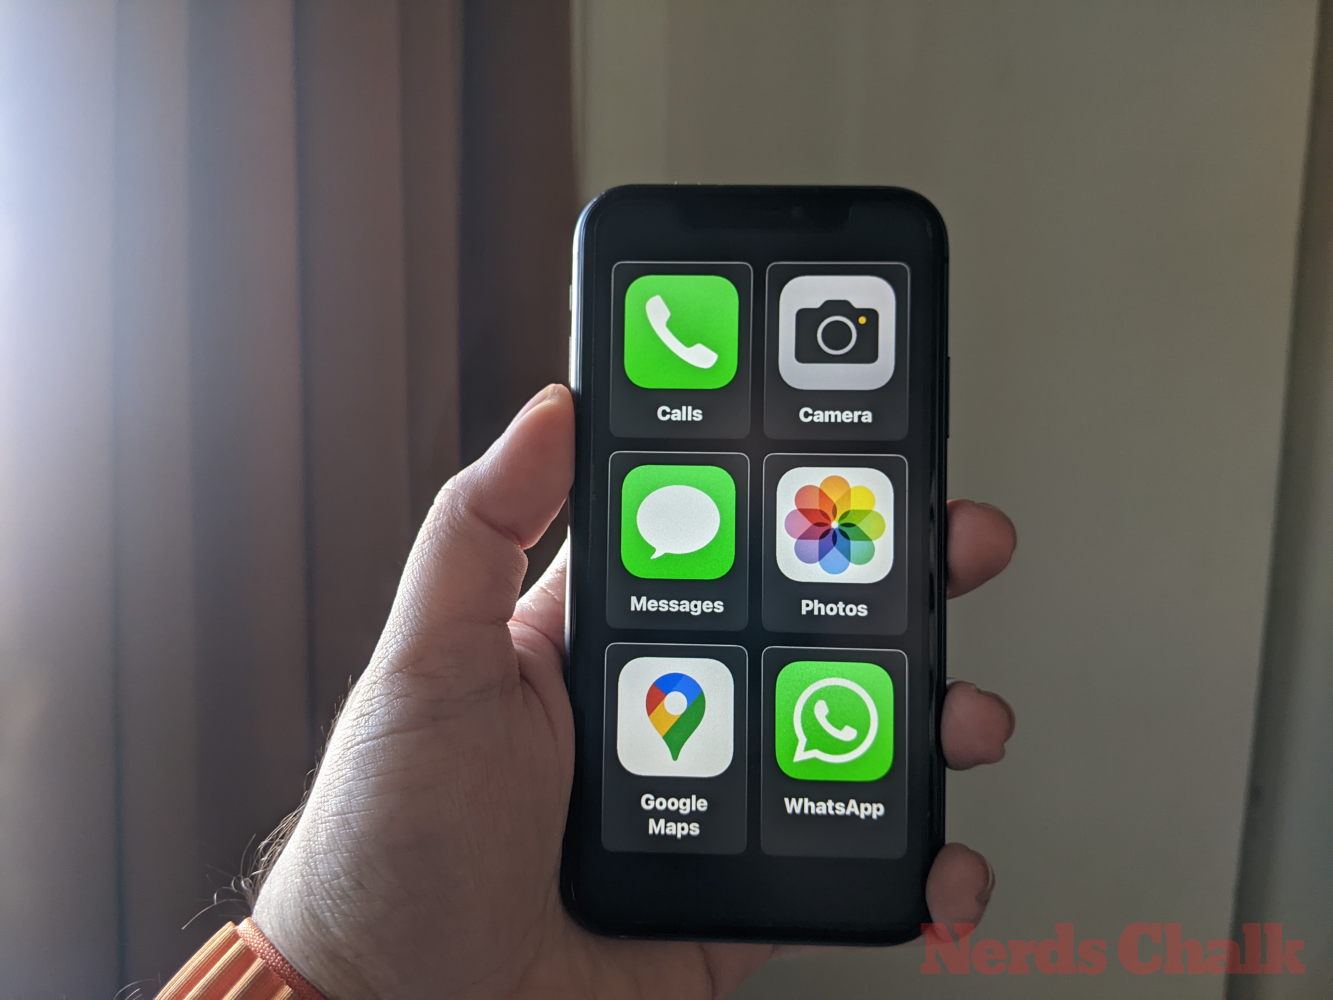
Within seconds, you’ll see the Assistive Access home screen on the iPhone.
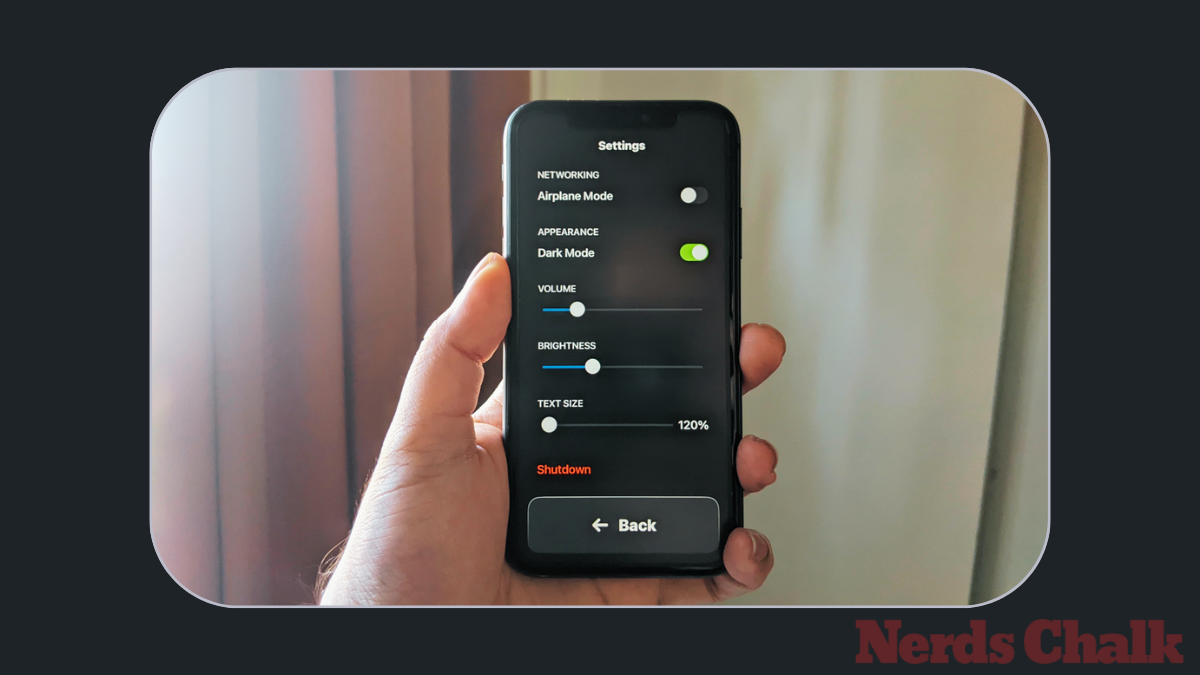
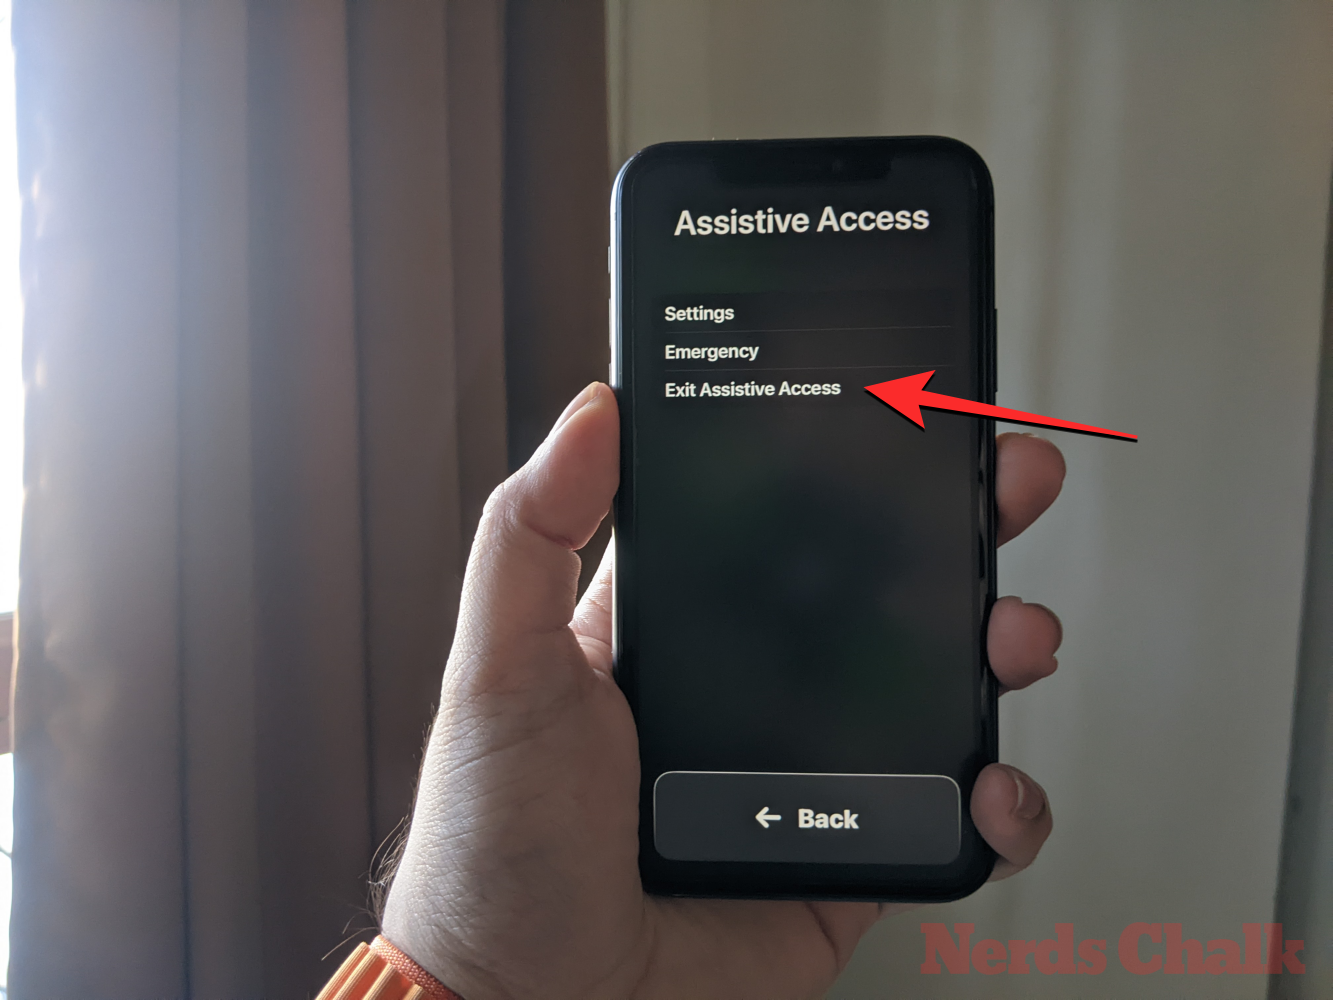
To access Assistive Access settings, triple-press the Side button on the iPhone. On the Assistive Access screen, select Settings.
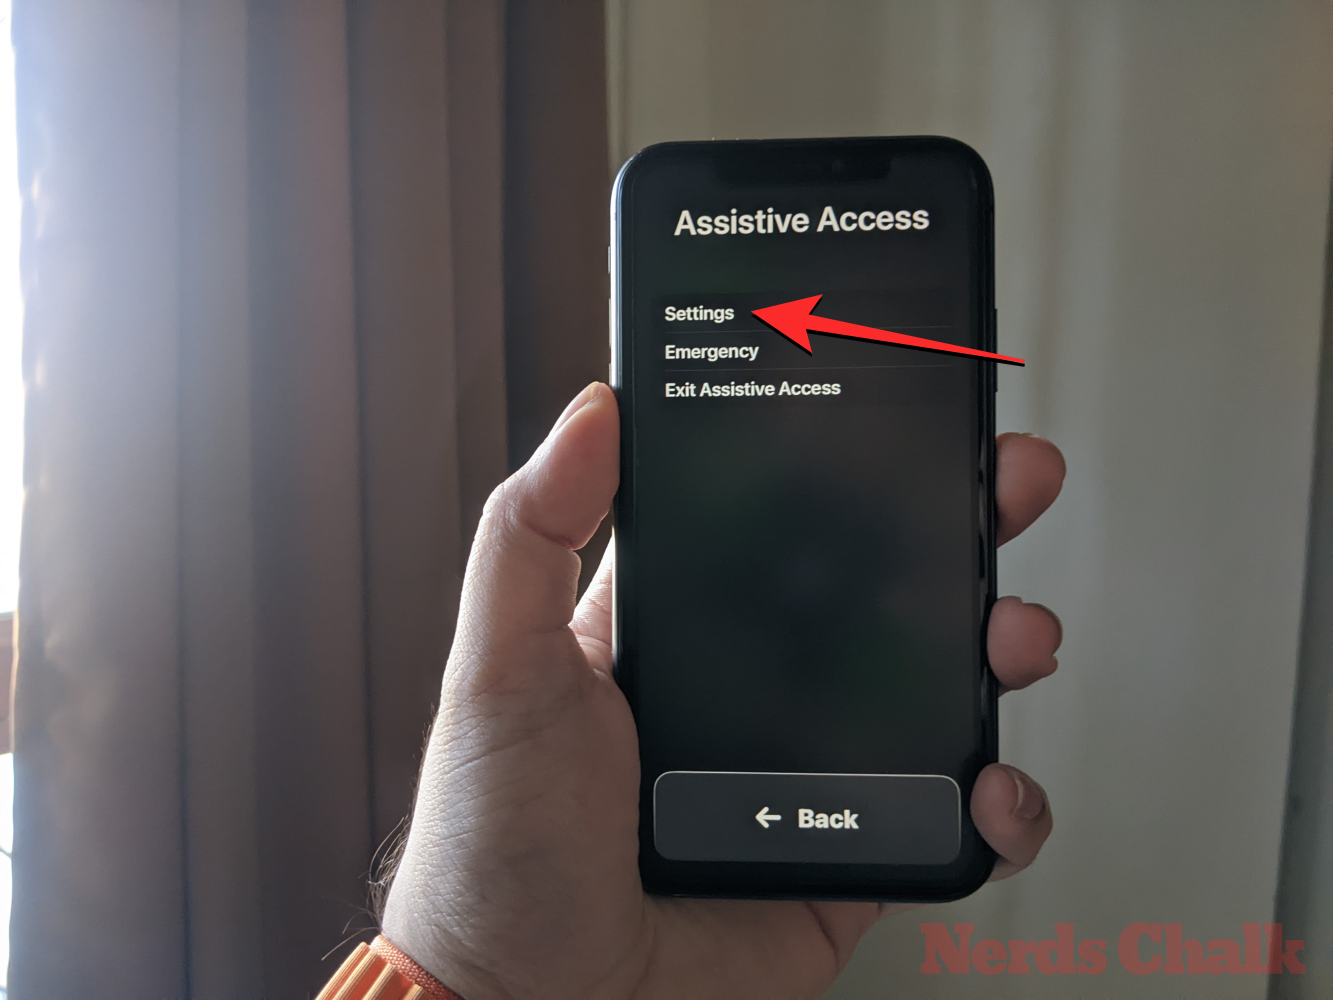
You’ll need to enter your Assistive Access passcode.

When you do that, your device will load the Settings page for Assistive Access.
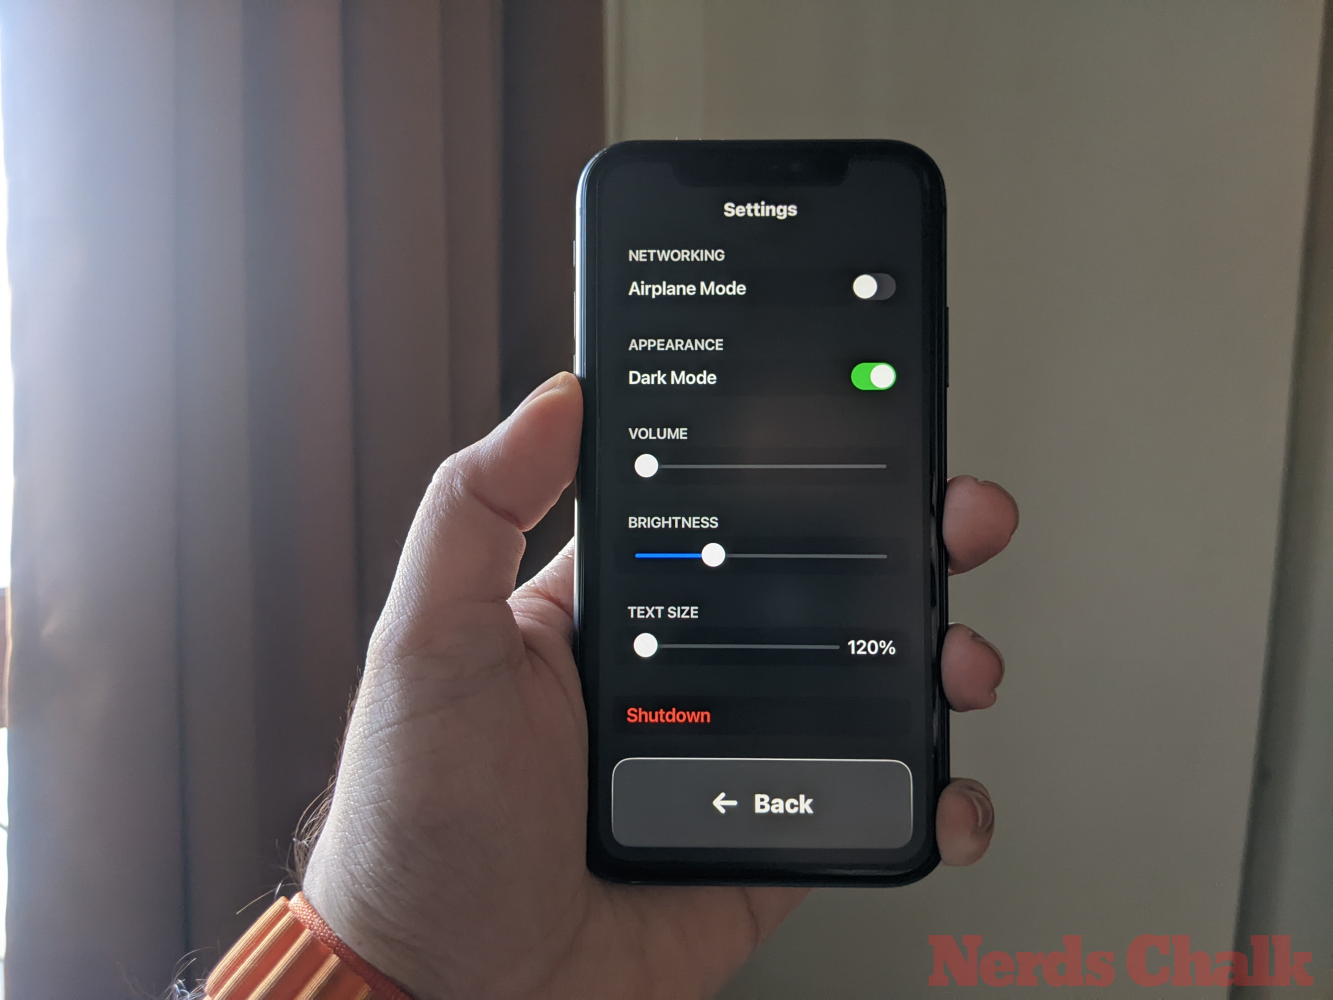
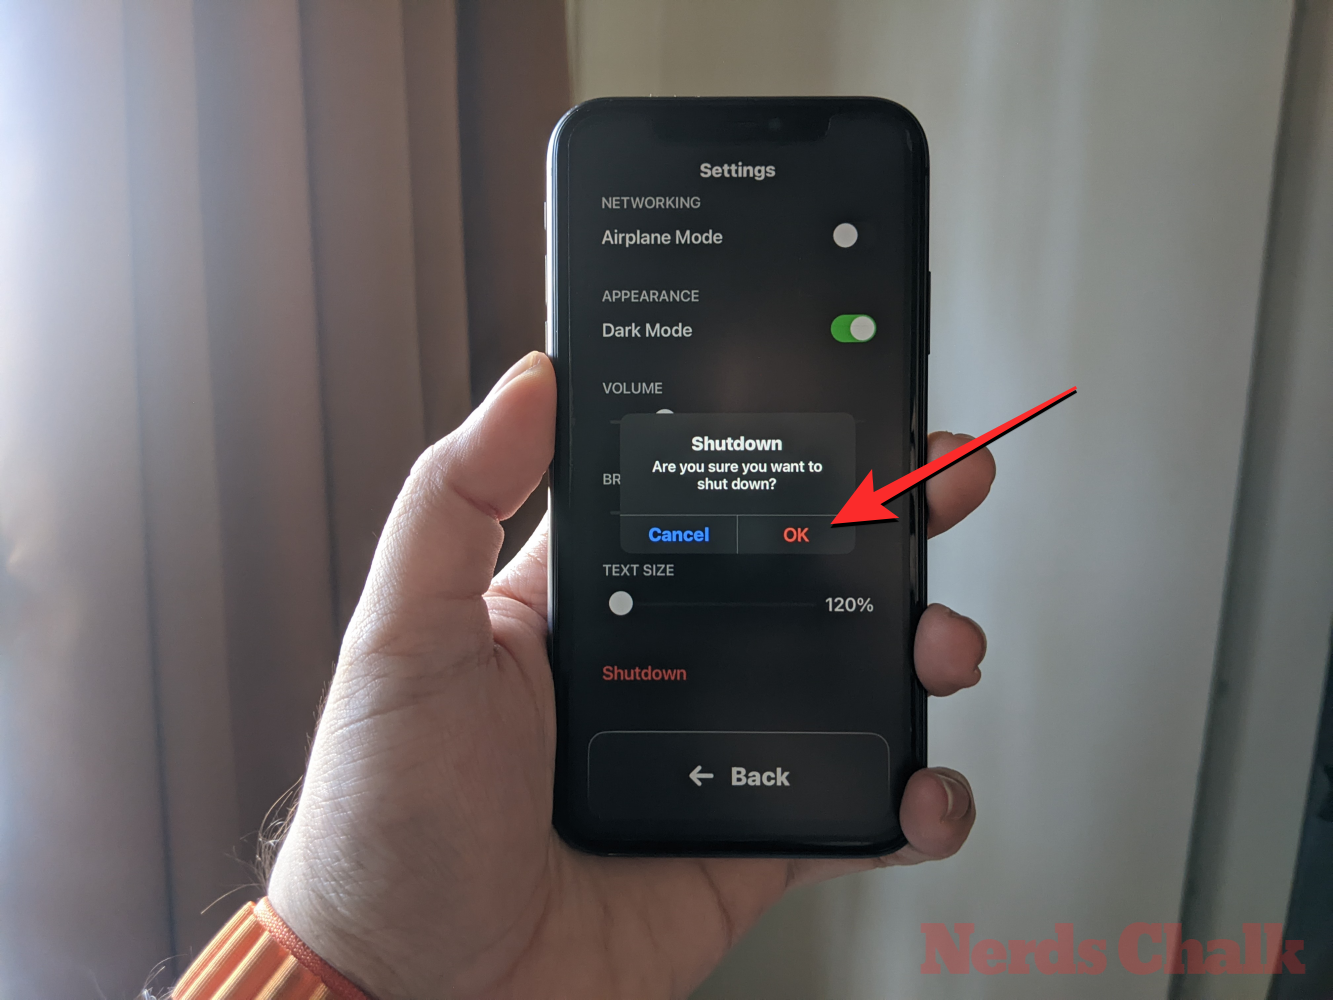
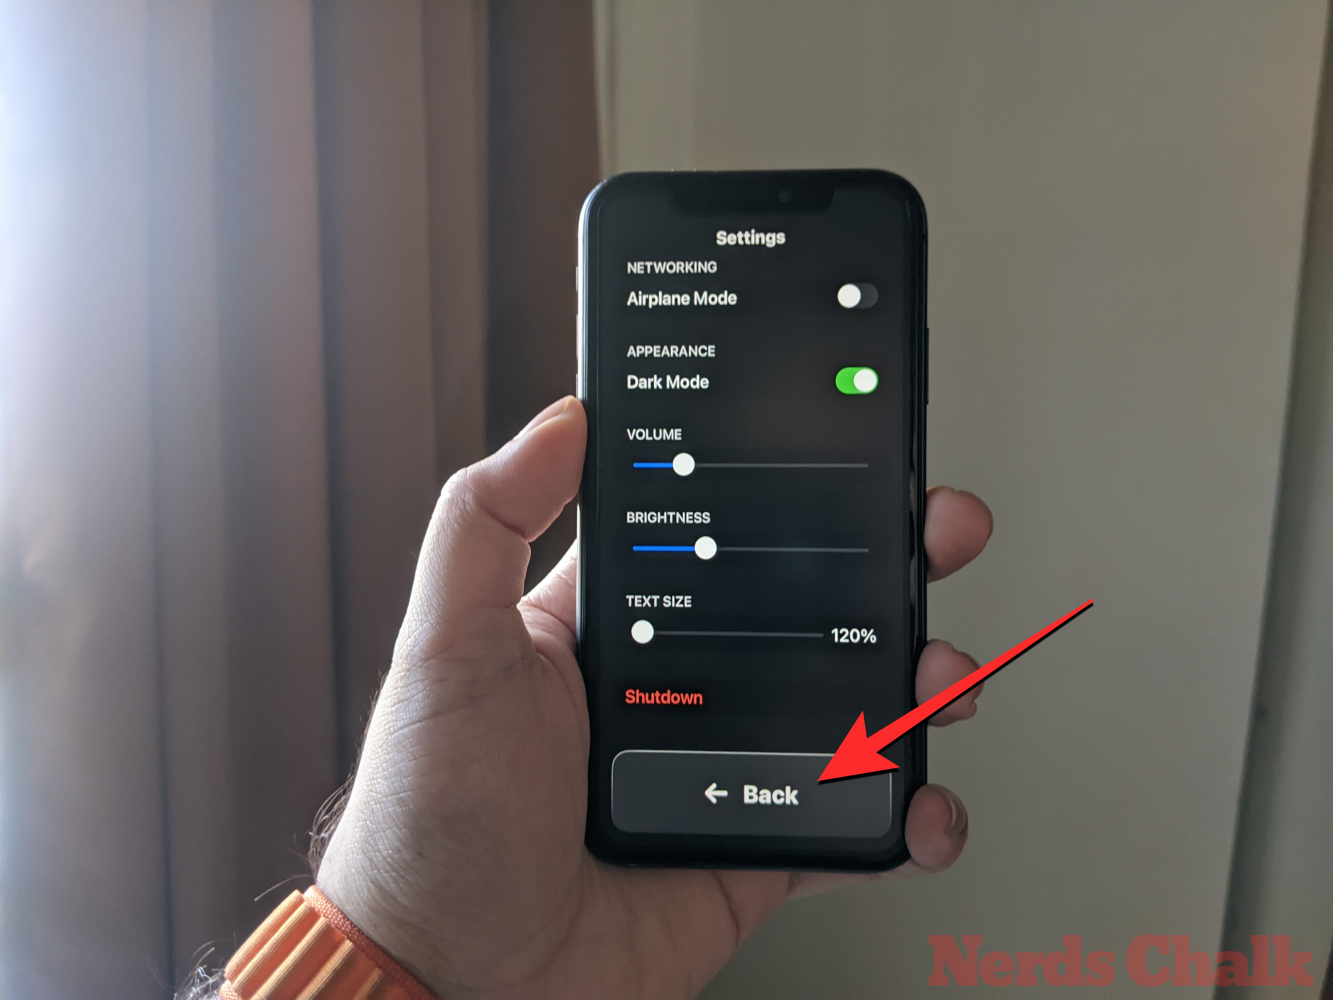
Here, the first thing you can toggle is switching the Airplane Mode on/off under “Networking” to prevent/allow your iPhone to connect to wireless and cellular networks.

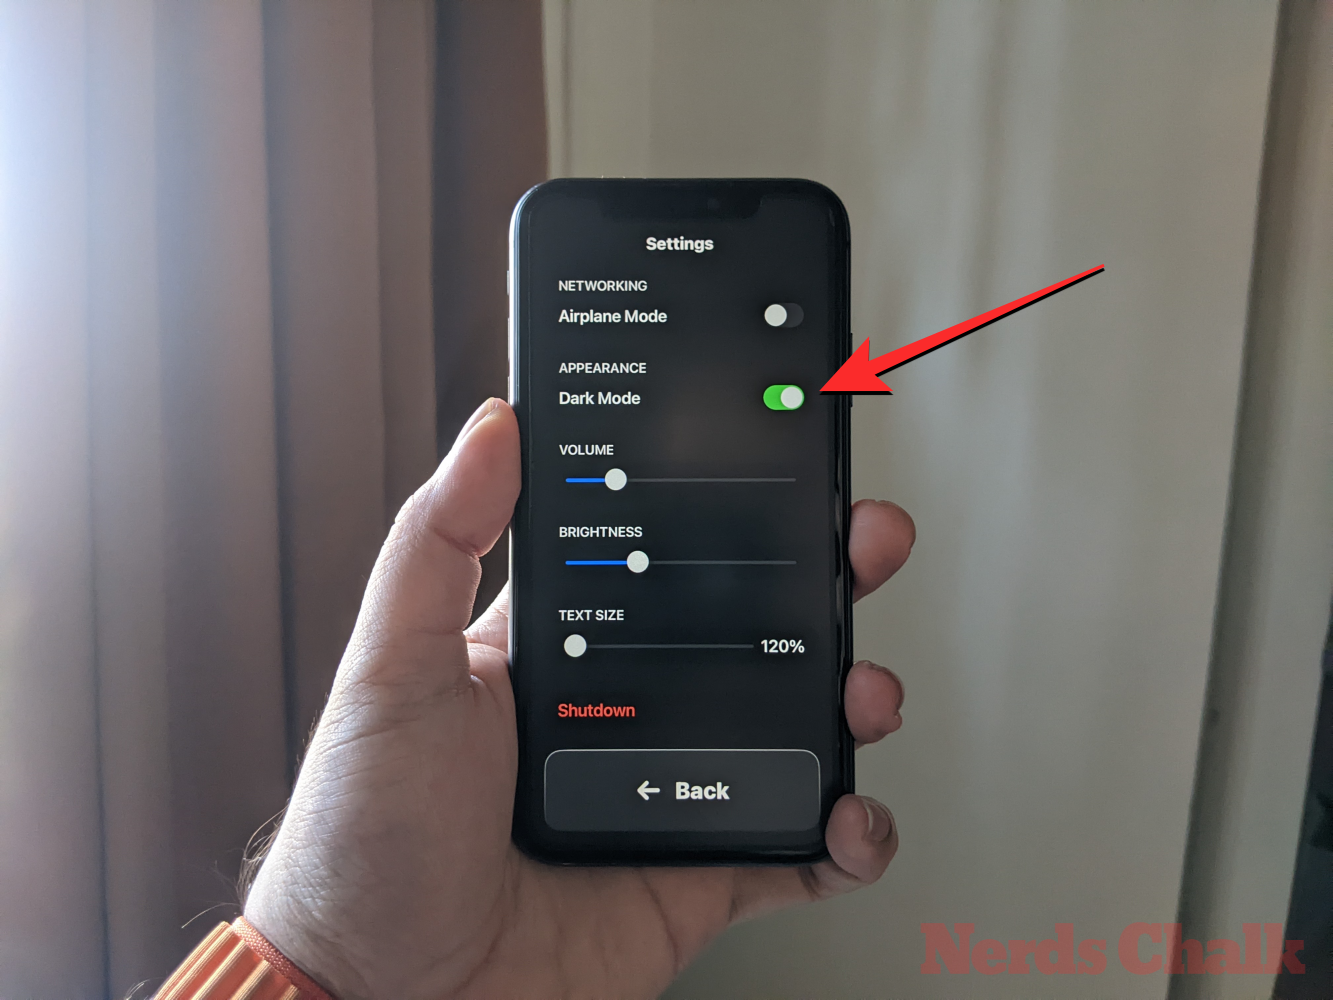
Underneath the “Networking” section, you’ll find the “Appearance” section where you can turn on/off Dark Mode for Assistive Access.
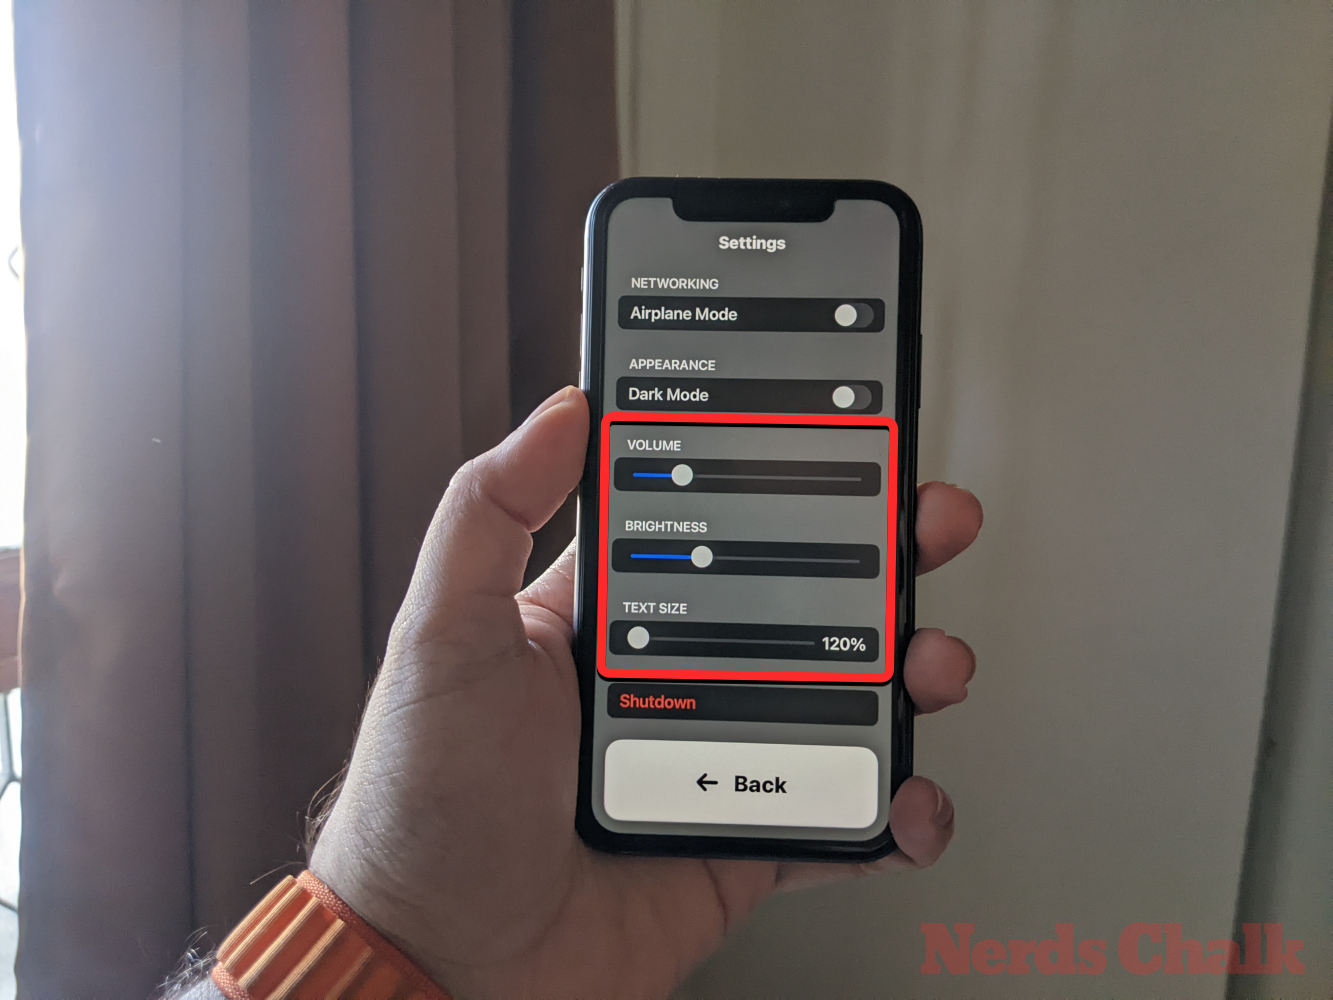
You can then move the sliders on the screen to adjust Volume, Brightness, and Text Size.
At the bottom of the Settings screen, you can tap the Shutdown button to power off the iPhone within Assistive Access.
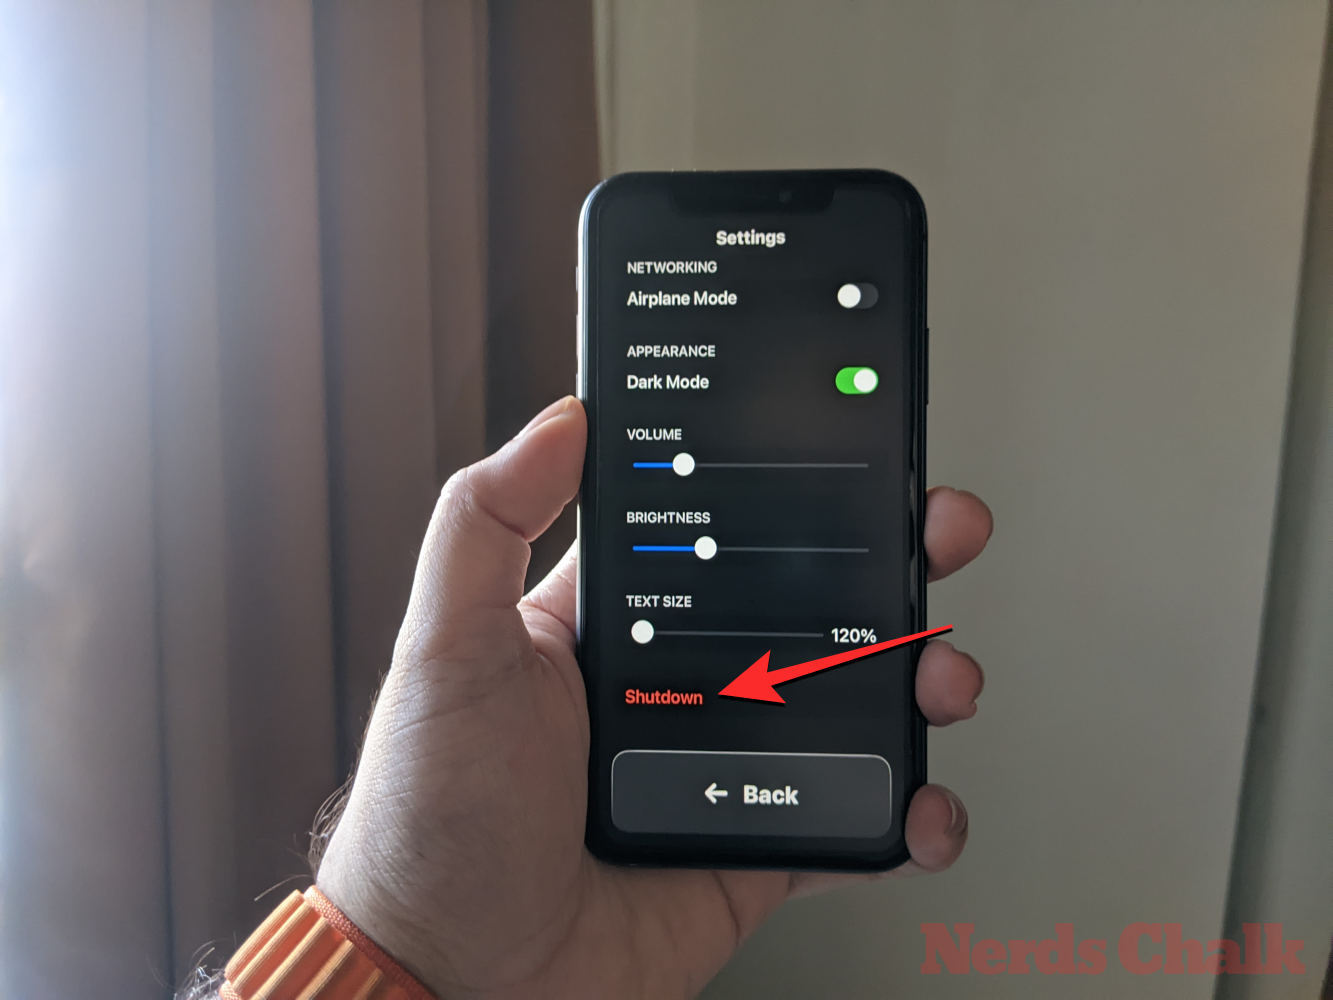
When you do that, you’ll be prompted to confirm your action. To continue with the Shutdown action, tap on OK.
At any time, you can go back to the Assistive Access home screen by tapping on the large Back button at the bottom.
Method 2: When Assistive Access is inactive
Unlike when Assistive Access is active, Apple provides you with more options to configure Assistive Access when you’re using the regular version of iOS. If Assistive Access is still active on your iPhone, you can exit it by triple-pressing the Side button and selecting Exit Assistive Access from the list of options.
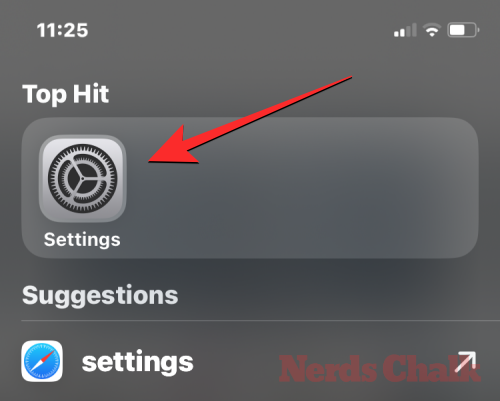
After you enter your Assistive Access passcode, you’ll return to your usual iOS interface. When that happens, you can start managing Assistive Access settings by first opening the Settings app on the iPhone.
Inside Settings, scroll down and select Accessibility.
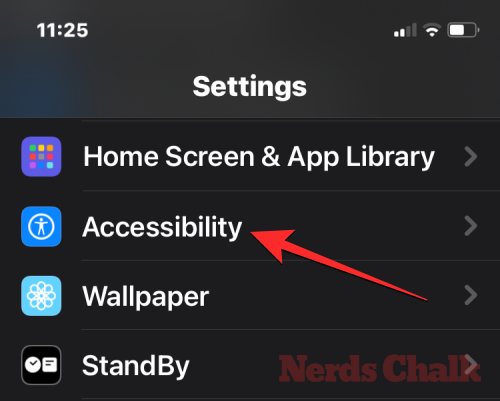
On the Accessibility screen, scroll down to the bottom and tap on Assistive Access.
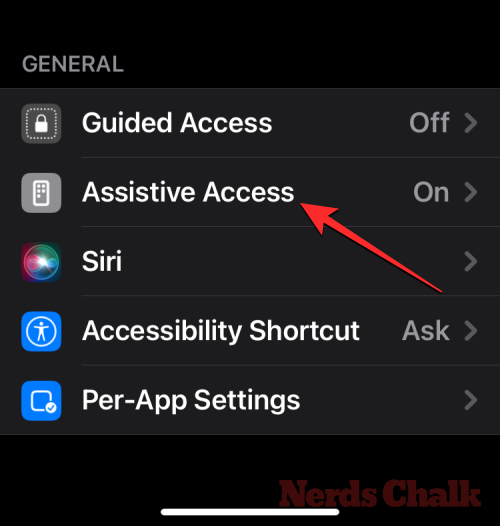
You will now arrive at the Assistive Access screen from where you can manage different settings for Assistive Access on your device.
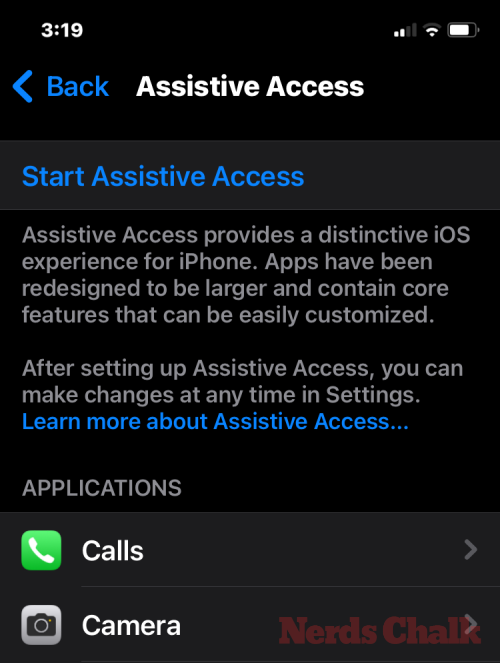
Add, remove, and manage applications
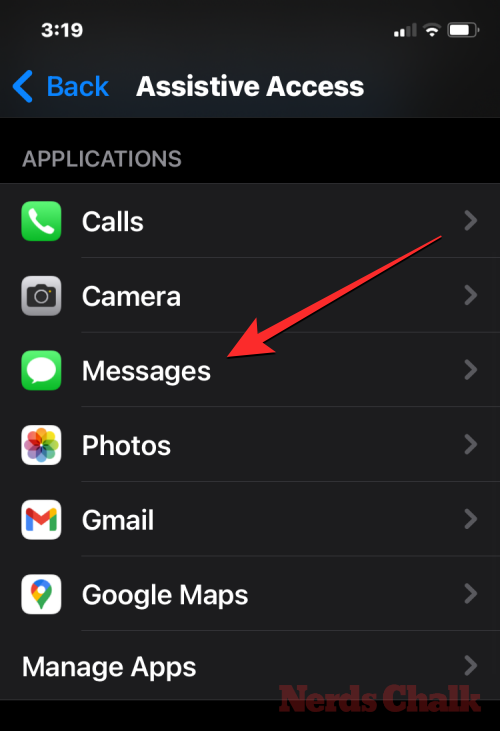
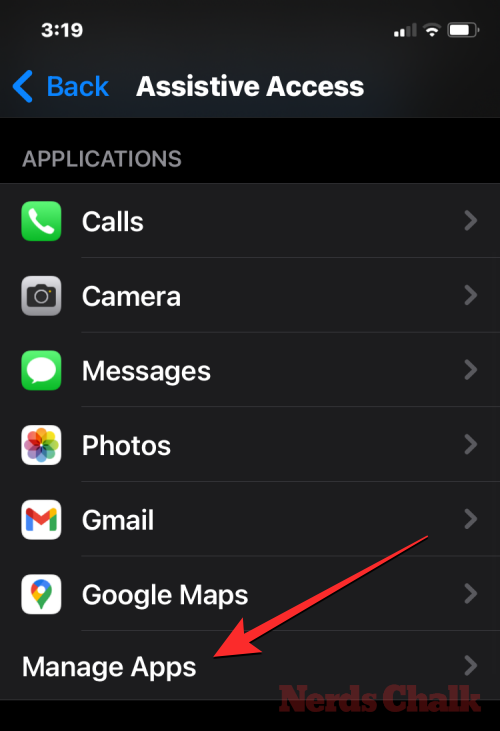
The first thing you can configure is the “Applications” section. Here, you’ll see a list of all the apps you’ve set up to be available inside Assistive Access. To change the settings and permissions for any of these apps, select an app from the “Applications” section.
On the next screen, you can toggle different options, features, and permissions for the selected app if available. Apps configured with Assistive Access will show more options to configure.
Other apps you added here will only allow you to grant or deny specific permissions for them when Assistive Access is active.
To remove or add more apps inside Assistive Access, tap on Manage Apps under “Applications”.
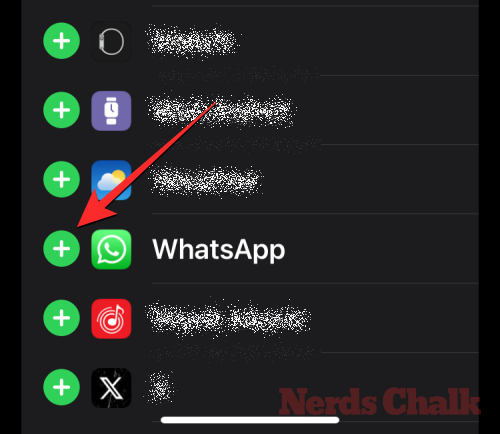
On the next screen, you will see existing apps under “Selected Apps” and apps that haven’t yet been added under “Optimized for Assistive Access” and “More Apps”. To add an app from these sections to Assistive Access, tap on the green-colored plus (+) button on its left-hand side and configure the selected app on the next screen.
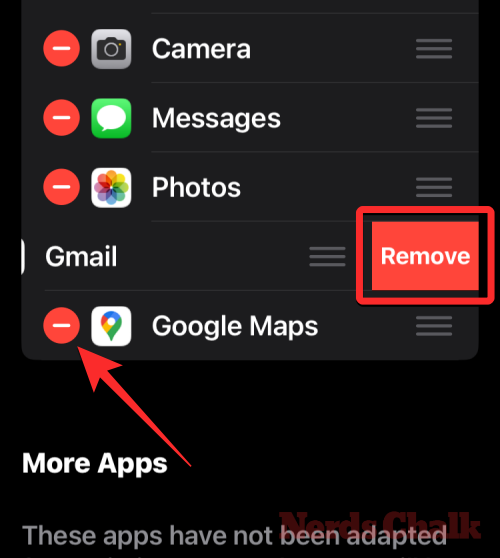
To remove an app from Assistive Access, tap on the red-colored minus (-) icon on its left-hand side and then tap on Remove on the right.
Change the app layout on the Assistive Access home screen
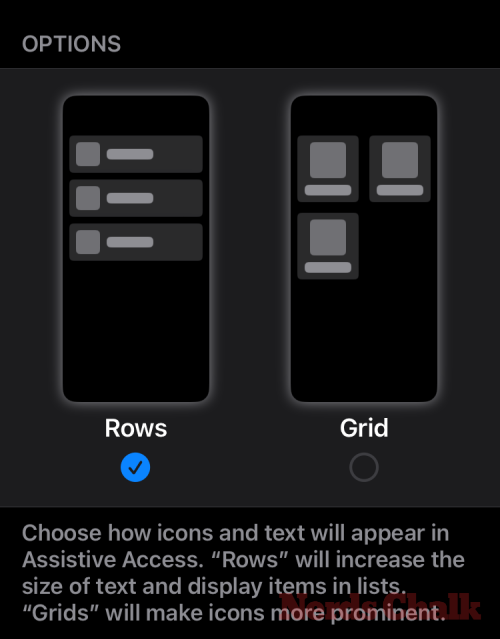
Once you’ve configured the apps to be present inside Assistive Access, you can return to the previous screen to manage this mode further. Under the “Options” section, you can switch between Rows and Grid to change the appearance of the Assistive Access home screen as described during setup.
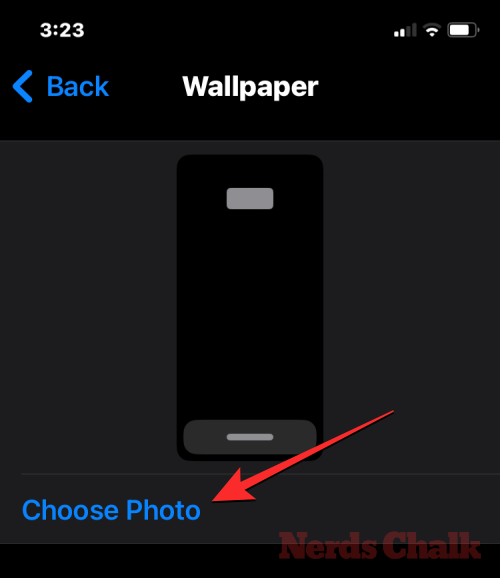
Change the default wallpaper on Assistive Access lock screen
By default, when Assistive Access is set up, the lock screen shows a black wallpaper. To set a photo as your lock screen wallpaper inside Assistive Access mode, tap on Wallpaper.

On the next screen, tap on Choose Photo to proceed.
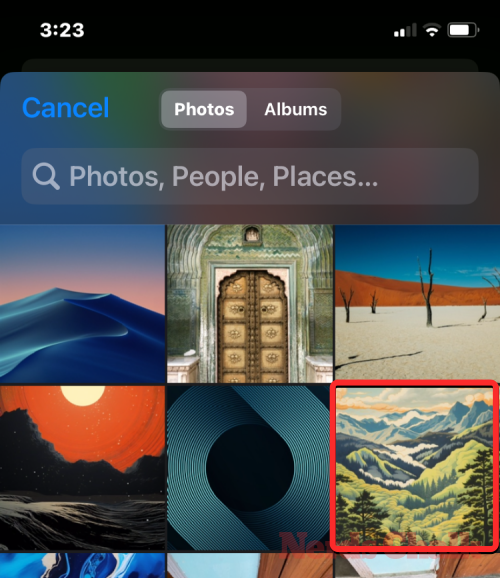
Now, you can select a picture from your Photos library to add it as your lock screen wallpaper inside Assistive Access mode.
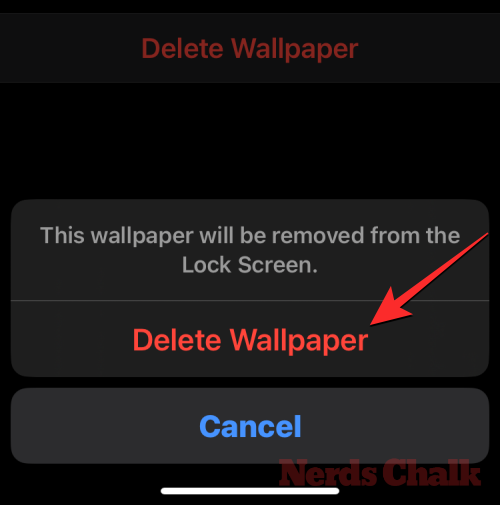
The selected wallpaper will now be added to your Assistive Access lock screen. A preview of it will appear on the Wallpaper screen. If you want to remove the applied wallpaper from the lock screen, you can do that by tapping on Delete Wallpaper.
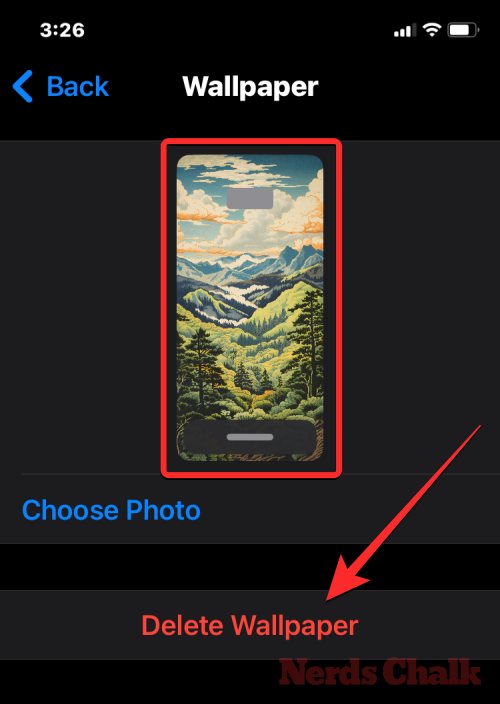
To confirm the action, tap on Delete Wallpaper from the prompt that appears at the bottom.
Turn on additional features
Inside the Assistive Access settings, you can also toggle a bunch of different options to enable or disable when Assistive Access is active.
These include:
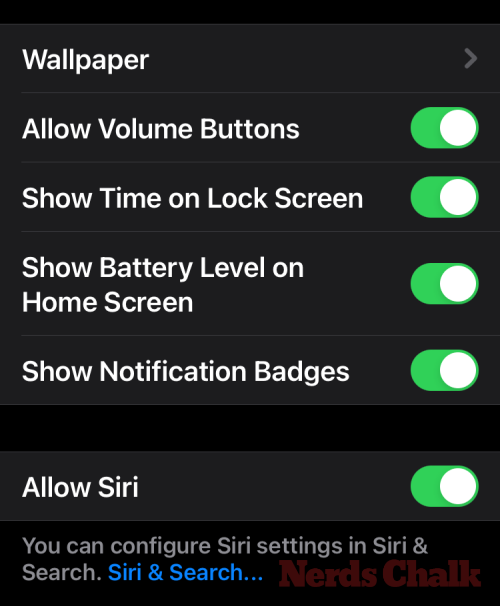
Allow Volume buttons: When enabled, you can turn up or down the volume levels using the volume button during Assistive Access. When disabled, pressing the Volume buttons won’t change anything on the iPhone.
Show Time on Lock Screen: By default, the only way to see the time with Assistive Access active is by checking the iPhone’s lock screen. If you disable this toggle, however, you won’t see a digital clock on the lock screen.
Show Battery Level on Home Screen: Assistive Access’ home screen only shows app icons and names. You can turn on this toggle to additionally see the battery levels from the home screen.
Show Notification Badges: When you receive a notification on an app with Assistive Access enabled, you’ll see a “New” labeled notification badge on the app icon. To prevent seeing this badge, you can turn off the Show Notification Badges toggle.
Allow Siri: If you configured Siri during the Assistive Access setup, this toggle will be enabled. If you didn’t, you can turn on the Allow Siri toggle to enable the digital assistant on the device when Assistive Access is active.
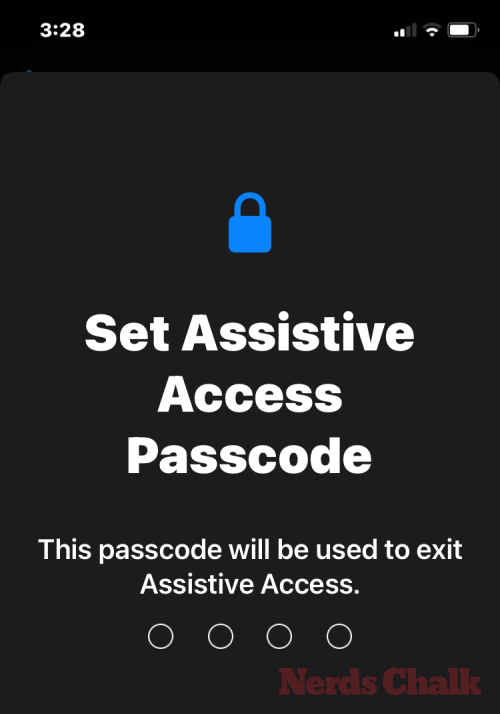
Change Assistive Access passcode
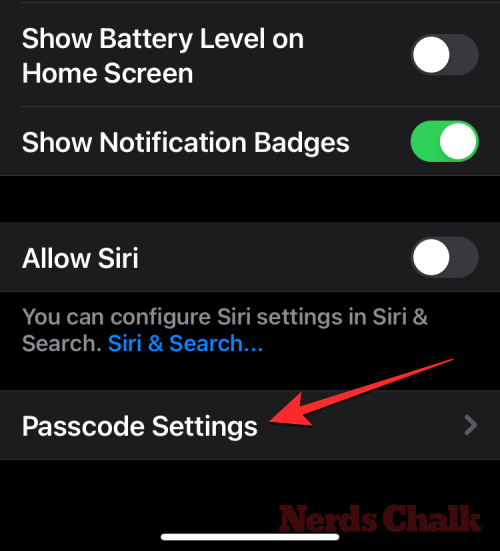
When you set up Assistive Access, iOS will ask you to create a new passcode that will be necessary to enter and exit Assistive Access in the future. You can change this passcode to something else from the Assistive Access settings by scrolling down to the bottom and tapping on Passcode Settings.
On the next screen, tap on Change Assistive Access Passcode.
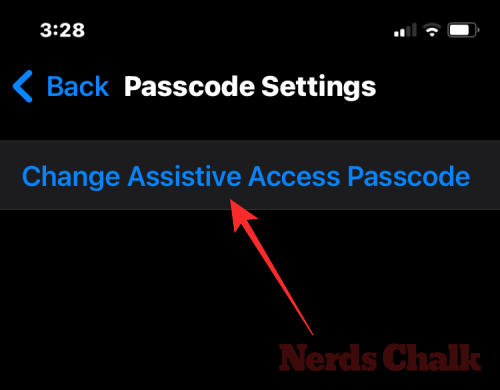
You will now have to enter and re-enter your new passcode for Assistive Access in the subsequent steps.
What is Assistive Access on iPhone?
Apple’s “Assistive Access” feature on iPhones is designed for users with cognitive challenges. When turned on, it streamlines the iOS interface by substituting complex gestures with more intuitive buttons and actions. This pared-down interface ensures these users aren’t overwhelmed by the standard array of visuals and animations.
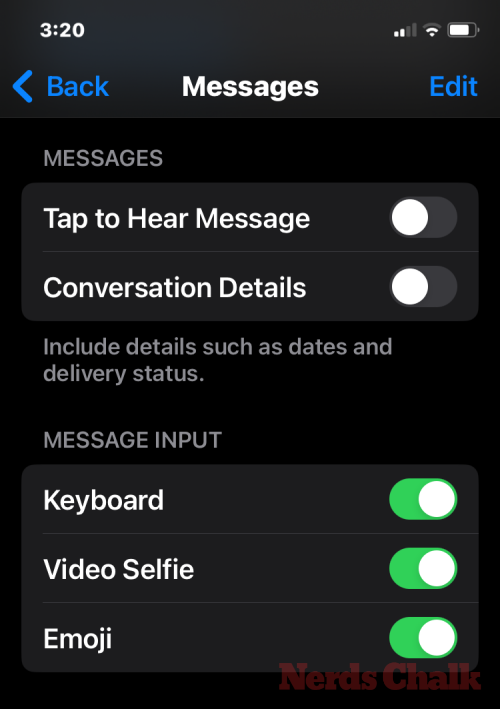
When using Assistive Access, the home screen can be set with oversized grid icons or rows of apps accompanied by text for easy identification. Apps have a more straightforward design with larger options and exclude superfluous elements. For instance, the Photos app displays prominent thumbnails in dual columns. Meanwhile, the Messages app can be limited to an emoji keyboard, and the Camera app focuses solely on taking pictures, removing any potentially perplexing functionalities.
That’s all you need to know about customizing Assistive Access on an iPhone.


