
Learn how to beat Rathomobile in The Adventures of Elliot by using bombs to crack its shell, timing your attacks after the shield drops, and avoiding its danger windows.
To beat Rathomobile, ignore its shield with regular attacks and instead bait it into bombs to break the shell about twice, then hit it normally once the shield drops.
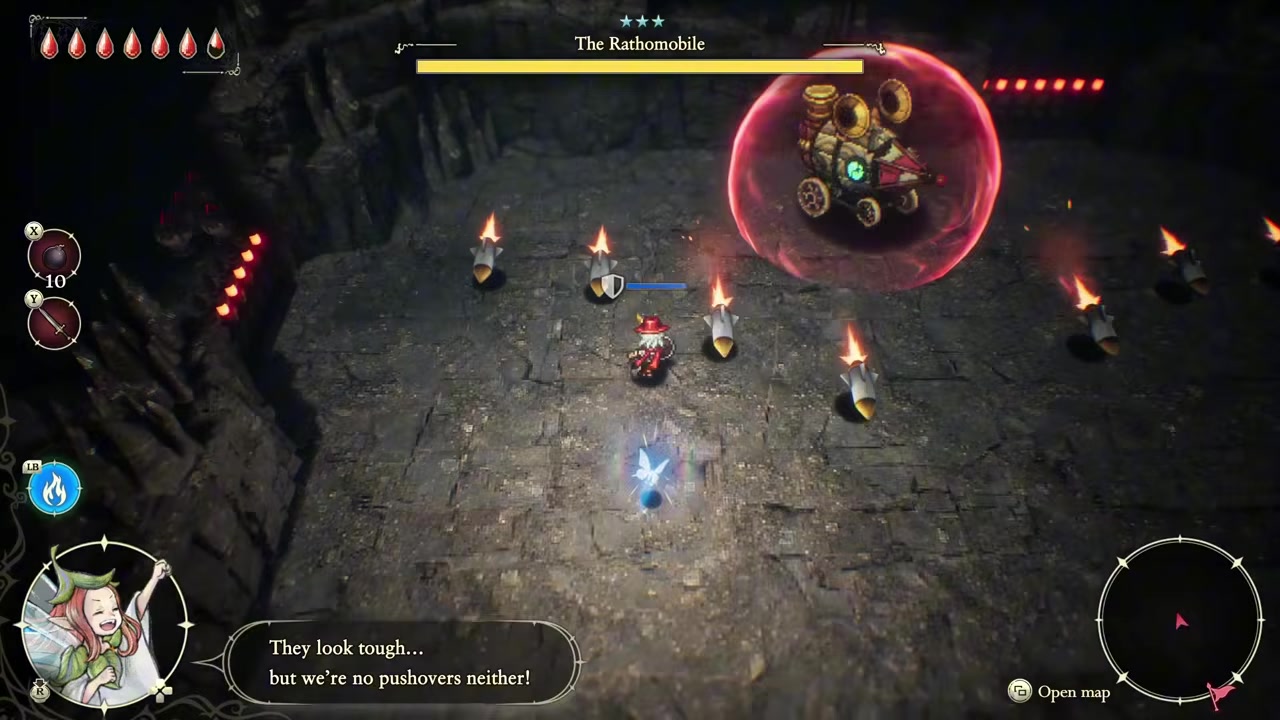
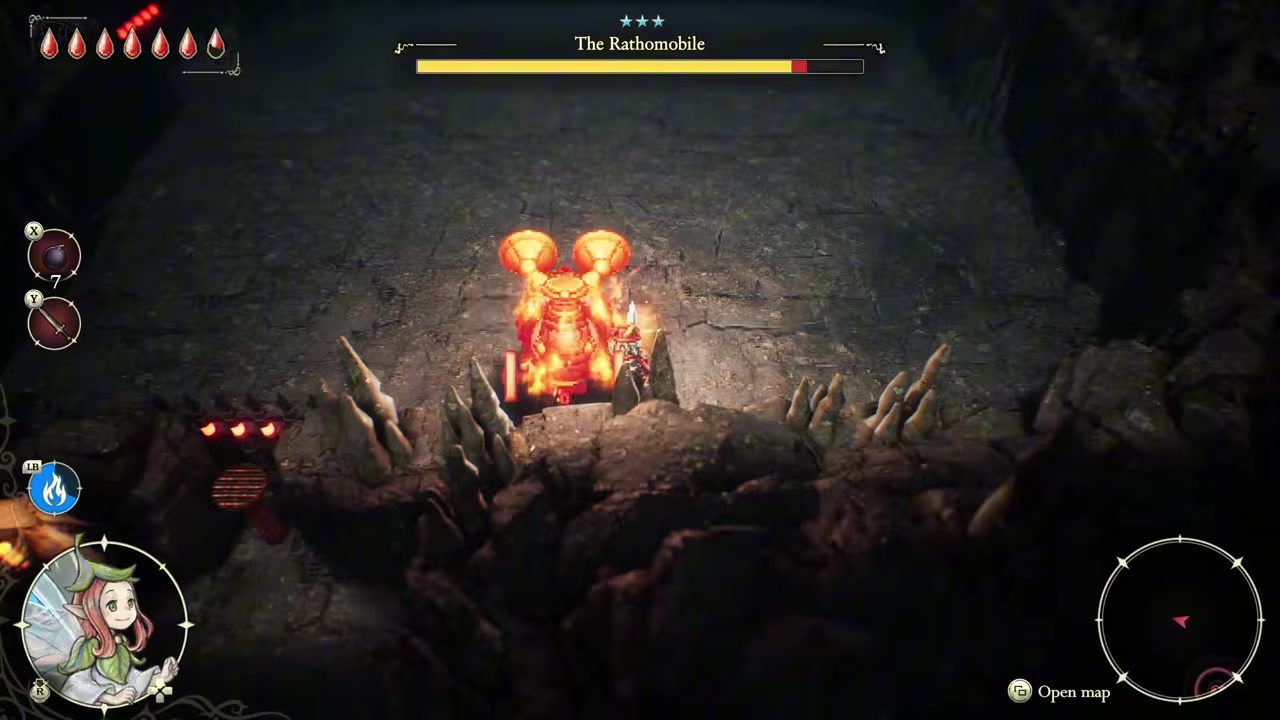
Rathomobile is a genuinely tricky fight because it spends most of the battle hiding behind a hard shell that shrugs off your usual approach. The trick is to stop fighting it the way you’ve fought everything else: let the bombs do the shell-cracking, keep some chip damage ticking with your fairy, and save your real swings for the brief window after the shield breaks.
Breaking Rathomobile’s shield with bombs

The whole fight hinges on one thing — your regular attacks do not work on the shell. Close-range hits bounce off it, and ranged shots don’t pierce it either, so swinging or shooting at the shielded boss just wastes the window where it’s vulnerable to something else.
Where you fight Rathomobile and what you bring
By the time you run into this boss you should already have the tools you need — namely your fairy Faie and the Ignite spell, which you pick up shortly before this point in the story. That matters because Ignite is the one thing that can reach the boss while the shell is up.
As for where it happens: the first encounter is reportedly in the Southern Caves – Desert Exit area, during the Age of Reconstruction stretch of the game. That location detail comes from a single walkthrough, so treat the exact area name as a strong pointer rather than gospel — the fight itself plays out the same wherever the game drops you into it.
How to defeat the Rathomobile in The Adventures of Elliot
Shield the opening rockets
While the shell is up at the start, hold your shield to block the rockets it fires, since they're more annoying than dangerous.
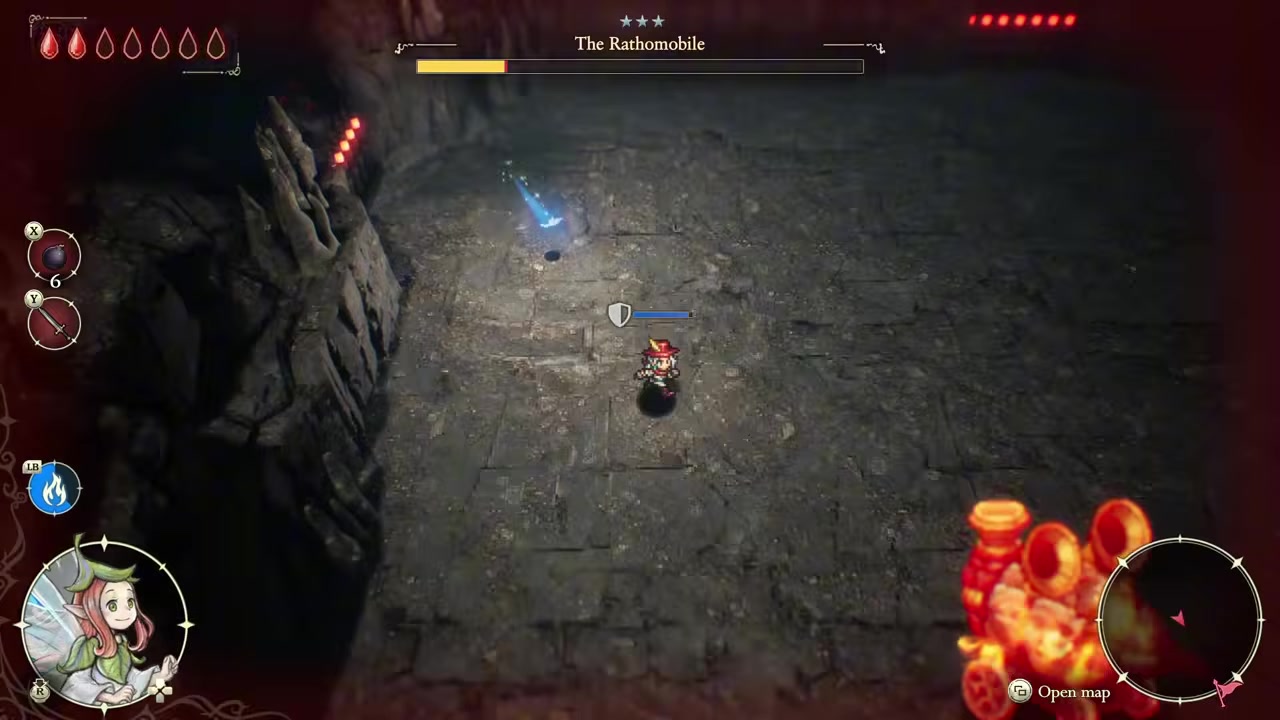
Read where it's going to travel
When it stops and faces a direction, that's where it's heading — get ahead of it instead of chasing.
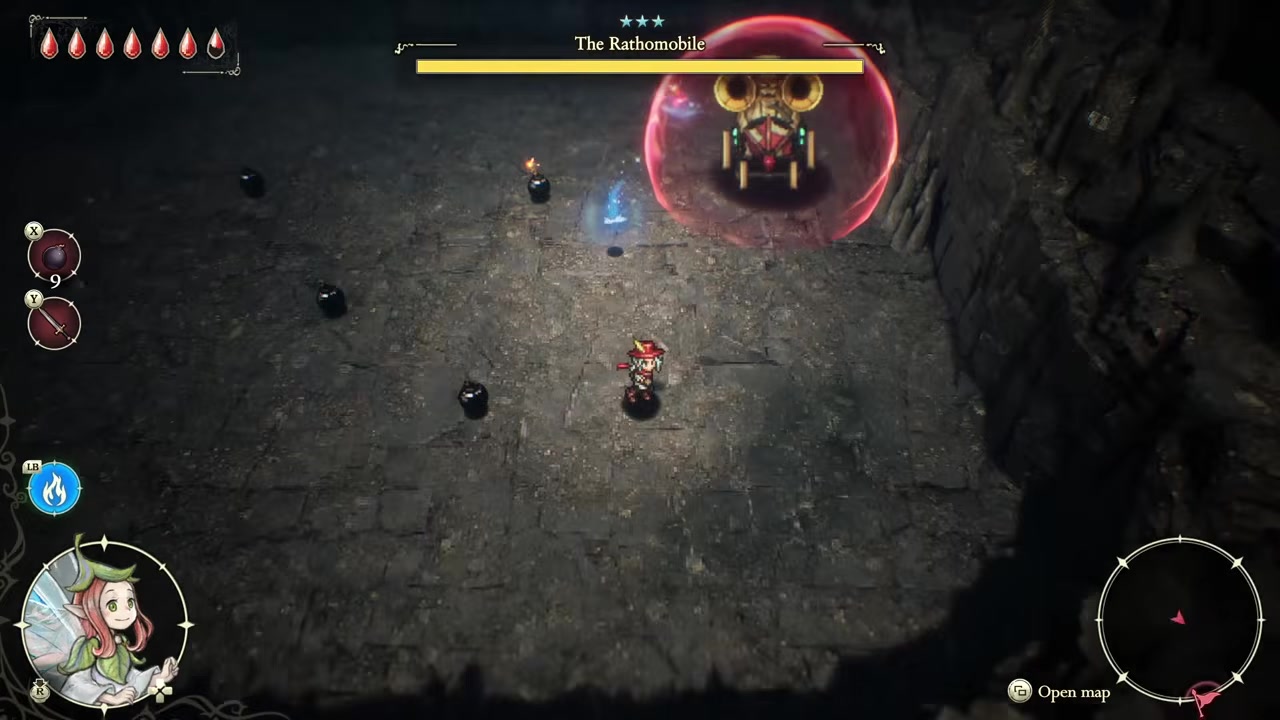
Bomb the spot it travels to
Send a bomb to the exact spot it's about to end up so the blast catches the shell and starts cracking it.

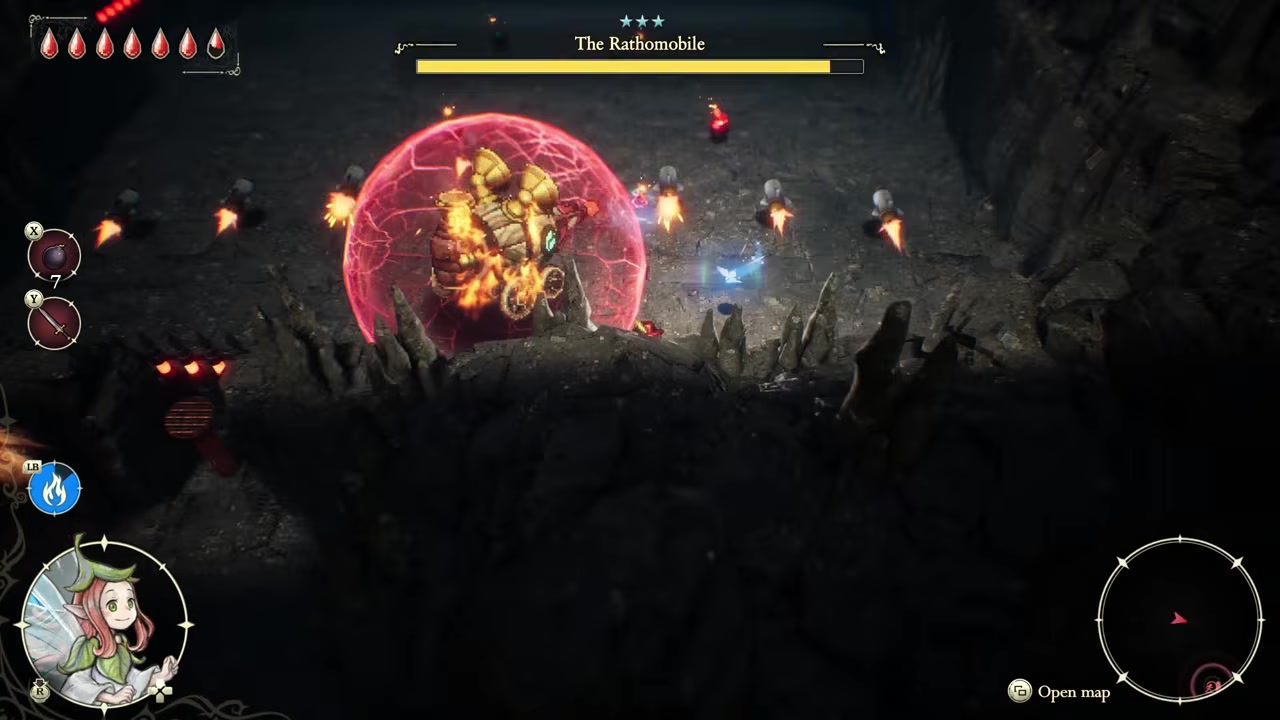
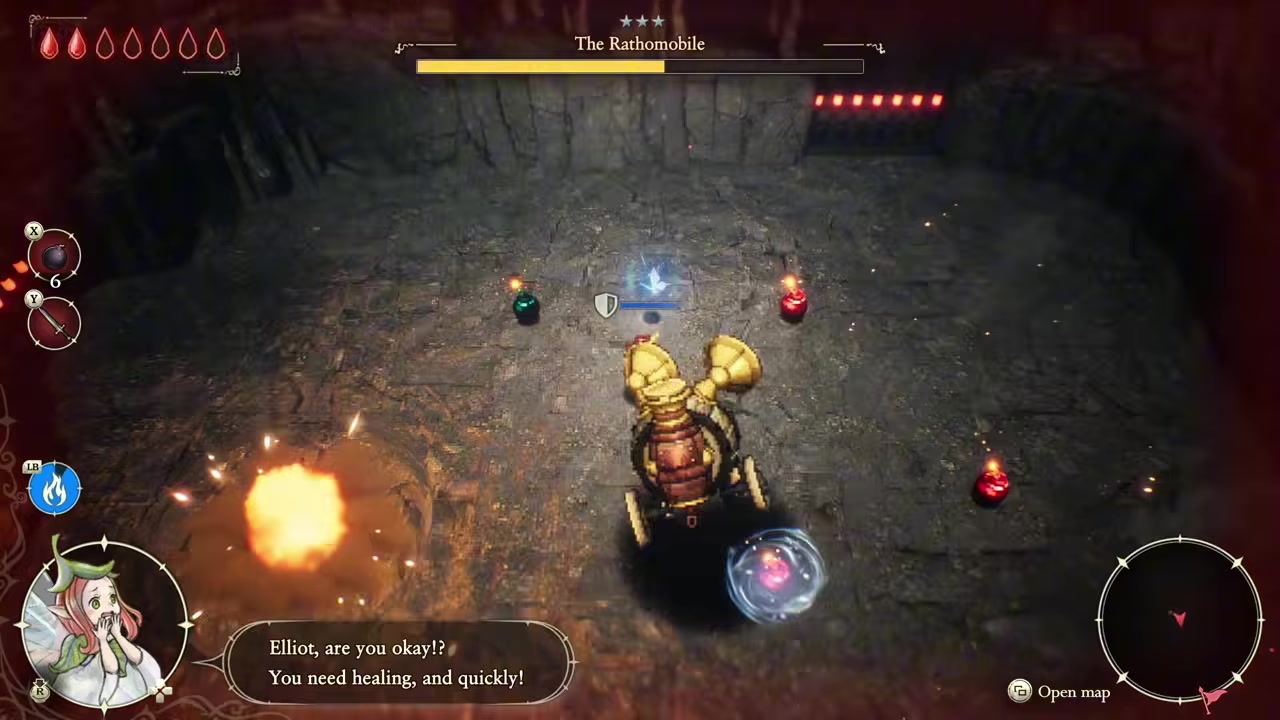
Set the fairy on fire
Send Faie in and ignite it to deal damage over time inside the shell for steady chip damage.
Bait it into turning around
Move to the opposite side so it has to turn to face you, which delays its next move, then go in and attack.
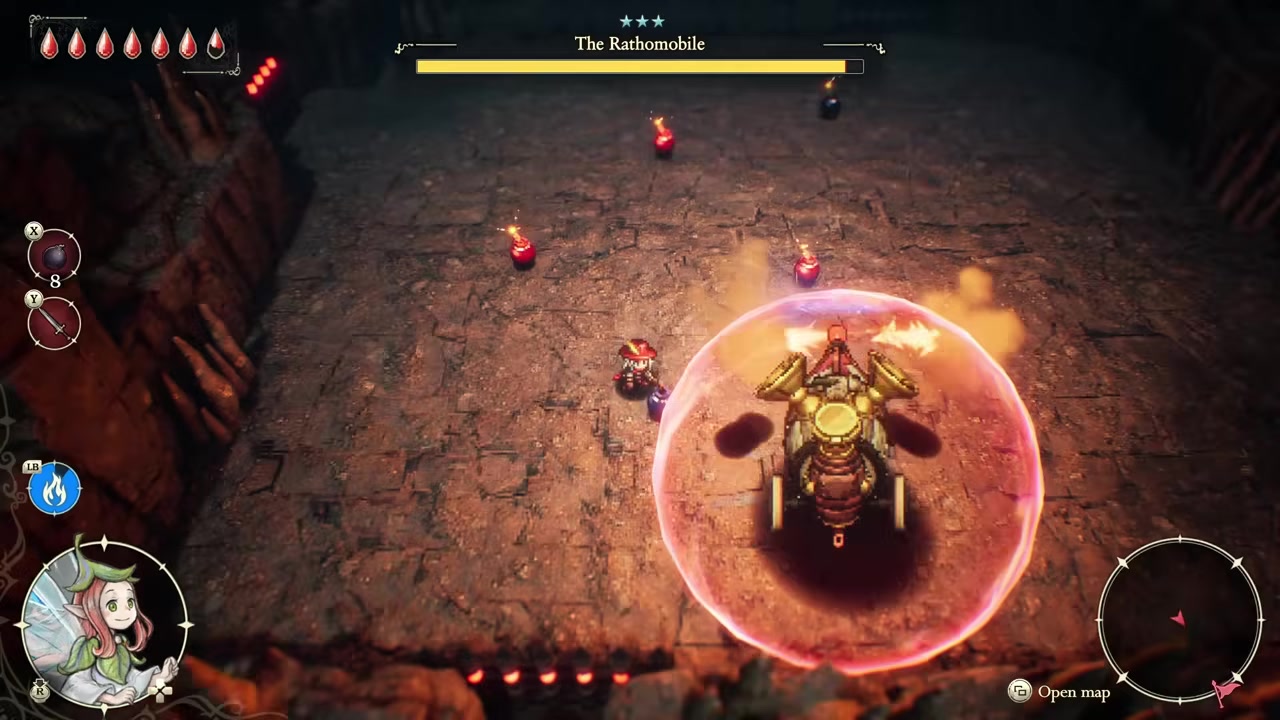
Back off when it starts spinning
The spinning attack hits really hard, so create distance the moment it winds up.
Drop a bomb in the center
It travels to the middle during this phase, so a bomb placed there lands a ton of damage.
Shield through the dash phase
When it starts dashing around the arena, keep your shield up to ride it out safely.
Re-bomb the instant the shield returns
The moment you see it regenerate its shield, drop a bomb right there and bait it into the blast to break it fast.
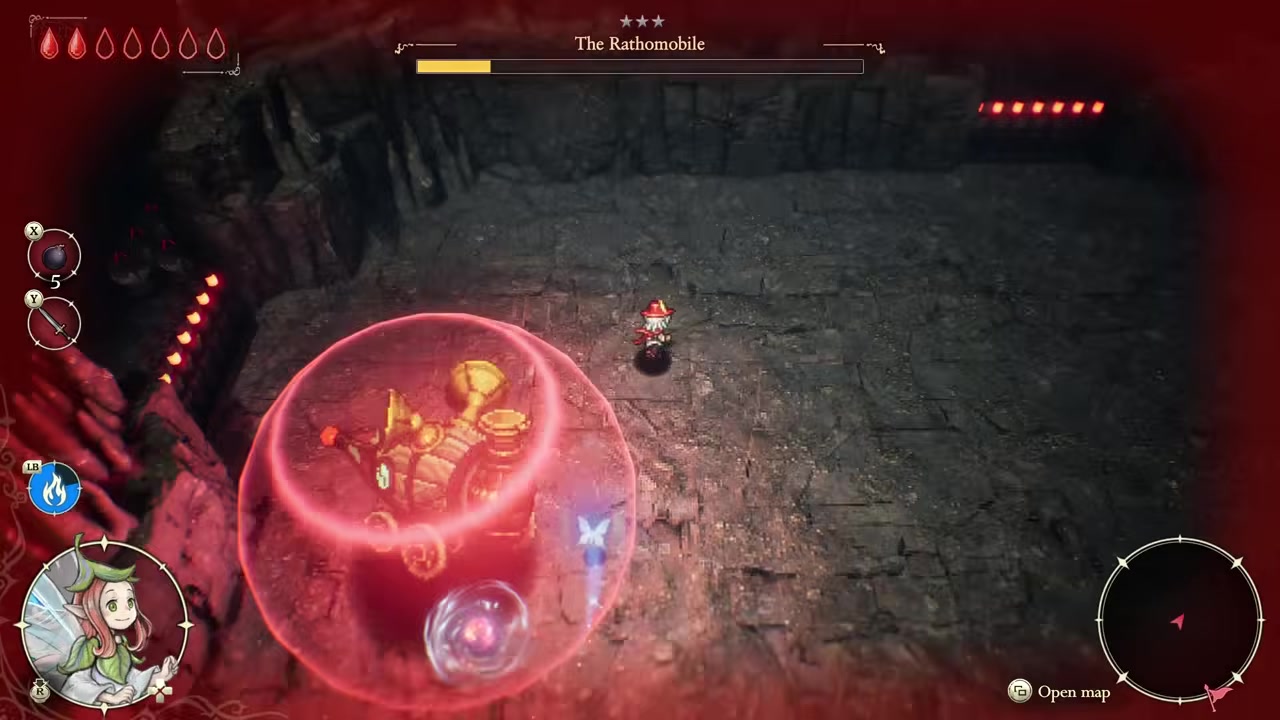
The fastest break comes from watching for the shield to regenerate — the instant it pops back up, drop a bomb on that spot and bait the boss into it instead of waiting for it to wander.
Video help
Danger windows and mistakes to avoid

The other big trap is treating this like an earlier block-and-counter boss. Face-tanking the shell to “test” your damage does nothing, and so does leaning on ranged weapons against it. Likewise, don’t make Ignite your main plan — it’s slow chip damage that happens to slip through the shell, not the intended kill method, and relying on it alone drags the fight out.
Your reward and the Turbo Rathomobile rematch
| Encounter | Where | Reward |
|---|---|---|
| Rathomobile | Southern Caves – Desert Exit | Heavy Hammer (chest) |
| Turbo Rathomobile | Desert Caves – Sublevel Two (behind the Red Door) | Bomb Pouch (chest) |
Win the fight and you open a chest for the Heavy Hammer, a weapon that lets Elliot pound large nails. By the same account, clearing this also opens up Shard of Life (20/60) back over in Southern Caves – Marshlands Exit. These specifics come from a single walkthrough, so take the exact names as a guide rather than confirmed fact.
Rathomobile isn’t a one-and-done, either — it reportedly returns in an upgraded form called Turbo Rathomobile, fought in Desert Caves – Sublevel Two behind the Red Door (which needs the Red Desert Caves Key). That rematch reuses the exact same bomb-the-shield strategy, and its reward chest is said to hold a Bomb Pouch. The good news is that everything you learn here carries straight over.
Related The Adventures of Elliot guides
Frequently Asked Questions
Can you damage Rathomobile without bombs?
A little — your fairy’s Ignite can pass through the shell and tick damage over time, so it’s not strictly impossible. But it’s slow chip damage, not a real solution. To actually break the shield you need bombs, and the fight will drag forever if you try to win on Ignite alone.
Why don’t my normal or ranged attacks hurt it?
Because of the shell. While the shield is up, close-range hits bounce off and ranged shots don’t pierce it. The shield has to be broken with explosions first; only then do regular attacks deal proper damage.
How many times do you need to break its shield?
Roughly two bomb hits to remove the shield, after which you can finish it with normal attacks. The exact count isn’t firmly nailed down, so think of it as “about twice” rather than a hard rule, and be ready to re-bomb if it puts the shield back up.
Where do you fight Rathomobile, and do you need anything first?
The first fight is reportedly in Southern Caves – Desert Exit during the Age of Reconstruction. By then you should already have your fairy Faie and the Ignite spell, which you get shortly beforehand.
Does Rathomobile come back later in a harder form?
Yes — it’s said to return as Turbo Rathomobile in Desert Caves – Sublevel Two, behind the Red Door that requires the Red Desert Caves Key. It uses the same bomb-the-shield approach, so the strategy here transfers directly.