
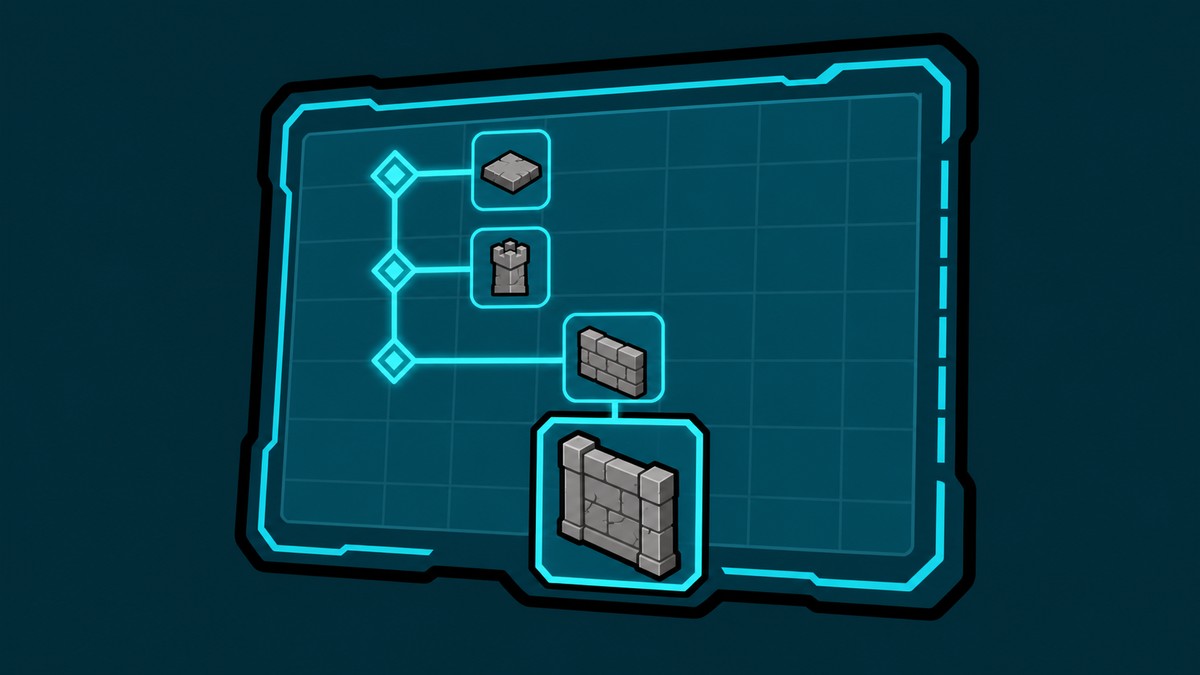
To build a round base in Palworld, place your Palbox in the center of flat ground, trace its blue boundary with a ring of Stone Defensive Walls, then fill the inside with square and triangular foundations and hide the leftover edge gaps with large bushes.
A round base is one of the cleanest looks in Palworld, and you don’t need mods, custom world settings, or a calculator to pull it off — even on an official server. The whole trick is to stop trying to build a circle out of squares and instead trace the Palbox’s blue build radius with a ring of defensive walls, then tidy up the inside afterward. Here’s the full build, plus the small fixes that keep the circle from turning lumpy.
The idea behind a traced circle
This method gives you a genuinely round-looking base without a single mod or altered world setting. It works because the Palbox projects a circular blue build boundary, and a snapped ring of defensive walls can follow that curve far more closely than a grid of square tiles ever could.
It is not a mathematically perfect circle — the walls still step a little as they bend, and the square floor inside will never meet the curve cleanly. What you’re really building is a traced approximation that looks perfectly round once the seams are covered, which is exactly what the bushes at the end are for.
Build pieces to gather first
| Item | Use |
|---|---|
| Palbox | Sets the base and projects the blue build radius everything traces. |
| Stone Foundation | Floor tiles for the interior; glass, metal, or wood work just as well. |
| Stone Triangular Foundation | Fills the angled gaps where square tiles meet the curved wall. |
| Stone Defensive Wall | The ring itself, snapped along the blue line; unlocks with the stone set at Level 19. |
| Faux White Bush / Faux Golden Bush | Large bushes that cover the leftover gaps between the floor and the wall. |
| Stone Fence | A platform run along the wall top so trees will stand on it. |
| Faux Cherry Blossoms A | Thin-trunk decorative tree for the optional top ring. |
| Handywork Pal | Builds the bushes and trees you place around the ring. |
You don’t need much beyond basic stone-tier building, and every wall material behaves the same, so use whichever you’ve already unlocked. The table below is everything the build touches, from the boundary-setting Palbox to the plants that hide the seams.
How to build a circular base in Palworld
Here’s the full build from empty ground to a closed circular wall, following the Palbox’s blue boundary the whole way around.
Pick and flatten your ground
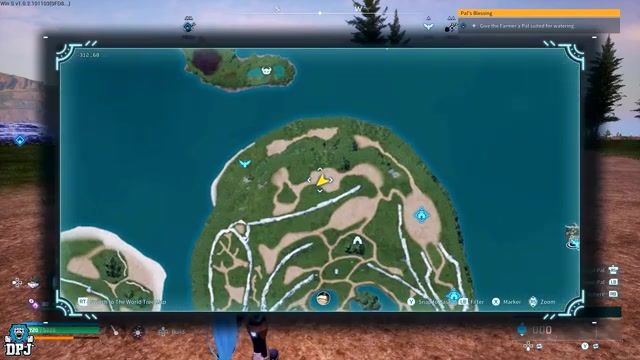
Find a large flat area and level it, clearing the trees and bushes inside the footprint first.
Center the Palbox on foundations

Lay a few stone foundations, set the Palbox on them near the middle, and check with a flying mount that it sits roughly centered.
Select the Stone Defensive Wall
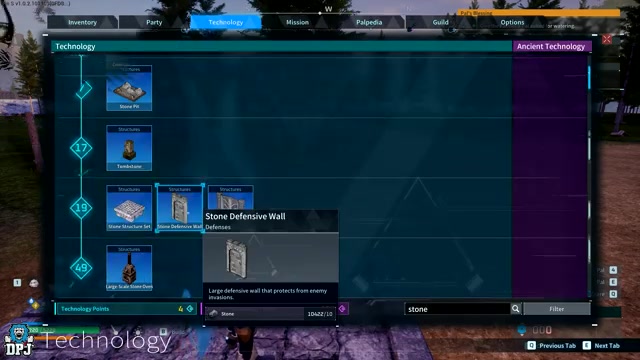
Open the Defenses tab and equip the wall — the stone, wooden, and metal versions all snap the same way.
Start at any curve on the blue line
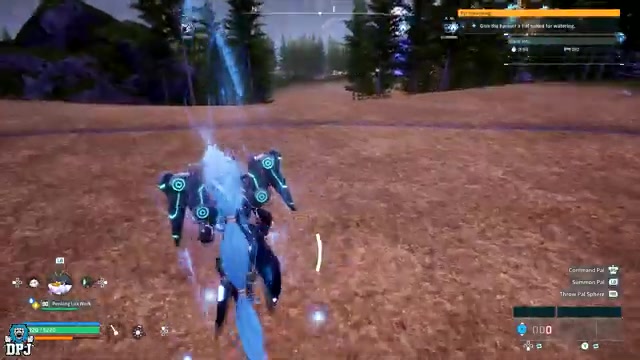
Walk to the Palbox’s blue boundary and begin at any point along its curve; where you start doesn’t matter.
Place the first wall inside the line
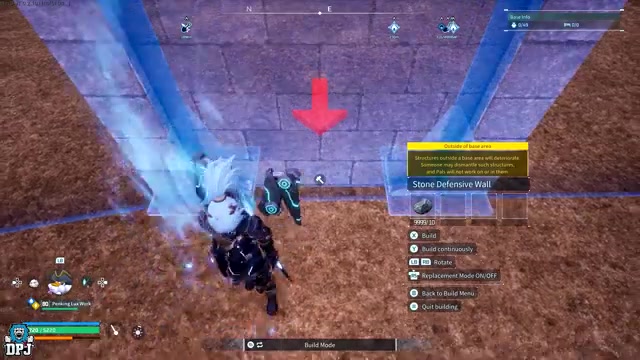
Set the wall against the blue line, keeping it on the inside as you work around.
Build continuously and rotate each piece
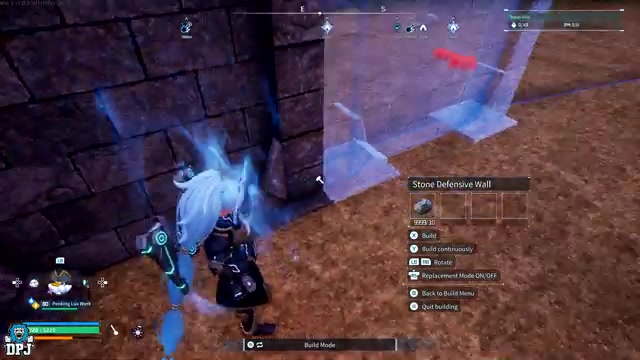
Hold the continuous-build prompt (Y/△) so walls snap end to end, and nudge each one with the bumpers (LB/RB) to hug the curve.
Close the ring by hand
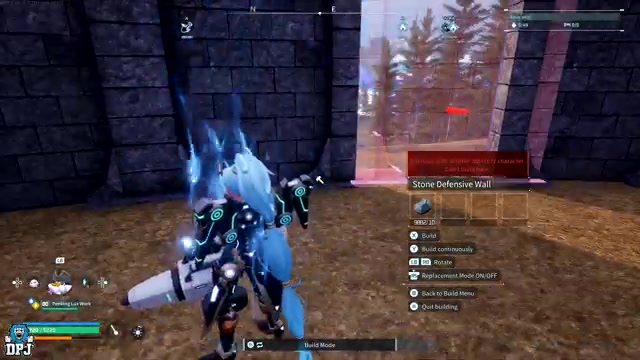
Where the last walls meet and snapping turns awkward, come off alignment and place them manually so they overlap on both sides.
Fill the interior with foundations
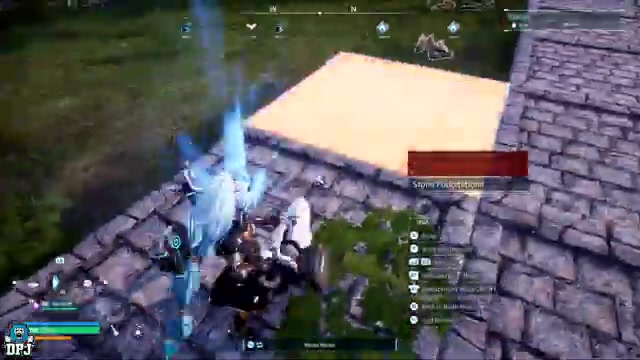
Lay stone foundations across the inside, stopping short of the very edge where the curve leaves gaps.
Add triangular foundations at the edge

Drop Stone Triangular Foundations wherever they fit against the curved wall to shrink the angled gaps.
Cover the last gaps with bushes
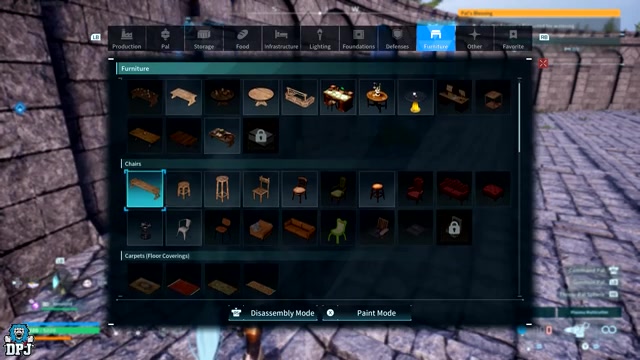
Place large bushes such as the Faux White Bush or Faux Golden Bush over the remaining seams, rotating each so it reads as a real plant.
Keep a handywork Pal out before you place bushes or trees — decorations do not start disappearing if nothing is nearby to build them; a Handywork Pal only helps construct placed decorations.
Adding a decorative tree ring on top of the wall
Trees won’t stand on the defensive wall directly, so this lays a fence platform along the top first, then plants the trees on that.
- Lay Stone Fences along the wall top — Run Stone Fences across the top of the defensive wall to make a surface trees will actually stand on.
- Overlap the fences into a ring — Make each fence hit the next so they join into one continuous loop all the way around.
- Place trees on the fences — Set thin-trunk trees like Faux Cherry Blossoms A on the fences; thin trunks stack far better than thick-based ones.
- Rotate each tree for a natural look — Pull each tree down onto the fence and rotate it slightly so the canopy doesn’t look stamped.
Video help
Common mistakes that ruin the circle
| Problem | Fix |
|---|---|
| Walls placed outside the blue line | On official servers that triggers the yellow out-of-bounds warning — keep every piece on or inside the line. |
| Floor won’t meet the round wall | Expected on a grid; the outer ring is meant to be hidden, not closed. |
| Trees or rocks left in the footprint | Clear them first — on custom worlds they respawn fast, so cut them as you build. |
| Walls or bushes left unrotated | Rotate each piece; a stiff row of identical placements looks artificial. |
| Objects crammed behind the Palbox | Leave space behind it so Pals can path out of the base. |
| Thick-trunk trees on a single fence | Use thin-trunk trees, or double the fences for a wider ledge. |
Customizing the base without changing the build
Once the ring is closed, the styling is up to you. If you want a fuller top than a line of trees, the bigger decorative bushes sit up there just as well. You can also double the walls and fences to build a wider ledge that holds chunkier pieces without them clipping. And because the ring is structurally finished at one wall high, nothing stops you from stacking another level and taking the whole thing taller.
Related guides
Frequently Asked Questions
Can you make a truly perfect circle in Palworld?
No. Building is grid-based, so every “circle” is an approximation and the walls step slightly as they curve. Some builders chase a tighter edge with counted rings of square and triangle foundations run out from a centered platform, but even those step at the boundary. Tracing the Palbox line and covering the seams gets the same round look with far less counting.
Do you need mods or custom world settings for this round base?
No — it works on official servers with no mods and no custom settings. On your own world you can even turn deterioration off and build a touch outside the line for slightly more interior space, but that’s optional flair, not a requirement.
Where is the flat location shown for the build?
Coordinates -307, 268 mark a large flat patch, and a couple of nearby spots work just as well once you knock down the trees and bushes covering them.
Why are there gaps between the wall and the floor foundations?
Because square foundations can’t follow a curved wall — you physically can’t tile all the way to the rounded edge, so a thin gap runs the whole way around no matter how neatly you place them. It’s expected, which is why the build hides that edge instead of trying to close it.
How do you place trees on top of the circular wall?
The fences are the platform the trees stand on, and sometimes you’ll need two fences side by side before a tree registers. Once they’re up, the trees can be recolored to any color you like, so the canopy doesn’t have to stay pink.
More questions⤵
Can this be done with metal, wood, glass, or other materials?
Yes. The walls come in wooden, stone, and metal versions, and the floor takes any material too — glass looks especially sharp. Only the material changes; the tracing method is identical.






Leave a Reply