
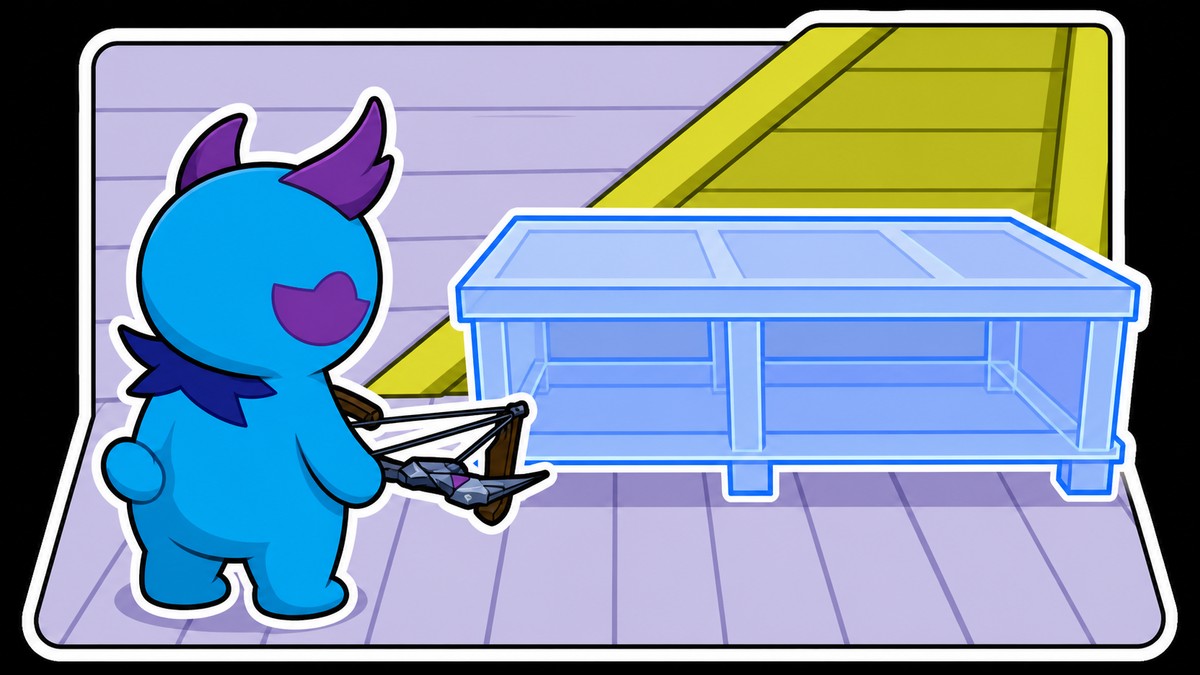
You can stack metal chests in Palworld 1.0 by using a Tidy Square Table as temporary support, placing the upper chests against a wall, deleting the table, then placing more chests underneath.
Storage rows eat up base floor fast in Palworld, and every chest you lay flat is space you can’t give to stations or working Pals. Stacking your metal chests vertically doubles that storage inside the same footprint, and the whole method comes down to borrowing a table as a temporary shelf.
What the chest-stacking trick does
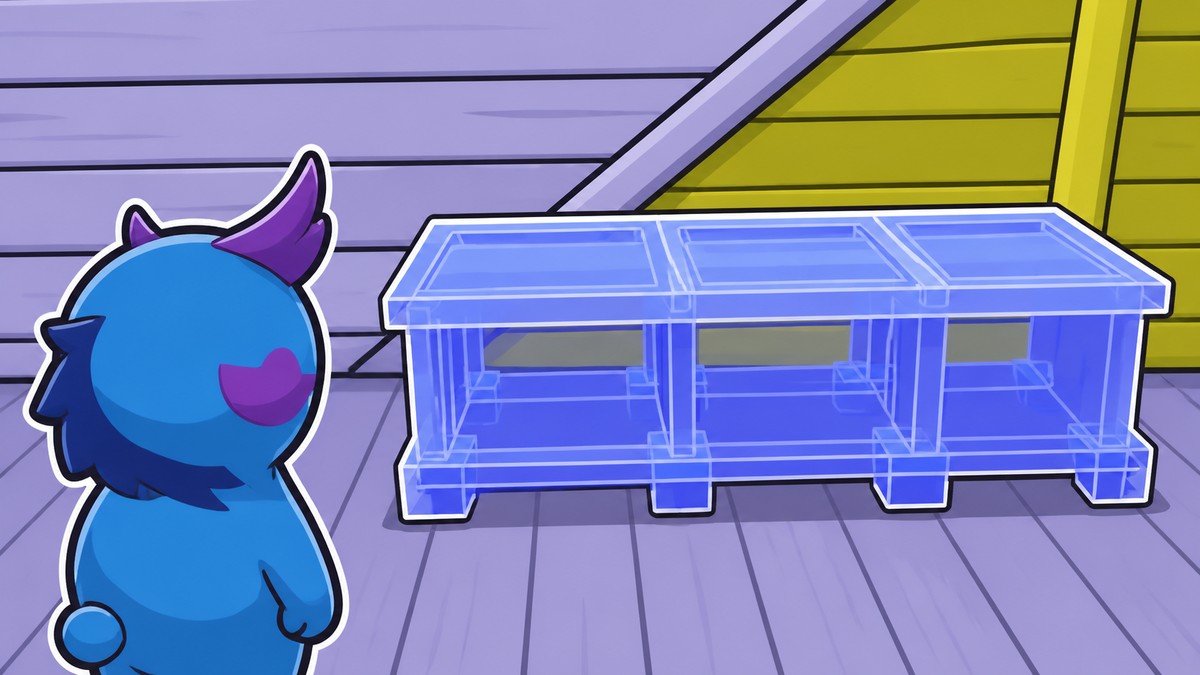
The idea is simple: put one row of chests directly above another so a single wall panel holds twice the storage. The catch is that chests won’t float on their own, so you need something to hold the upper row at the right height while you lock it in place. That’s the Tidy Square Table‘s only job here — it acts as a temporary platform, and once the top chests are snapped to the wall, the table comes straight back out.
Before you stack: the unlock and items
| Need | Purpose |
|---|---|
| Tidy Table Set (tech unlock) | Unlocks the Tidy Square Table used as the temporary support |
| Tidy Square Table | Holds the upper chests at height while you place them |
| A wall | Flat surface the chests snap and align against |
| Metal chests | The storage you’re stacking, top row and bottom row |
Everything you need is cheap and early-game friendly. The only real gate is a technology unlock rather than an item you carry, and the rest is standard base-building fare.
How to stack metal chests in Palworld 1.0
Unlock the Tidy Table Set
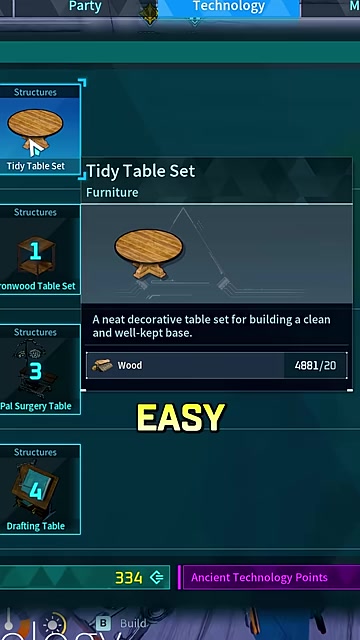
Open the technology menu and unlock the Tidy Table Set to get access to the table.
Select the Tidy Square Table
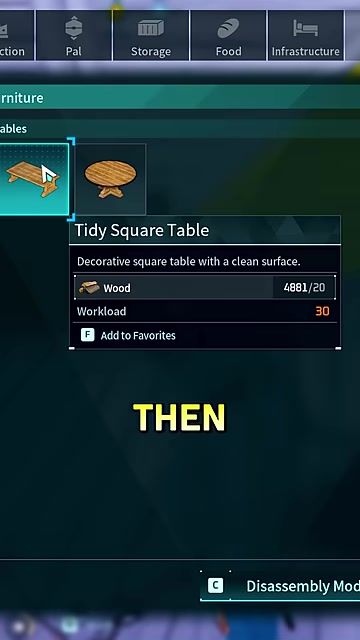
From your build menu, pick the Tidy Square Table so it’s ready to place.
Place the table against a wall
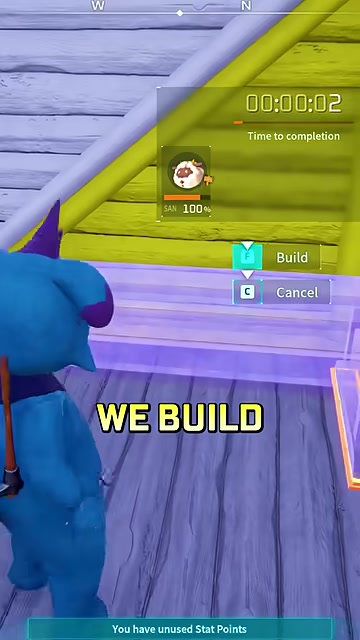
Set the table flush against a wall and build it — this is your temporary platform.
Place the metal chests on the wall
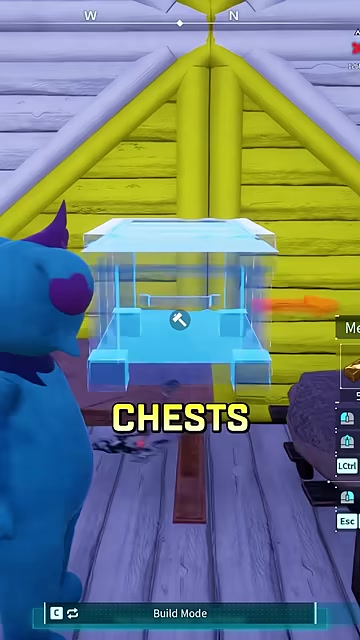
Snap your metal chests onto the wall on top of the table so they lock in a row.
Destroy the table
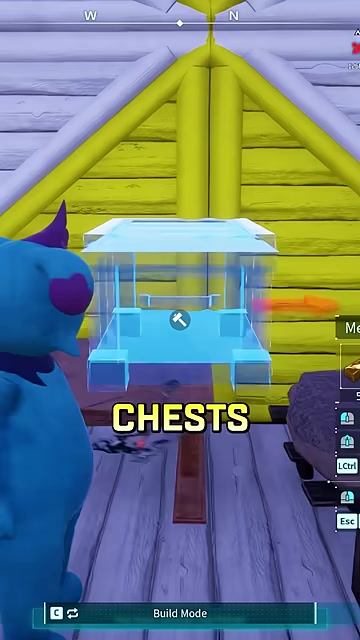
Delete the Tidy Square Table now that the upper chests are fixed to the wall.
Slot more chests underneath
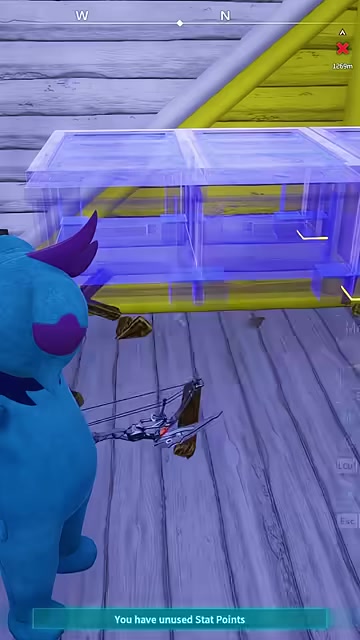
With the table gone, place the next row of chests in the space directly below the first.
Build the lower row
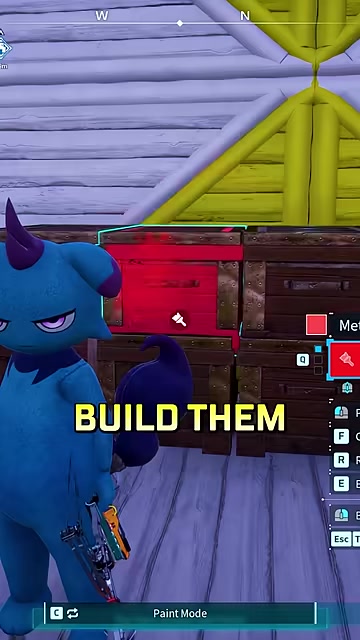
Confirm the bottom row to finish your stacked chests.
Build the entire upper row while the table is still supporting it, then delete the table — never try to slot the bottom row before the top one is locked to the wall.
Video help
Placement notes and limits
Snapping isn’t always clean on the first try. If a chest won’t lock or the spacing looks off, delete it and place it again — a little repetition is normal until the row sits flush.
Frequently Asked Questions
Can you stack chests in Palworld?
Yes. Using a Tidy Square Table as temporary support, you can place one row of chests above another on the same wall without any mods — it’s just clever use of in-game placement.
Do you need the Tidy Square Table for this trick?
Yes. It’s the piece that holds the upper chests at the correct height long enough to snap them to the wall. Without a support at that height, the top row has nothing to rest on while you place it.
Can you remove the table after placing the upper chests?
Yes, and you should. Once the top chests are locked to the wall they stay put, so destroying the table simply clears the room you need to slide the second row in underneath.
Does this method work with metal chests?
Metal chests are the case shown here, so treat those as the reliable pick for this stack. Other chest types aren’t demonstrated with this method, so stick with metal chests if you want it to snap the same way.



Leave a Reply