
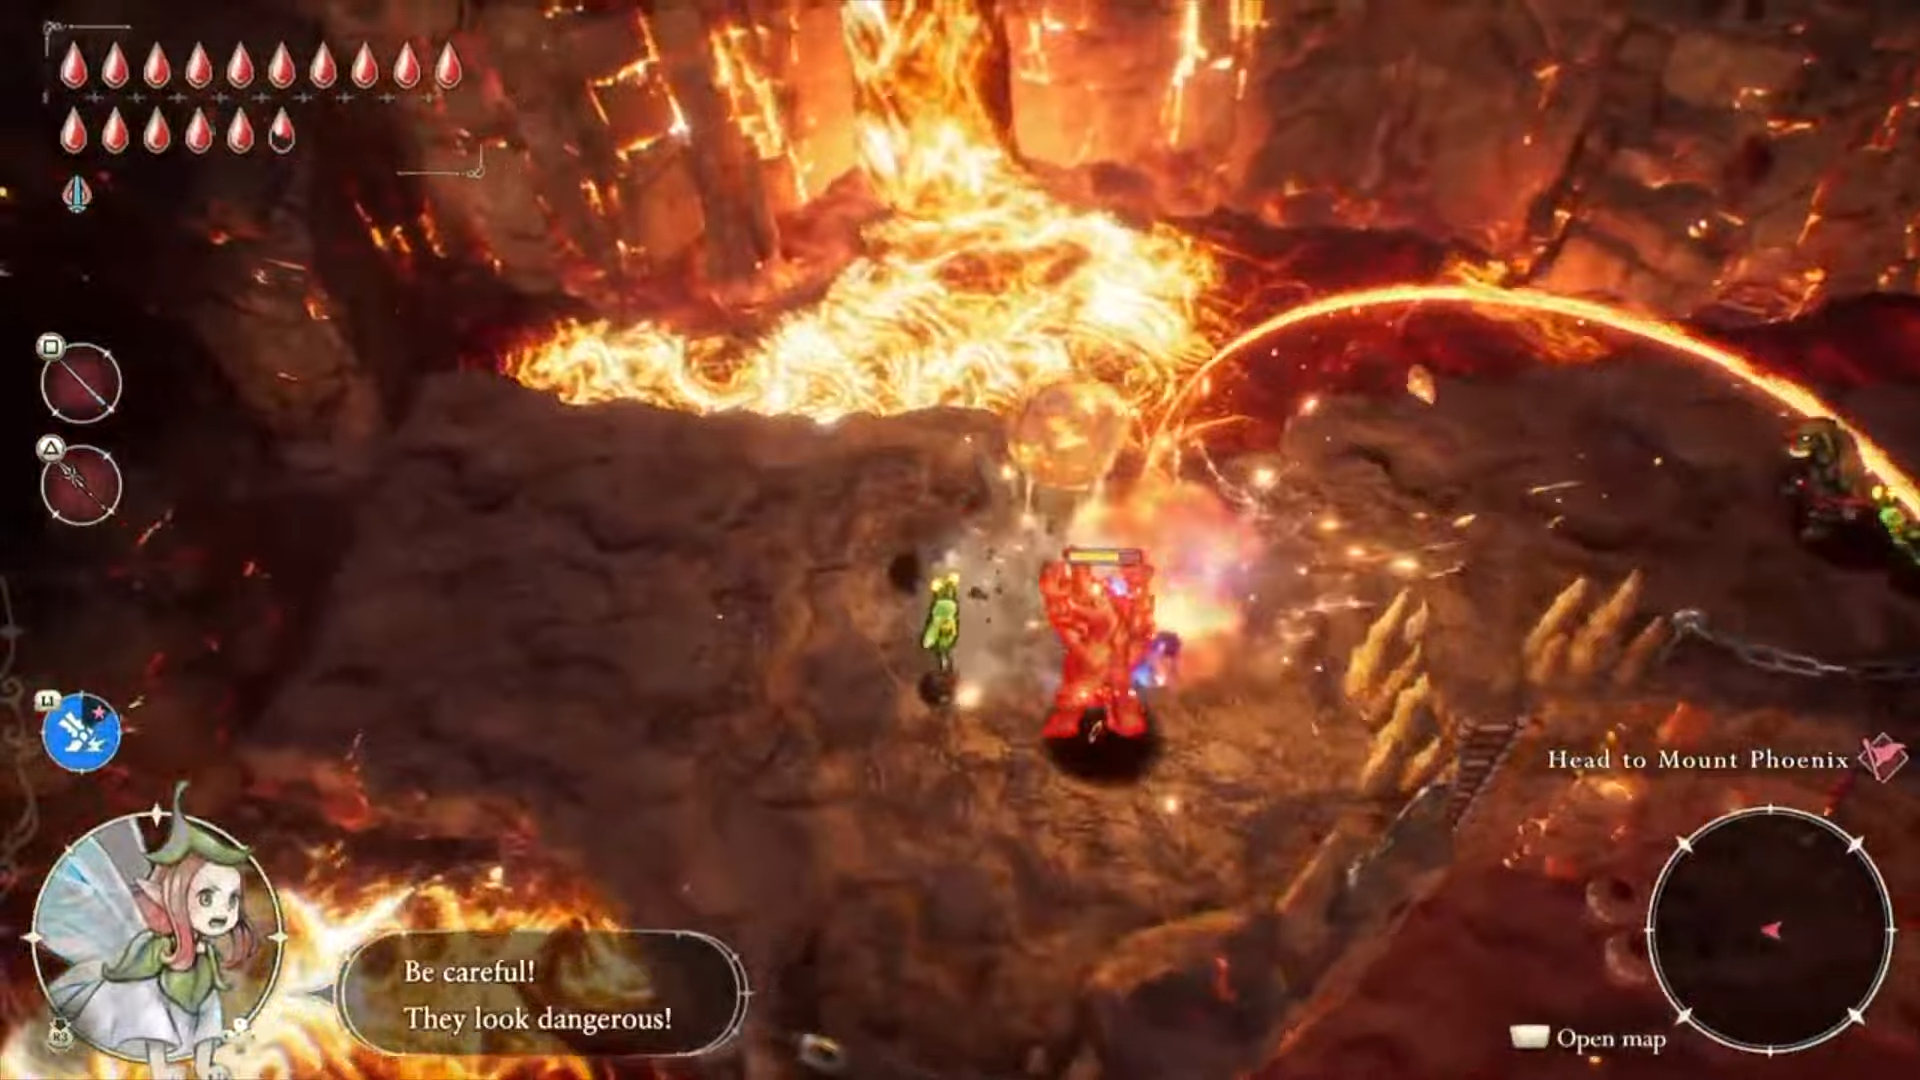
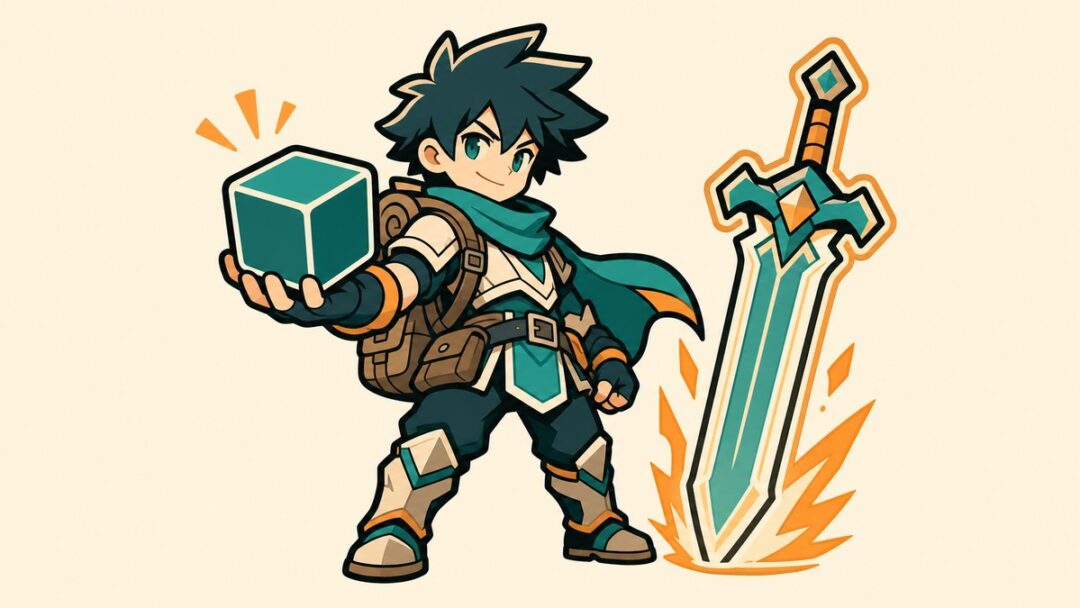
Jewelries, also called Gem Monsters, are rare, high-HP enemies in The Adventures of Elliot: The Millennium Tales that you first meet in a scripted story fight. They look intimidating and they soak up a lot of damage, but the actual method is not a memorized dance — it is a setup check. Get your buffs and your health right before the fight starts and the rest is mostly holding the attack.
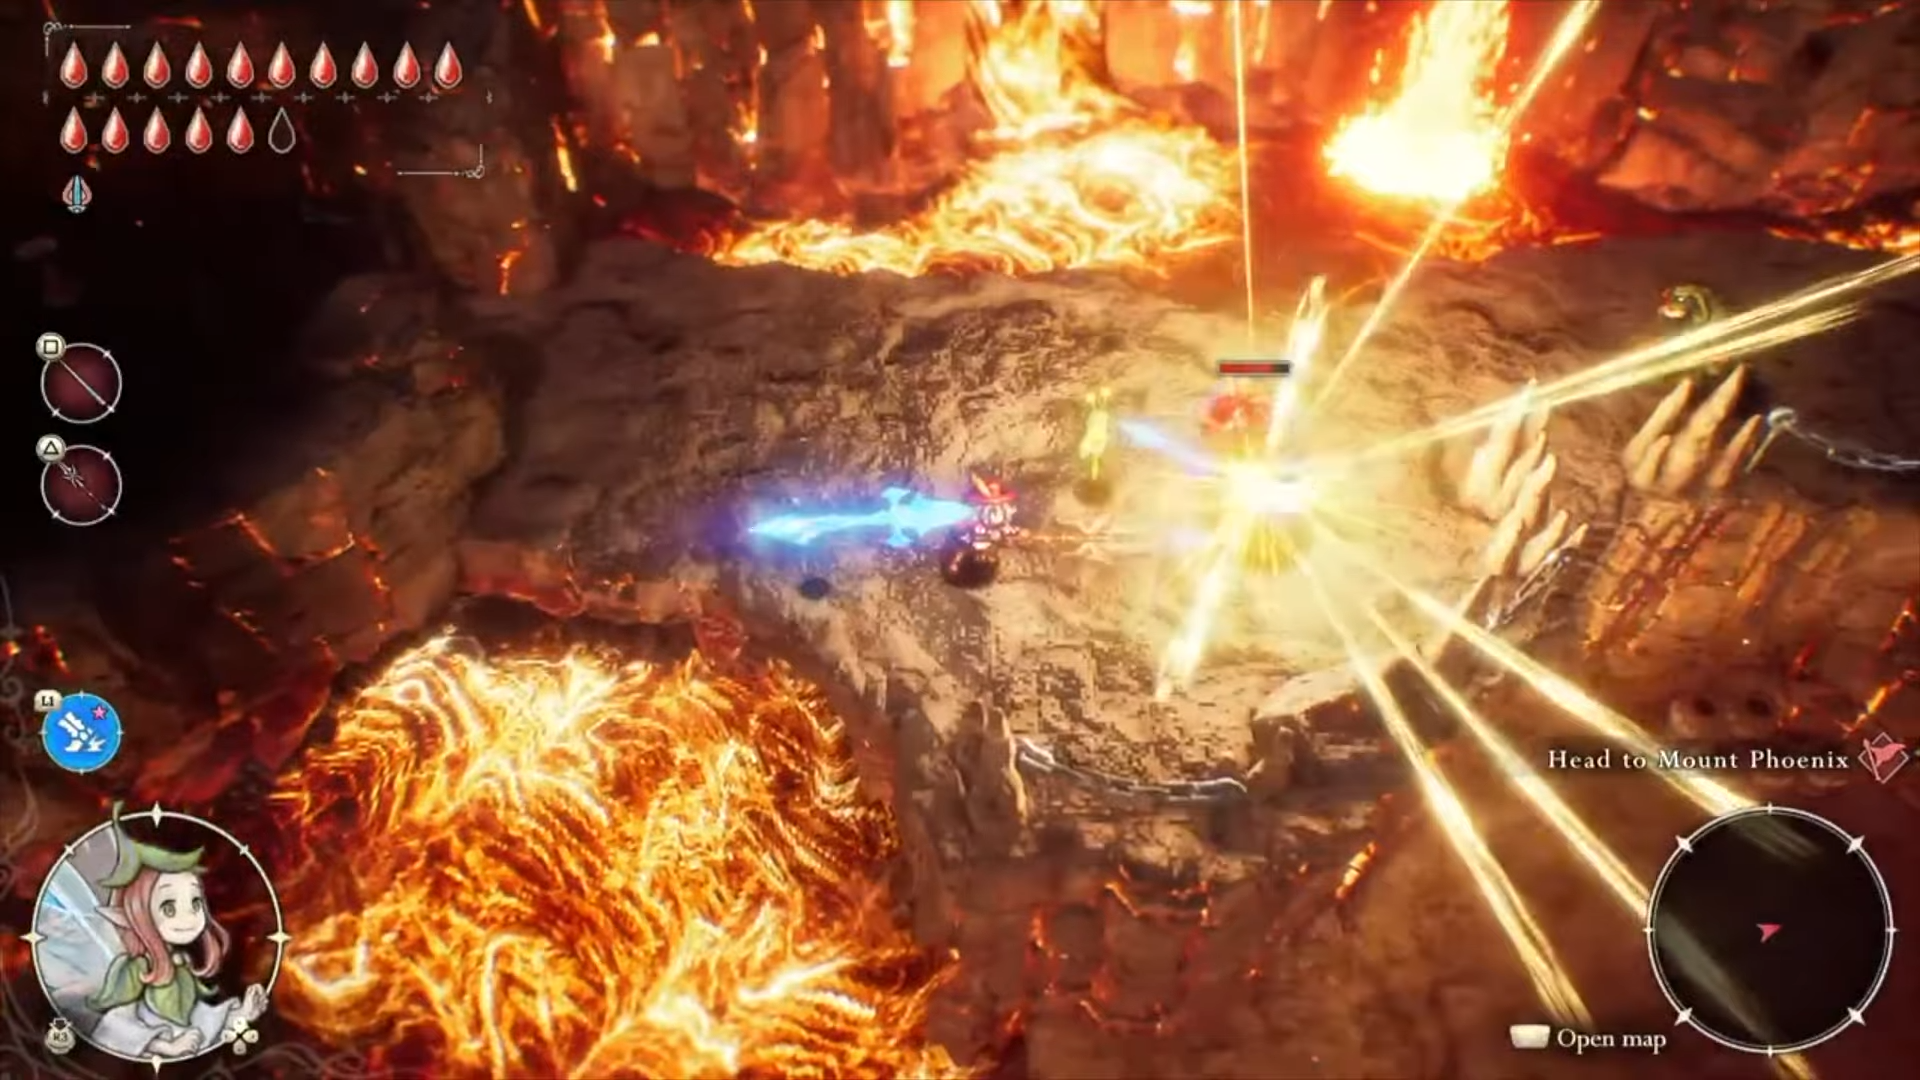
Beat Jewelries by entering the fight at full HP with a Magic Sphere stacked with Attack-power and critical-hit magic, then spamming attacks until they drop — upgrade your weapon first if your damage feels too low.
What Jewelries are and the fastest way to drop them
Jewelries are rare monsters, and your first encounter is built into the main story as a tutorial that walks you through their mechanics. The catch is that this tutorial tends to land before you have done much weapon or magic progression, so the fight feels brutal the first time — not because the pattern is hard, but because your raw damage is low and the Jewelry has a deep health bar.
The winning approach is to front-load your damage. If you have built your magic at all, combine a Magic Sphere with magic that raises your Attack Power, Critical Hit Rate, and Critical Damage, then make sure you are at full health when the fight triggers so the setup fully applies. From there you spam your normal attack until the Jewelry goes down.
If it is still not dying fast enough, the answer is more weapon, not more tactics — upgrade your weapon and come back.
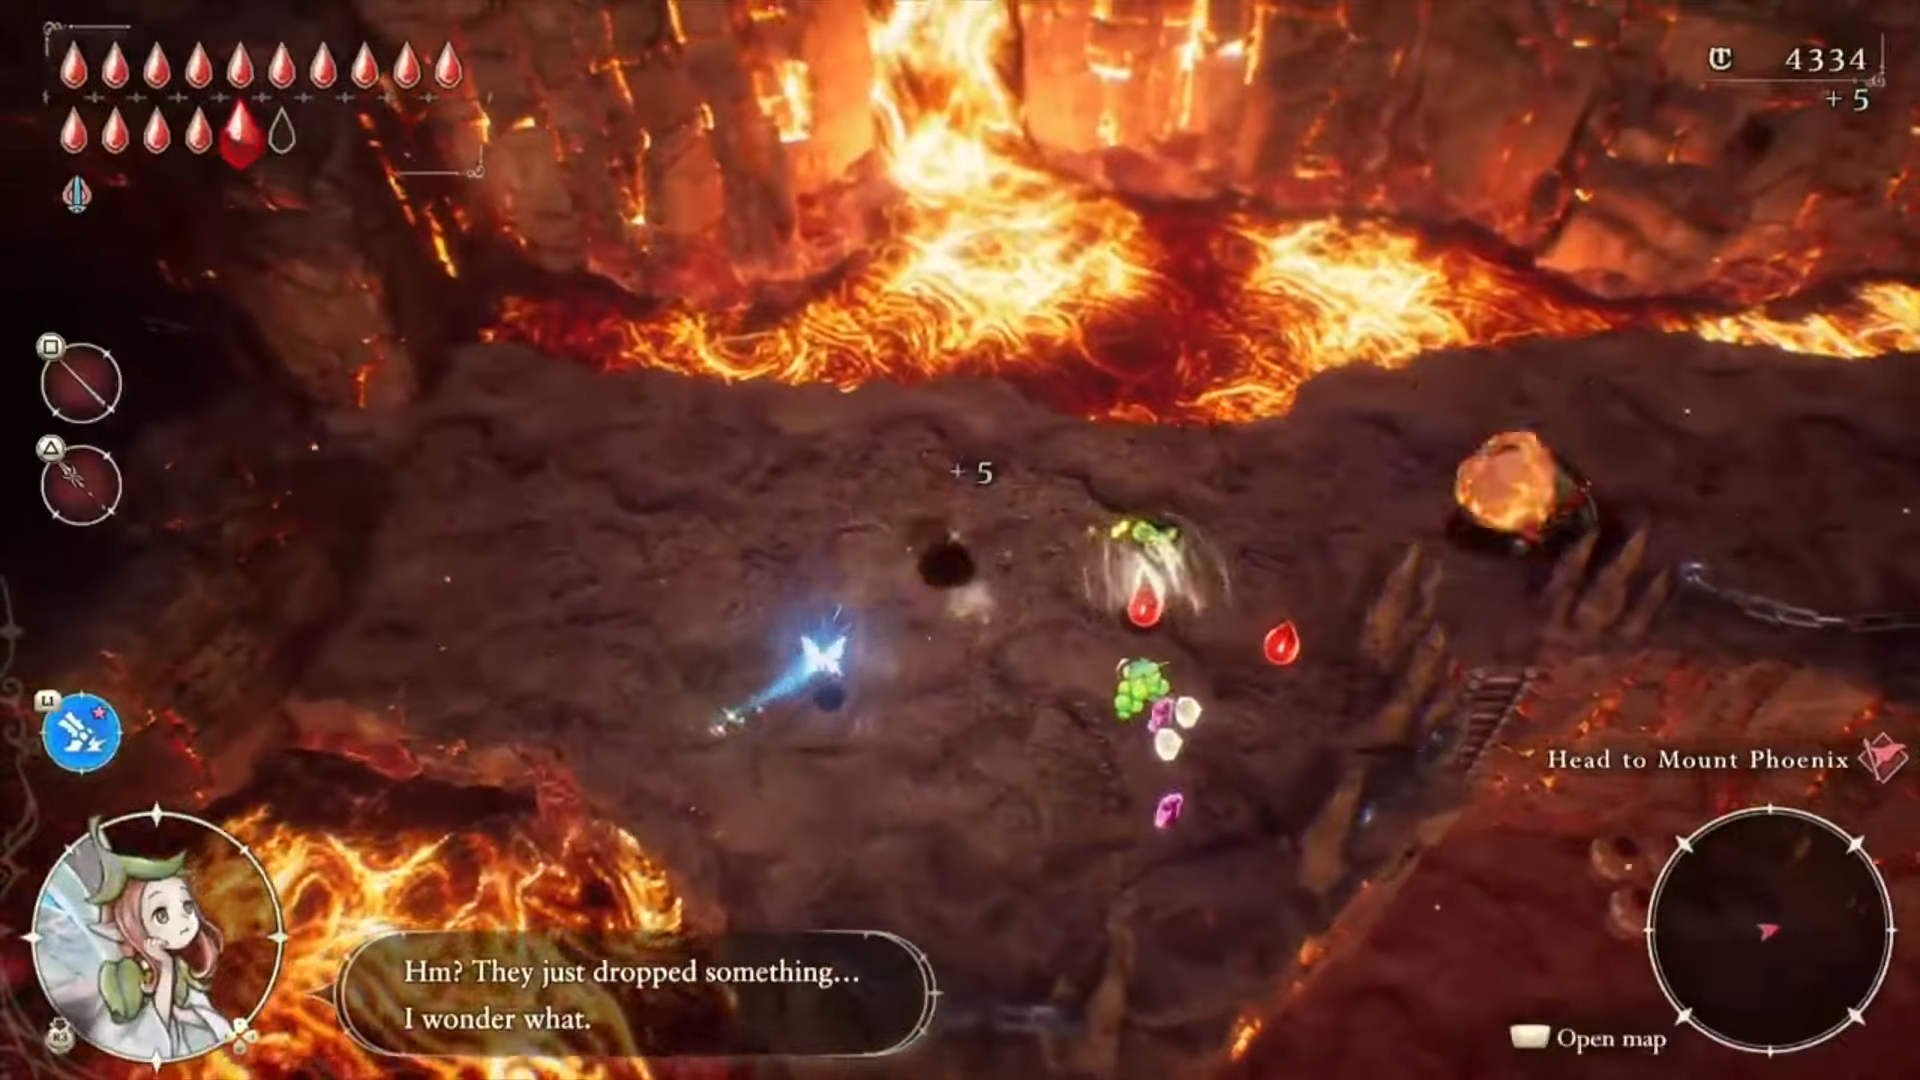
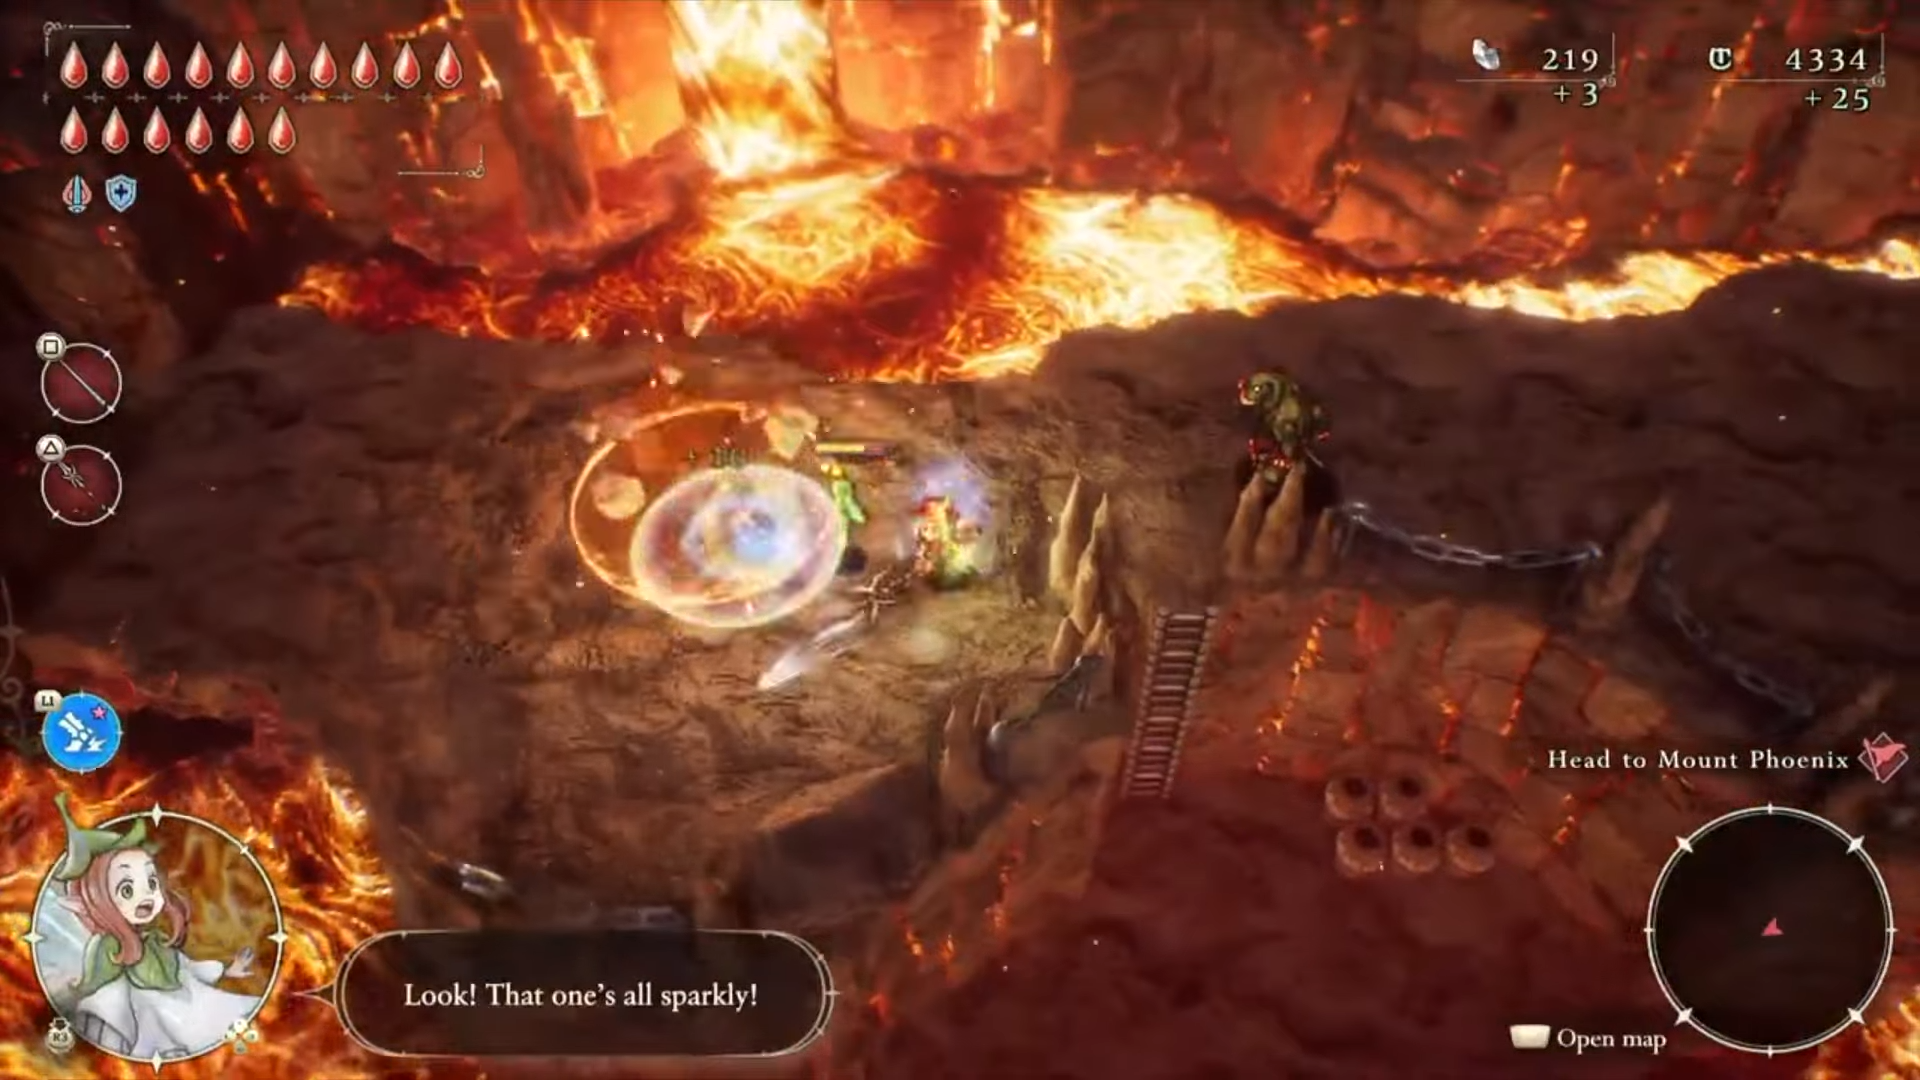
Beating one drops a bunch of loot.
Prepping your weapon and magic loadout before the fight
Most of the difficulty disappears once your loadout exists, so it is worth doing this prep even though none of it is Jewelry-specific. Start by upgrading Elliot’s main weapon at least once if earlier encounters felt like a slog — a stronger base hit is what turns the “buff then mash” plan from slow to clean. Elliot’s physical attacks are also designed to combine with Faie’s magic for synergistic effects and stronger damage, so you are not relying on the sword alone.
Your magic options come from magicite, which you customize and expand at the Shrines of the Mystic scattered around Philabieldia. Visiting these shrines grows Faie’s spell list and your magicite combinations, which is where the attack and critical-hit boosts you want for this fight come from. Some magicite and save-data bonuses are listed with figures like +10% sword damage, +6% critical-hit rate, and -10% sword charge time — useful direction for a burst build, though those numbers come from general bonus listings and are not confirmed as the values you will see in the Jewelry fight specifically.
Heal to full HP before you trigger the encounter — the attack and crit buffs are meant to be active from the first swing, so entering at less than full health throws away part of your damage window.
Mistakes that get you killed against Jewelries
The most common loss is walking in and treating a Jewelry like an ordinary mob with no upgrades — you will have a hard time. The other two are setup errors: not pre-buffing with attack and crit magic, and entering below full HP, both of which waste part of the key damage combo. There is no intricate pattern to read here; if you are dying, it is almost always a missing buff, a missing upgrade, or a chunk of missing health, not a mechanic you failed to dodge.

Where to go next: builds, upgrades, and the Shrines of the Mystic
Since the fight rewards raw burst, the natural follow-ups are a stronger burst-damage magicite and Magic Sphere build, more efficient weapon upgrades, and a route through the Shrines of the Mystic so Faie’s spell list is deep enough to stack those attack and crit effects. Be aware that magicite upgrades are described as very expensive, so early on you may be farming materials and currency before you can afford a full build.
A couple of broader combat tools are worth knowing, with the caveat that they are not tied directly to Jewelries directly. Faie’s Vacuum pulls enemies and objects into a vortex where they can be attacked or even dragged off a ledge — strong against mobile enemies in general. Likewise, pairing Ripe Bomb Magicite (more explosive damage, delayed detonation) with Faie’s Ignite to set those bombs off instantly is a solid general tactic. Use them as experiments, not as the reliable plan — the confirmed answer remains buff, full HP, and attack.
Frequently Asked Questions
Where do you first run into a Jewelry or Gem Monster?
Your first encounter is scripted into the main story as a tutorial fight that introduces their mechanics, so you do not have to hunt for it — the game hands you one and explains how they work.
What do Jewelries drop when you defeat them?
They shower loot when they die, rewards like crafting tools and other sparkly drops.
Do you need upgraded weapons to beat them?
Not strictly, but it helps a lot. You can win with the right buffs and full HP, yet the first encounter is genuinely rough without an upgraded weapon. If your damage feels too low, upgrading the weapon once is the cleanest fix.
What magic setup deals the most damage to them?
A Magic Sphere combined with magic that boosts Attack Power, Critical Hit Rate, and Critical Damage, applied while you are at full HP.
Leave a Reply