
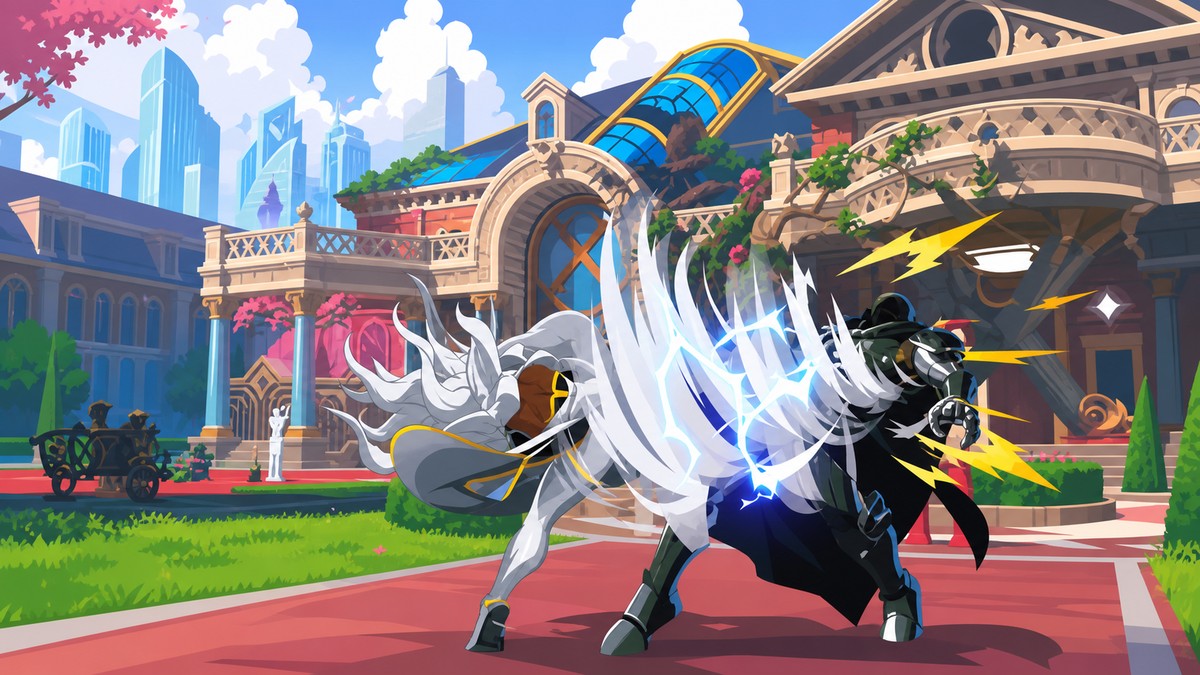
Storm’s featured no-assist combo starts with Medium into Heavy, uses Quick Skill + Heavy into Back Unique to keep the opponent close, carries through launch and wall-splat extensions, then confirms into Ultimate for 66,212 damage.
This is a solo Storm route built around keeping the opponent close after lightning, squeezing out the full multi-hit Heavy attacks, and converting the wall splat into a clean Ultimate finish. It is not a neutral guide or an assist route; the point is to learn one repeatable no-assist conversion that teaches Storm’s pullback, launcher, air timing, wall-splat, and cash-out windows.
- Storm solo route summary
- How to perform the Storm no-assist combo in Marvel Tōkon: Fighting Souls
- Timing that keeps Storm’s route connected
- Ultimate confirm window for the Storm route
- Storm’s neutral plan around this combo
- Storm combo drops and fixes
- What to learn after Storm’s solo route
- Frequently Asked Questions
Storm solo route summary
| Detail | Value |
|---|---|
| Character | Storm |
| Route type | Solo no-assist combo |
| Assist use | None |
| Final damage | 66,212 |
| Meter finish | Ultimate |
| Main execution challenge | Delaying the right hits while using pullback and wall splat immediately |
The combo matters because it gives Storm a real punish route without needing a teammate to hold the opponent in place. You start simple, stabilize the launch with Back Unique, carry into a wall splat, then spend Ultimate only from the correct Back Quick Skill timing.
How to perform the Storm no-assist combo in Marvel Tōkon: Fighting Souls
Run the route in this order, and treat each pullback timing as part of the combo rather than a recovery after it.
STEP 1/13
Start with Medium into Heavy
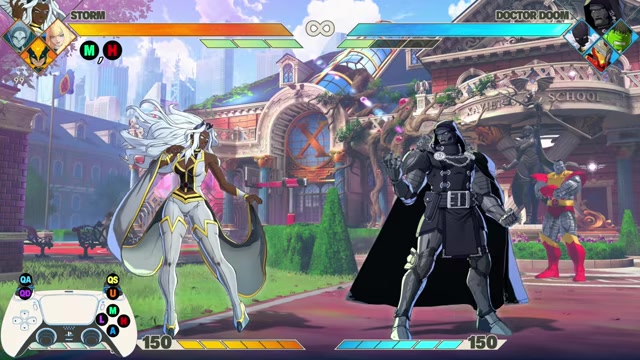
Press Medium into Heavy, and let the Heavy attack land all three hits before moving on.
STEP 2/13
Add Quick Skill + Heavy into Back Unique
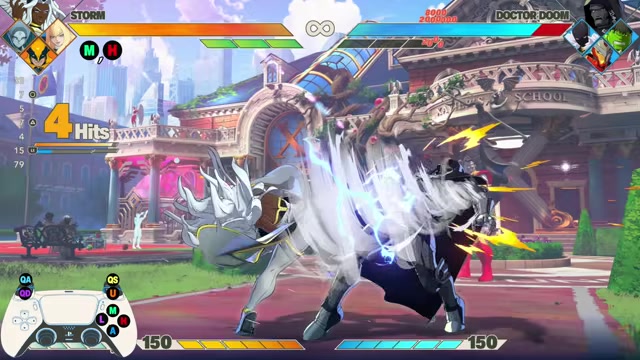
Press Quick Skill + Heavy, then immediately press Back + Unique so the lightning does not send the opponent away.
STEP 3/13
Avoid early Quick Skill + Heavy
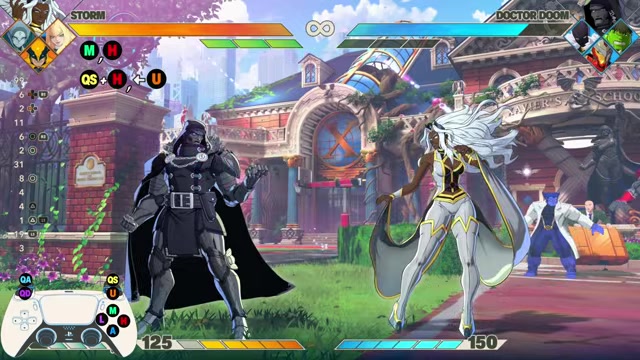
Do not rush Quick Skill + Heavy after the opener, because the combo still connects but loses hits from the tornado kick.
STEP 4/13
Continue with Medium Heavy, Down Heavy, Medium Heavy
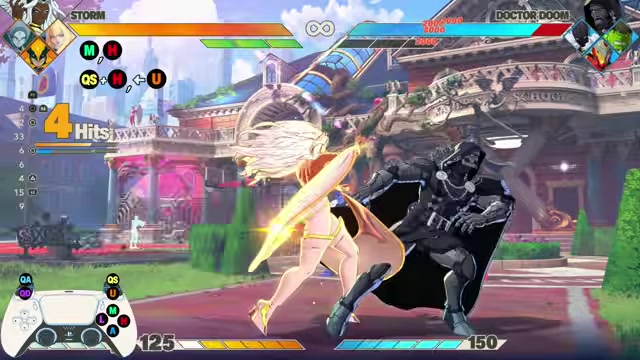
After Back + Unique, press Medium Heavy, then Down + Heavy, then Medium Heavy.
STEP 5/13
Let Down Heavy auto-jump
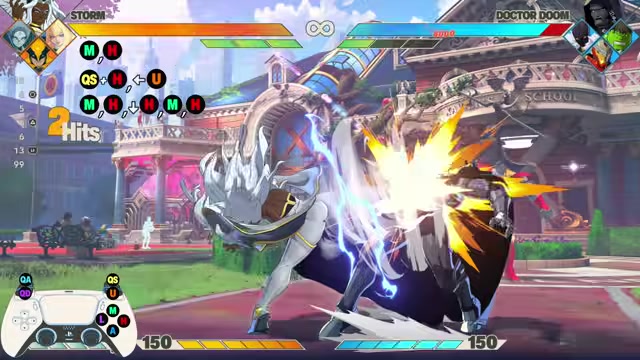
During the combo, Down + Heavy makes Storm jump on its own, so keep pressing the next attacks without adding a manual jump.
STEP 6/13
Use Back Quick Skill + Heavy into Down Unique
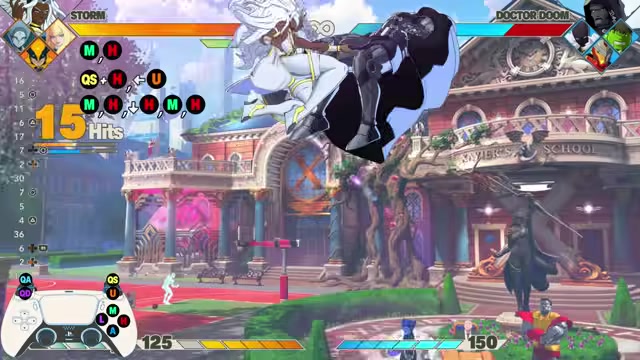
After the last Medium Heavy, press Back + Quick Skill + Heavy, then Down + Unique.
STEP 7/13
Delay Down Unique near the ground
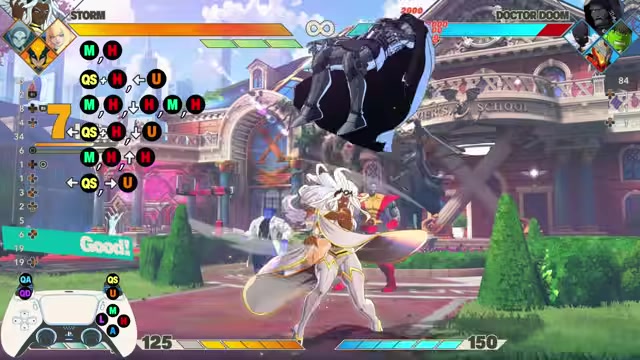
Press Down + Unique as close to the ground as possible so Back + Quick Skill gets more hits before the pop-up.
STEP 8/13
Follow with Medium Heavy into Jump Heavy
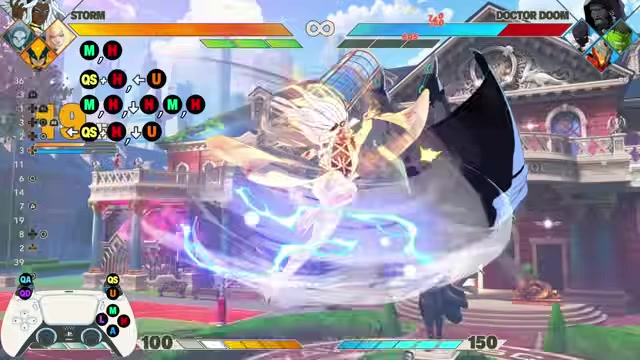
After Down + Unique, press Medium Heavy, then use Jump + Heavy.
STEP 9/13
Do not rush the jump
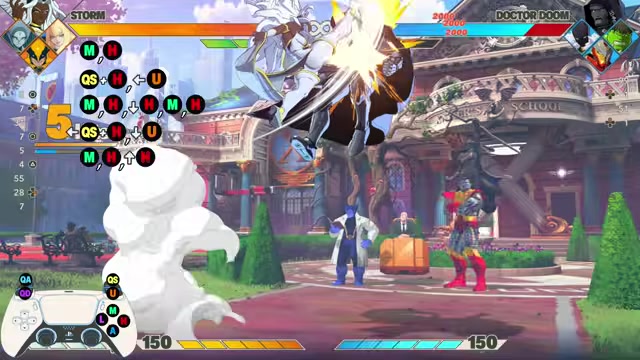
Wait long enough before the jump so the Heavy kick gets all of its hits.
STEP 10/13
Wall splat with Back Quick Skill into Forward Unique
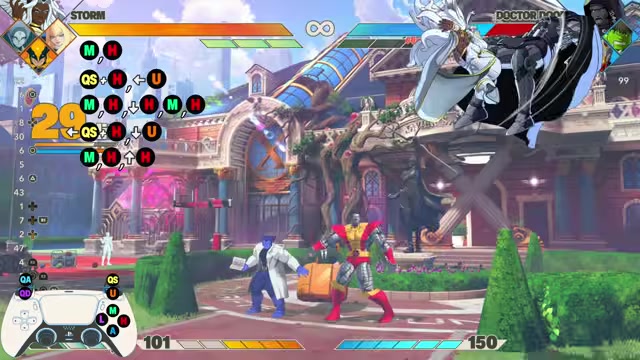
After Jump + Heavy, press Back + Quick Skill, then immediately press Forward + Unique for the wall splat.
STEP 11/13
Add Heavy into Quick Skill + Medium
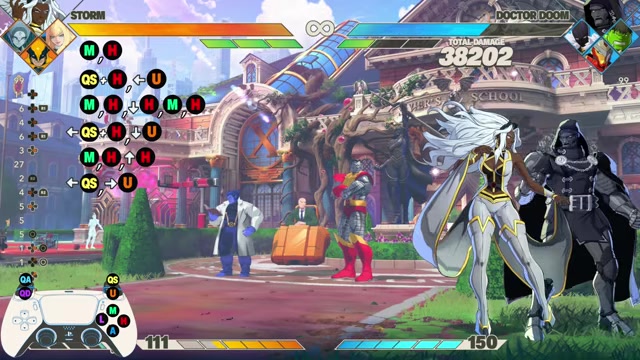
After Forward + Unique, press Heavy into Quick Skill + Medium, making sure the Heavy attack gets all three hits.
STEP 12/13
Finish from Back Quick Skill into Ultimate

End from the Back + Quick Skill timing by pressing Forward + Unique and Quick Skill together for Storm’s Ultimate.
STEP 13/13
Check the no-assist damage
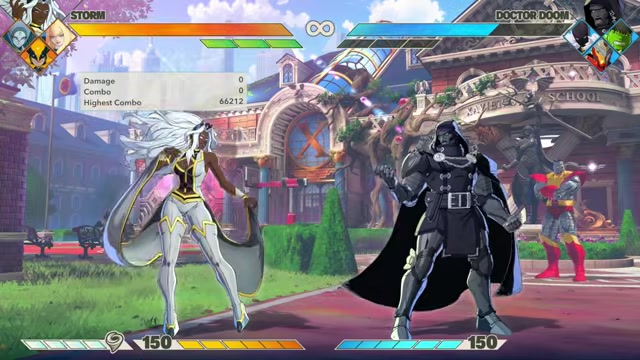
The full route reaches 66,212 damage with Storm and no assist.
Video help
Timing that keeps Storm’s route connected
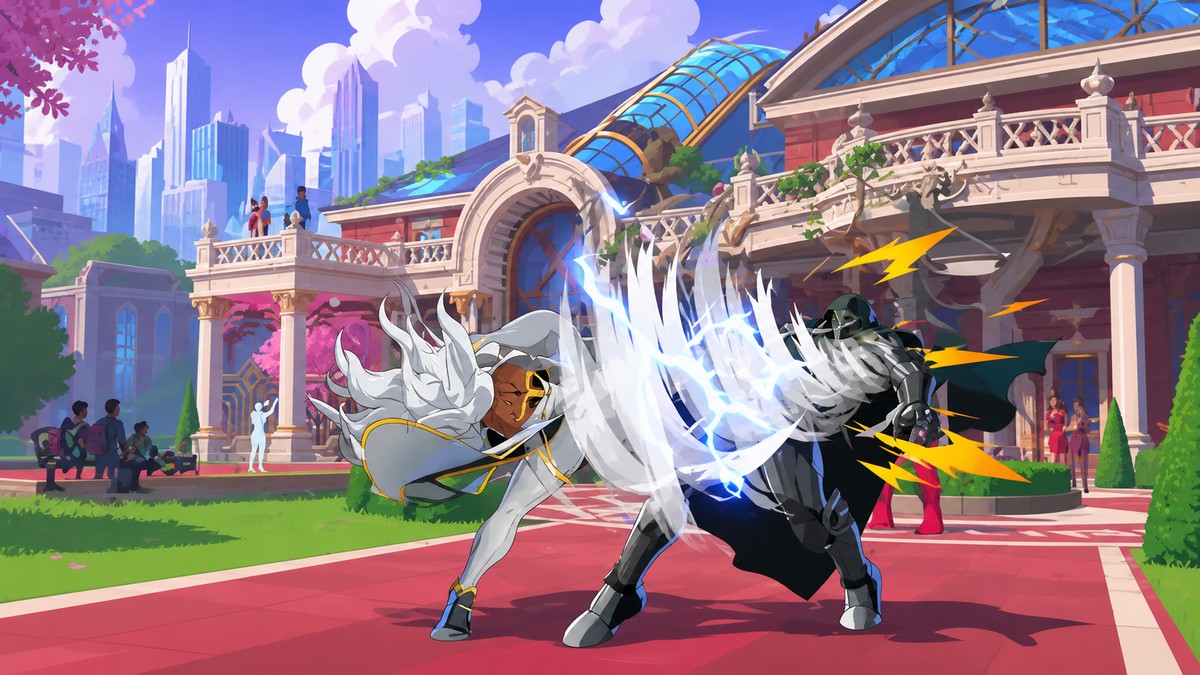
The opener lives or dies on patience. Storm’s first Heavy has multiple hits, so pressing Quick Skill + Heavy too early leaves damage behind even though the combo can still continue.
The first big control point is Back + Unique. Storm’s Quick Skill + Heavy lightning pushes the opponent away by default, so the pullback has to come immediately after it to keep the body close enough for the next Medium Heavy string.
After the launcher sequence, Down + Heavy handles the jump automatically during the combo. Later, the Down + Unique pickup works best when used near the ground after Back + Quick Skill + Heavy, while Jump + Heavy needs a slight delay so the kick does not clip short.
The wall-splat timing is just as strict: once Back + Quick Skill connects, press Forward + Unique right away. If that wall splat comes late, the final Heavy into Quick Skill + Medium section becomes unreliable.
Listen for the full Heavy rhythm before canceling; Storm drops damage most often when Quick Skill + Heavy is pressed before the multi-hit kick finishes.
Ultimate confirm window for the Storm route
Storm’s Ultimate belongs after the Back Quick Skill timing, not after the final Heavy into Quick Skill + Medium string. The input is Forward + Unique and Quick Skill at the exact same time, using the Back Quick Skill connection as the setup.
Trying to route directly from Heavy into Quick Skill + Medium and then Ultimate does not work for this sequence. Save the spend for the correct confirm point and the same no-assist route reaches 66,212 damage.
Current exact Skill Gauge costs for Storm’s Super and Ultimate are not stable enough to memorize from early move-list data, so plan around the practical rule: spend Ultimate when this route is going to finish the job, not because a touch happened.
Storm’s neutral plan around this combo
| Situation | Storm plan |
|---|---|
| Clean hit | Commit to the no-assist route if spacing supports the pullback |
| Blocked pressure | Return to wind control instead of forcing unsafe close-range pressure |
| Neutral | Use mobility, wind, and lightning to make the opponent approach badly |
| Round-ending confirm | Spend Ultimate from the Back Quick Skill window |
Storm is a mobile zoner who controls space with wind and lightning, making this combo a punish or clean-hit conversion rather than her whole gameplan. Her stronger rhythm is to stay mobile, force approaches, and cash out when the hit is already secured.
That is why the solo route is useful even in a 4v4 tag game. It gives Storm a way to threaten real damage on her own, while still leaving assist extensions, team routing, and meter planning as separate layers once the basic conversion is stable.
Storm combo drops and fixes
| Problem | Fix |
|---|---|
| Heavy loses hits after the opener | Delay Quick Skill + Heavy until the multi-hit Heavy finishes |
| Opponent flies away after lightning | Press Back + Unique immediately after Quick Skill + Heavy |
| Down Unique misses the pickup | Use Down + Unique close to the ground after Back Quick Skill + Heavy |
| Jump Heavy connects short | Wait before jumping so the Heavy kick gets its full hit count |
| Ultimate does not come out as a combo | Use Ultimate from Back + Quick Skill, not after raw Heavy into Quick Skill + Medium |
| Storm keeps losing close-range scrambles | Play her as a mobile zoner and anchor, then convert clean hits into this route |
If the combo is dropping, isolate the section that changes the opponent’s position first. Storm’s damage comes from controlling where the opponent is after lightning, launch, and wall splat, so most failures trace back to rushing one of those control points.
What to learn after Storm’s solo route
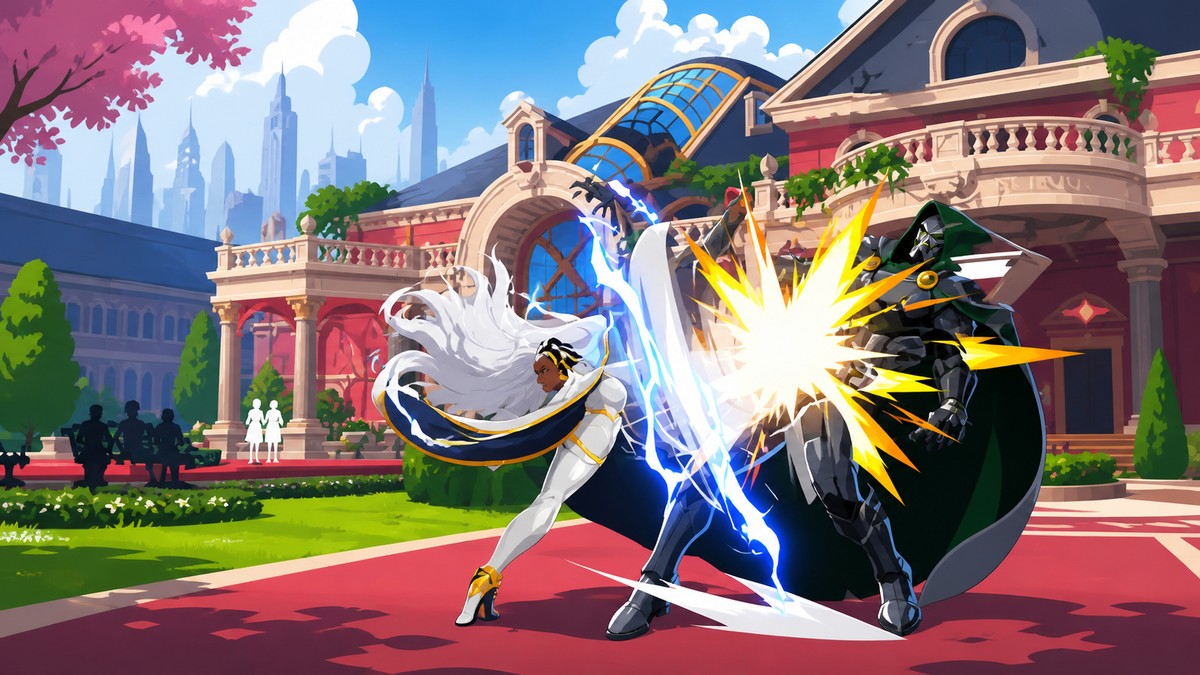
Once the no-assist version is consistent, move into assist extensions and team routing without replacing the route’s timing foundation. Assemble Assists can extend Storm’s conversions in team play, but the solo sequence should stay clean before you add another character’s timing on top.
The next useful layer is resource planning: decide when a Super is enough, when Ultimate is worth saving for a round-ending confirm, and how Storm fits into an X-Men shell with teammates such as Magik, Wolverine, and Danger. Keep the same principle from the combo route: confirm first, spend second.
Related Marvel Tōkon: Fighting Souls guides
Frequently Asked Questions
Can this Storm combo be extended with assists?
Yes. Team systems let Storm use Assemble Assists to extend combos, and the solo route already ends at a strong damage point before any teammate is added. Learn the no-assist timing first, then add assists as extensions rather than changing the core order.
Is this combo still useful after the August 10 performance patch?
Yes. The August 10 patch targeted CPU load, frame rate drops, input responsiveness, and shader warm-up, not Storm balance. That makes the route still relevant for current combo practice.
Should Storm spend Ultimate every time she lands this route?
No. Storm’s broader plan rewards meter spending after a secured hit, with Ultimate reserved for high-value or round-ending confirms. If the hit will not justify the spend, keep the resource and return to wind and lightning control.






Leave a Reply