
In Marvel Tokon: Fighting Souls, build around your point character first, use the second slot for early support and practical tags, and choose the later slots mainly for the assists that complete your game plan.
Marvel Tokon: Fighting Souls is a 4v4 fighter, but team building gets much easier once you stop treating all four characters as equal starters. Your first slot drives the match, your second slot is your most realistic early partner, and the last two slots are mainly there to give your point character the tools they are missing.
- Build around one driver, not four solos
- Team slots and assist timing
- Choosing your point and shooter partner in Marvel Tōkon: Fighting Souls
- Types of assist traits in Marvel Tōkon: Fighting Souls
- Back assist options and uses
- Team build checklist in Marvel Tōkon: Fighting Souls
- Common team-building traps
Build around one driver, not four solos
The cleanest way to think about a team is one main character plus three assists, or at most two playable characters plus assist support. Four favorites can work, but only if the assists actually help the character you plan to control most.
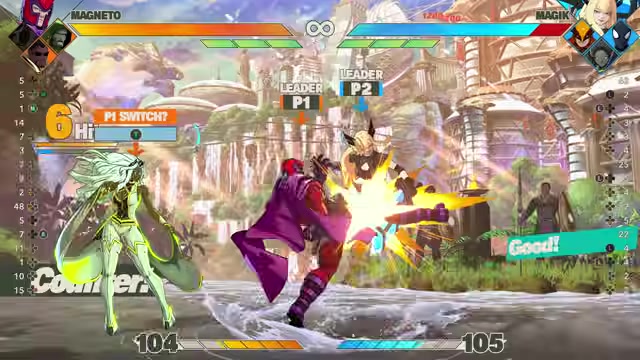
Key Your team also shares one Vital Gauge, so switching characters does not give you four separate life bars to spend. A bad tag still costs the same team health, which is why stable neutral and purposeful assist calls matter more than constantly cycling through the roster.
The first two slots matter most at round start. Later teammates can become available during the match, but there will be rounds where your third or fourth character does not meaningfully enter your plan until after conditions like a wall interaction or a lost round.
Team slots and assist timing
| Slot | Function | When usable |
|---|---|---|
| Point | The character you actively control at the start of the round | Round start |
| Shooter Assemble | The second teammate’s ranged assist | Round start |
| Vertical Assemble | The third teammate’s anti-air or upward coverage assist | Unlocks mid-match |
| Assault Assemble | The fourth teammate’s unique offensive or utility assist | Unlocks mid-match |
Point is not an assist slot; it is whoever you are controlling right now. When you tag, the new character becomes point and the assist order shifts around that new lead, so slot order affects both your opening plan and your later access.
On default PS5 controls, Cross is the Assemble button: Forward plus Assemble calls the second character, Down calls the third, and Back calls the fourth. L2 plus a direction performs Quick Assemble tags.
Choosing your point and shooter partner in Marvel Tōkon: Fighting Souls
Pick your point character first because that character has to survive neutral, start pressure, and carry the team before the full assist package is online. If you like Blade, build around Blade; if you like Wolverine, build around Wolverine. The important part is that you can actually play the match with them before the team gets fancy.
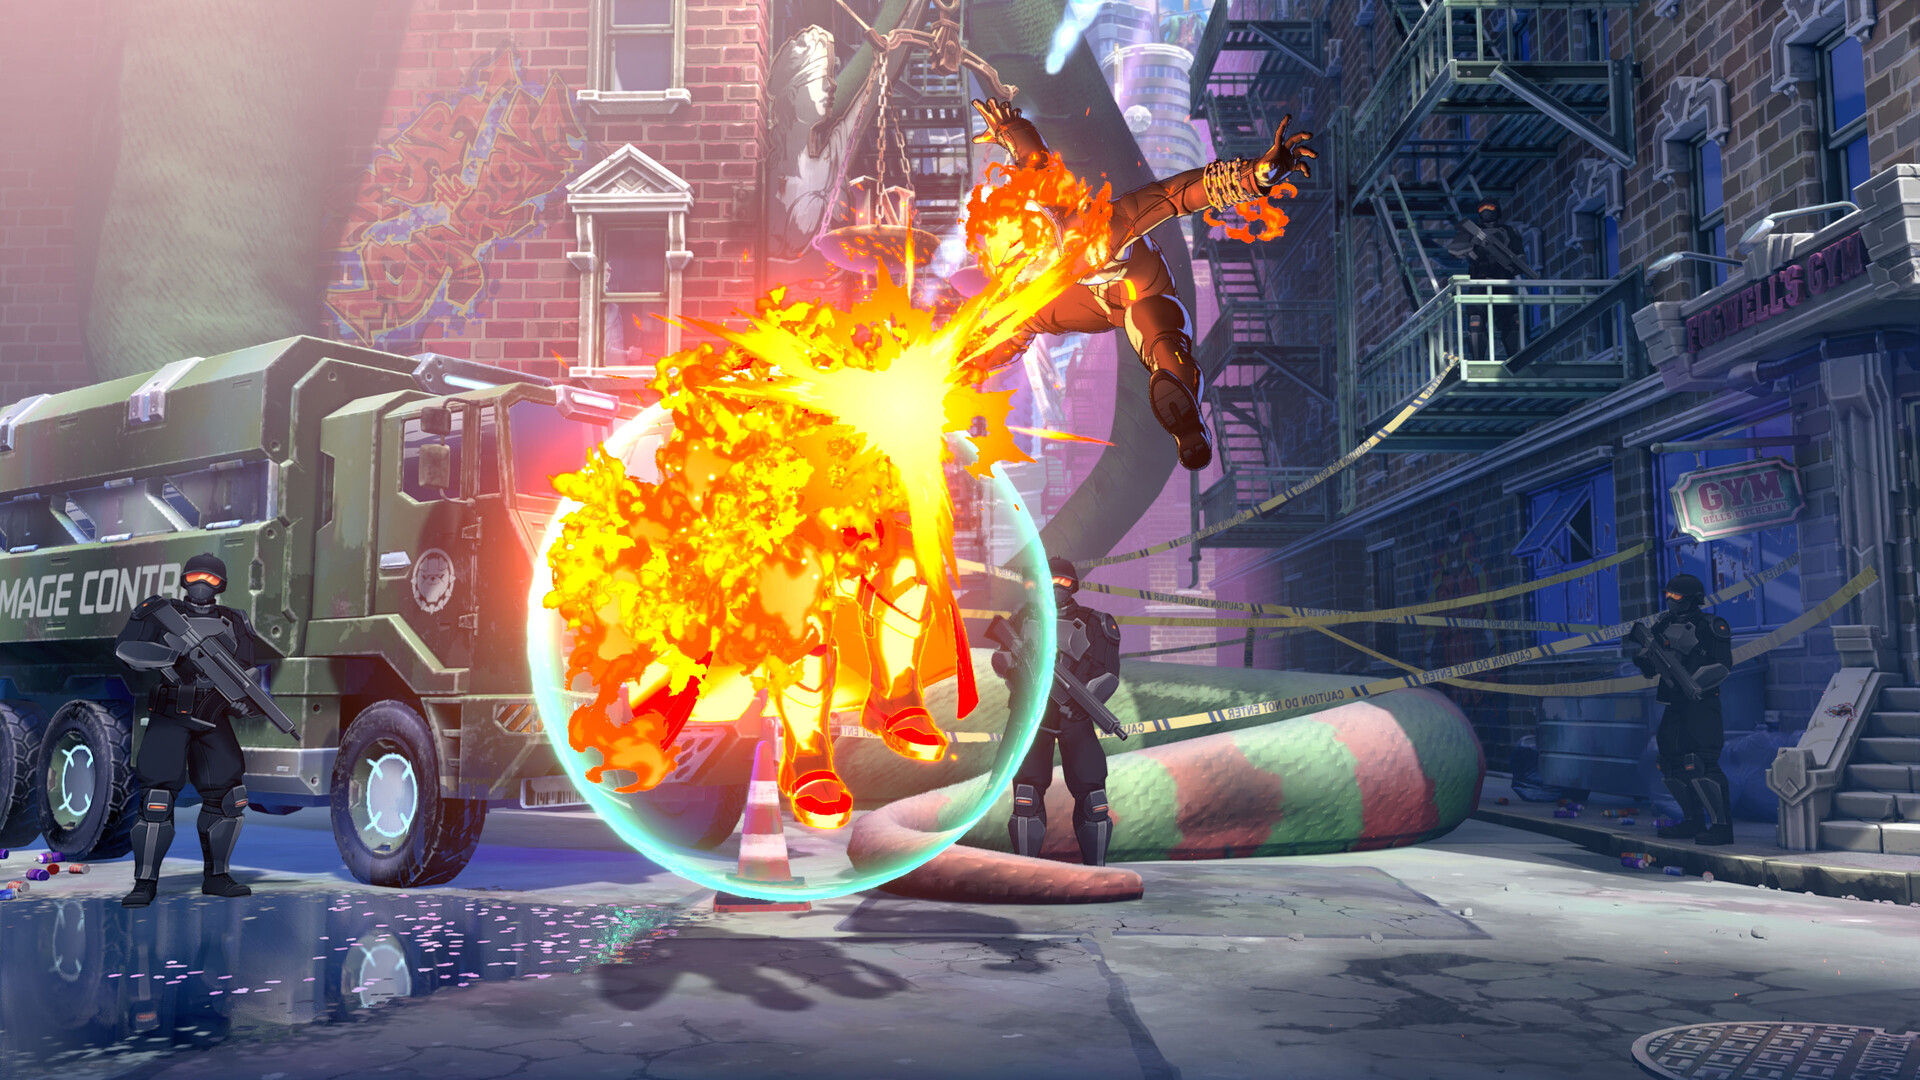
The second character should still be someone you can use, because they are available immediately and are the most realistic tag partner in a normal round. Their Shooter Assemble should either help your point convert stray hits or cover a matchup problem your point does not handle cleanly.
For example, Blade’s long-lasting gunshot makes it easy to see when a full-screen hit connects, so a shooter assist that keeps the opponent pinned long enough for a conversion has direct value. A close-range character can also benefit from a second slot that changes the pace, such as pairing a brawler with a stronger zoning presence.
Types of assist traits in Marvel Tōkon: Fighting Souls
| Assist trait | Examples |
|---|---|
| Projectile cover | Blade can turn gunshot hits into conversions with Shooter support; Doctor Doom adds beam control |
| Dive-kick angle | Green Goblin hits closer spaces; Captain America reaches farther forward |
| Air control | A safe air projectile helps keep-away characters shoot, move, and avoid overcommitting |
| Cross-up utility | Black Panther can call an assist, dash across, and make the defender block the point character’s side |
| Anti-air armor | Wolverine can absorb a jump-in and keep rising |
| Jump-attack invulnerability | Spider-Man cuts through jump attacks at a different upward angle |
| Screen control | Magneto covers a wide area and can leave his resource in place for later pressure |
Shooter assists are the most straightforward because they usually put a ranged hitbox on screen, even if the projectile speed, hit stun, and block stun vary by character. The bigger differences show up when you judge each assist by angle, coverage, and what problem it solves.
Green Goblin and Captain America are a good example of why “farther” is not always better. Captain America’s air assist travels at a more aggressive angle, while Green Goblin’s shallower dive-kick angle can still connect close to the opponent where Captain America may pass over the target.
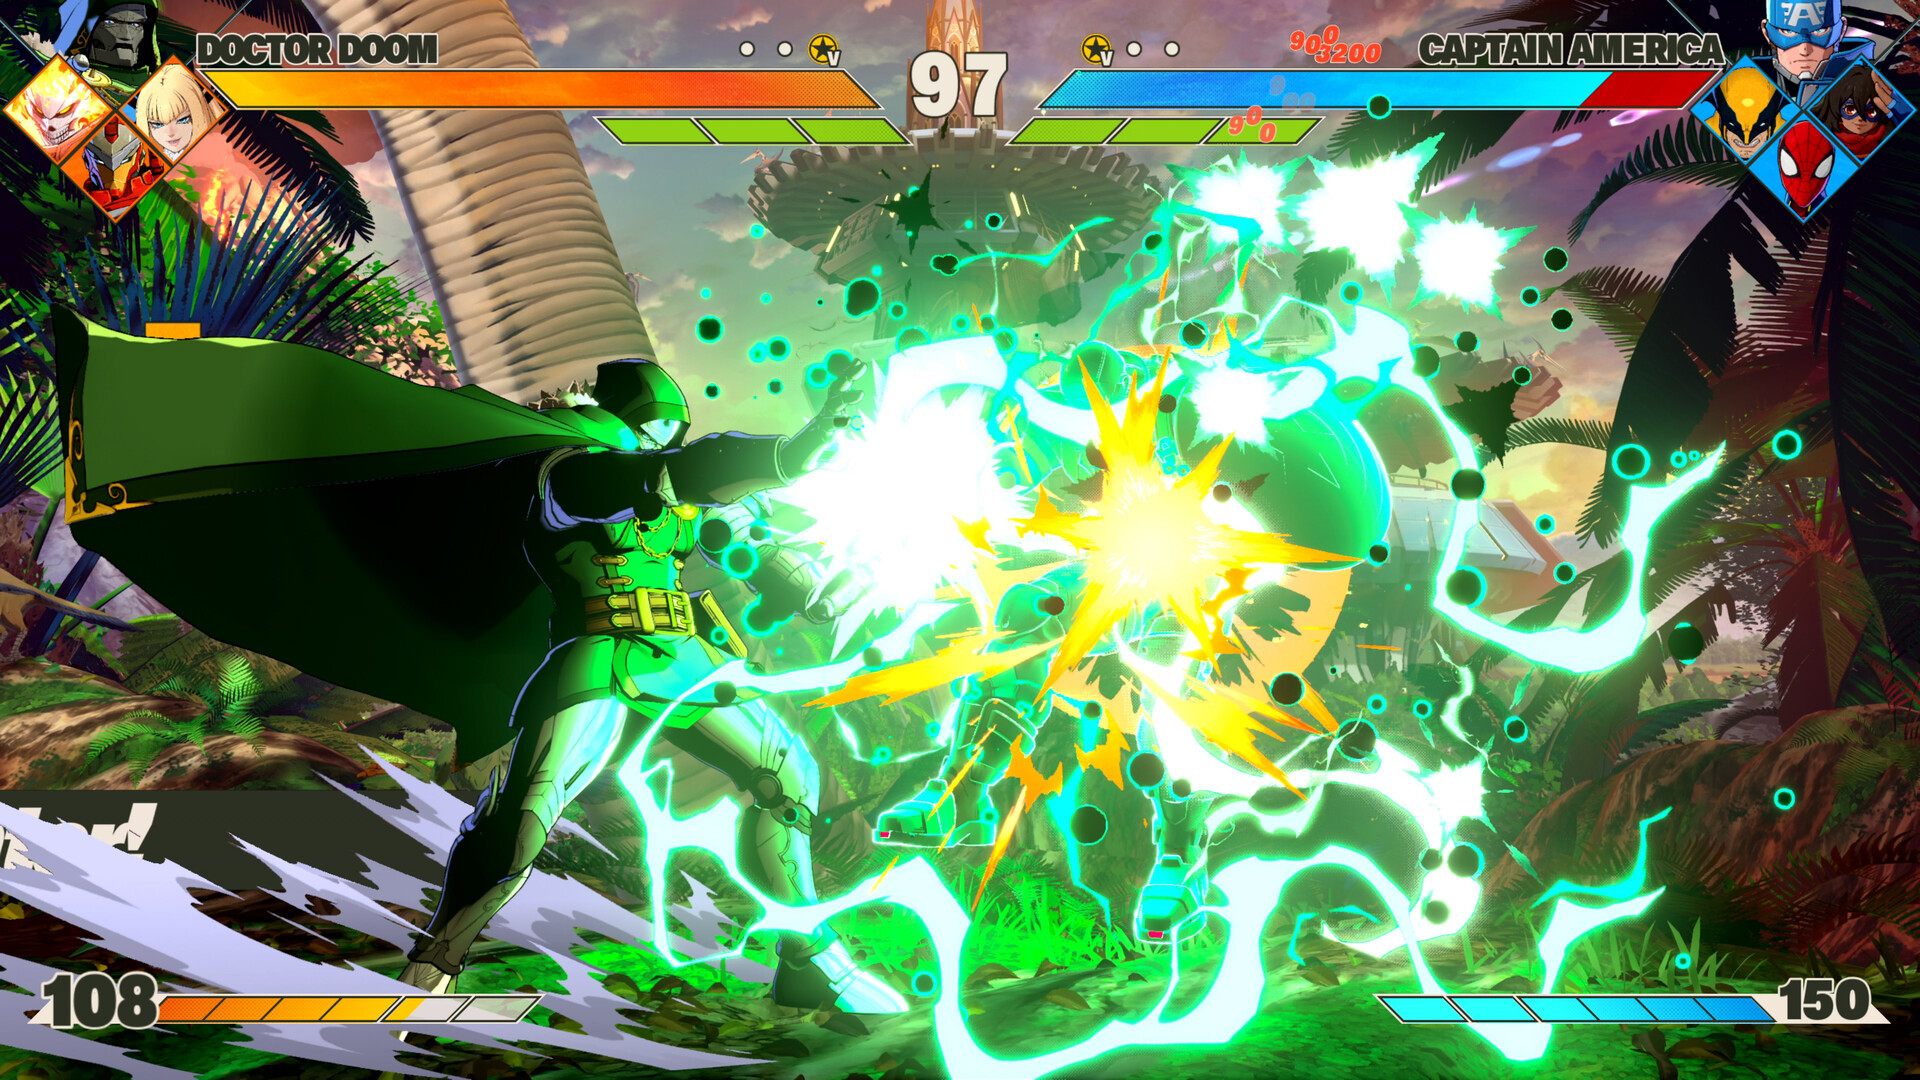
That same logic applies to vertical assists. Doctor Doom can stop movement early with a beam, Magneto can cover a larger slice of the screen, Wolverine brings armored uppercut-style coverage, and Spider-Man attacks jump-ins with a different invulnerable angle.
Test assists at point-blank, mid-screen, and full-screen range, because an assist that looks stronger on paper can whiff at the exact spacing your point character actually creates.
Back assist options and uses
| Back assist | Use |
|---|---|
| Peni Parker | Dumps two random items quickly, giving any team a strong chaos option |
| Spider-Man | Pulls the opponent out of the corner to create cross-up mix-ups |
| Doctor Doom | Adds a delayed beam threat that strengthens zoning and screen control |
| Storm | Pulls the opponent into a tornado trap and gives plenty of time to convert on hit |
| Captain America | Blocks, retaliates, and slows nearby button presses while still threatening from range |
| Magik | Turns roughly 75% of the screen into a no-fly-zone during the assist call |
The fourth slot is often the hardest team-building choice after your point character because Assault Assemble is unique. It does not follow the basic shooter or vertical templates, so it can define whether your team wants pressure, mix-ups, zoning, defense, or pure screen chaos.
Key You may rarely tag into the fourth character. That is fine. Their job can simply be to give your active character a powerful assist call that changes the screen, forces respect, or creates a situation your point could not create alone.
Peni Parker is the easiest default when you do not know what your fourth slot should do, because her assist performs the core item-dump idea faster than she normally can as the playable character. For more focused teams, pick the back assist that directly matches your win condition: Spider-Man for corner mix, Doctor Doom or Magneto-style space control, Storm for trap conversions, Captain America for pace control, or Magik for brute-force air denial.
Team build checklist in Marvel Tōkon: Fighting Souls
Pick your point
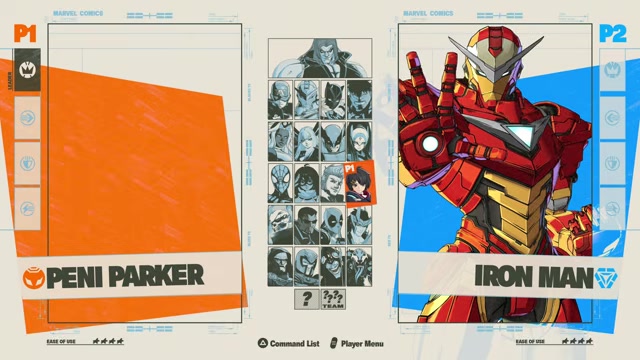
Choose the character you want to play most and can use to fight neutral from round start.
Choose the second slot
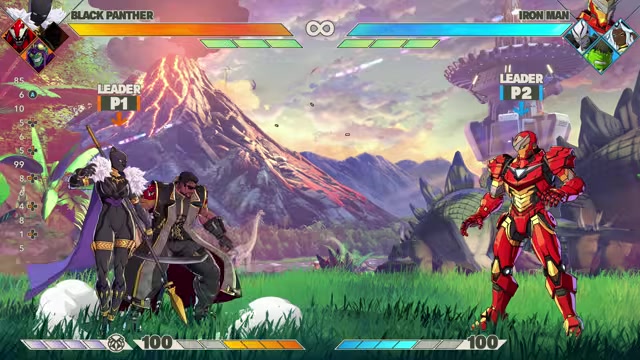
Make this a usable tag partner whose Shooter Assemble helps your point convert hits or cover matchups.
Test air-assist angles
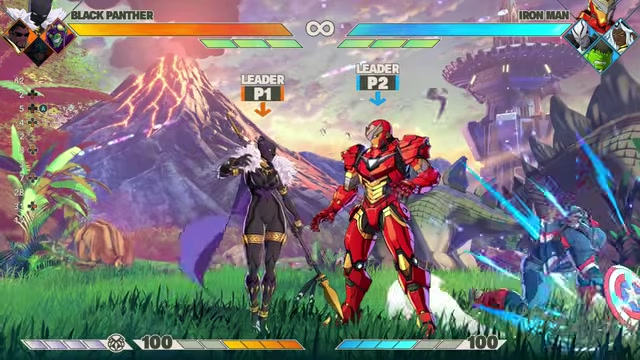
Check whether the air assist hits point-blank, mid-screen, full-screen, and during side-switch pressure.
Select vertical coverage
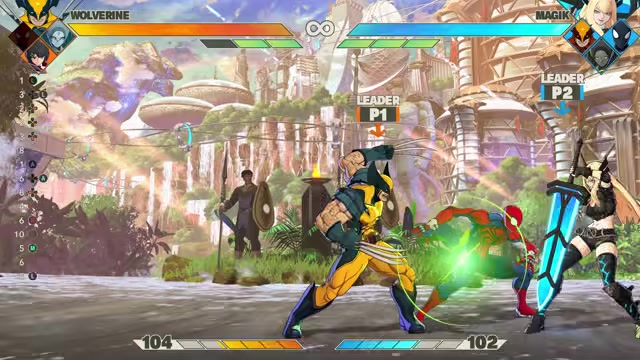
Decide whether you need a beam to stop approaches early or an uppercut-style answer to jump-ins.
Lock in the Assault assist
Use the fourth slot for the unique effect your team lacks: pressure, mix-ups, zoning, defense, or chaos.
Common team-building traps
The biggest mistake is picking four solo favorites with no assist synergy. A team can look exciting on the select screen and still fail if the assists do not help your point start offense, stay safe, stop jump-ins, or convert stray hits.
Do not build around setups that need your third or fourth assist before you can reliably earn those slots. Study Wall Break and Wall Bounce routes for your point, including grounded throws, light Link Attack strings, Assemble Smash, and Skill attacks near the wall, so your full team plan comes online more often.
Also avoid over-tagging just to use everyone, and do not copy early tier lists without learning one basic combo and one purposeful assist setup for your main character. Once your core team works, the next useful topics are Assemble Counter, Crossover timing, assist-to-switch routing, and Story Episode clears that widen roster options, including The Champion.
Video help
Related Marvel Tōkon: Fighting Souls guides






Leave a Reply