

- Quick Answer
- Grounded 2 Earth Mover activation overview
- Grounded 2 Earth mover location and requirements
- How to activate the Earth Mover in Grounded 2 Into the Abyss
- Earth Mover repair and activation rewards
- Why the Earth Mover may still show as locked
- Reaching Gnarly Bark after activating the Earth Mover
Quick Answer
Craft three Sap Bandages before heading to the Earth Mover in Grounded 2’s Into the Abyss update. Repair three damaged sections of the black controller cable around the excavator. Activate the Funpit Works controller to move the Earth Mover’s arm across the gap. Climb the extended arm to reach the hidden route toward Gnarly Bark and prepare for a creature encounter.
The Earth Mover is one of the useful environmental mechanisms introduced around the expanded Brookhollow Park content in Grounded 2’s Into the Abyss update. The update launched on August 11, 2026, adding new areas and exploration opportunities around and beneath Skunk Pond, as well as locations such as Gnarly Bark.
Activating the Earth Mover is relatively straightforward once you know what to repair. The main challenge is following its controller cable through the surrounding terrain and reaching each broken section.
Grounded 2 Earth Mover activation overview
| Requirement | Details |
|---|---|
| Location | Earth Mover area in Brookhollow Park |
| Required item | 3 Sap Bandages |
| Main objective | Repair 3 cable breaks |
| Activation point | Funpit Works controller |
| Result | Earth Mover arm extends across the gap |
| Next objective | Climb the arm toward the hidden entrance |
| Danger | Creature encounter near the entrance |
Grounded 2 Earth mover location and requirements
You should craft three Sap Bandages before beginning the repair. Each damaged section of the controller cable requires one bandage, so having all three ready prevents you from having to leave the area to collect materials. The current guide information identifies Clover Leaf and Sap as the materials used for the Sap Bandage recipe.
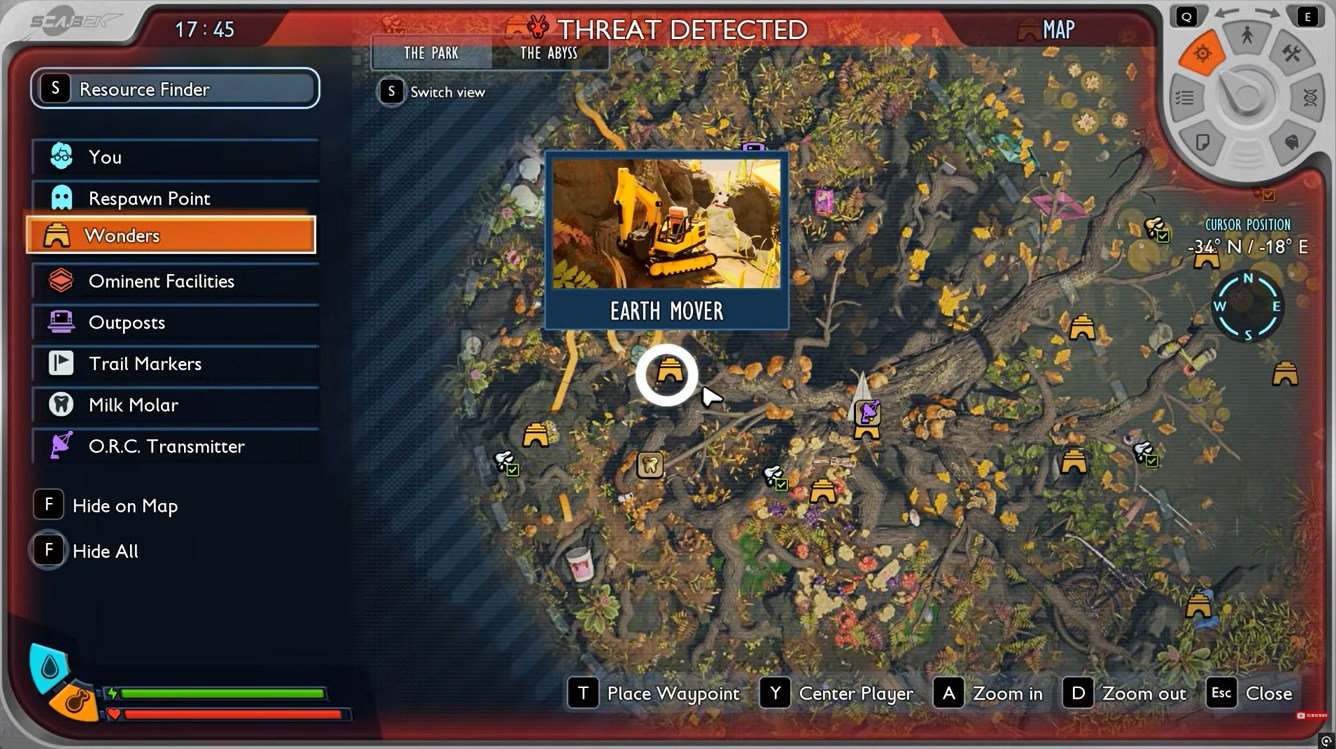
You should also have access to a mount. The route to the cable’s other sections involves crossing a gap, while the later climb up the Earth Mover is considerably easier with a suitable mount.
How to activate the Earth Mover in Grounded 2 Into the Abyss
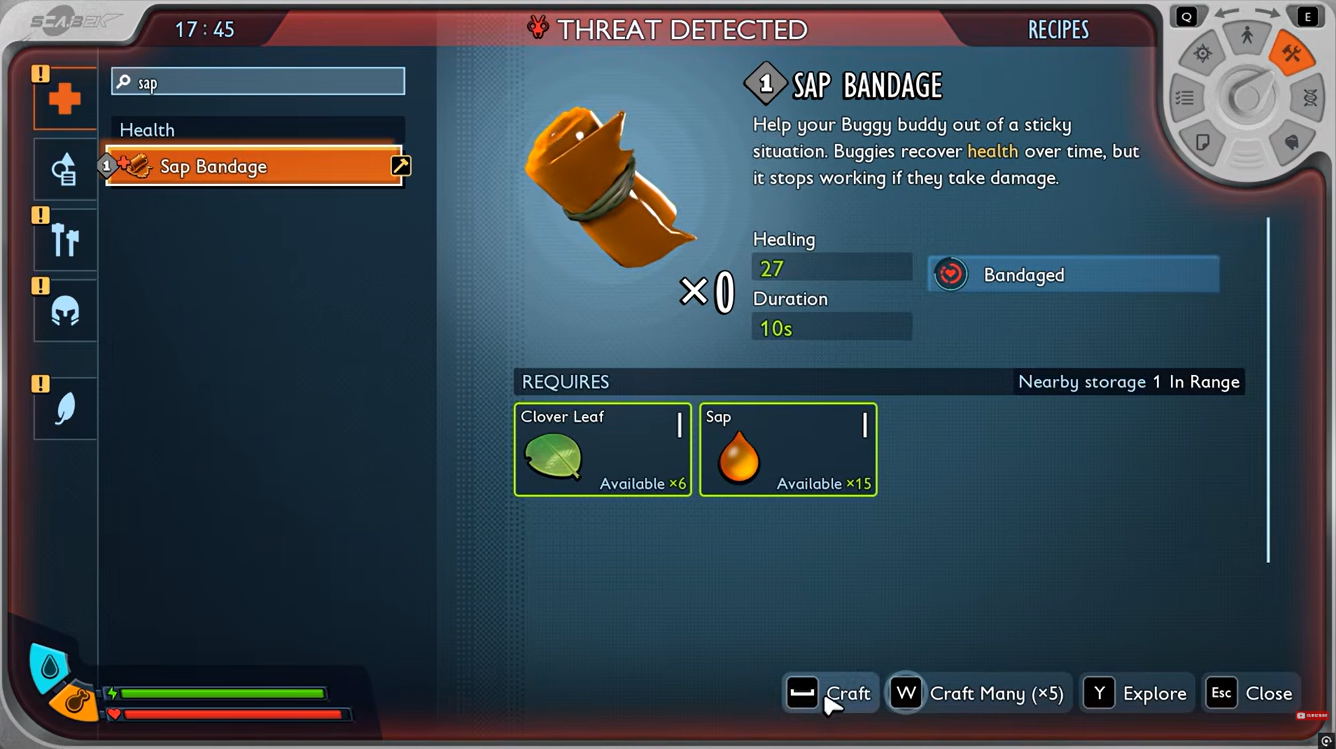
Step 1: Craft three Sap Bandages
Open your crafting menu and go to the Health section. Craft three Sap Bandages using Clover Leaf and Sap.
You need one bandage for each broken portion of the Earth Mover’s controller cable, so make all three before starting the repairs.
Step 2: Repair the first cable break
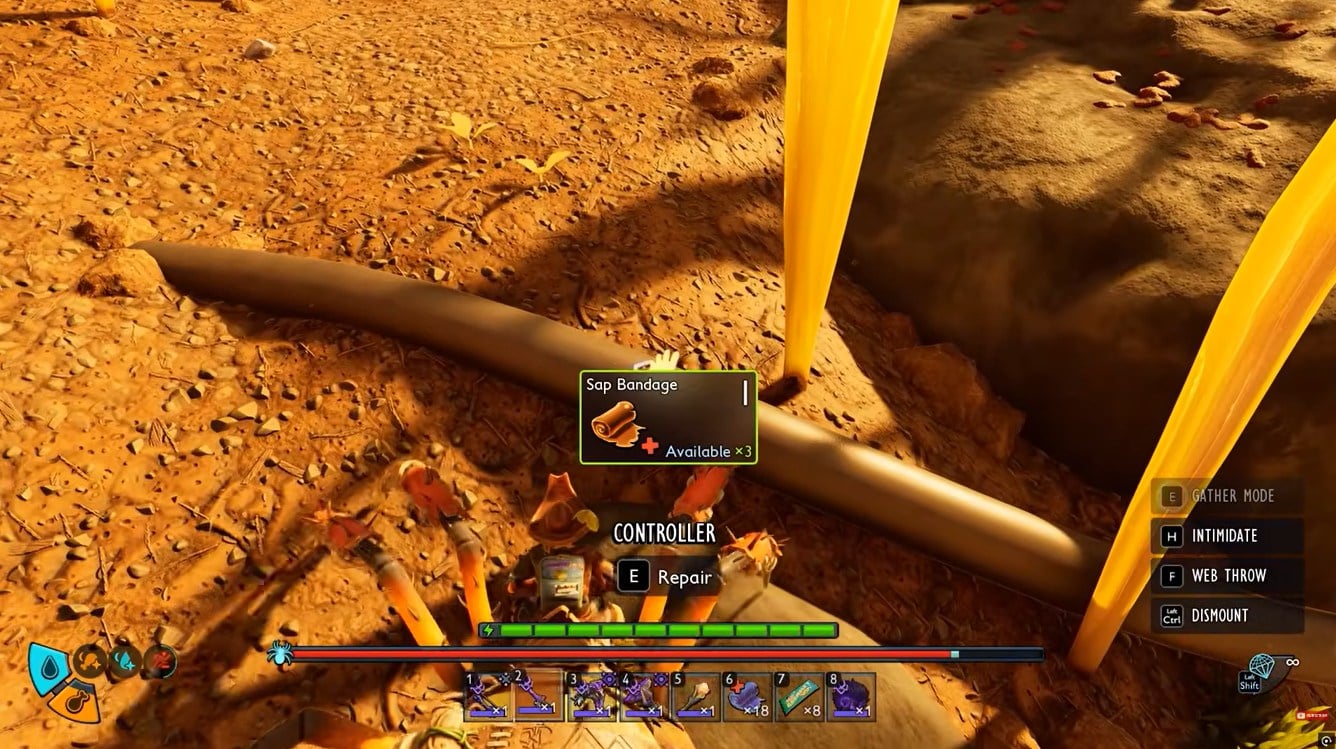
Head to the Earth Mover and look for the exposed black controller cable near the machine. Follow it until you find the first damaged section.
Interact with the broken portion and use a Sap Bandage to repair it. The cable should become functional at this section once the repair is complete.
Step 3: Cross to the opposite side
Continue following the controller cable toward the opposite side of the surrounding chasm.
A mount makes this section much easier, particularly when crossing the gap. Reach the rock ledge on the other side and look for another sparking or damaged portion of the same cable.
Step 4: Repair the second cable break
Interact with the second damaged section and use another Sap Bandage.
Once repaired, continue following the cable rather than returning to the Earth Mover immediately. The final damaged section is located farther along the route in the central cavern area.
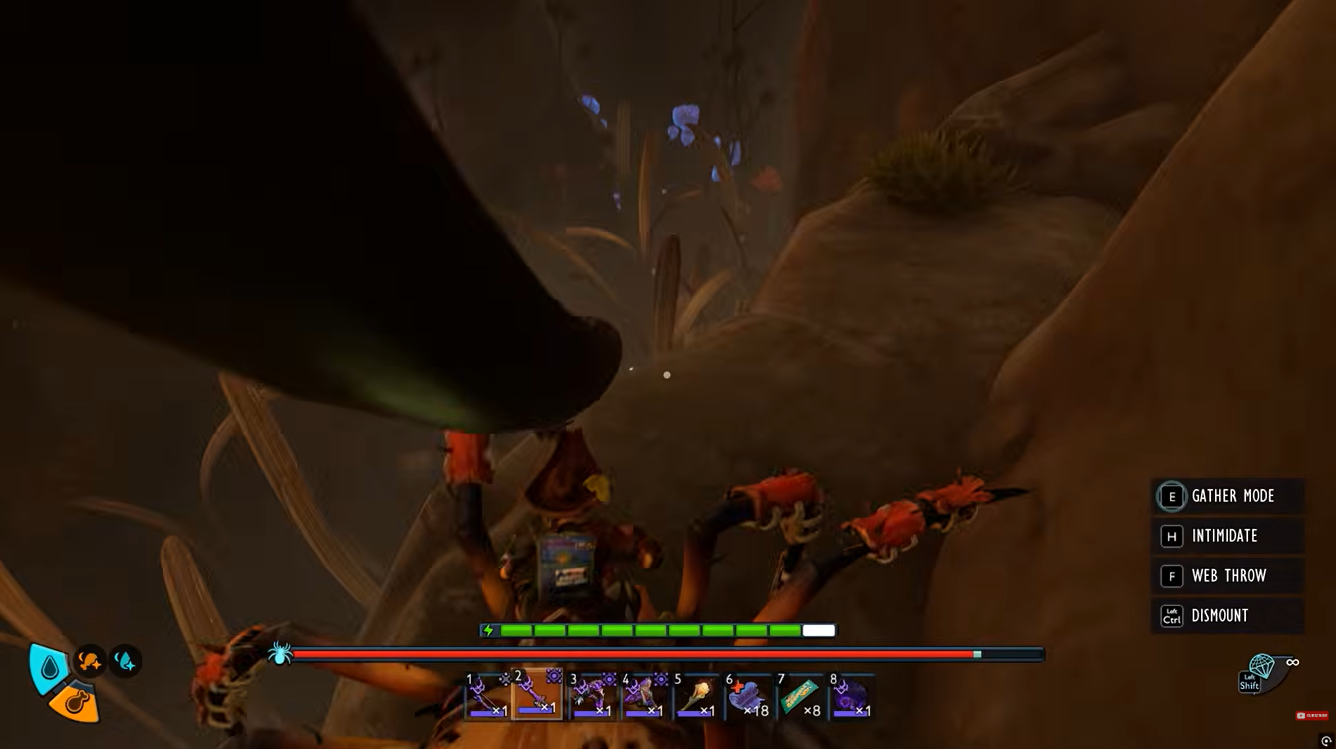
Step 5: Find the third cable break
Drop down toward the central cavern and follow the cable into the lower section.
Look for the third damaged portion. It can be easy to miss if you stop following the cable after repairing the second section, so keep tracking its path until you reach the next break.
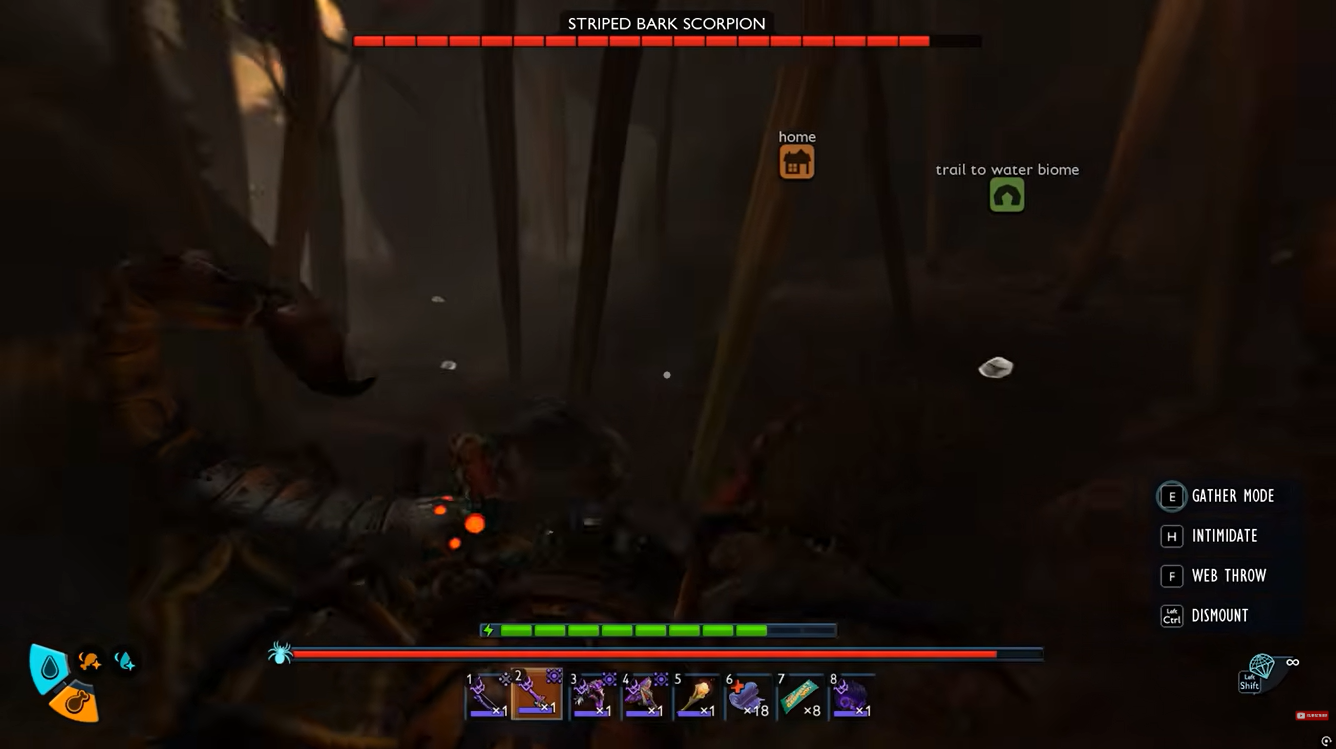
Step 6: Reach the Funpit Works controller
With the cable completely repaired, make your way back toward the upper terrain and locate the orange toy race-track structure.
Use it to reach the Funpit Works controller positioned above the Earth Mover area. The controller is the mechanism that sends the activation command to the excavator.
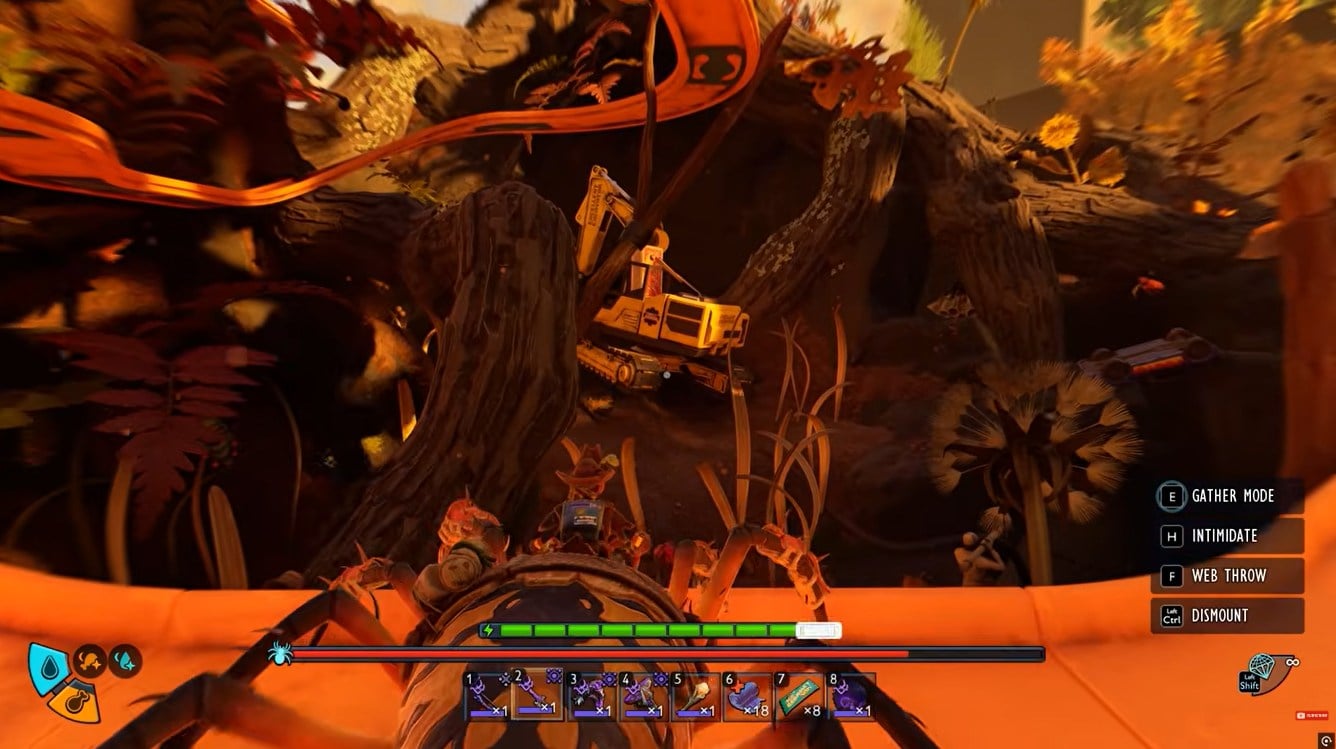
Step 7: Press the controller button
Interact with the Funpit Works console and press the red button.
The indicator should turn green, confirming that the Earth Mover has been activated. The machine’s arm then moves across the chasm, creating a new route to the previously inaccessible area.
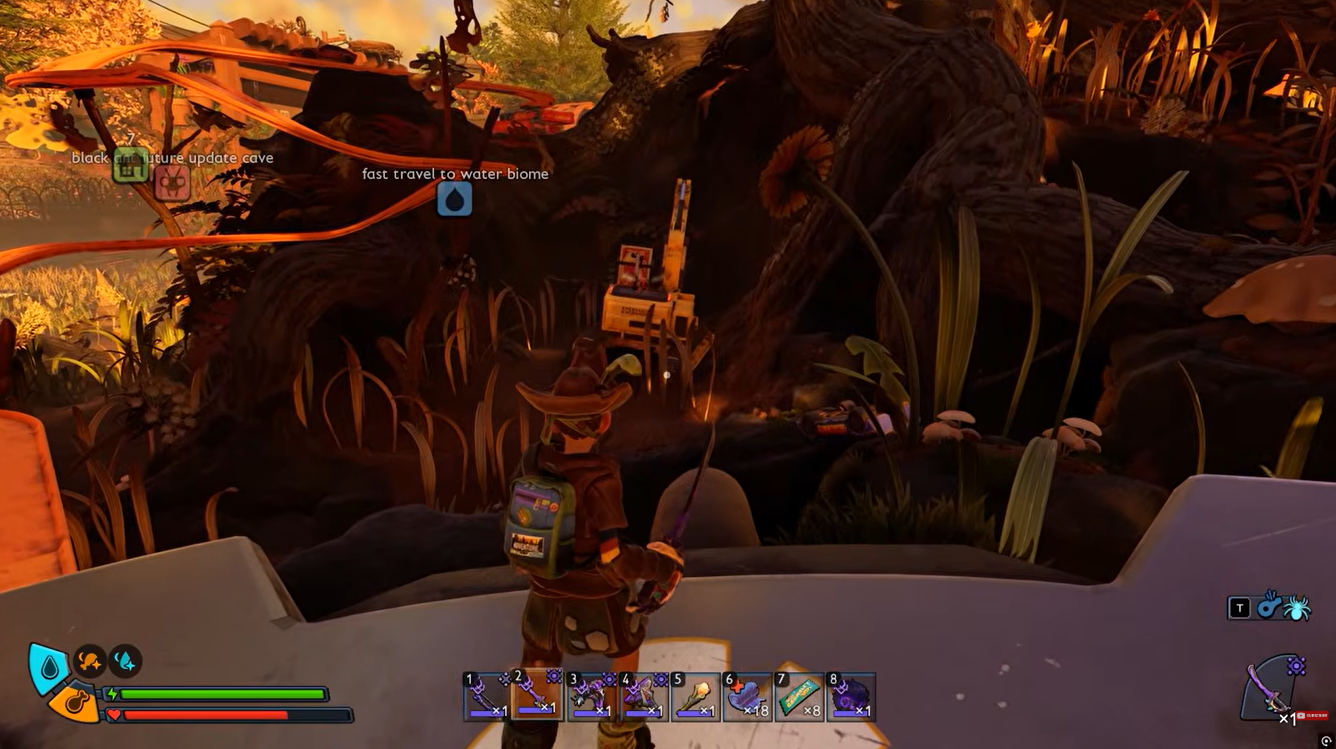
If the controller remains locked, do not keep pressing the button. A locked controller usually means one of the three cable breaks has not been repaired.
Step 8: Return to the Earth Mover
After activating the controller, travel back toward the Earth Mover.
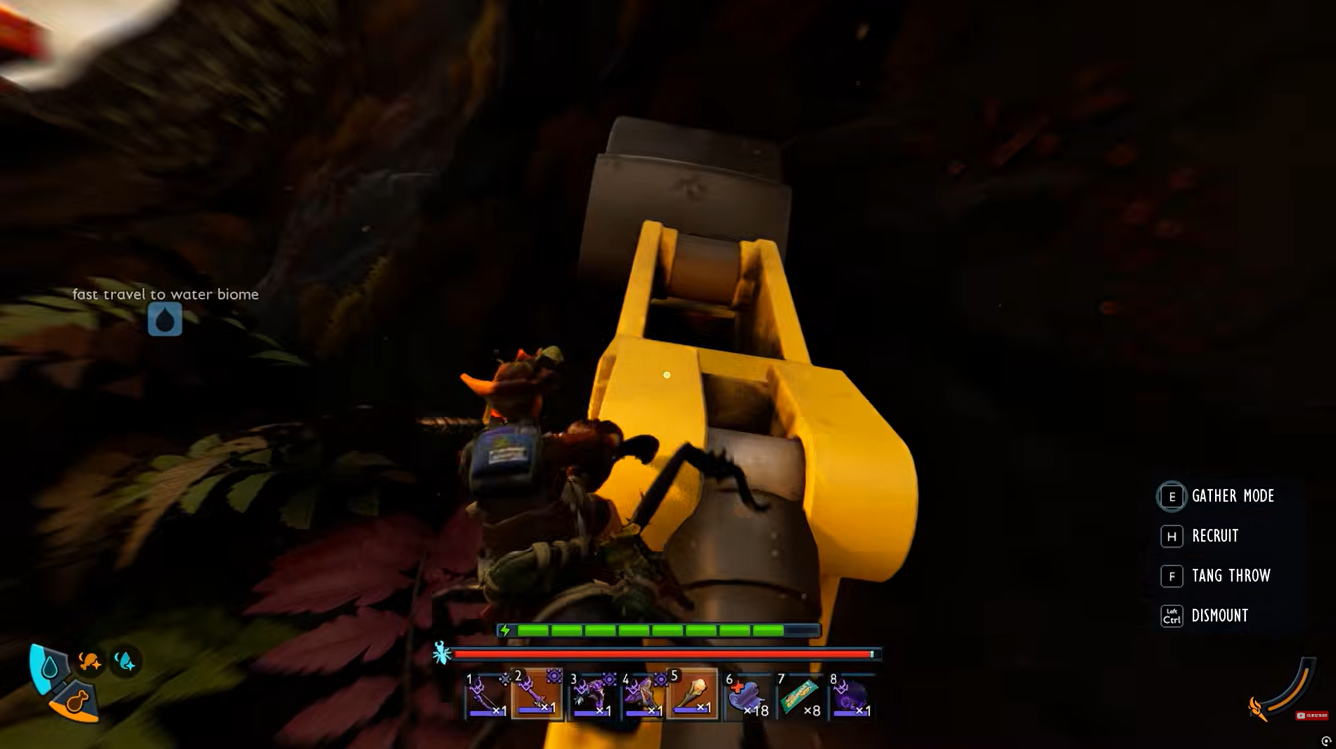
You should now see that its arm has repositioned itself across the gap. This extended arm effectively becomes a climbable route toward the hidden entrance.
Step 9: Climb the right-side stairs
Approach the Earth Mover and look for the stairs on the right side of the machine.
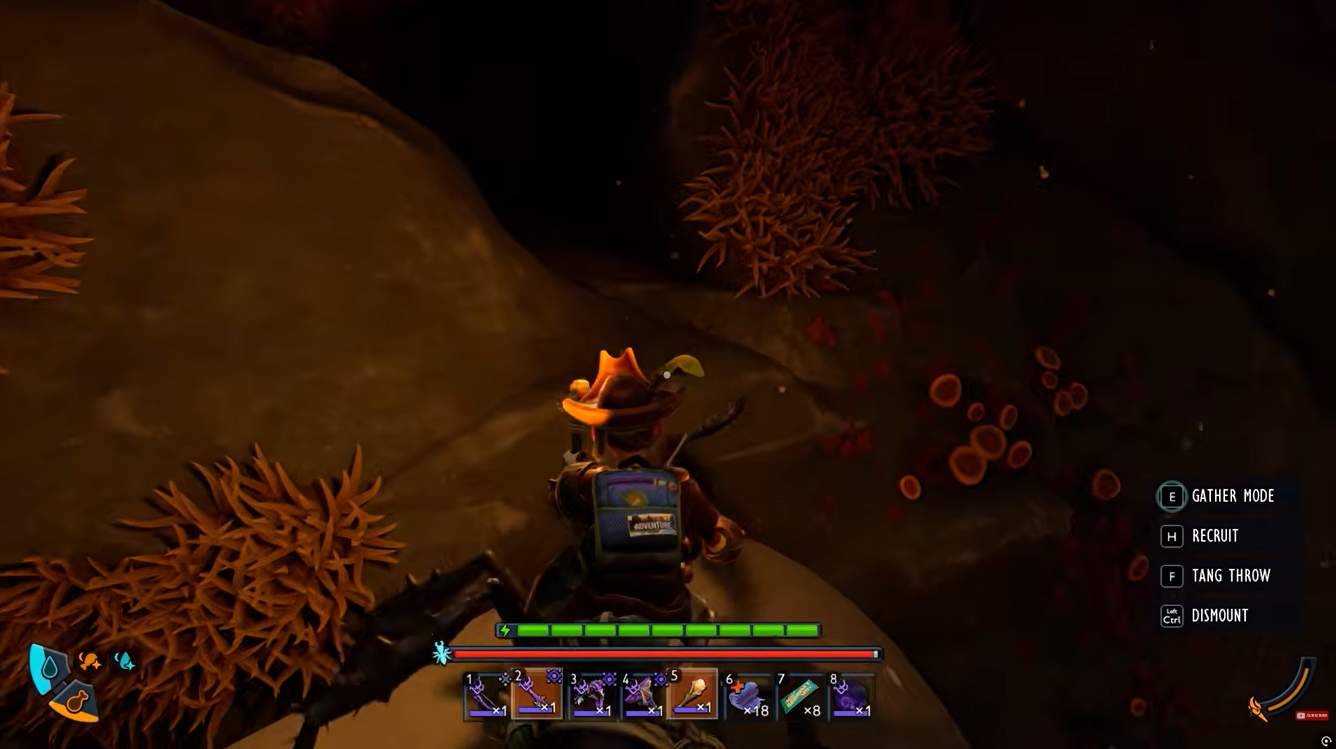
Climb the stairs, then continue upward onto the nearby Safety Matches box and the yellow hydraulic boom. From there, follow the extended arm toward the excavator bucket.
Step 10: Reach the entrance
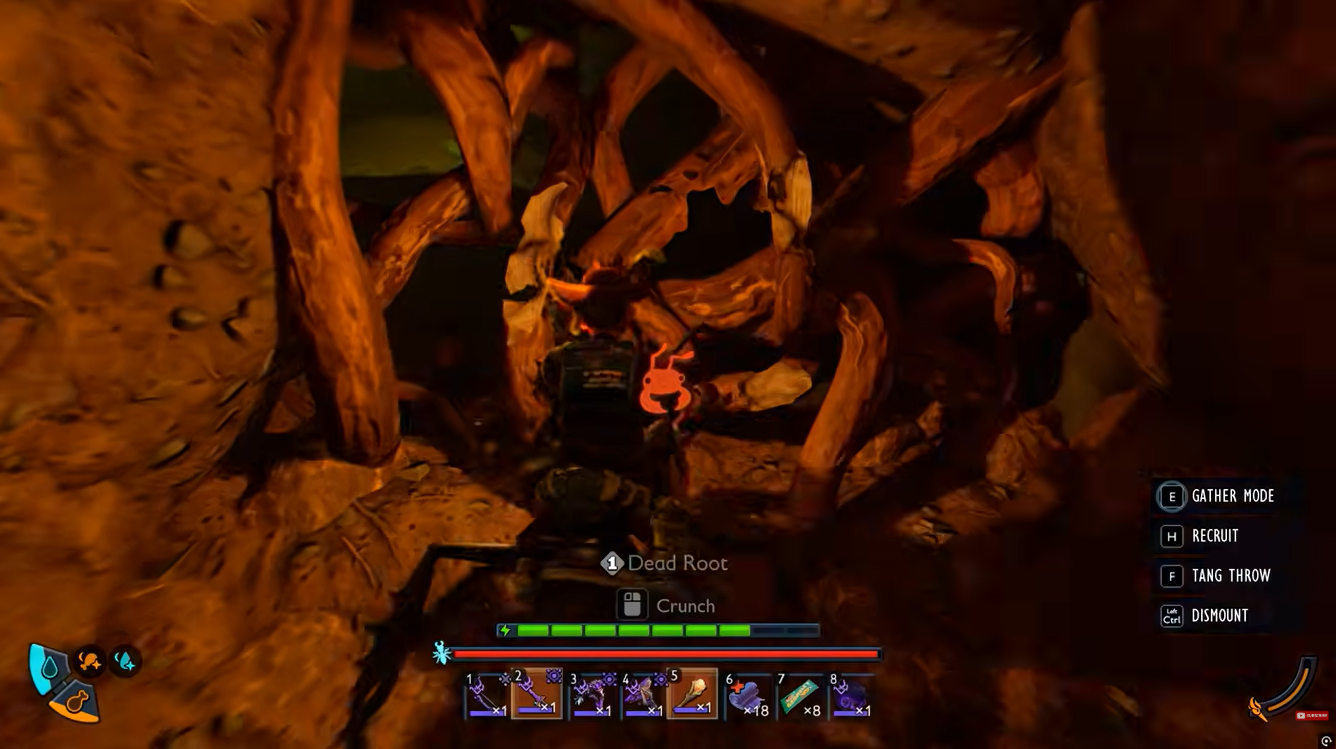
Continue along the boom until you reach the bucket and the blocked entrance.
An ant mount can be particularly useful here because the entrance is blocked by Dead Roots. Use the mount’s crunch attack to destroy the obstruction and open the way forward.
Step 11: Prepare for the creature encounter
Once the Dead Root barrier is cleared, enter the newly accessible area.
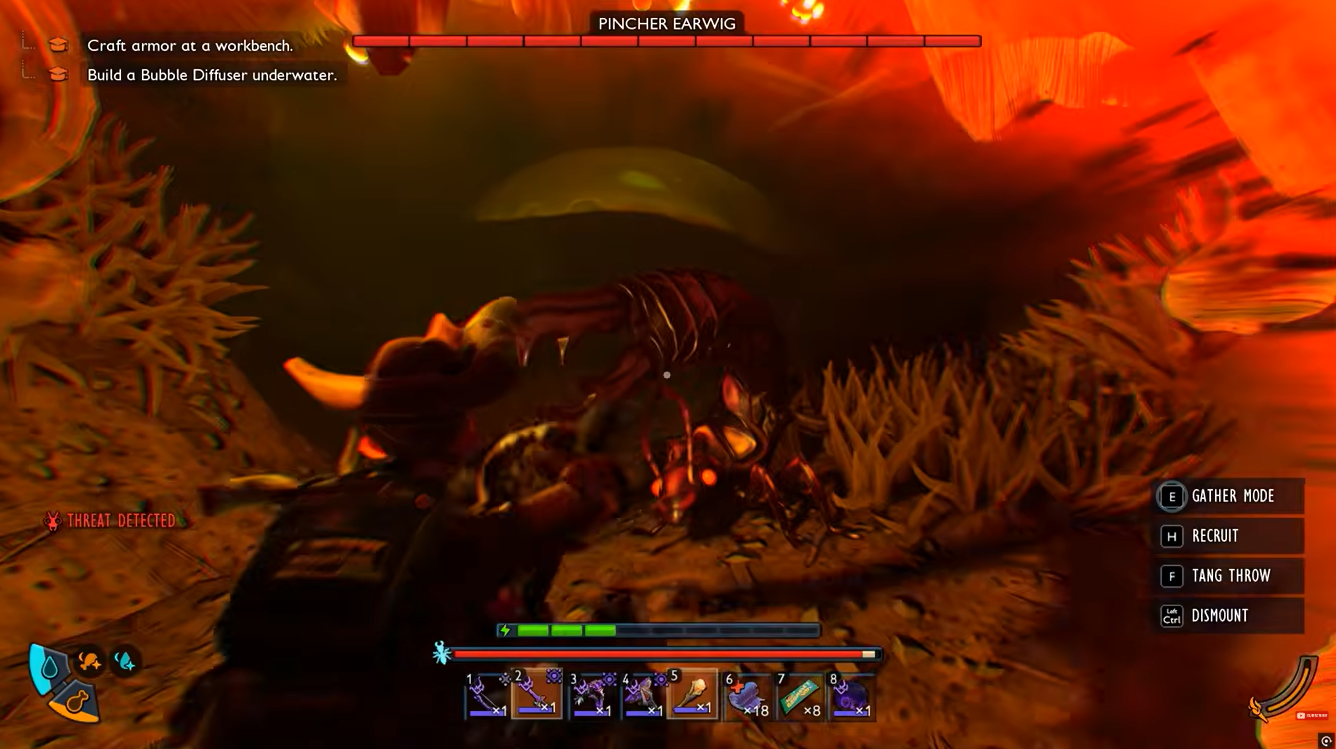
Be prepared for a Pincher Earwig near the entrance. It can catch you off guard if you immediately rush through the opening, so make sure your health and equipment are ready before breaking through the barrier.
Earth Mover repair and activation rewards
| Progress | Result |
|---|---|
| Repair cable #1 | First controller connection restored |
| Repair cable #2 | Second connection restored |
| Repair cable #3 | Full controller connection restored |
| Activate Funpit Works | Earth Mover arm moves |
| Climb the arm | New route becomes accessible |
| Clear Dead Roots | Hidden entrance opens |
| Defeat or pass the Pincher Earwig | Safe access farther into the newly opened area |
Why the Earth Mover may still show as locked
The most common problem is simply missing one of the three cable repairs. The controller only becomes usable after the complete line has been restored. Check the cable from the Earth Mover, across the chasm, and into the central cavern if the console remains locked.
Another potential issue is running out of Sap Bandages. Because the repair sequence requires three of them, arriving with fewer than three can stop your progress.
The current Into the Abyss content is also part of Grounded 2’s ongoing Early Access development, so bugs and progression issues can occur as the game continues to receive updates. Obsidian has continued to release patches and quality-of-life changes during development.
Reaching Gnarly Bark after activating the Earth Mover
Once the Earth Mover’s arm has moved into position, the process becomes much simpler. Return to the machine, use the stairs on the right, climb onto the Safety Matches box, and follow the yellow boom toward the bucket.
From the bucket, clear the Dead Root obstruction and enter the opening. The Earth Mover essentially transforms an otherwise inaccessible section of the terrain into a climbable route, making the activation worthwhile for progressing through this part of the Into the Abyss content.
Video help:




Leave a Reply