
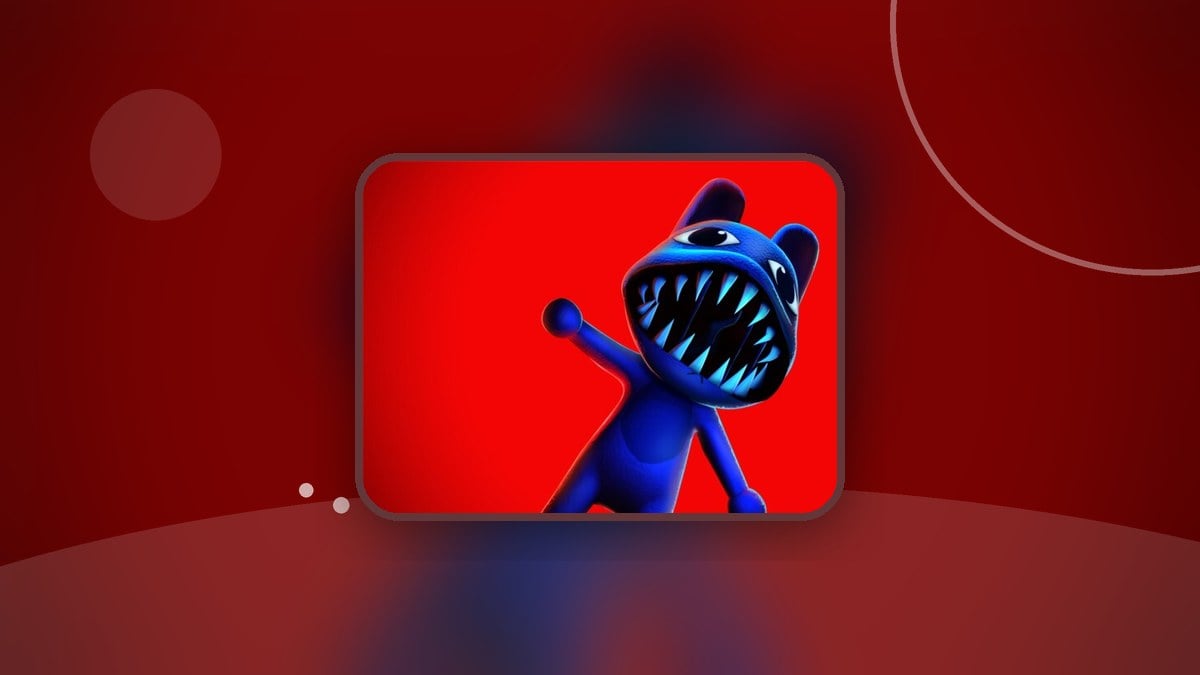
Complete The Mimic’s carnival games and relic puzzles, defeat Dimitra, then redeem the Children of The Hollow badge in the hub for the Hiachi Grin Mask.
The Hiachi Grin Mask is an exclusive avatar item in The Hollow, earned through The Mimic’s event challenge. Entering the challenge takes you out of the event hub and into The Mimic lobby, where you can start the carnival encounter.
Your completion badge leads to the mask claim back in the event hub. This guide covers the carnival games, relic puzzles, Dimitra fight, and final badge redemption.
How to get the Hiachi Grin Mask in The Hollow
Start in The Mimic, work through the carnival and relic rooms, face Dimitra, and finish your reward claim in the event hub.
Part 1 – Enter The Mimic and start The Hollow
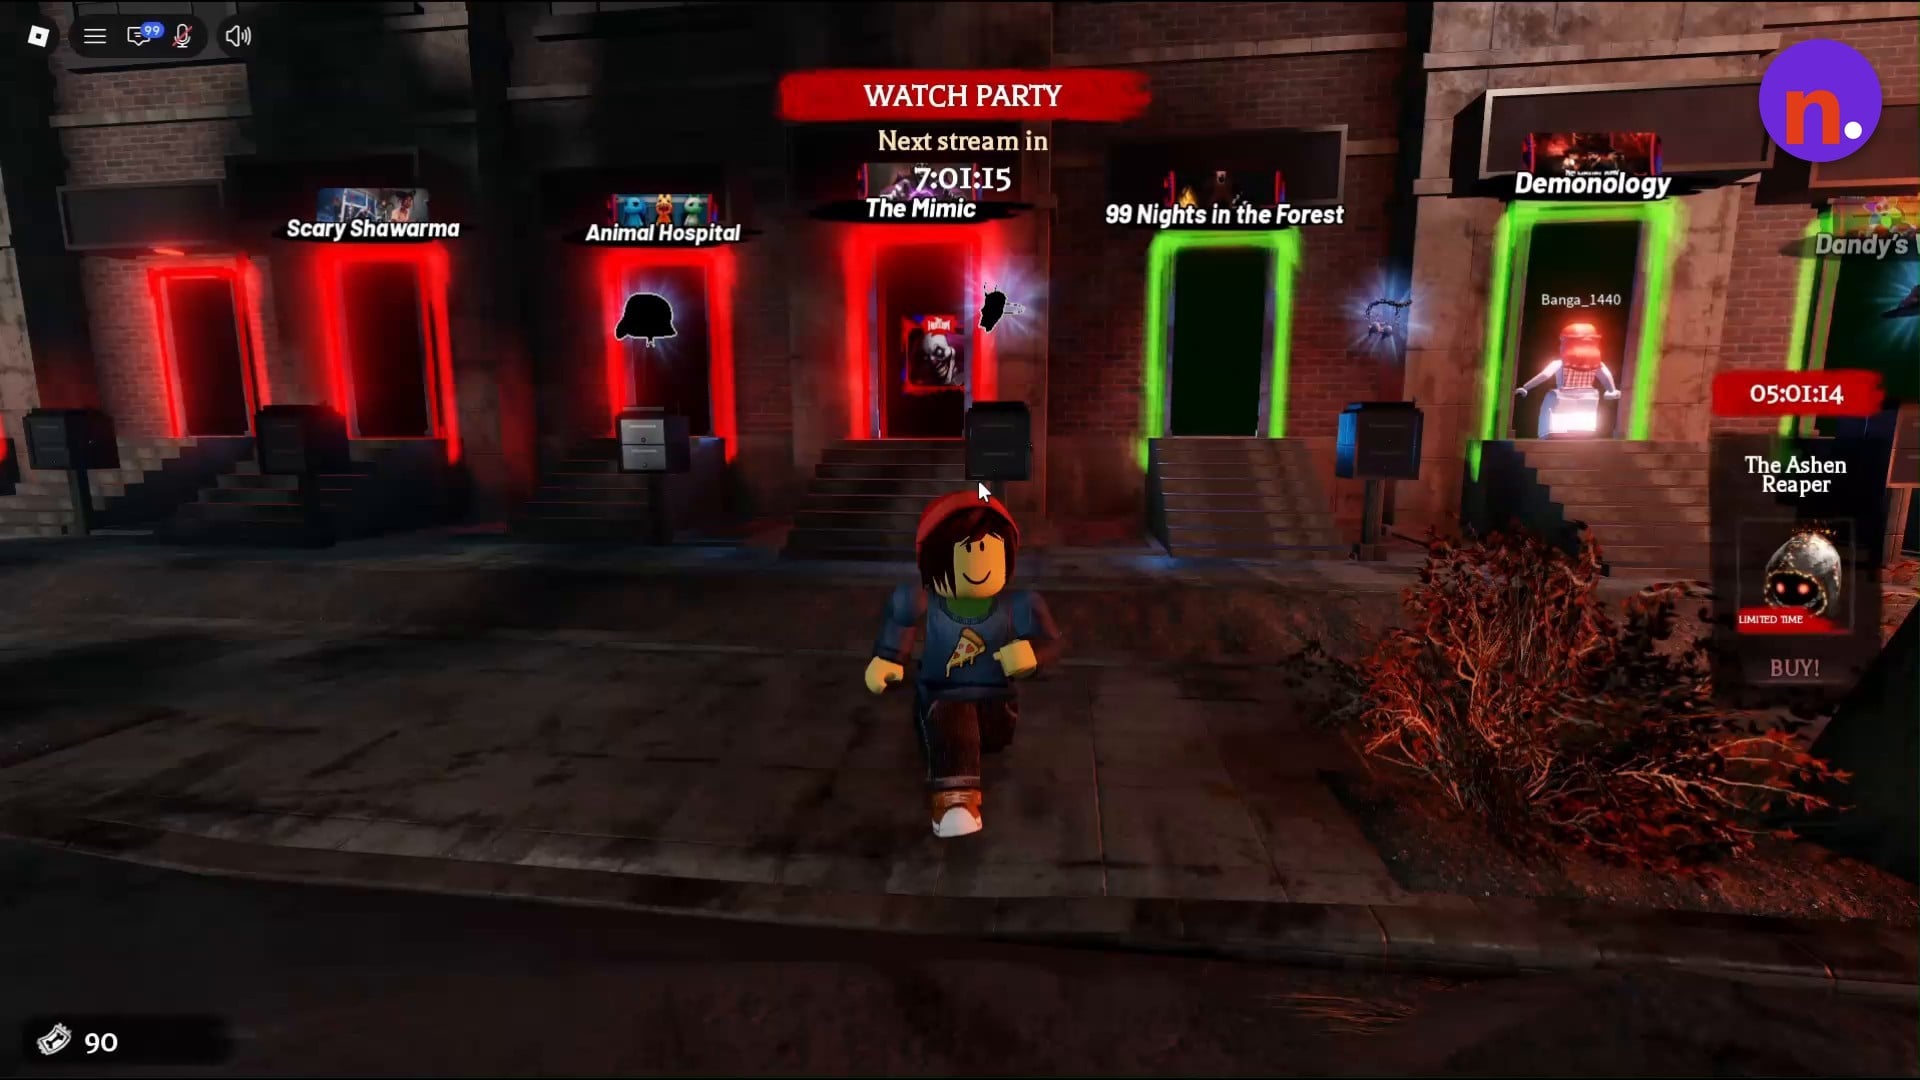
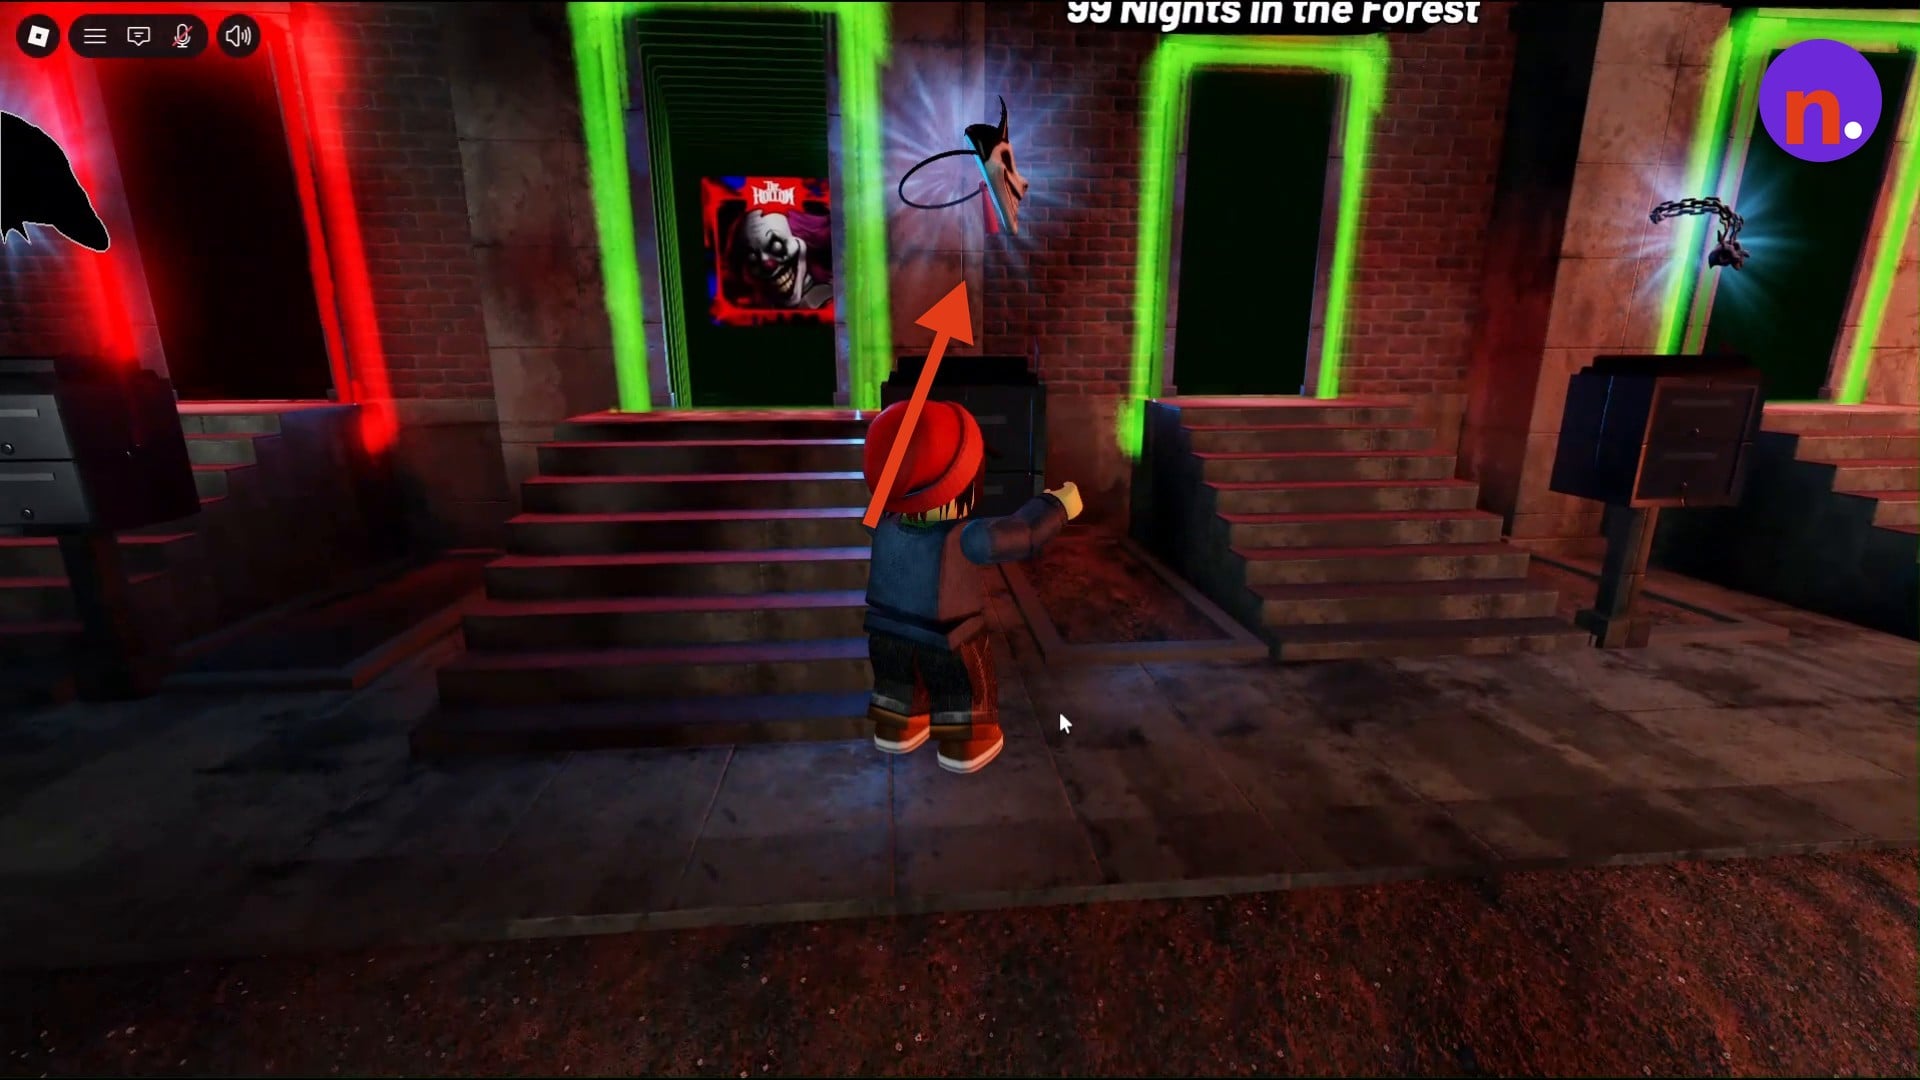
Find The Mimic among the glowing doorways along the hub sidewalk.
Enter The Mimic portal
Walk through the doorway labeled The Mimic to bring up the teleport prompt.
Confirm the teleport
Select Let's go! on the pop-up to load into The Mimic lobby.
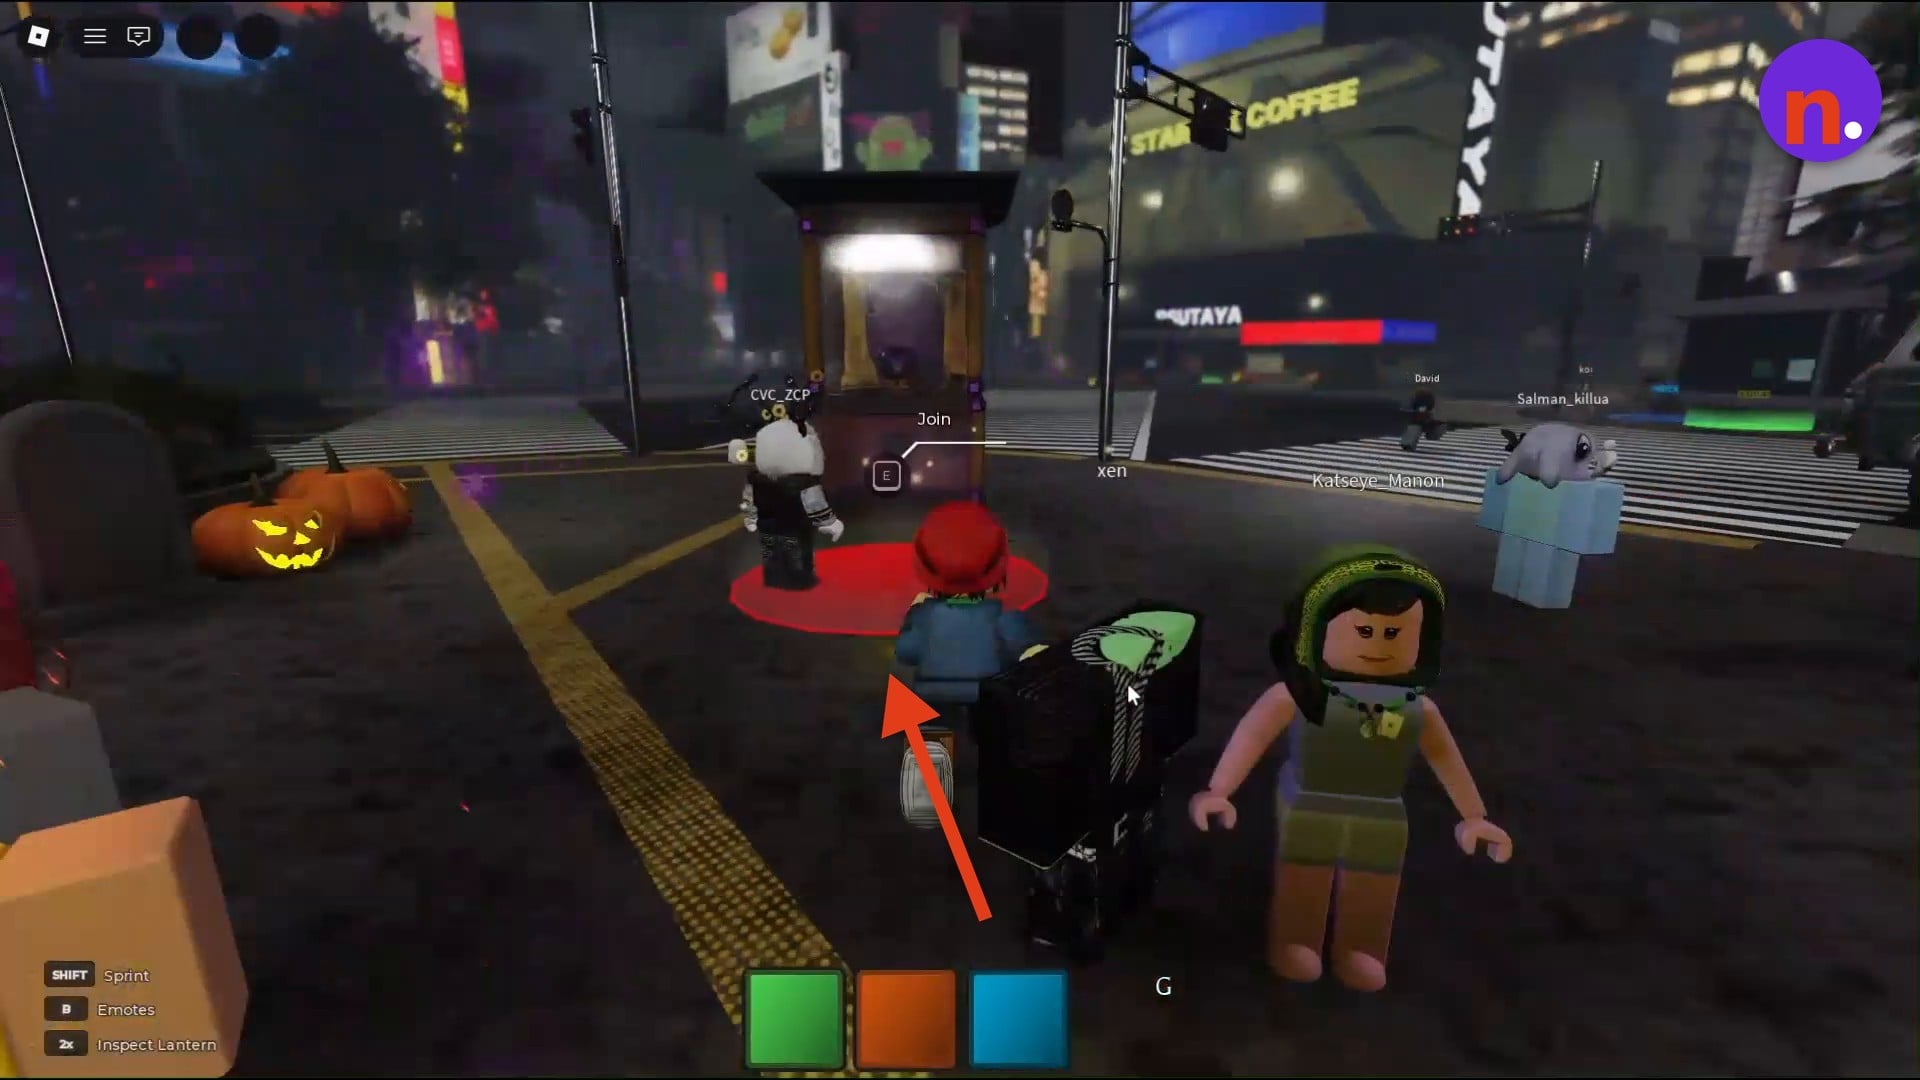
Join The Hollow queue
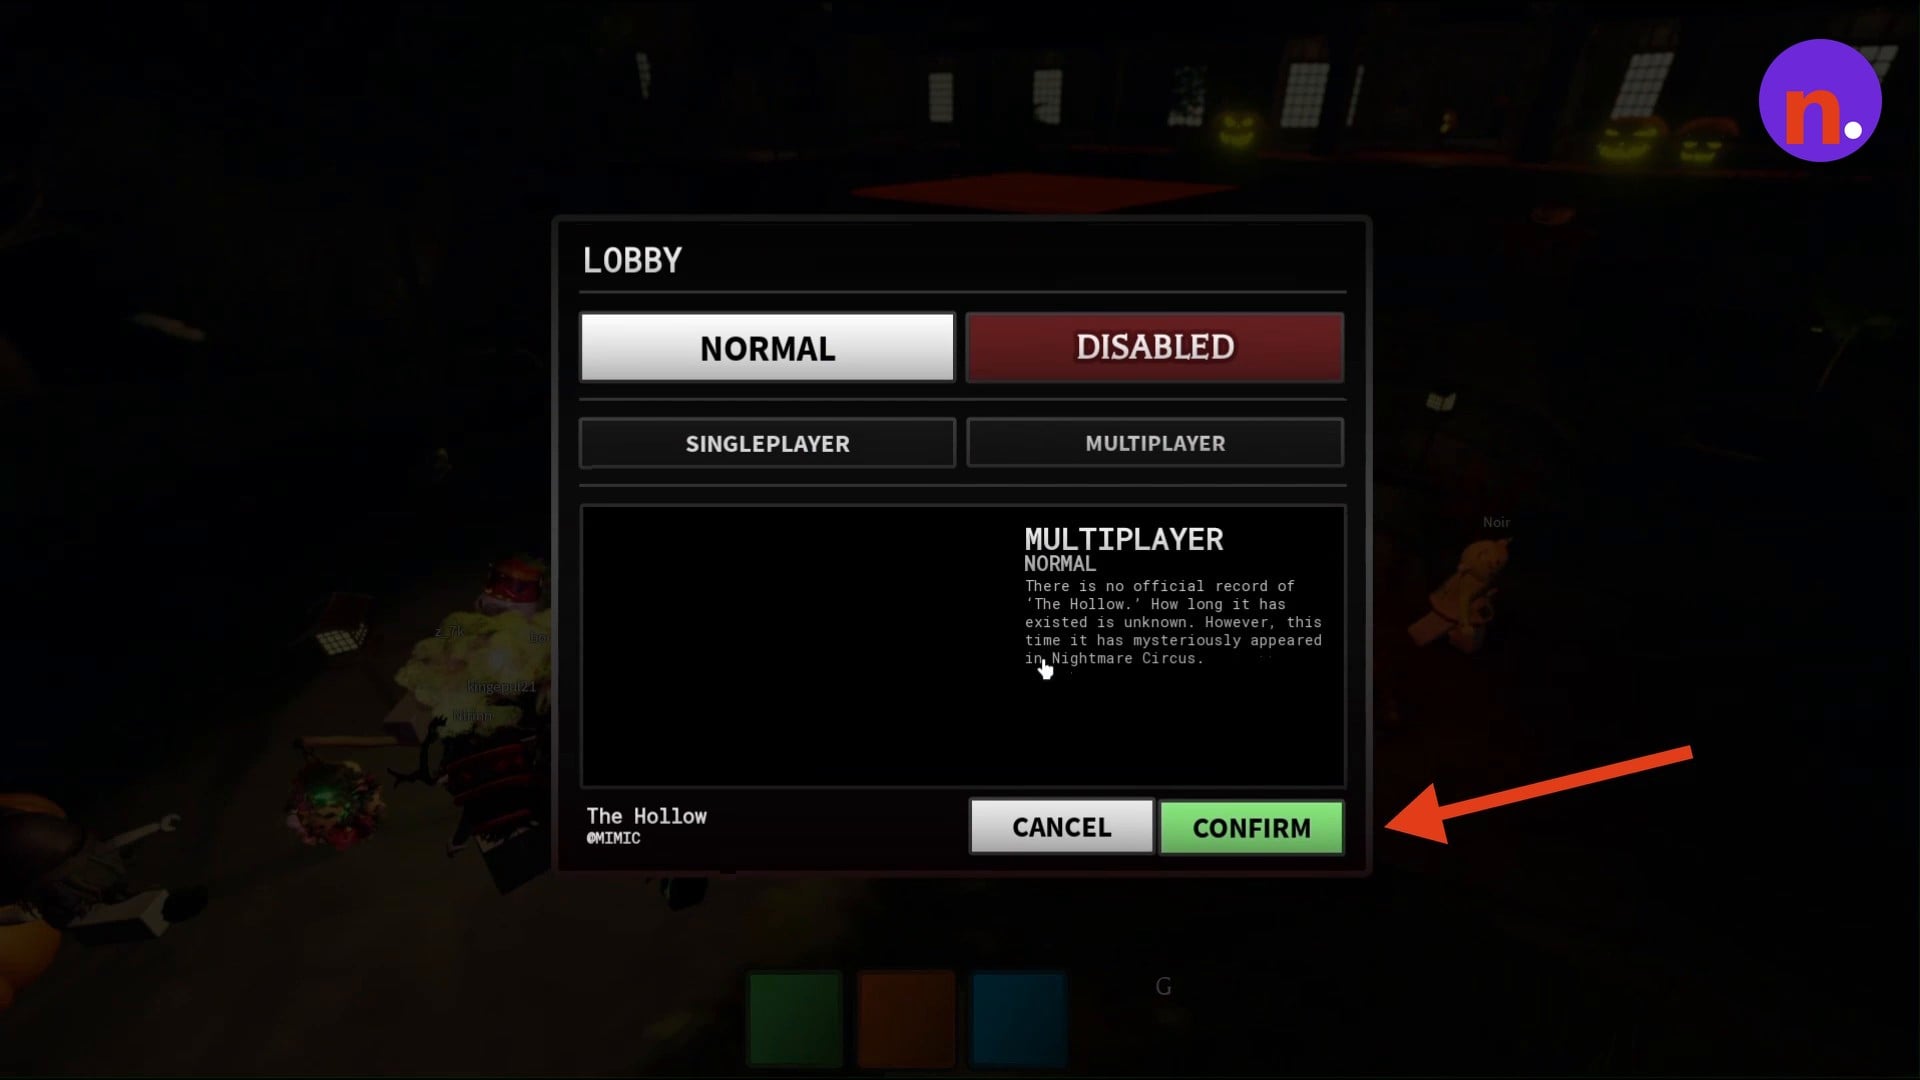
Approach the purple fortune teller booth in the courtyard. Its queue has a glowing red circle; use E at the Join prompt to open the lobby options.
Start a Singleplayer match
Choose SINGLEPLAYER, then press CONFIRM to begin The Hollow.
Part 2 – Complete the carnival games
Explore the fairgrounds while avoiding capture by Ronnie.
Finish the carnival attractions
Press F to turn on your flashlight, then inspect Ronnie the Clown at the large central jack-in-the-box. The posted warnings tell you not to interrupt Ronnie or touch his box; Ronnie’s challenge starts the carnival objective at 0/7. This first stage requires completing seven carnival games. Avoid being caught as you work through the attractions in this order, crossing the fairgrounds to reach Pop the Balloon before finishing at Ring Toss.
Carnival game controls and targets
| Carnival game | Controls and completion target |
|---|---|
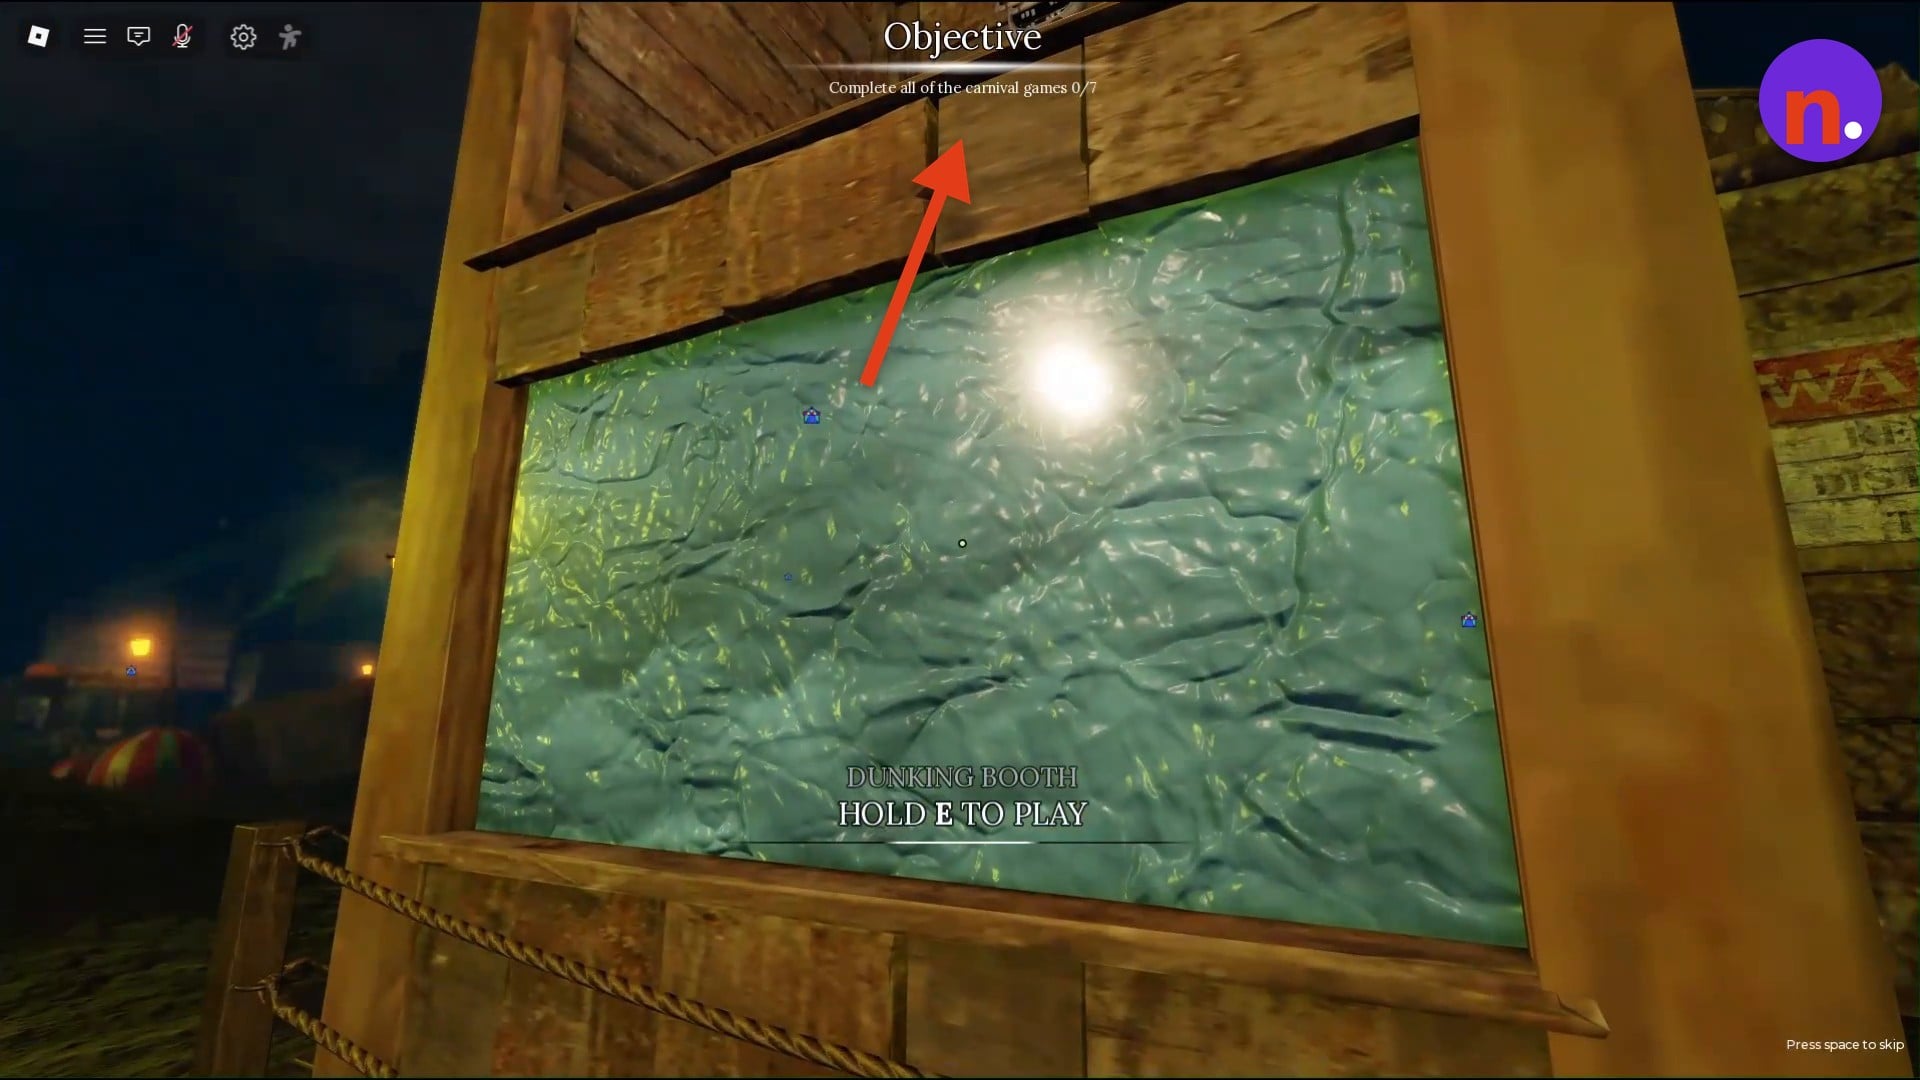
| Dunk Booth | Find the DUNKING BOOTH sign and hold E to play. Complete four target dunks. |
| High Striker | Look for the mallet and light tower. Click rapidly to fill the vertical red power meter on the right through the game’s three rounds. Each round has a 38-second time limit. |
| Mini Golf | Use the putting line on the green course. Click and drag away from the ball to aim, then release to putt. Sink all three holes. The first-hole interface displays HOLE 1/3 alongside 1:00 on its timer. |
| Basketball | At the hoop stall, hold click until the right-hand timing/power meter reaches the green target, then release to shoot. Score four shots. |
| Whack a Clown | Hold E at the board with pop-up clowns to begin. Complete its ten rounds. |
| Pop the Balloon | Find the wooden stall with rows of colorful balloons. Aim with your mouse and click or press Space to throw darts. Complete three rounds. Its first-round interface displays ROUND 1/3, a 15 LEFT counter, and a timer reading 0:30. |
| Ring Toss | Look for rows of green bottles on a wooden table. Hold E to play and use the displayed power bar to reach six ringers. |
Several attraction screens also display Press space to skip. During Pop the Balloon, Space is a dart-throwing control.
Part 3 – Collect the four relics
Search the mansion tent and its adjoining rooms for the relic puzzles. This second stage requires finding four relics.
Obtain the Moon Relic
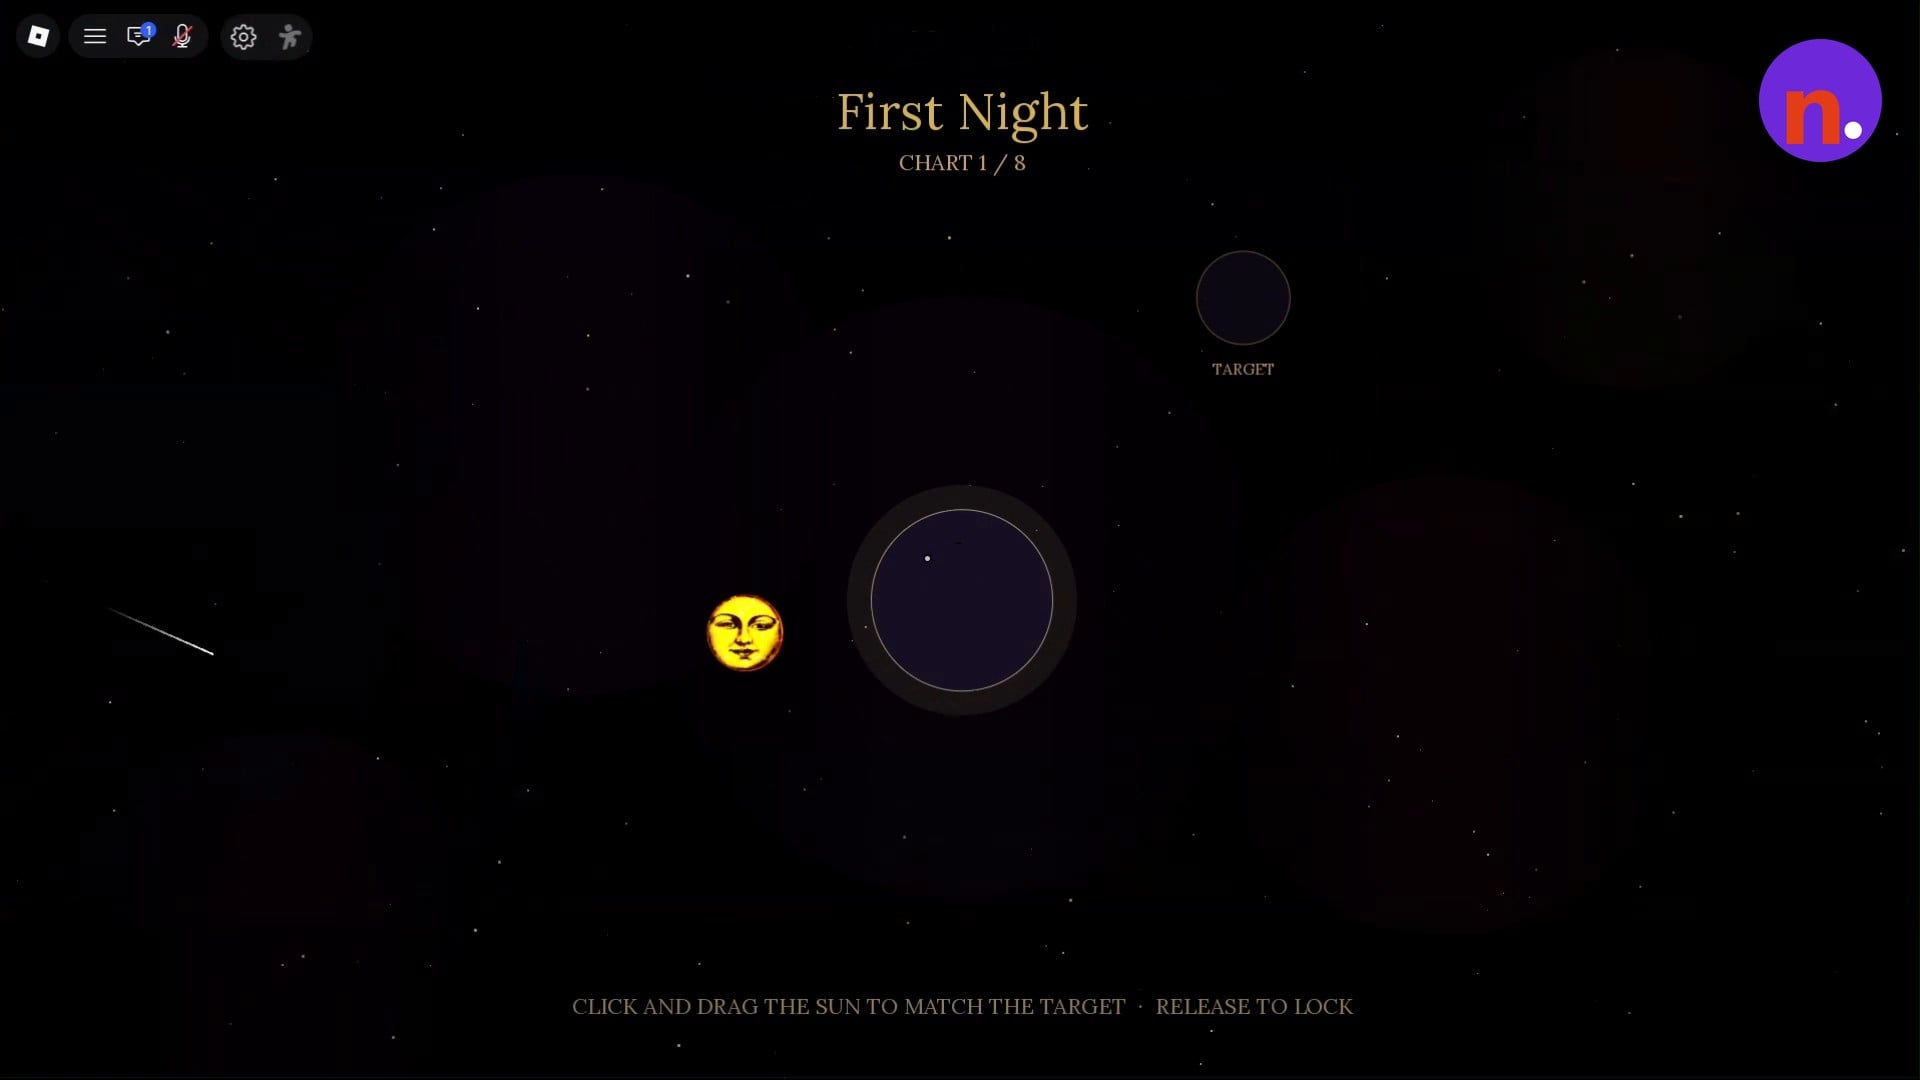
Inside the mansion tent, approach the floating Moon Relic and use its Hold E to Obtain prompt. On each chart, click and drag the sun into alignment with the target circle, then release to lock its position. Finish the charts to earn the relic.
Obtain the Fate Relic
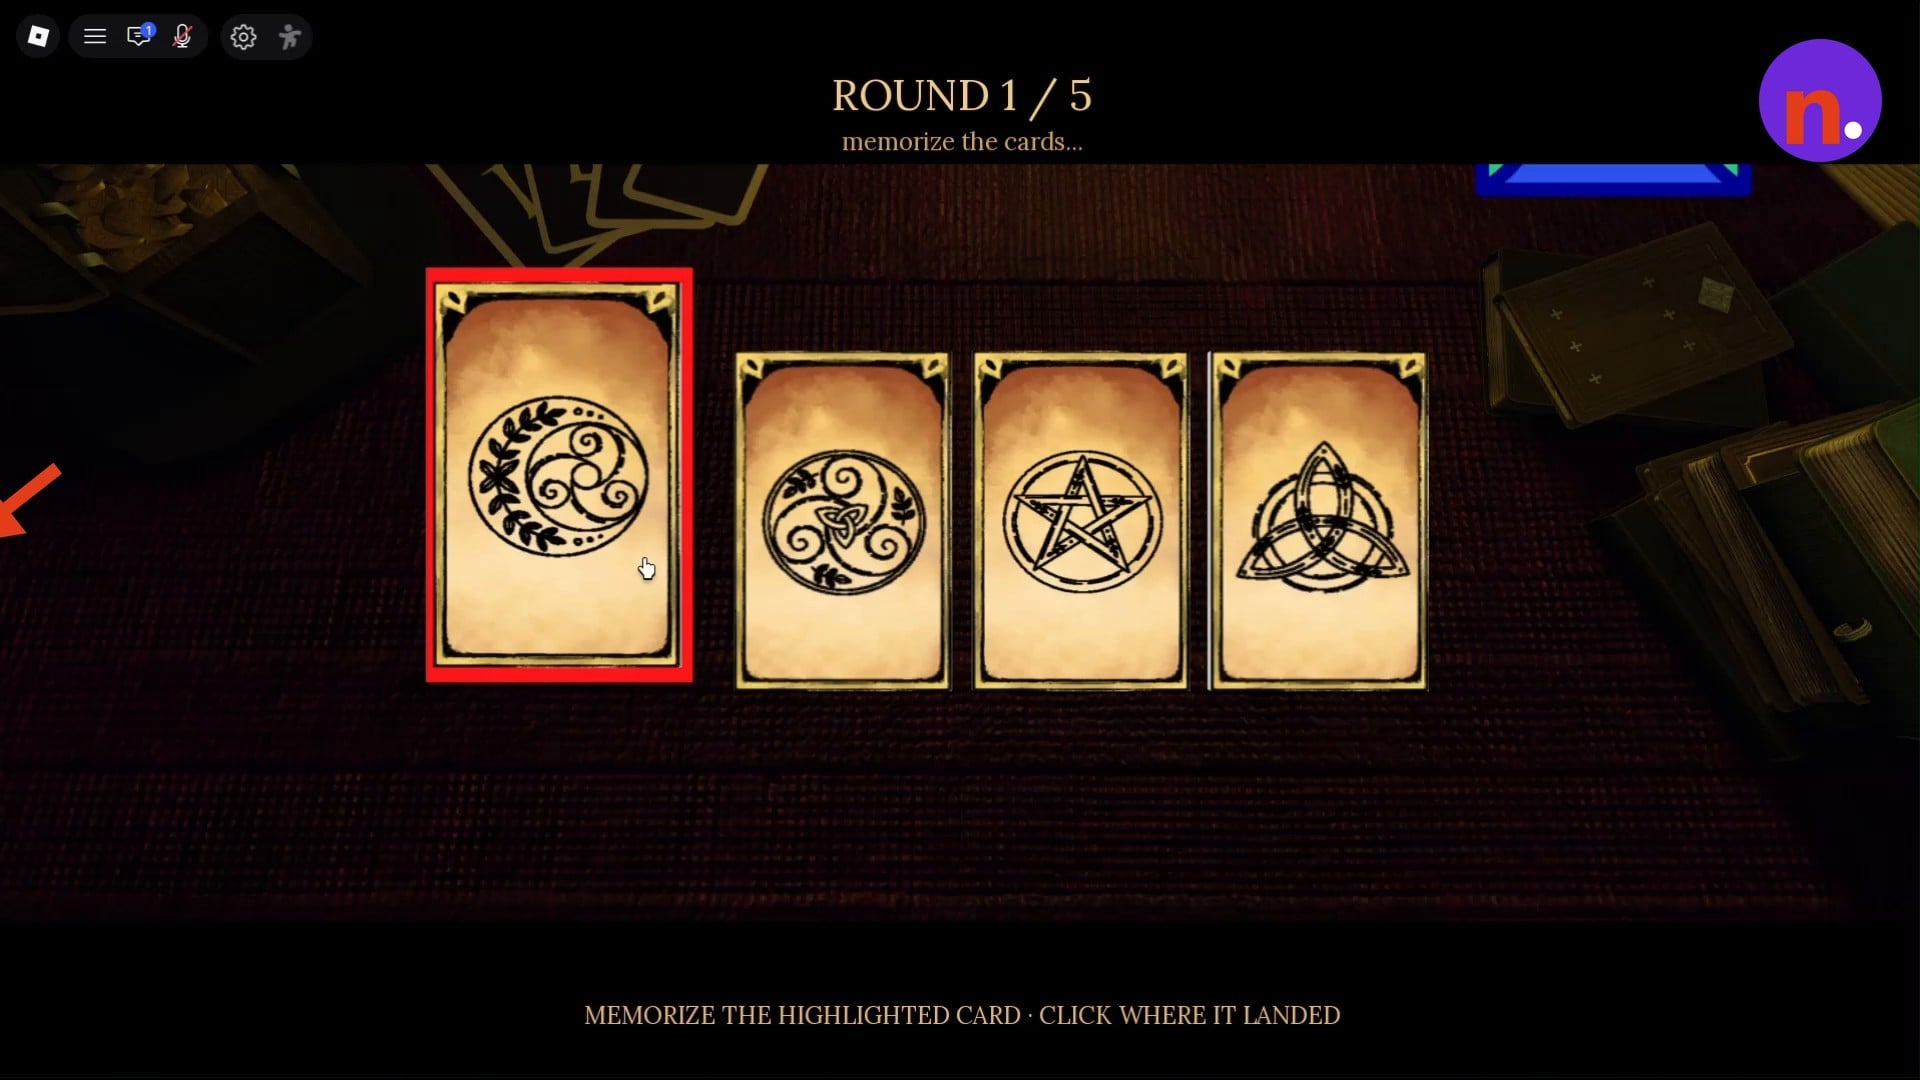
Follow the corridors to the dining room table carrying the Fate Relic prompt. The puzzle presents four symbol cards: memorize the highlighted card, track where it lands, and click that position. Complete five rounds to collect the Fate Relic.
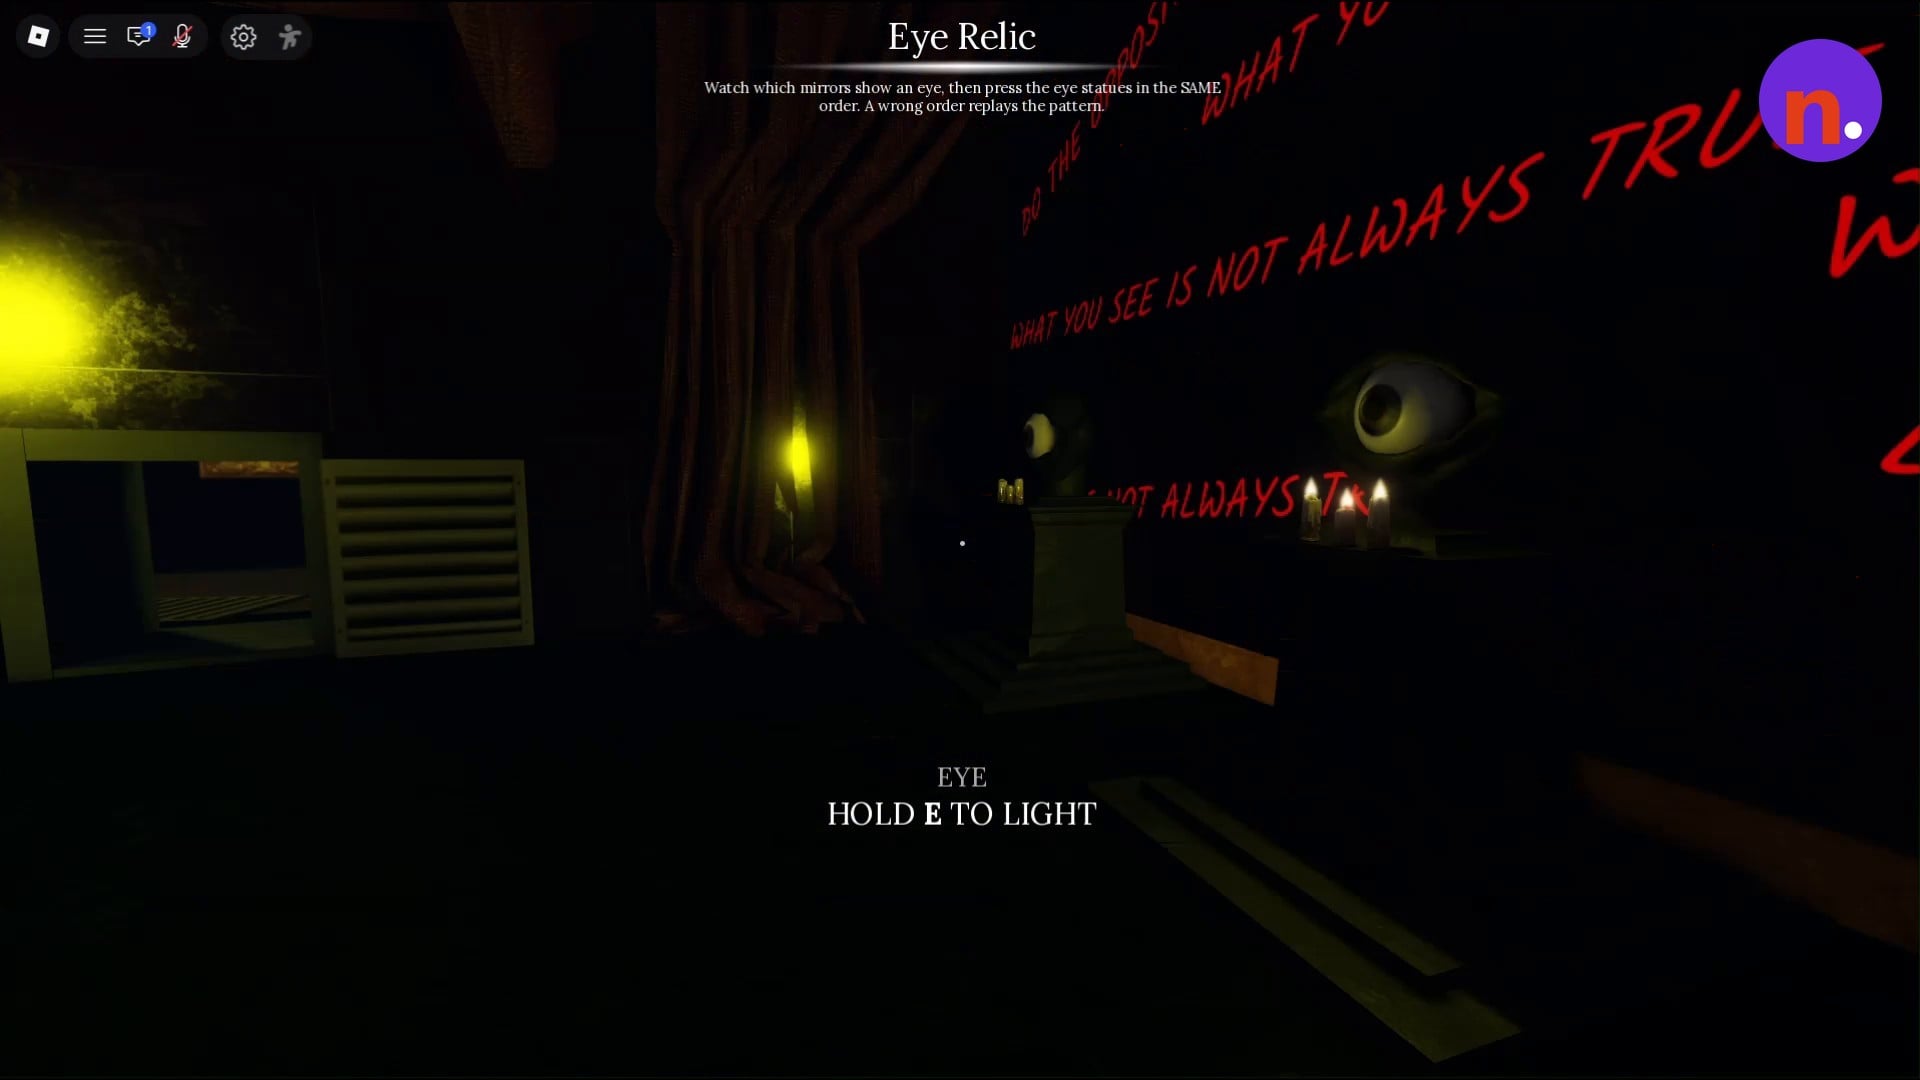
Obtain the Eye Relic
Enter the mirror room and watch which wall mirrors display eye symbols. The eye statues stand on pedestals beside red wall writing; use Hold E to Light at the statues to enter your sequence.
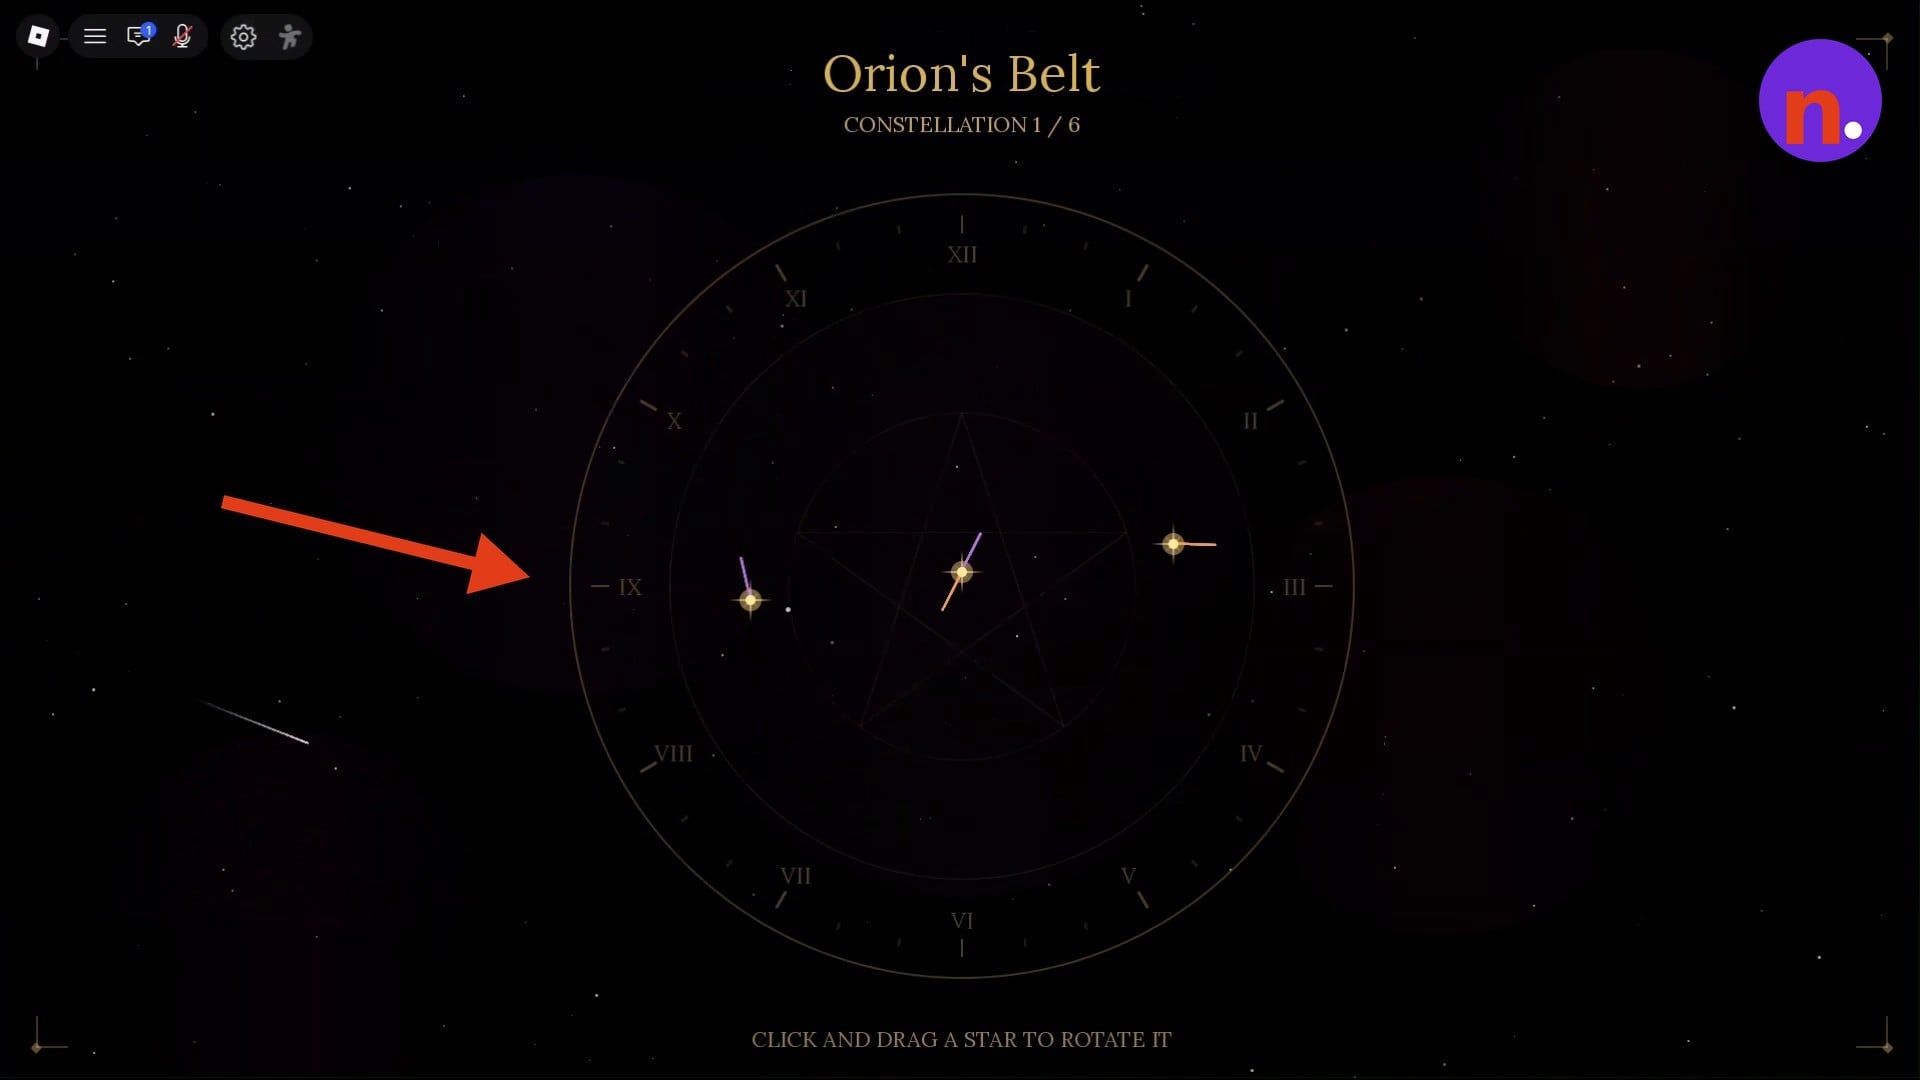
Obtain the Star Relic
Find the room with stacked wooden chairs and glowing yellow stars, then approach the Star Relic on its back wall. On the constellation wheel, click and drag stars to rotate them until every star connects within the pattern. Complete six constellations to earn the relic; Orion’s Belt is one of the displayed puzzles.
Part 4 – Use the crystal ball and defeat Dimitra
The downstairs crystal ball presents a wish before the boss encounter.
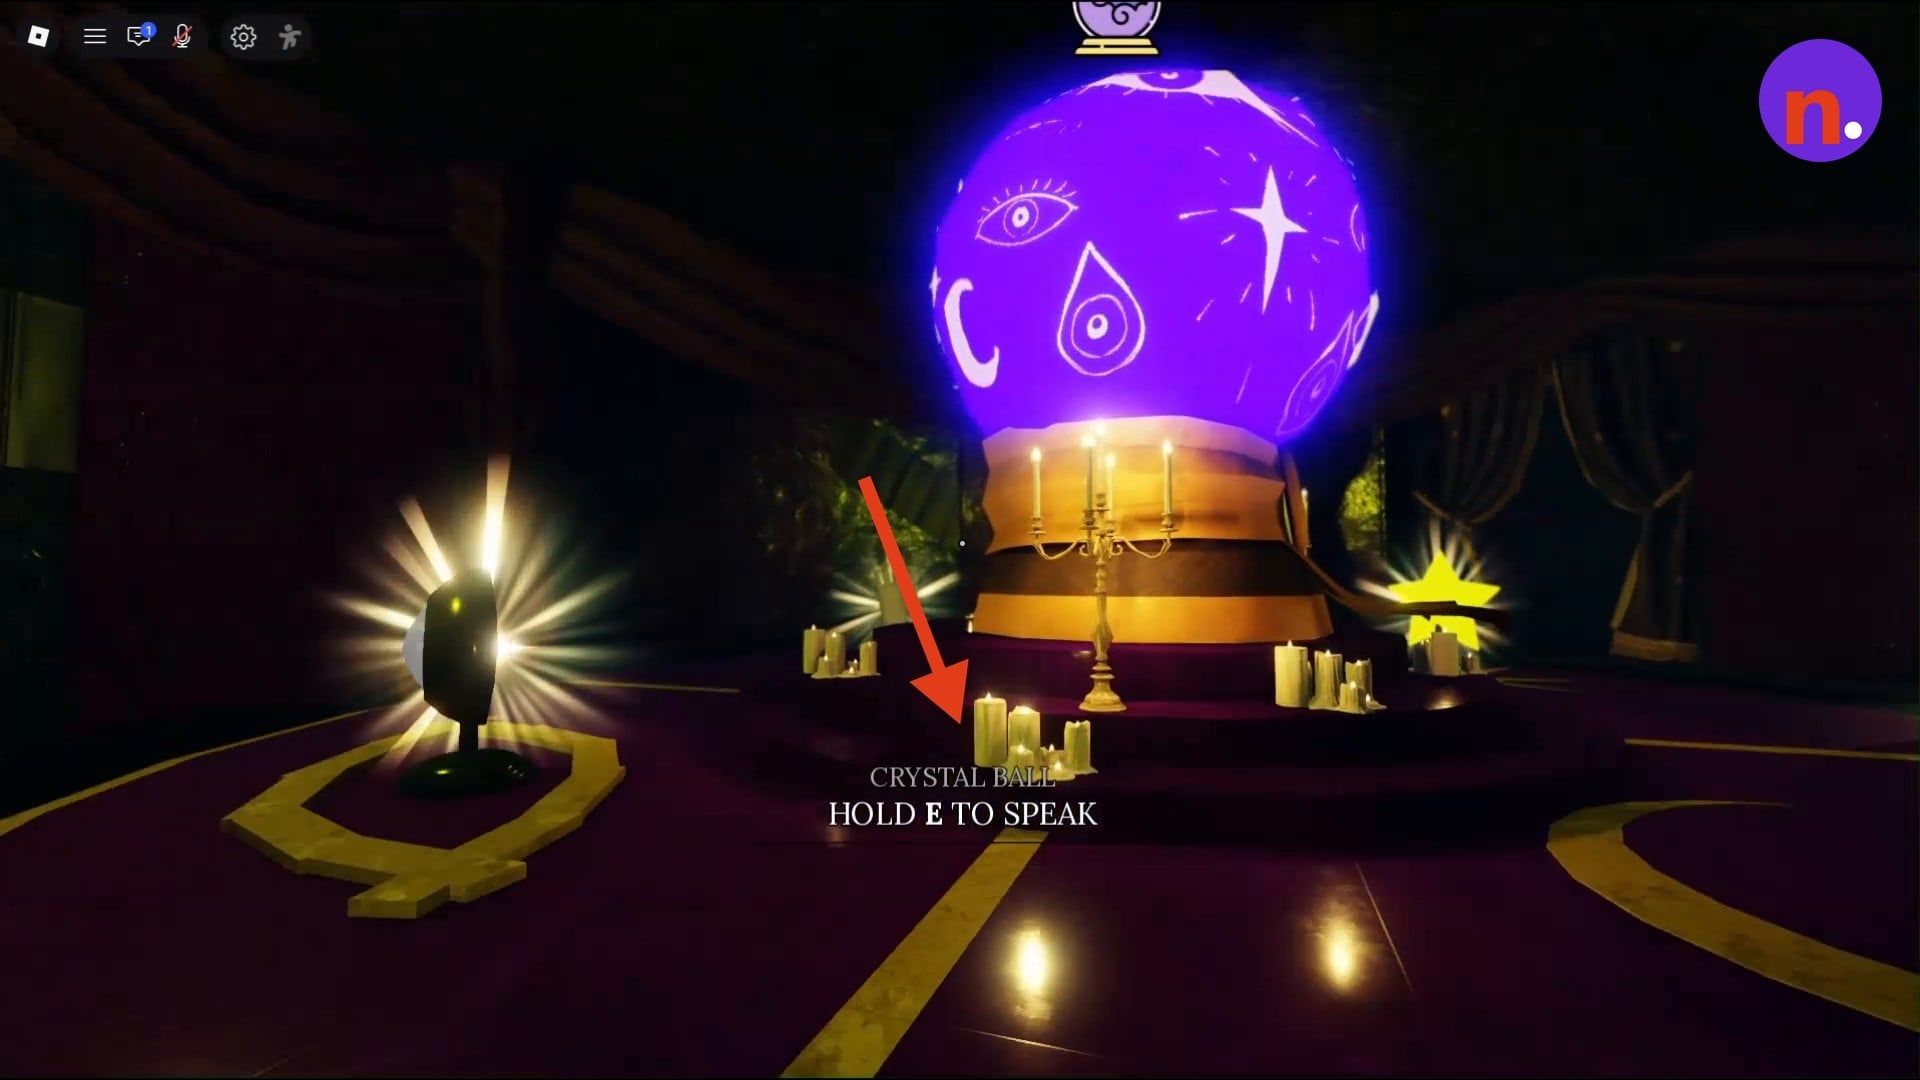
Speak to the crystal ball
Descend to the central glowing purple crystal ball, which rests on a dais surrounded by candles. Hold E at CRYSTAL BALL to speak; its dialogue grants you one wish.
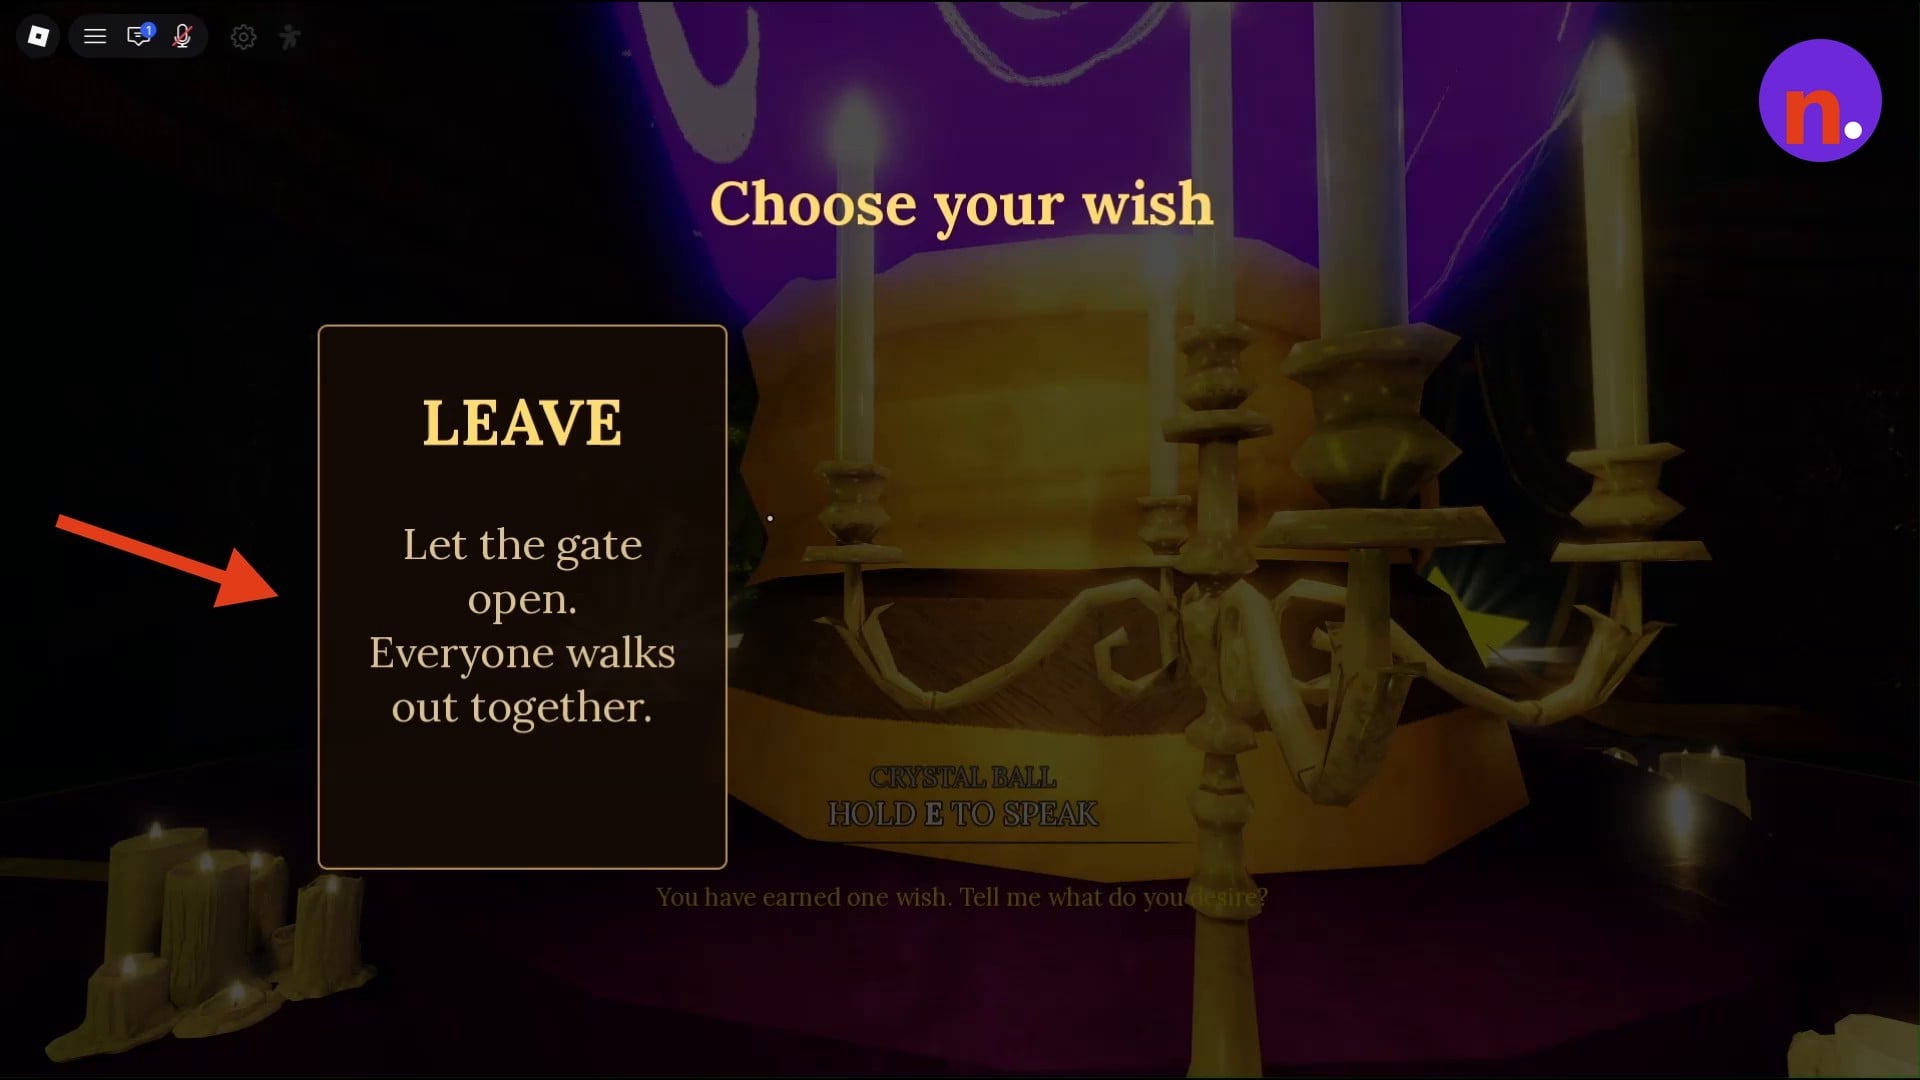
Choose your wish
Make your selection when the Choose your wish menu opens.
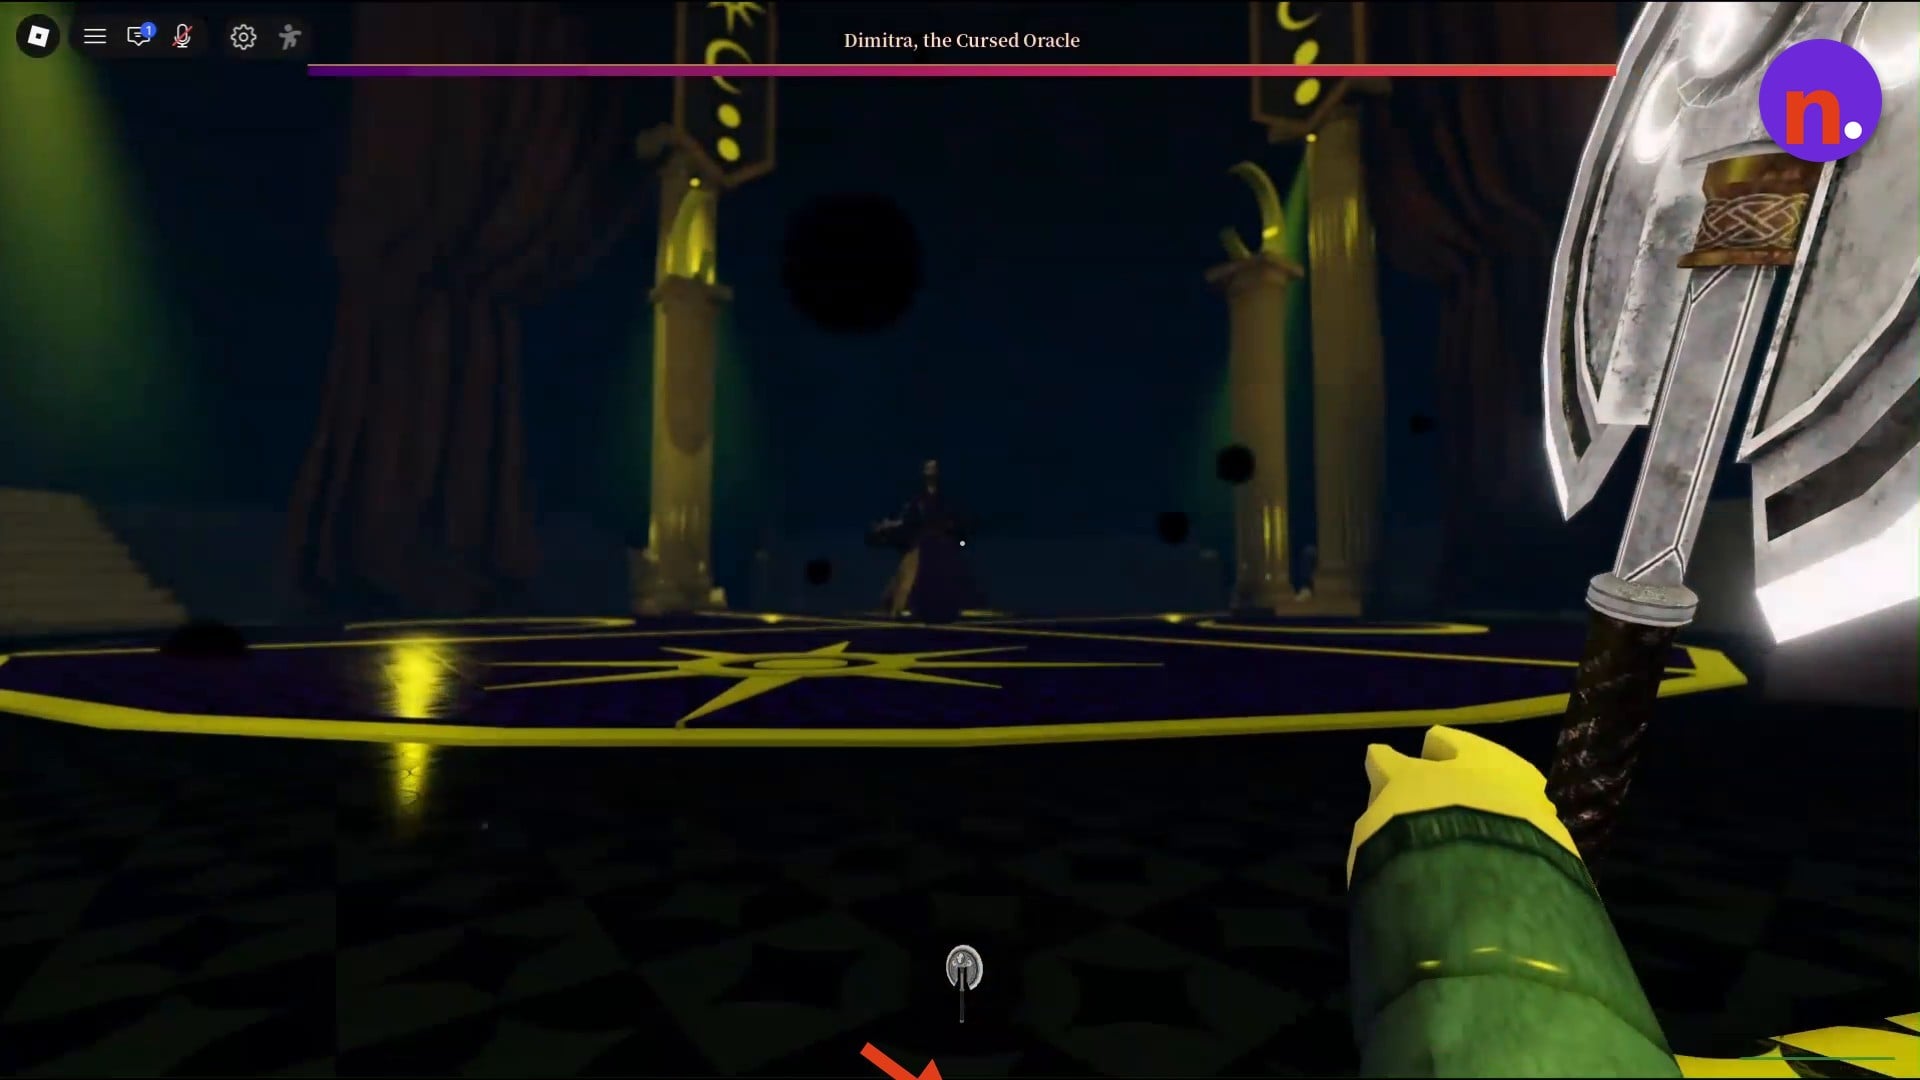
Defeat Dimitra, the Cursed Oracle
Press 1 to equip the lunar axe. Strike her with the axe while dodging her attacks, continuing until her visible health bar empties.
Part 5 – Return to the event hub and redeem the badge
Finish the claim in The Hollow hub after the fight.
Return to The Hollow hub
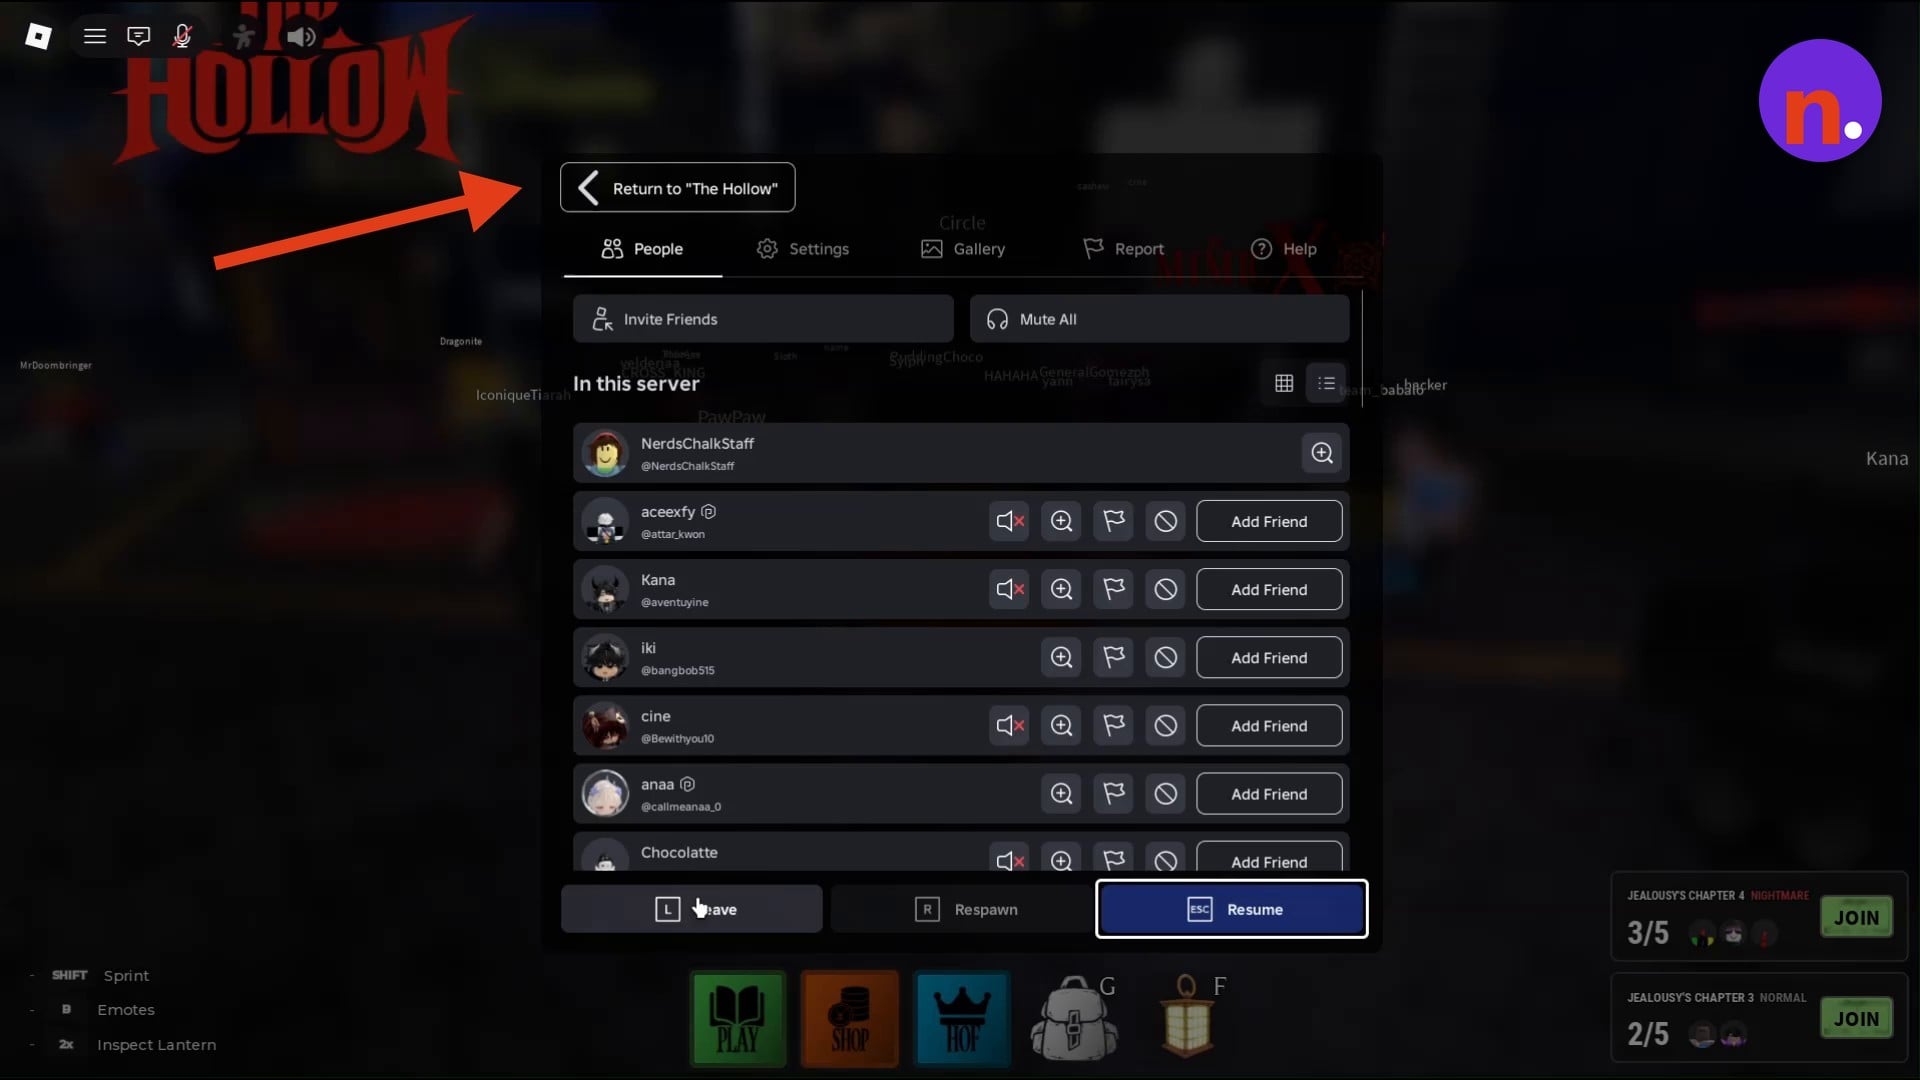
After Dimitra’s defeat, look for the Badge Awarded notification naming Children of The Hollow. The credits return you to the lobby; open the pause menu there and select Return to "The Hollow" to reach the event hub.
Redeem your completion badge
Open Redeem Badges in the event hub and select the Children of The Hollow entry. Press Confirm to claim the avatar item and receive 10 tickets.
The reward pop-up marks the end of the claim. Your avatar reward is the Hiachi Grin Mask.
Related The Hollow guides
Leave a Reply