
To get the relic in The Hollow, reach Floor 5, reflect light into the blue skull, collect the relic, and return to the lobby.
The relic is a collectible tied to the mirror puzzle on Floor 5. Getting it means connecting the light’s reflections until they reach the skull and make the relic appear. The Hollow comes from the Roblox group Roblox Presents.
The task continues after you pick it up, with an avatar item and matching badge waiting at the end. This guide covers reaching the puzzle, aligning the mirrors, and bringing the relic back.
How to get the relic in The Hollow
Reach the Floor 5 puzzle area, align the mirrors to collect the relic, then return to the lobby.
Part 1 – Reach the Floor 5 puzzle area
Start at the theater and use its elevator to reach the portal.
Enter the theater and find the elevator
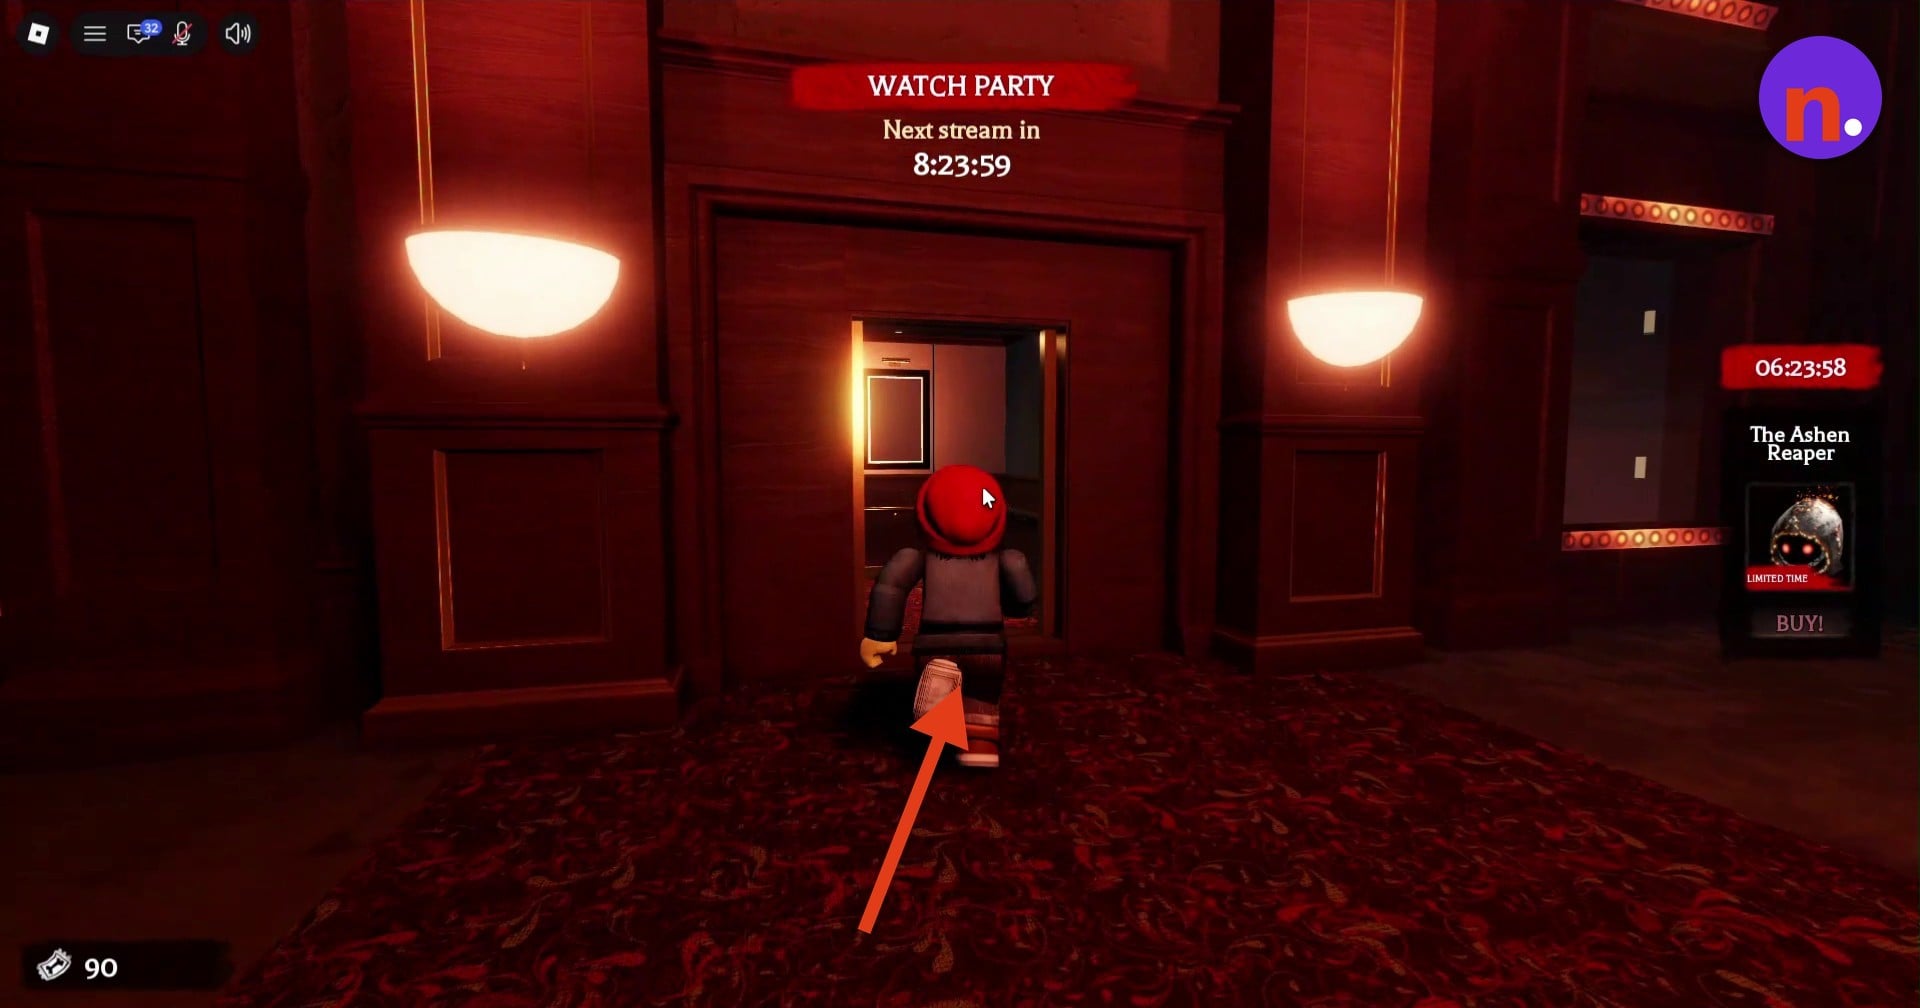
Cross the outside plaza toward the theater entrance beneath the Watch Party marquee. Inside the lobby, continue straight to the elevator doors at the rear.
Select Floor 5
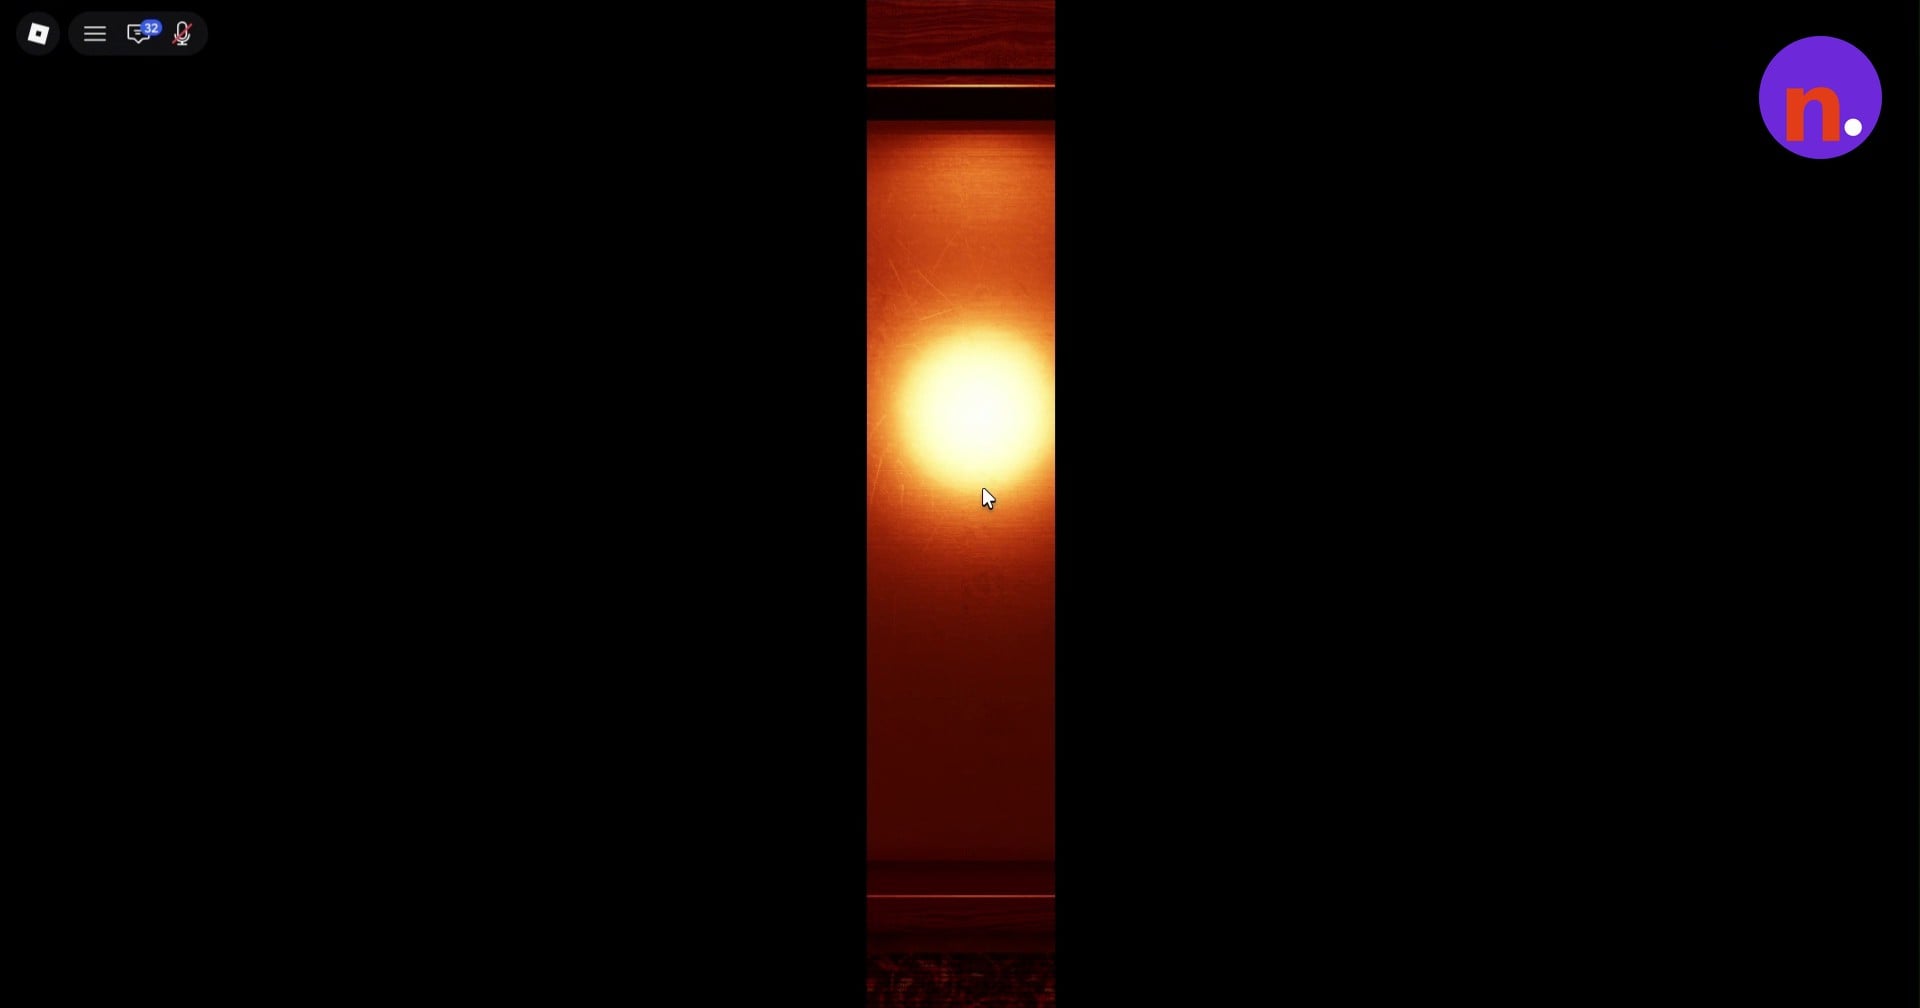
Enter the elevator and use its button panel. Press 5 to ride up to the puzzle’s floor.
Follow the hallway to the portal
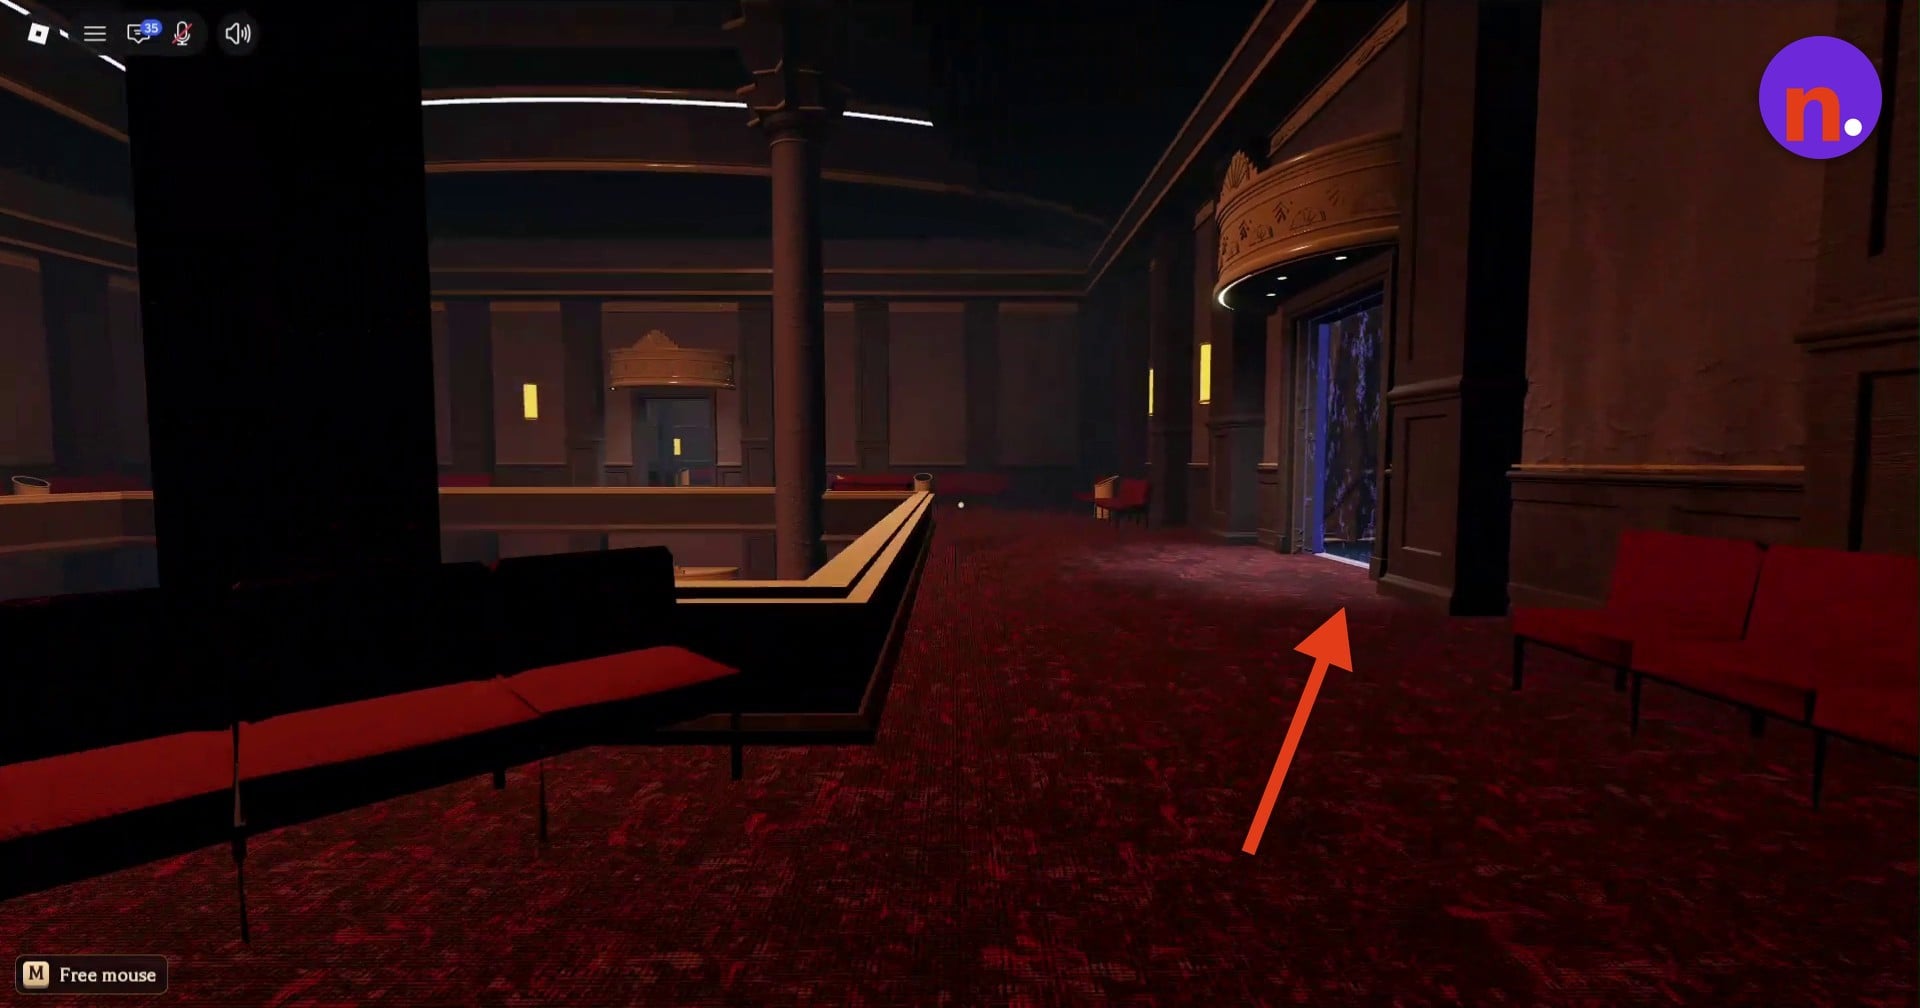
Leave when the floor indicator reads Floor 5, then follow the hallway past the curved balcony. Walk through the glowing purple portal to reach the outdoor urban puzzle area.
Part 2 – Align the mirrors and collect the relic
Connect the reflections across both levels so the light reaches the blue skull.
Turn the chained mirrors toward the skull
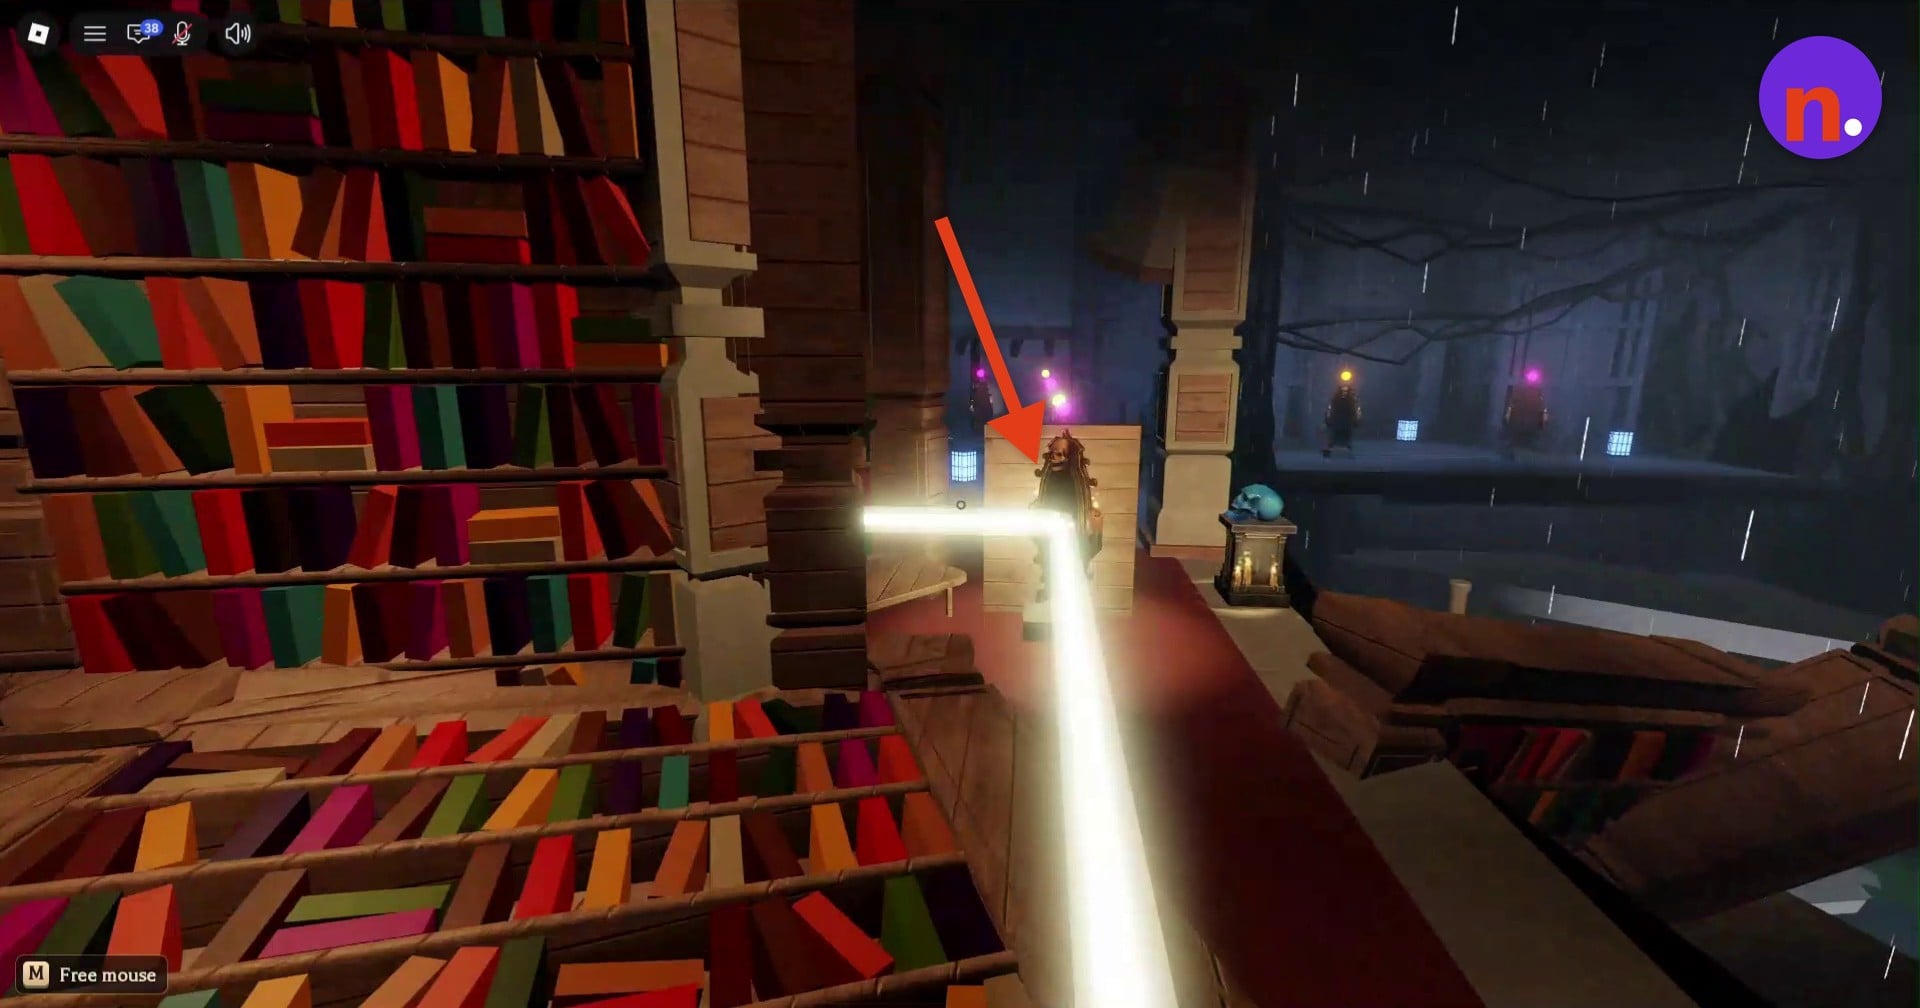
Approach a mirror labeled Chained mirror and press E for Turn to change its angle. Work across both levels, adjusting the mirrors in the lower stone alcove to line up the beam before returning upstairs for the final adjustments. Your target is an uninterrupted chain of reflections reaching the blue skull on its pedestal.
Collect the relic from the pedestal
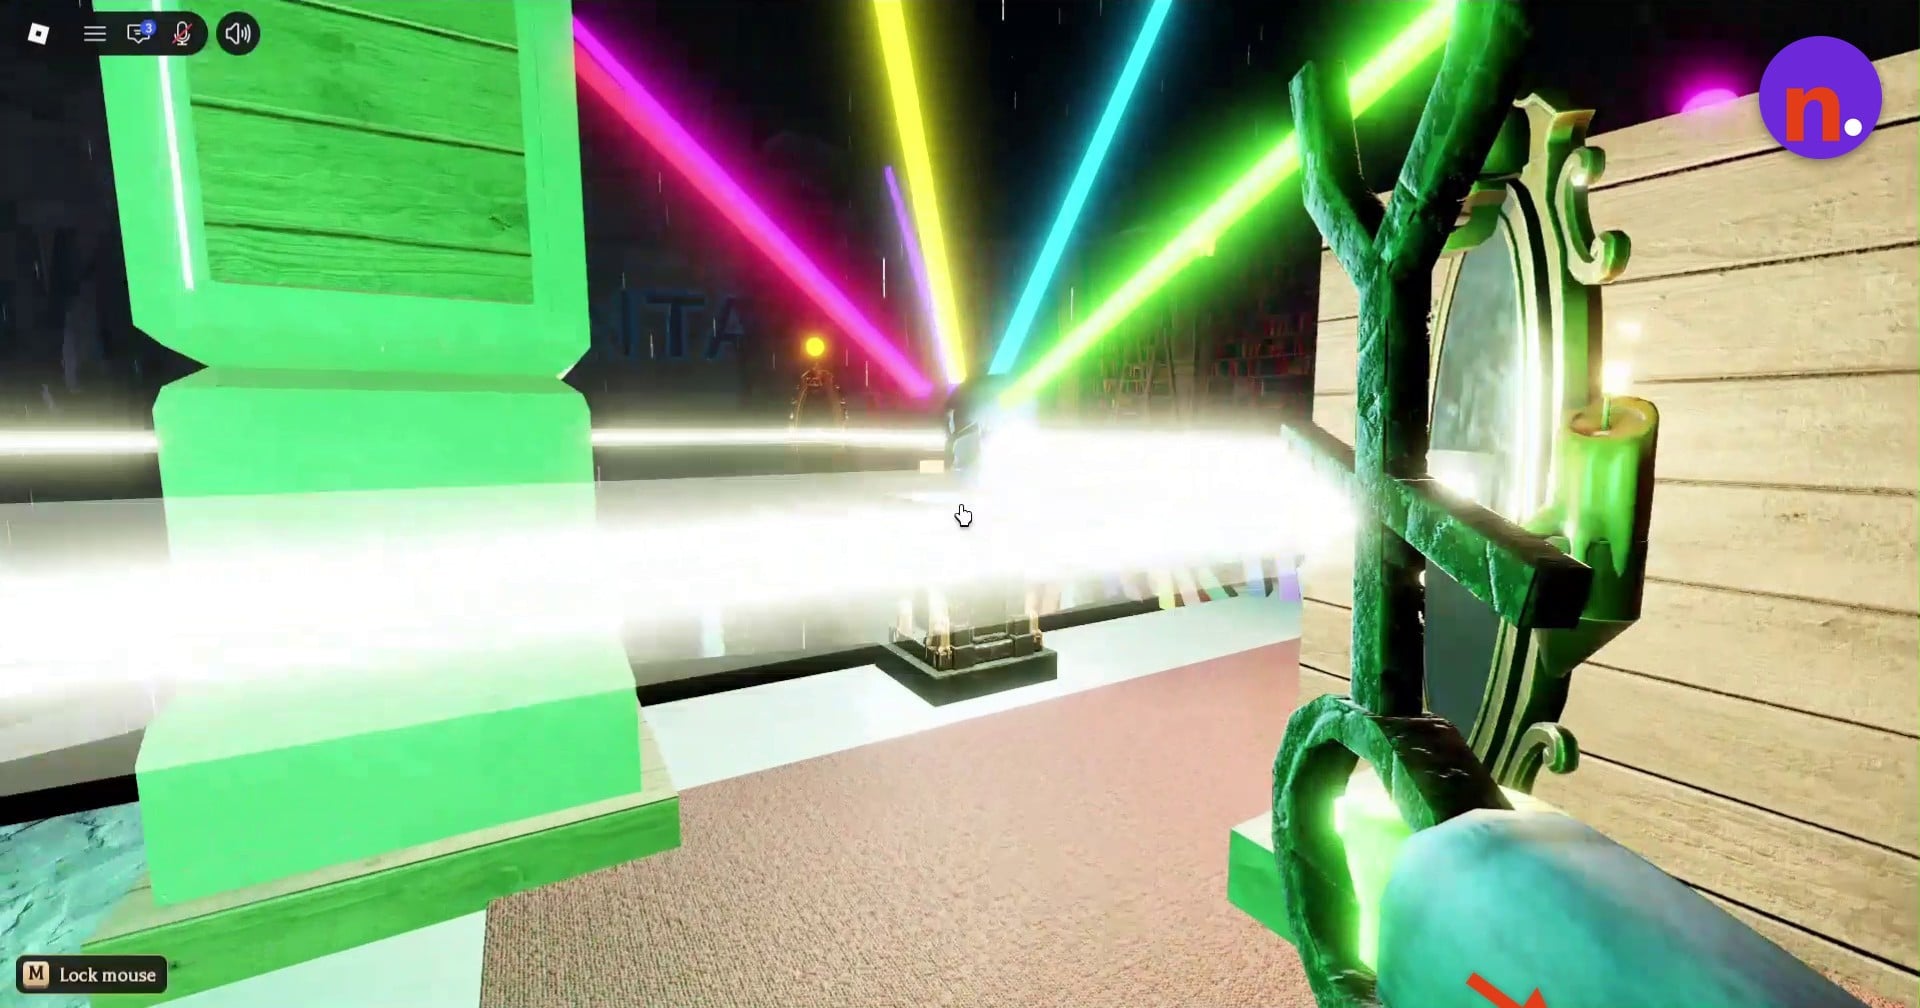
When the beam reaches the skull, it lights up and releases the relic. Approach the pedestal and pick up the green mirror-shaped relic.
Part 3 – Return to the lobby and claim the reward
Carry the relic back through the portal and take the elevator down.
Bring the relic back to the elevator
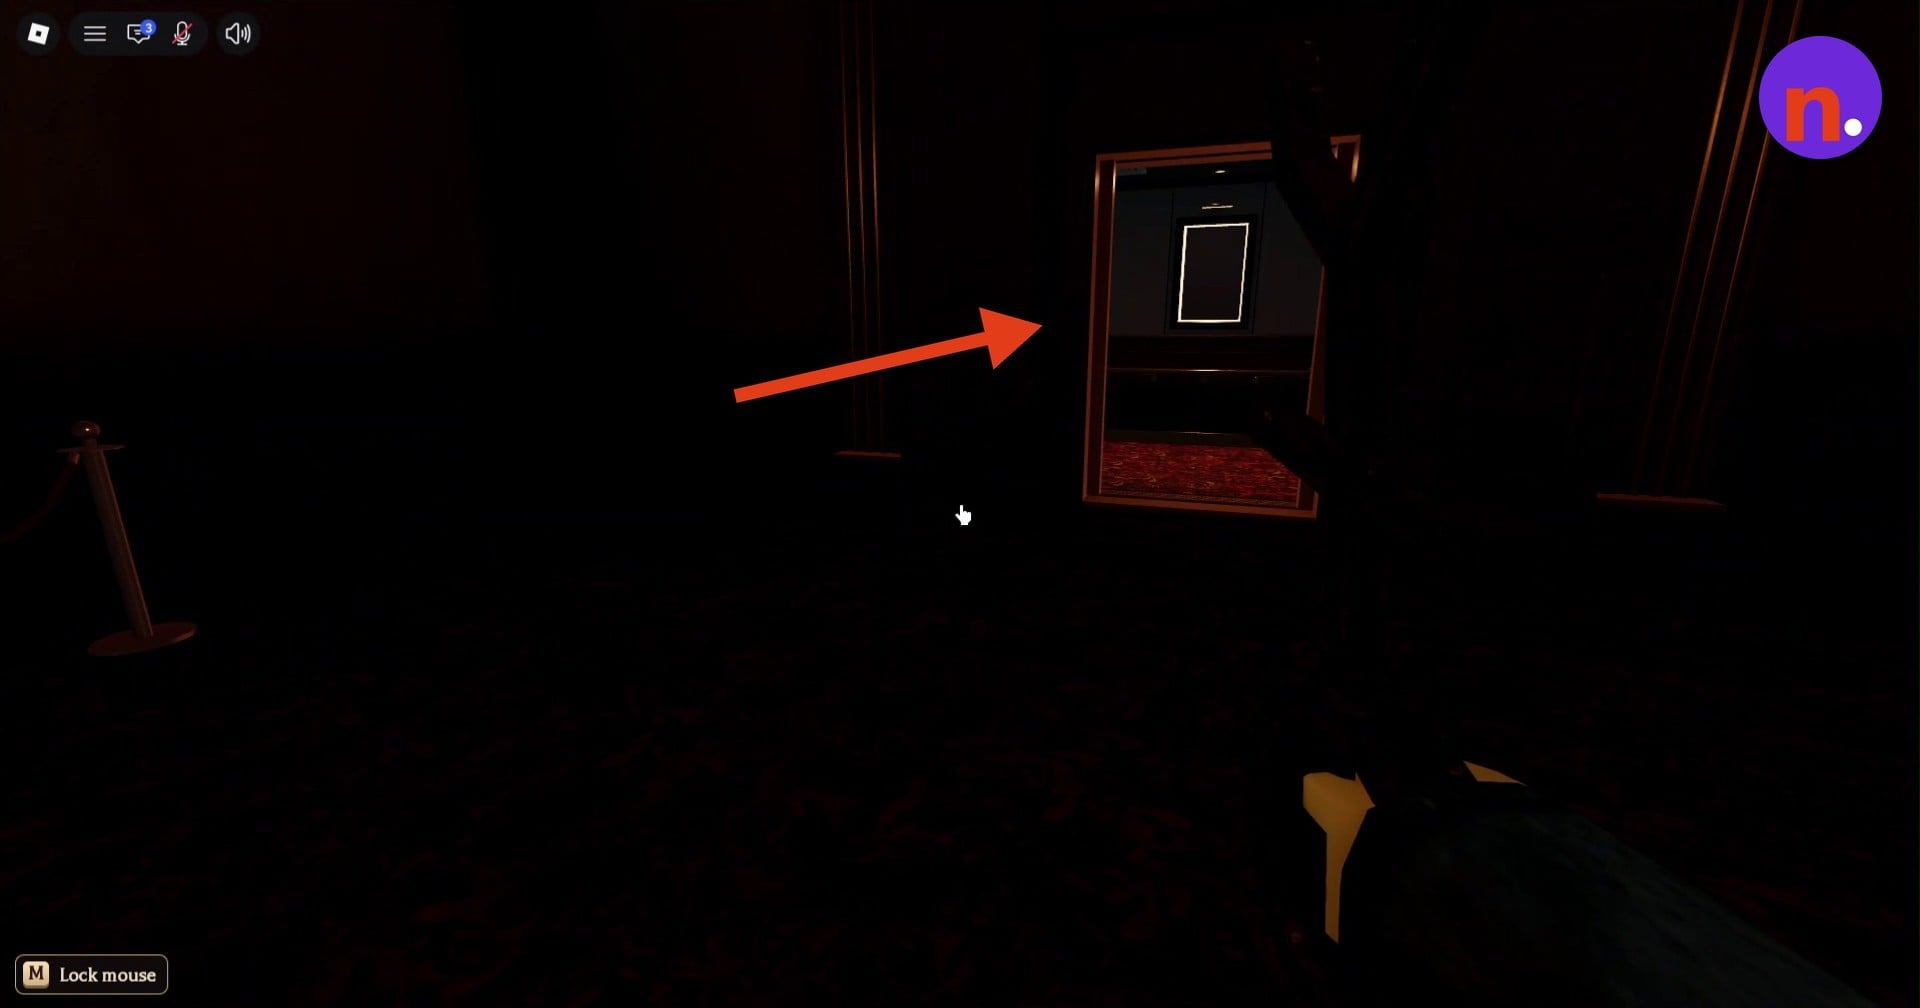
Carry it along the flooded street and through the purple portal into the elevator hallway. Enter the illuminated elevator doorway marked by an arrow.
Ride down to the lobby
Stay aboard while the elevator descends. Wait until you reach the destination labeled Lobby to receive the completion reward.
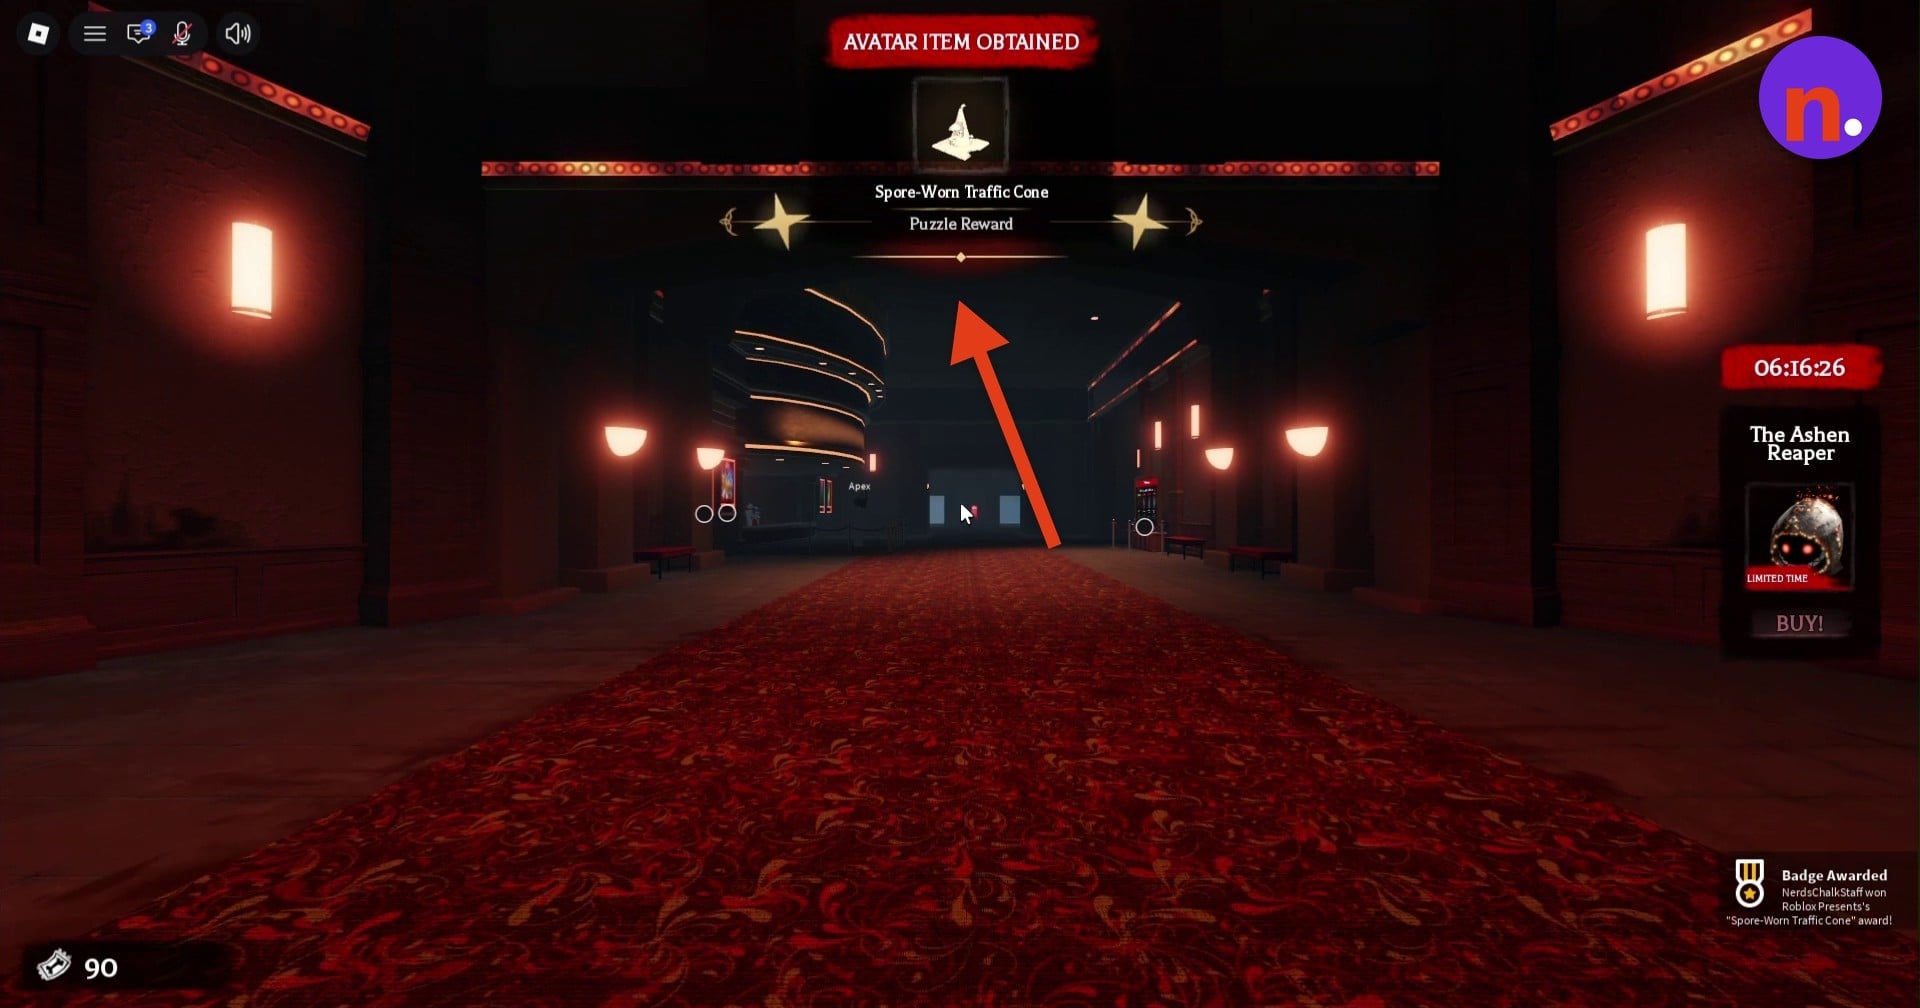
Back in the lobby, the Avatar Item Obtained banner announces the Spore-Worn Traffic Cone under Puzzle Reward. You also receive the matching Spore-Worn Traffic Cone badge, completing the trip with both rewards.
Related The Hollow guides
Leave a Reply