
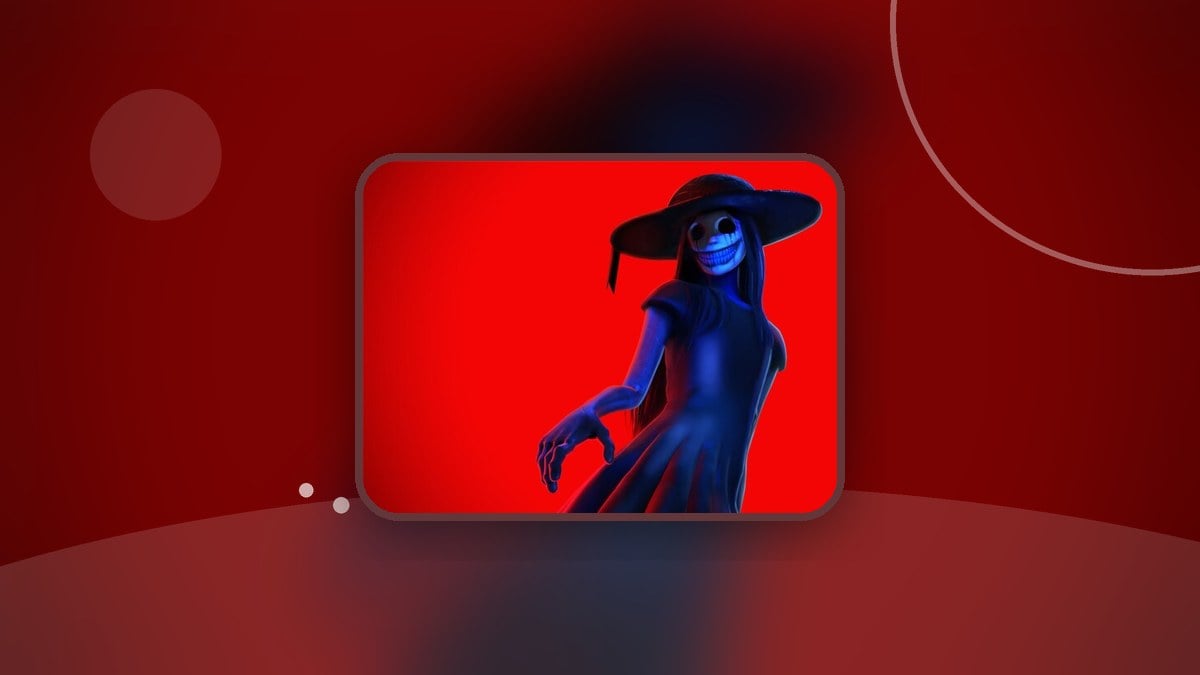
Solve the mirror puzzle by connecting the library and cave mirrors’ light beams, then aiming the final reflection into the skull on the central pedestal.
The mirror puzzle in Roblox The Hollow asks you to build a connected path of reflected light. Turning the mirrors carries the beam between them, with the central skull as your target.
The puzzle finishes when that light activates the skull. This guide covers the mirror adjustments from the upper library through the cave and back to the final alignment.
How to solve the mirror puzzle in The Hollow
Find the central pedestal
Inside the mirror-filled chamber, locate the pedestal and skull at the center. This is where the completed beam needs to land.
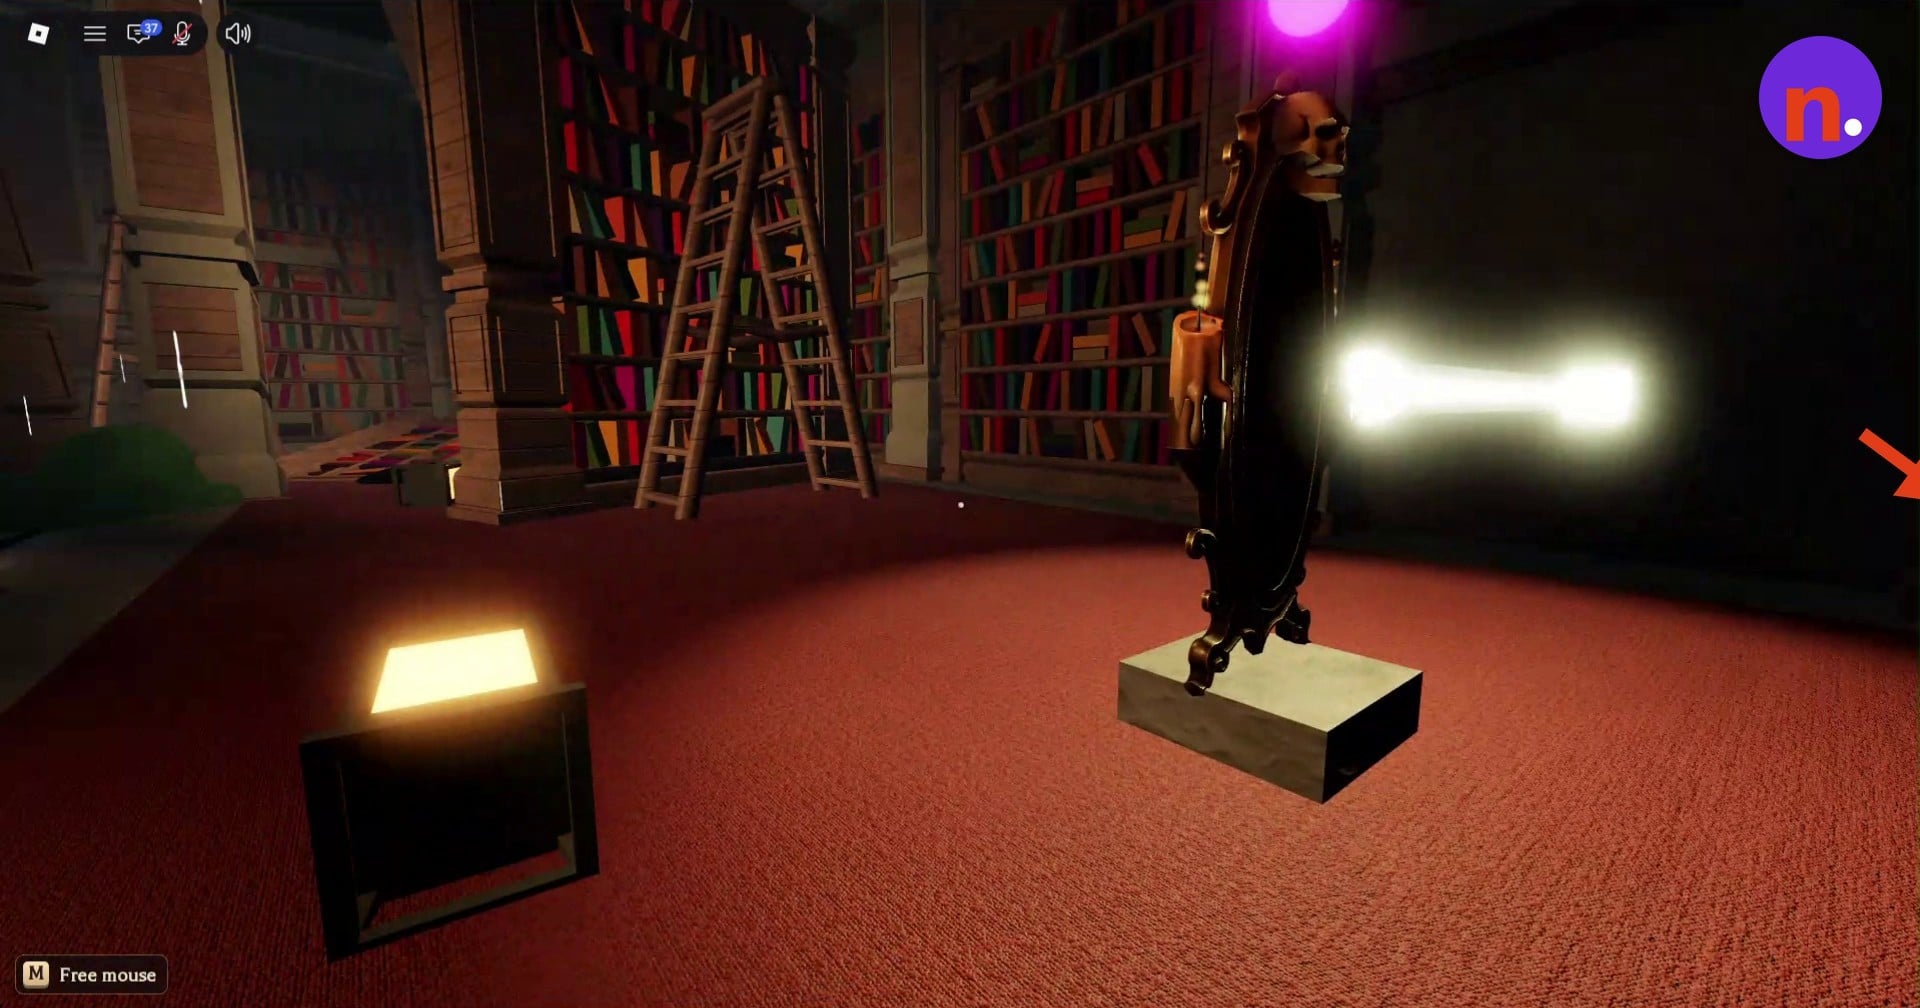
Turn the first library mirror
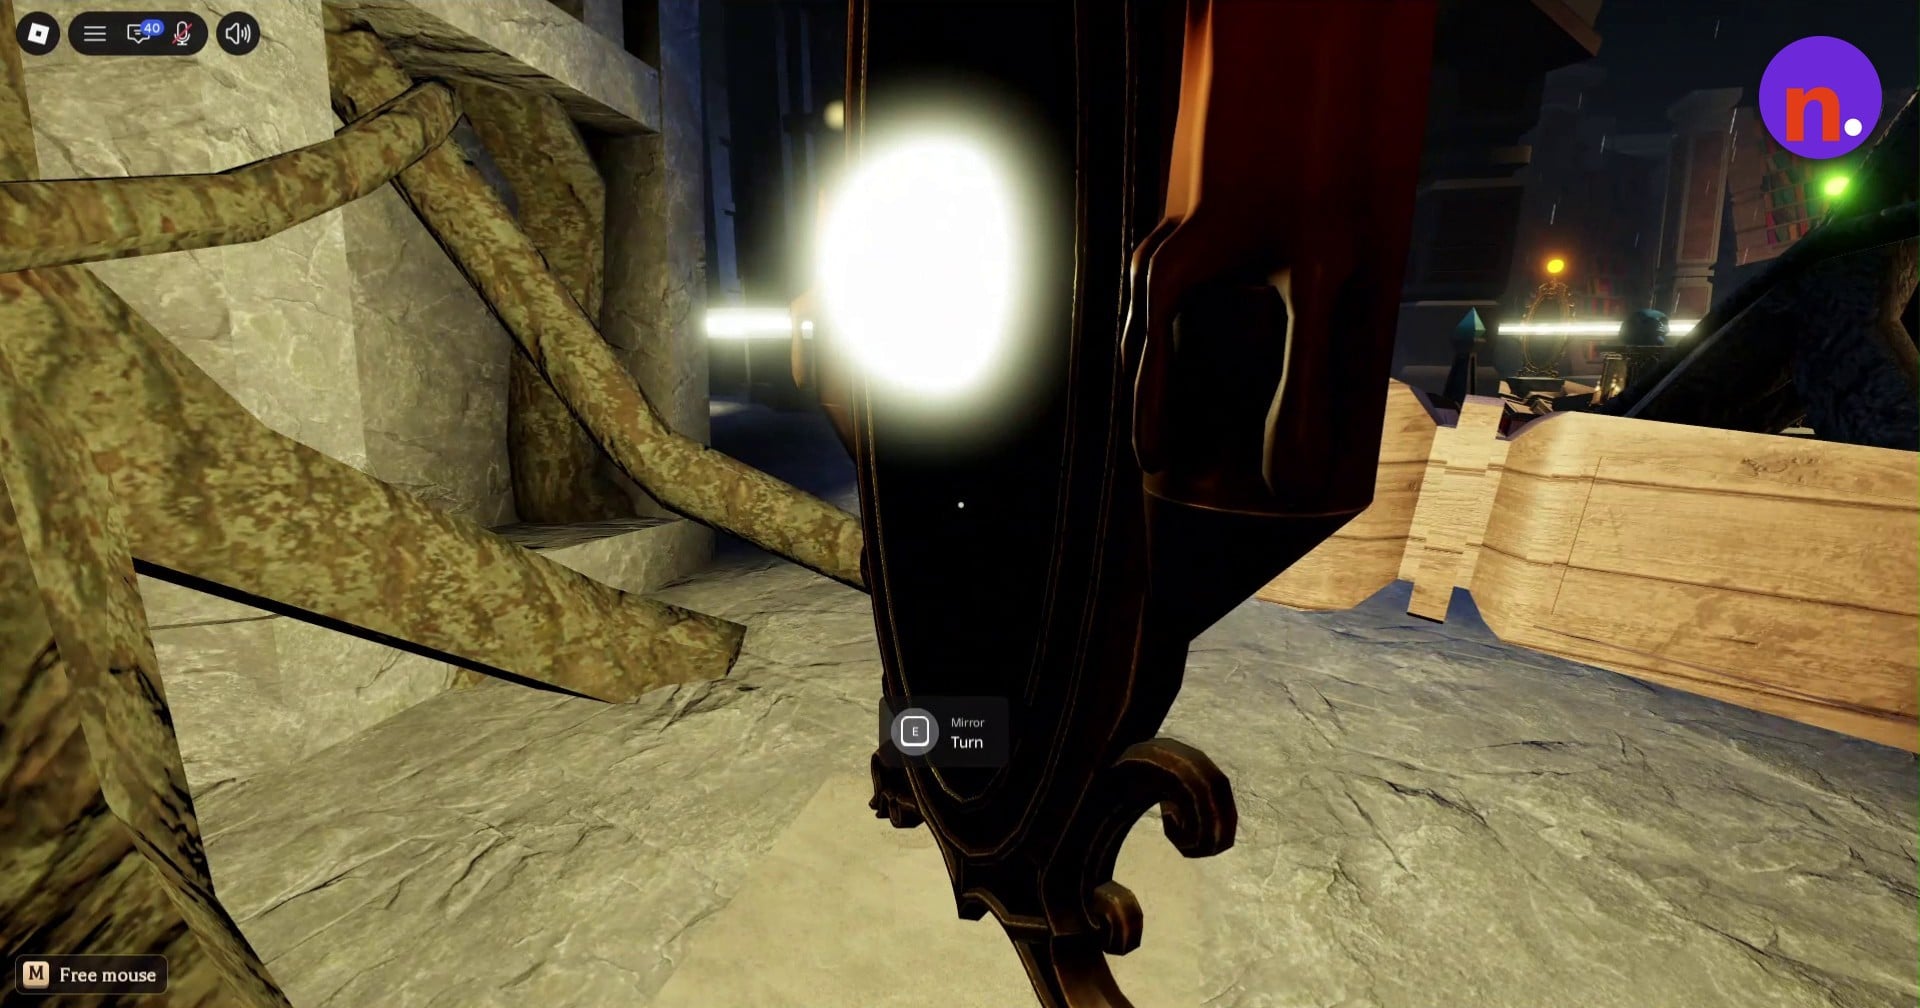
Approach the mirror in the upper library. Turn it until its reflection sends the light forward. The interface displays 38 alongside M, labeled Free mouse.
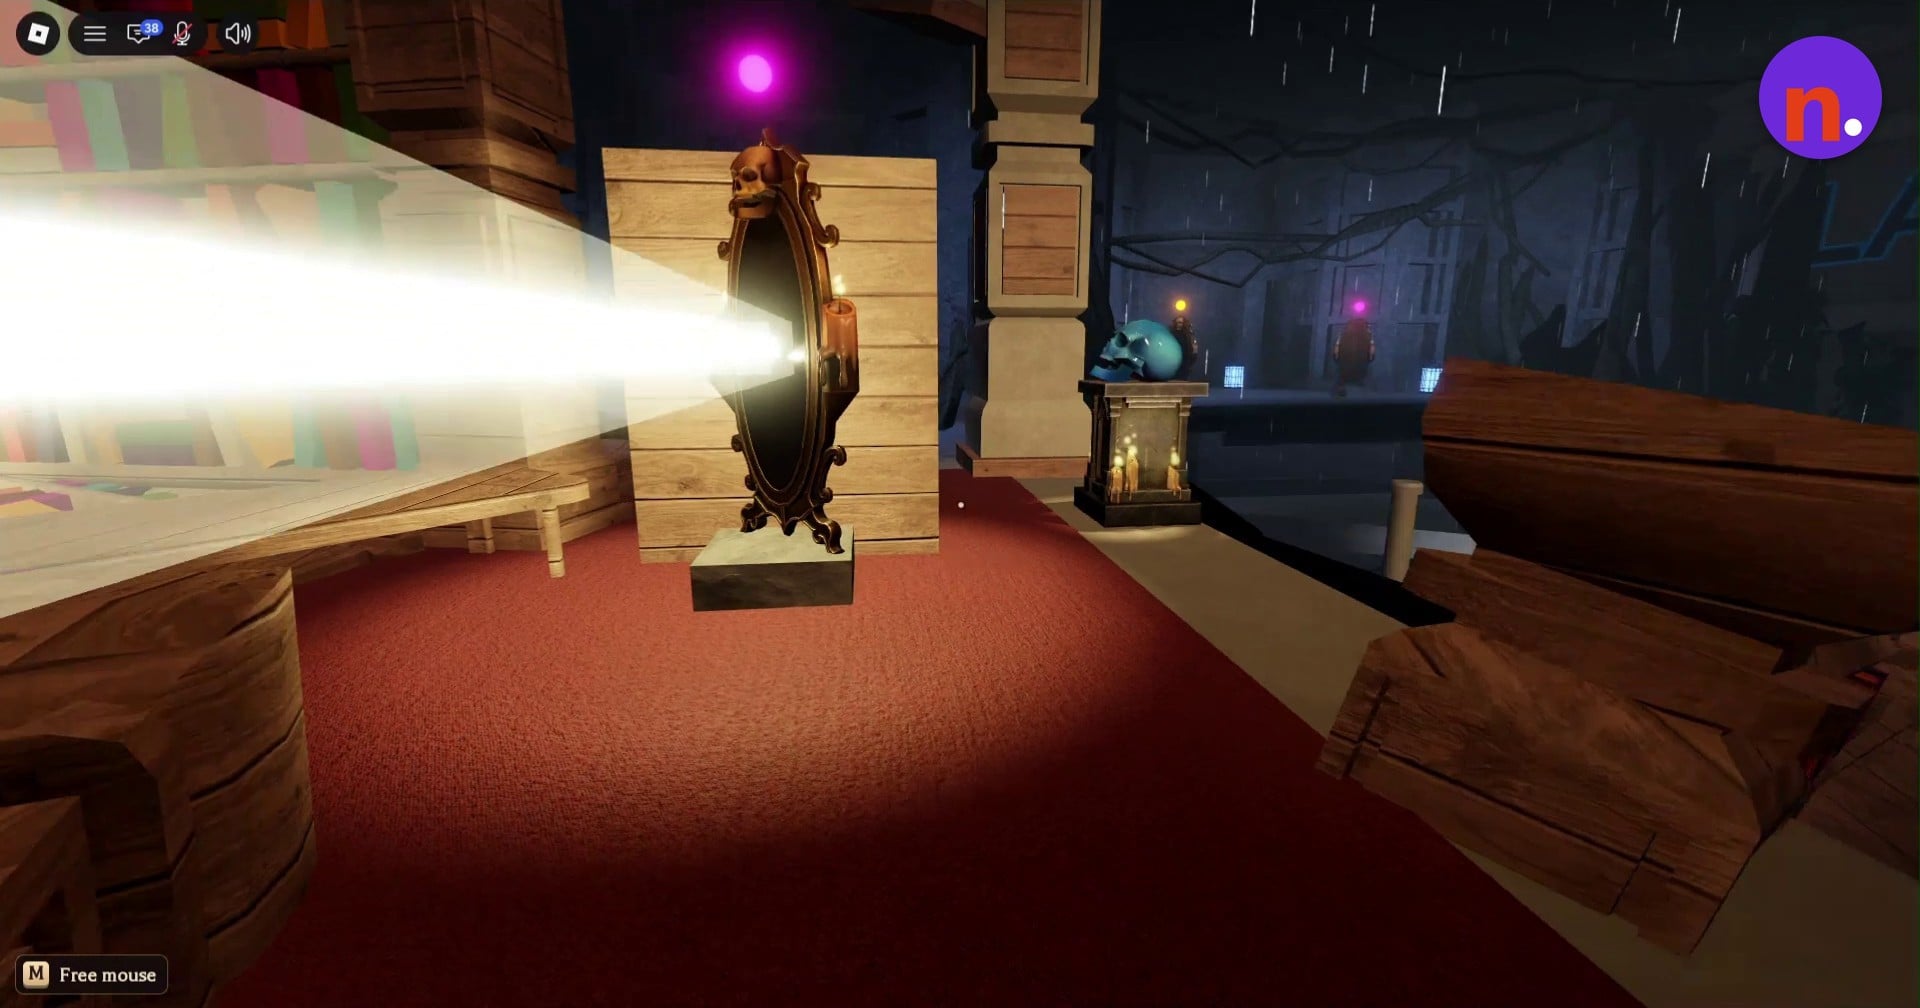
Align the ledge mirror and upper path
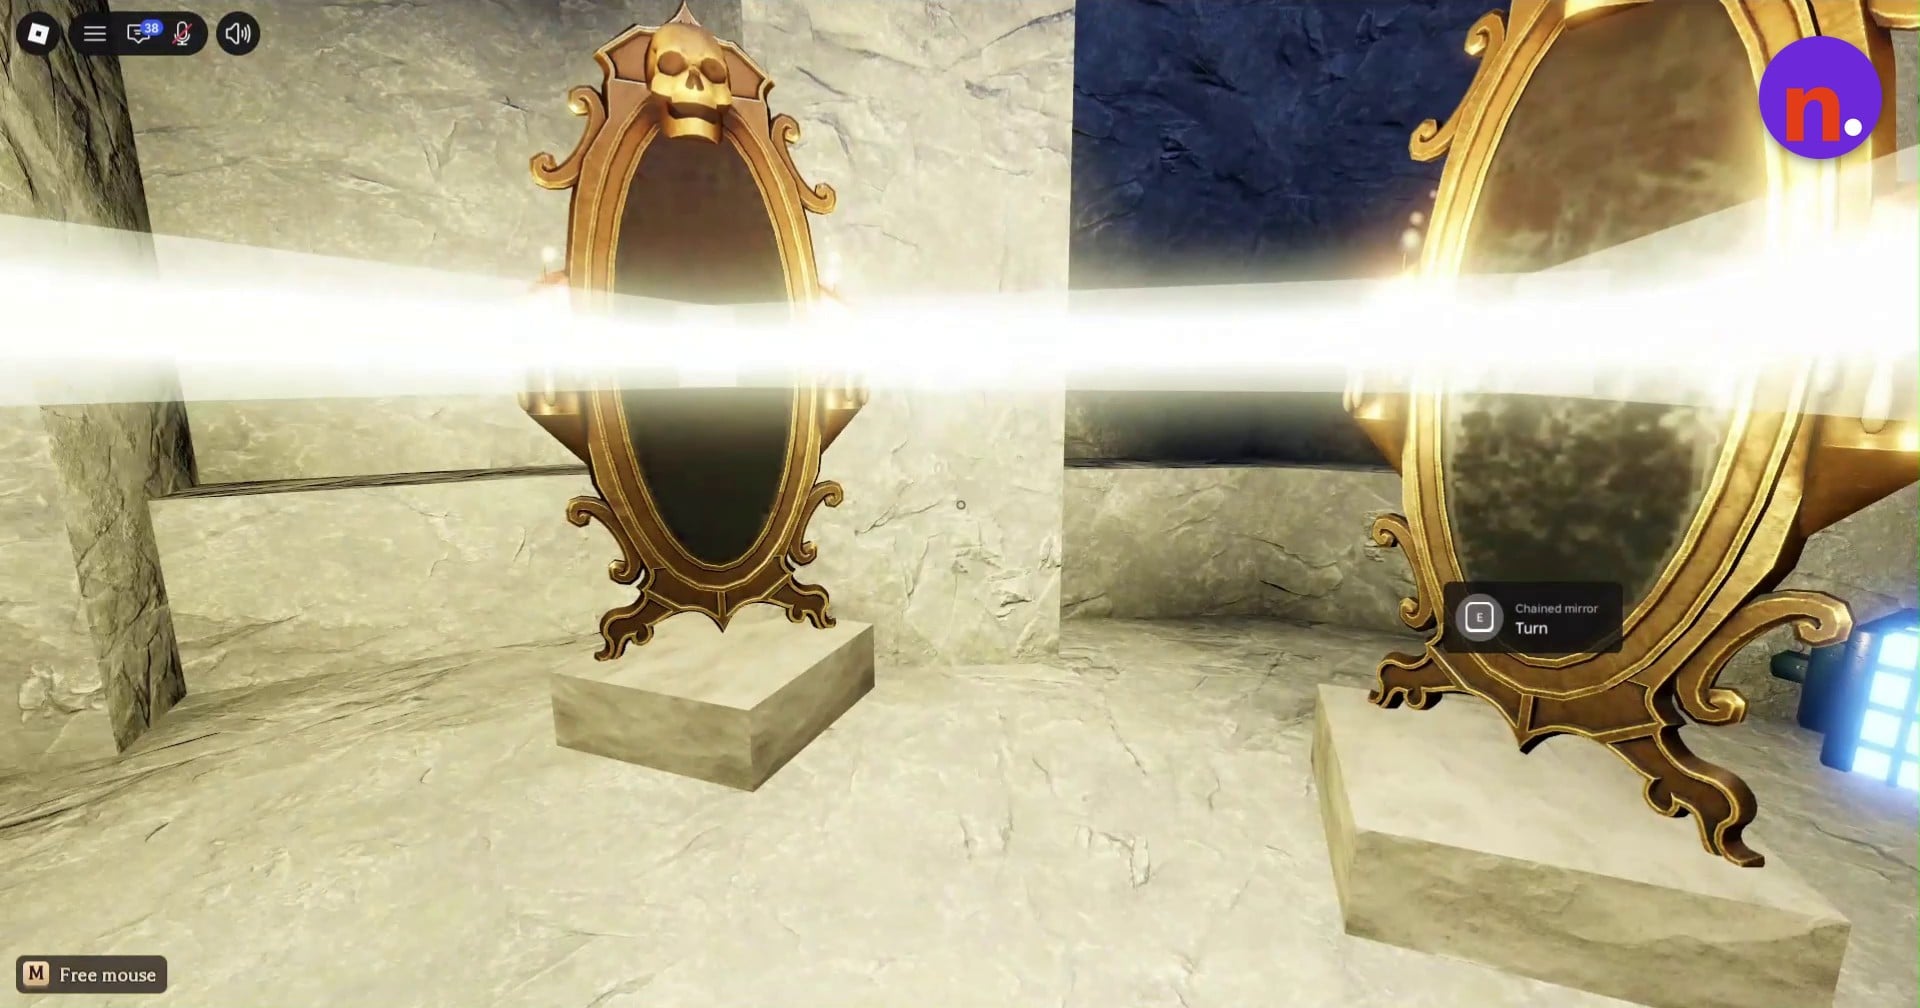
Check the beam’s alignment against the chained-mirror setup, then turn the chained mirror on the fallen-bookcase ledge toward the far platform. Adjust the additional mirror along the upper path before heading downstairs.
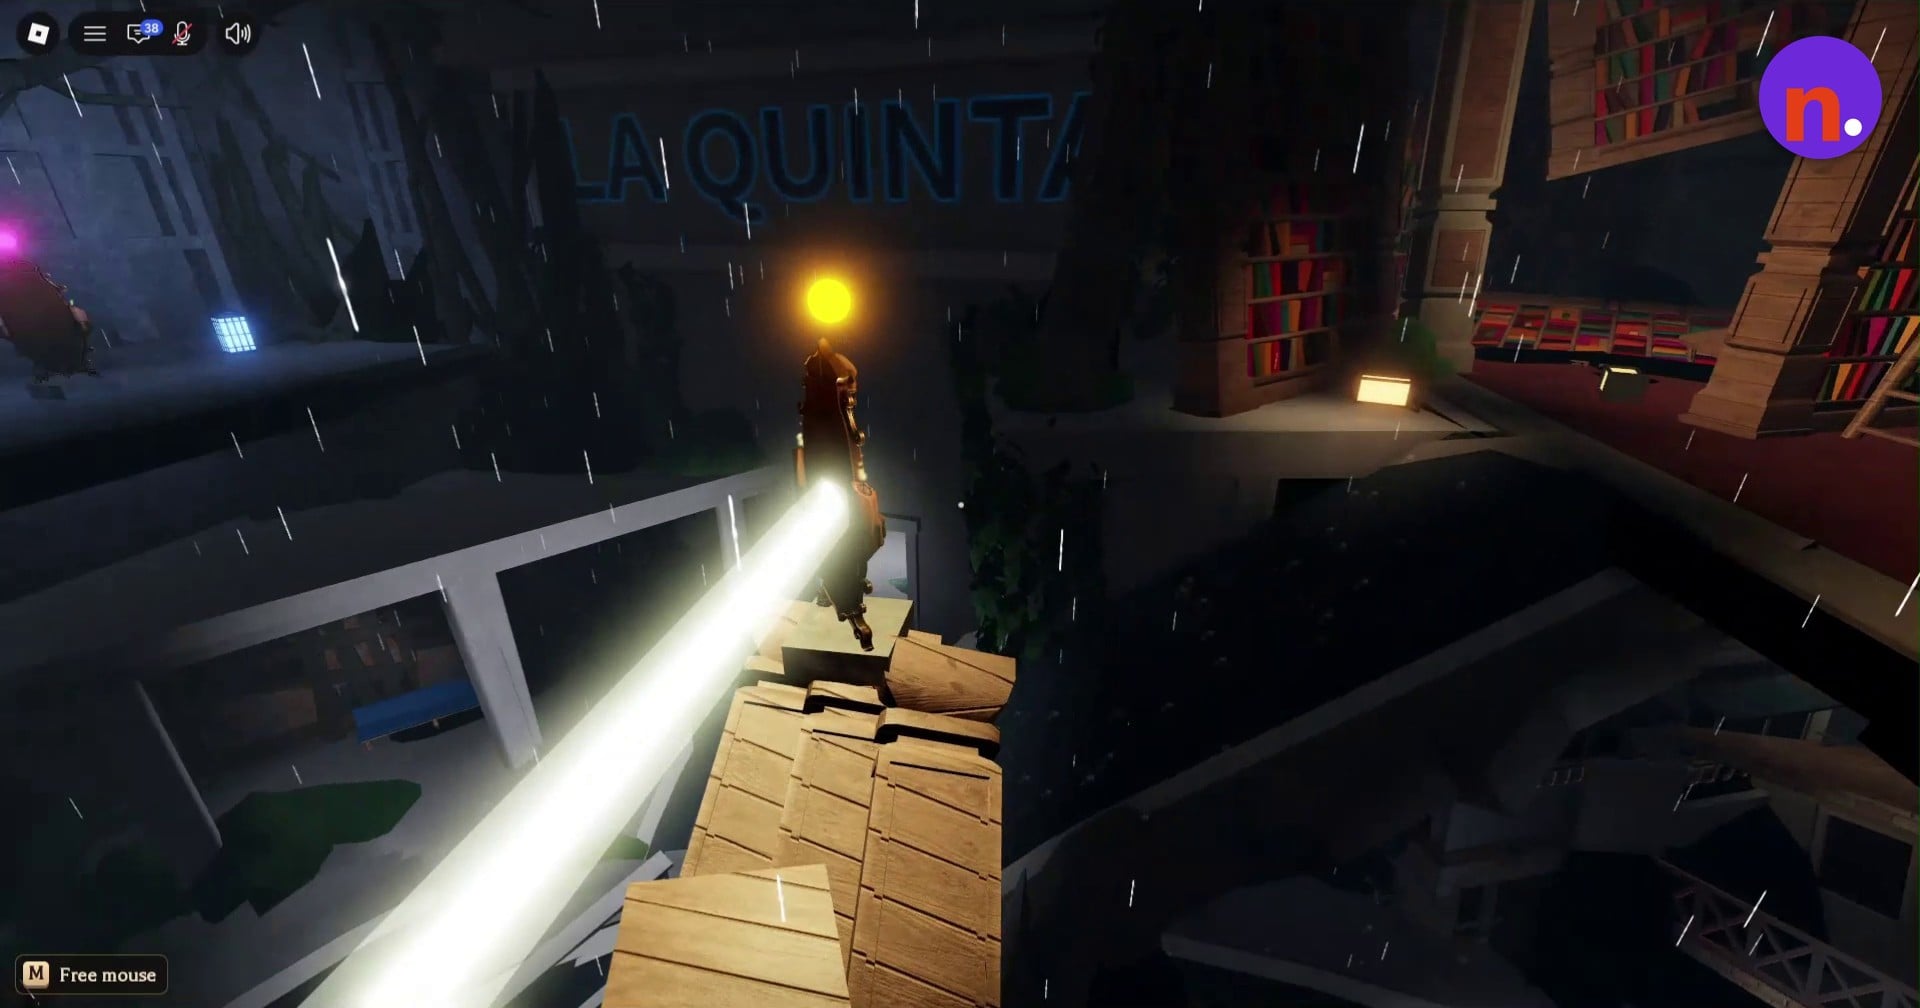
Descend to the cave mirrors
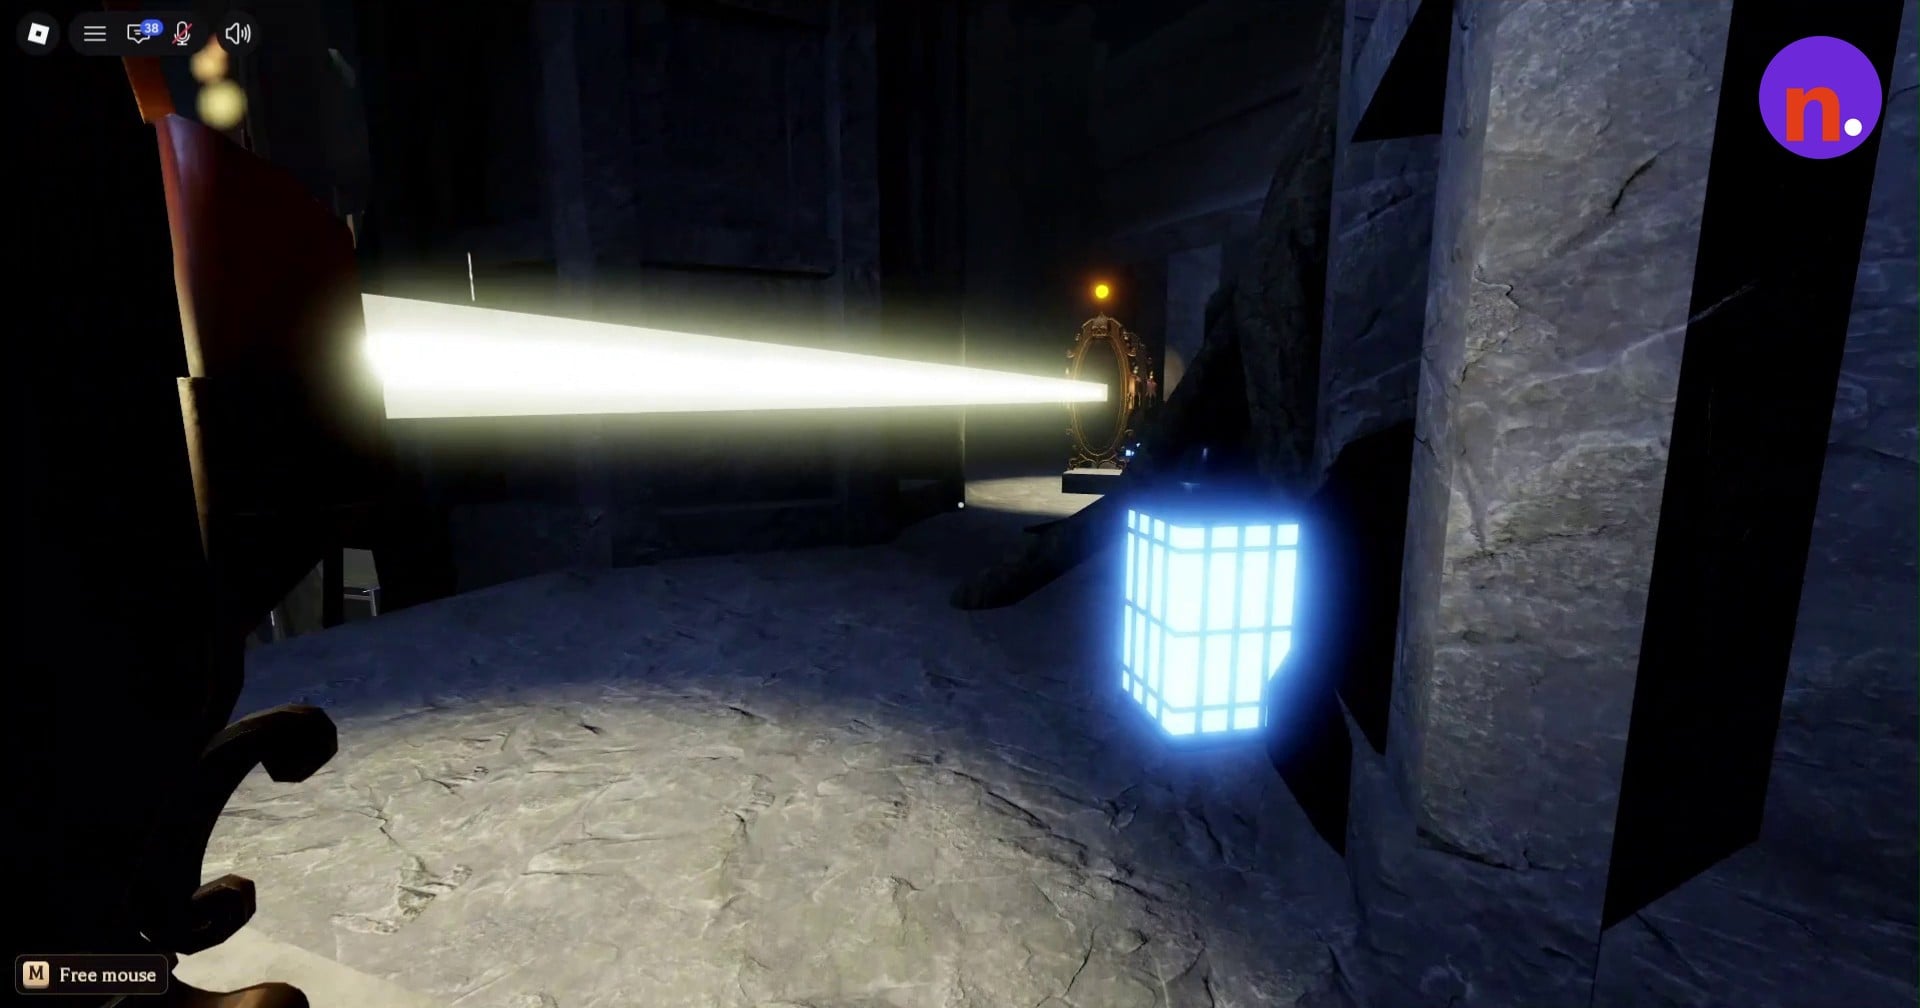
Head down into the lower stone chamber, where several colored mirrors stand. A glowing blue lantern stands beside an ornate mirror in the dark stone chamber.
Connect the lower light trail
Turn the cave mirrors in sequence to carry the beam around the corner. Fine-tune their angles so each reflection connects with the next mirror and the light continues across the room.
Send the beam back into the library
At the cave exit mirror, turn the reflection back across toward the library. The light should now travel out of the lower chamber toward the upper level.
Aim the final mirror at the skull
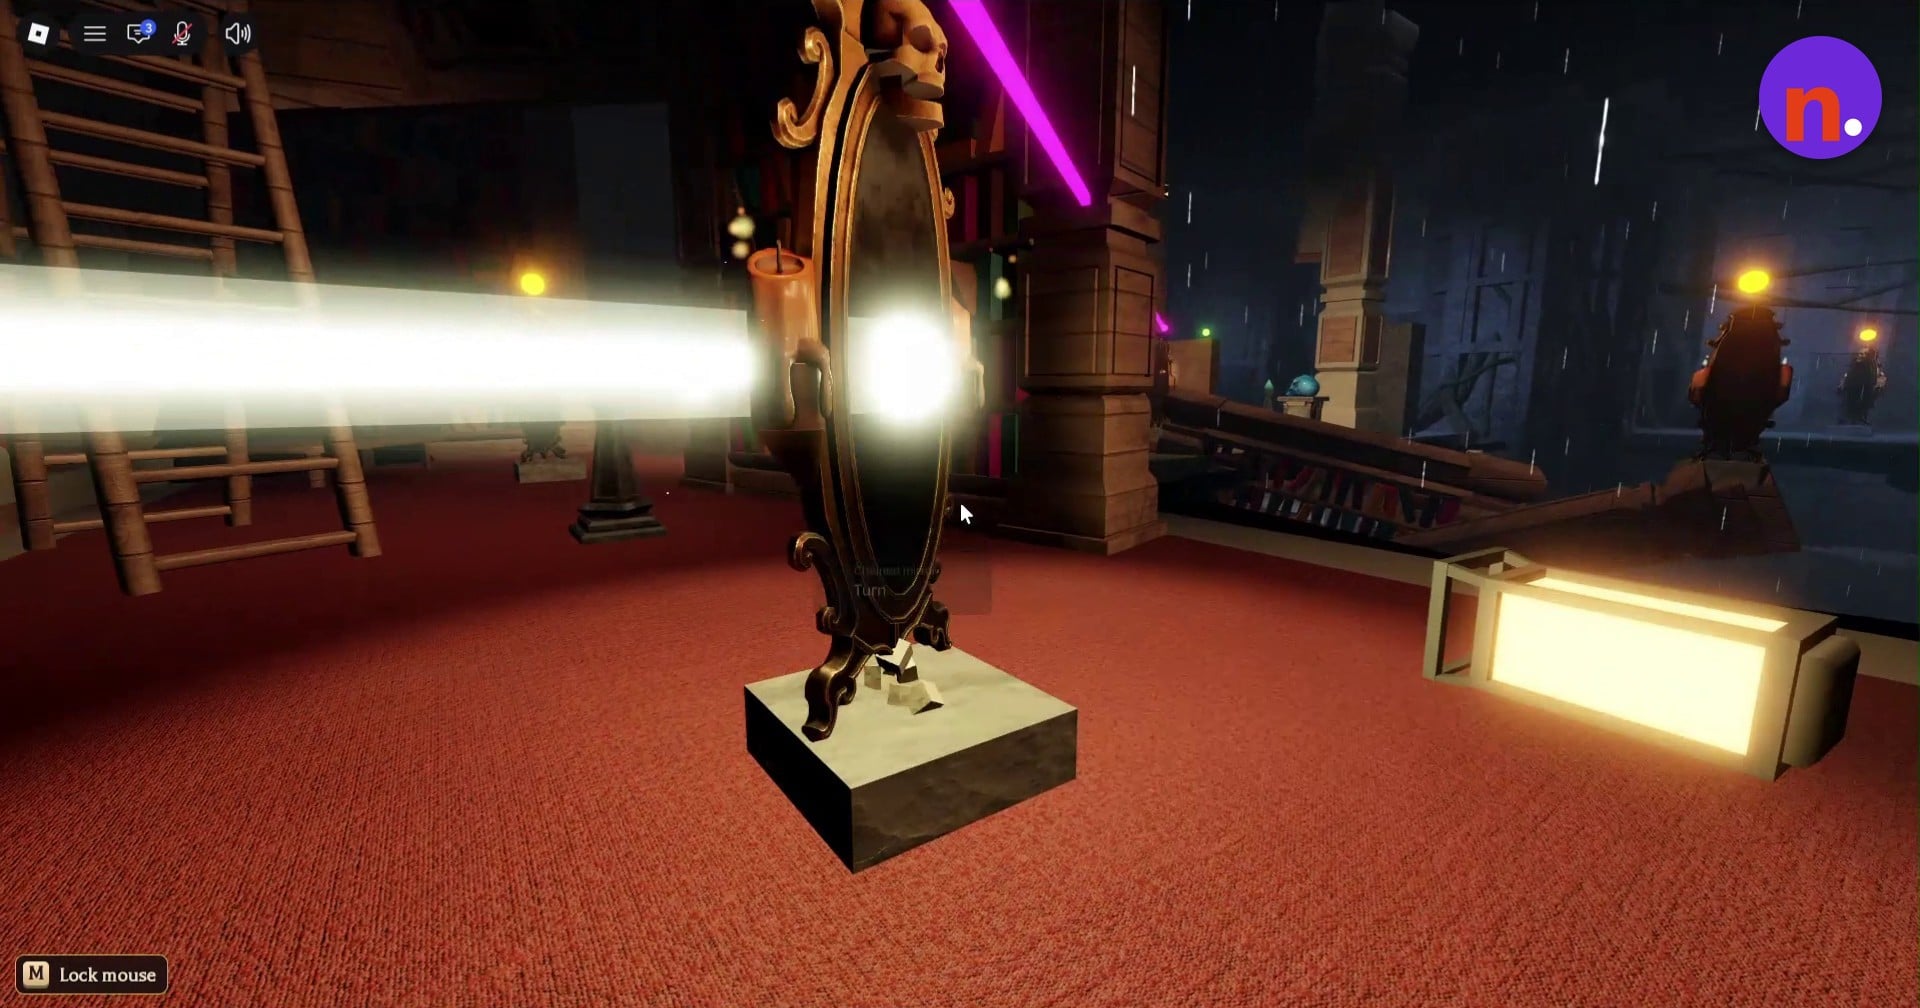
Return upstairs to the last chained mirror on a stone pedestal. Turn it to direct the reflected light straight into the skull on the central pedestal.
Wait for the skull to activate
Wait for the light to activate the skull. Multicolored rays burst from it and dialogue begins, including “There we go! Another relic, another happy end”. These mark the completed skull circuit and the end of the puzzle.
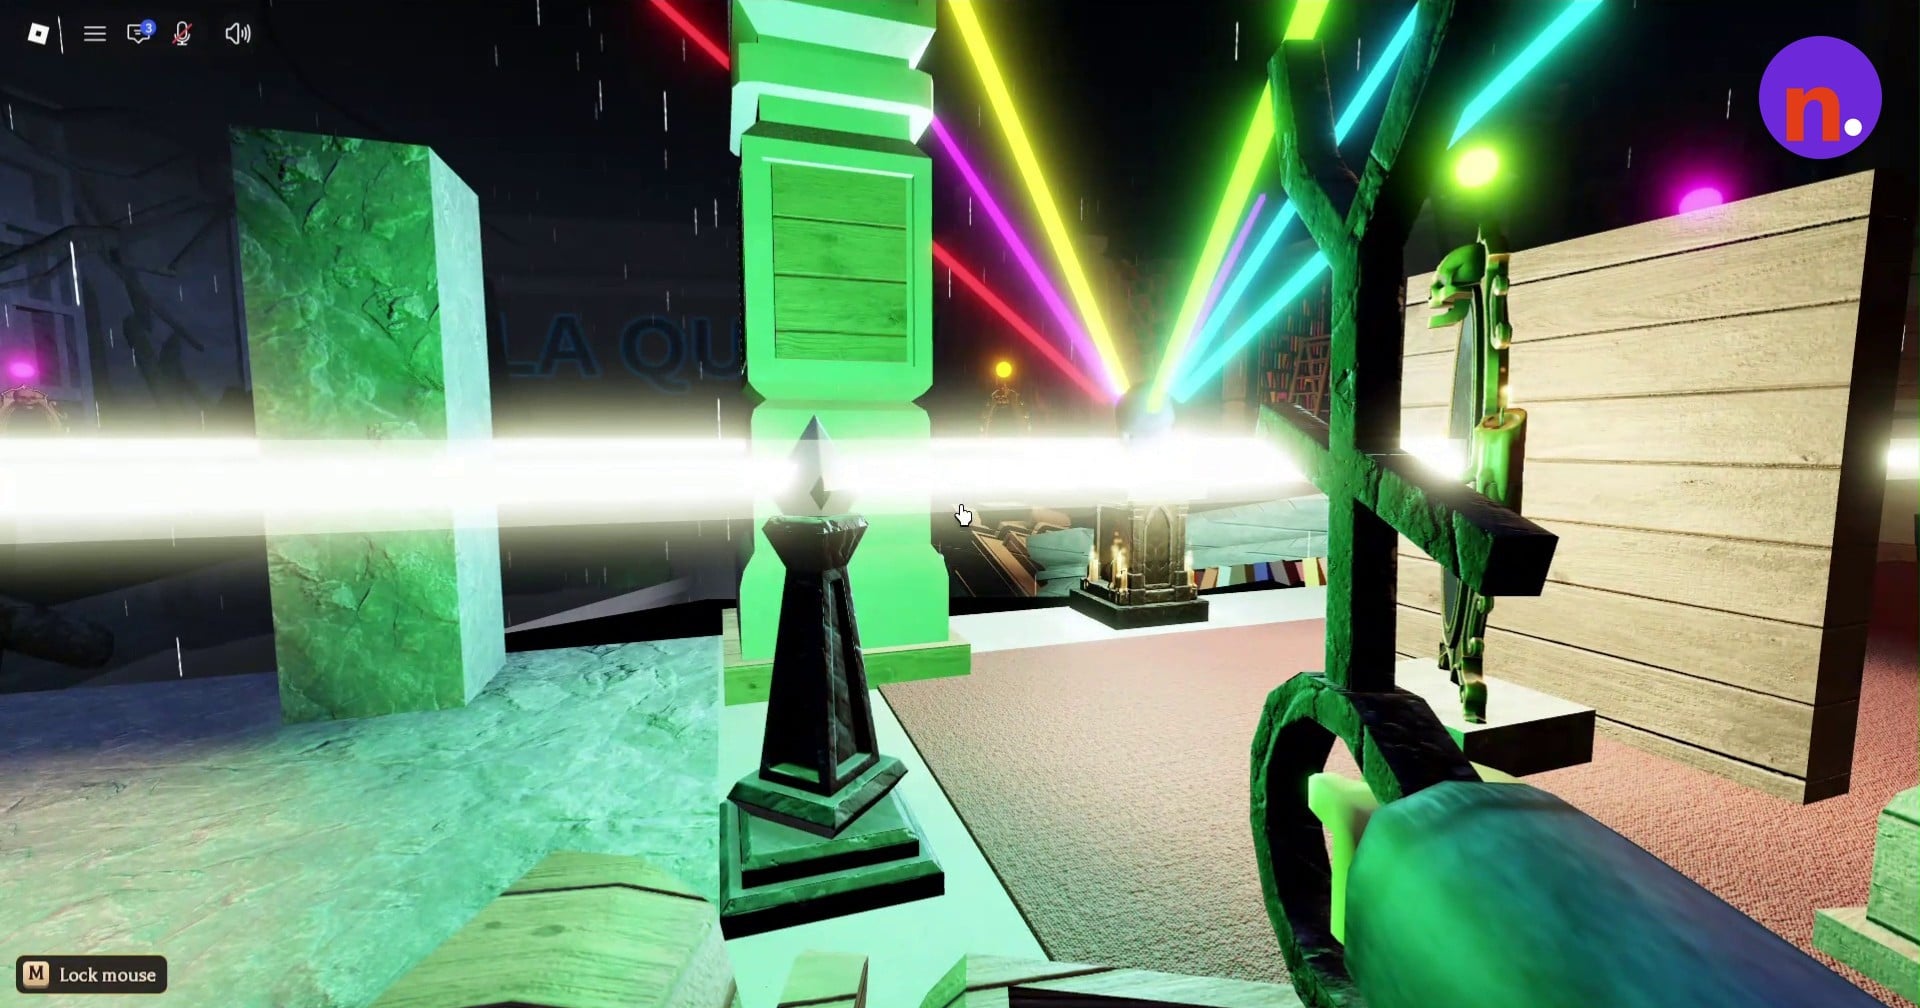
After the puzzle, a speaker protests that they still have more to say. Outside, walk along the street toward the open portal.
Related The Hollow guides
Leave a Reply