

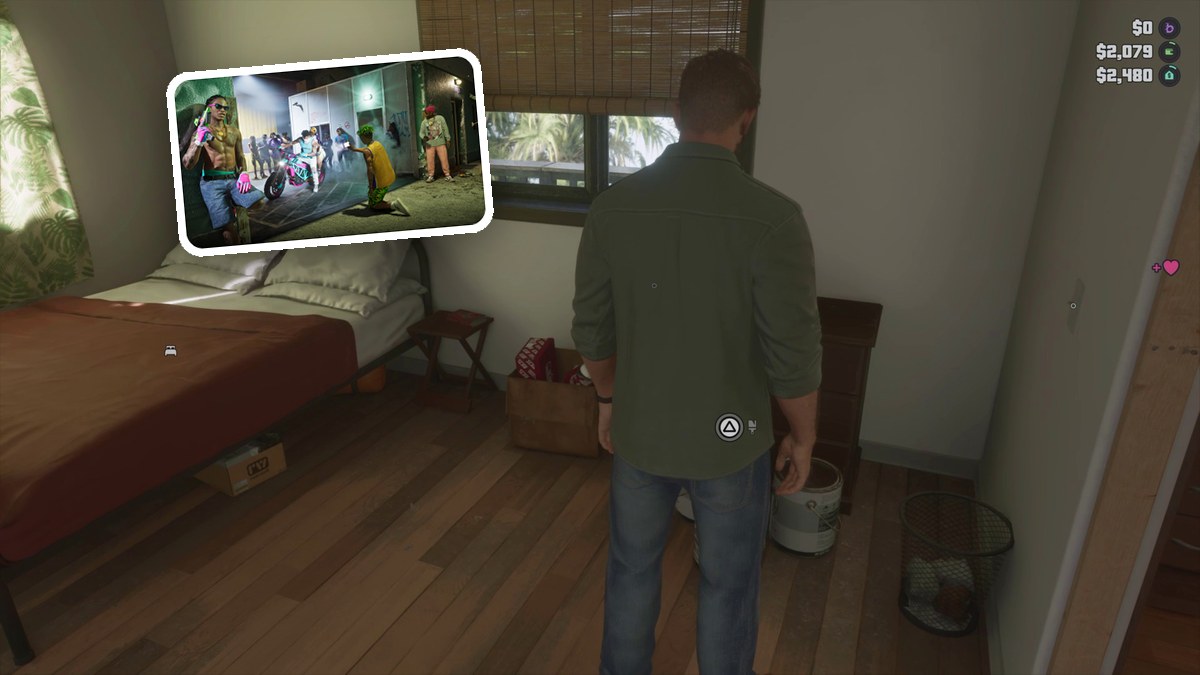
Enter the bedroom, press Triangle beside the leaning drywall, fasten the panels with R2, and let the finishing montage prepare the wall for paint.
The bedroom wall repair in Grand Theft Auto VI starts with an exposed bedroom wall frame. The game’s platforms are Xbox Series X|S and PlayStation 5. This guide covers installing the drywall, using the screw prompt, and finishing with a surface ready for painting.
How to fix the wall at Jason’s house in Grand Theft Auto VI
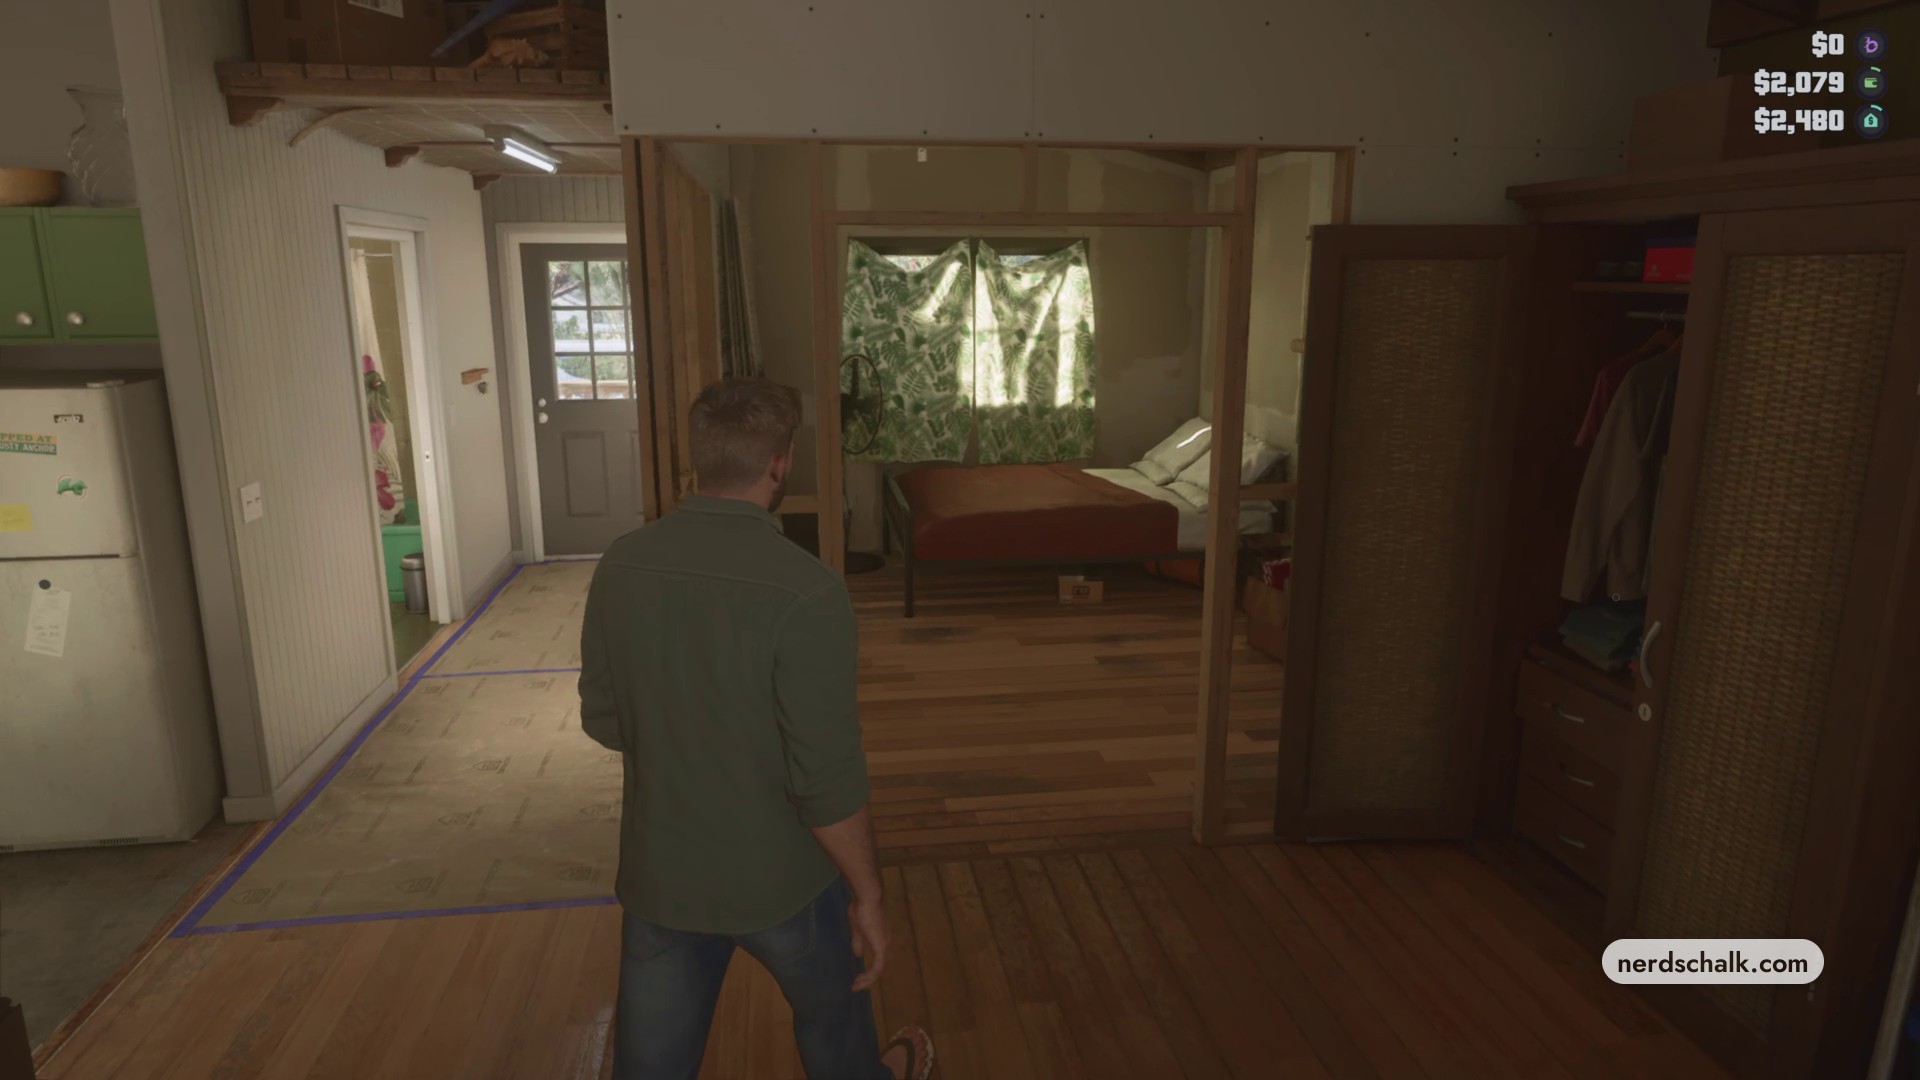
Enter the bedroom
From the living room hallway, enter the bedroom and approach the drywall board leaning against the exposed wooden wall frame.
Start installing the drywall
Press Triangle beside the board to begin installation.
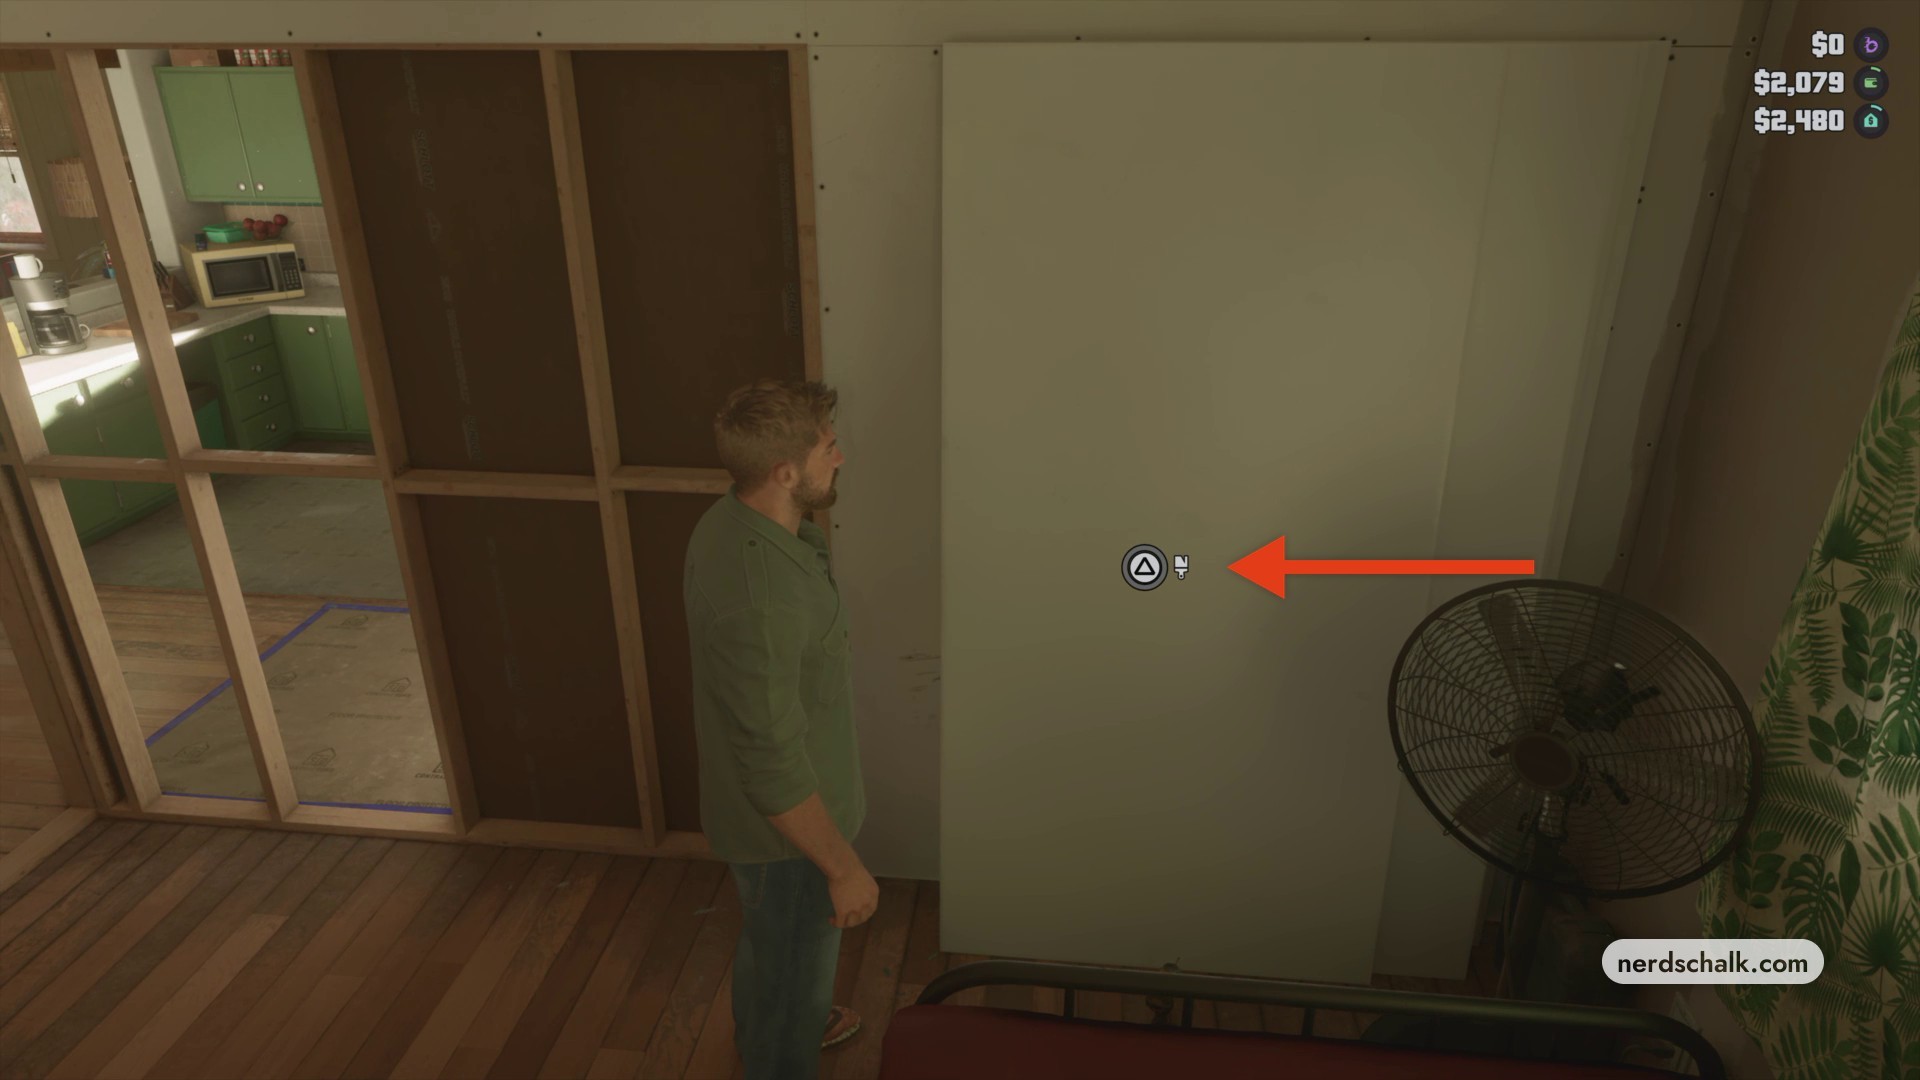
Fasten the first panel
Use the electric drill driver to drive screws through the drywall into the wooden studs. Watch for the SCREW prompt in the bottom-right corner.
Secure the second section
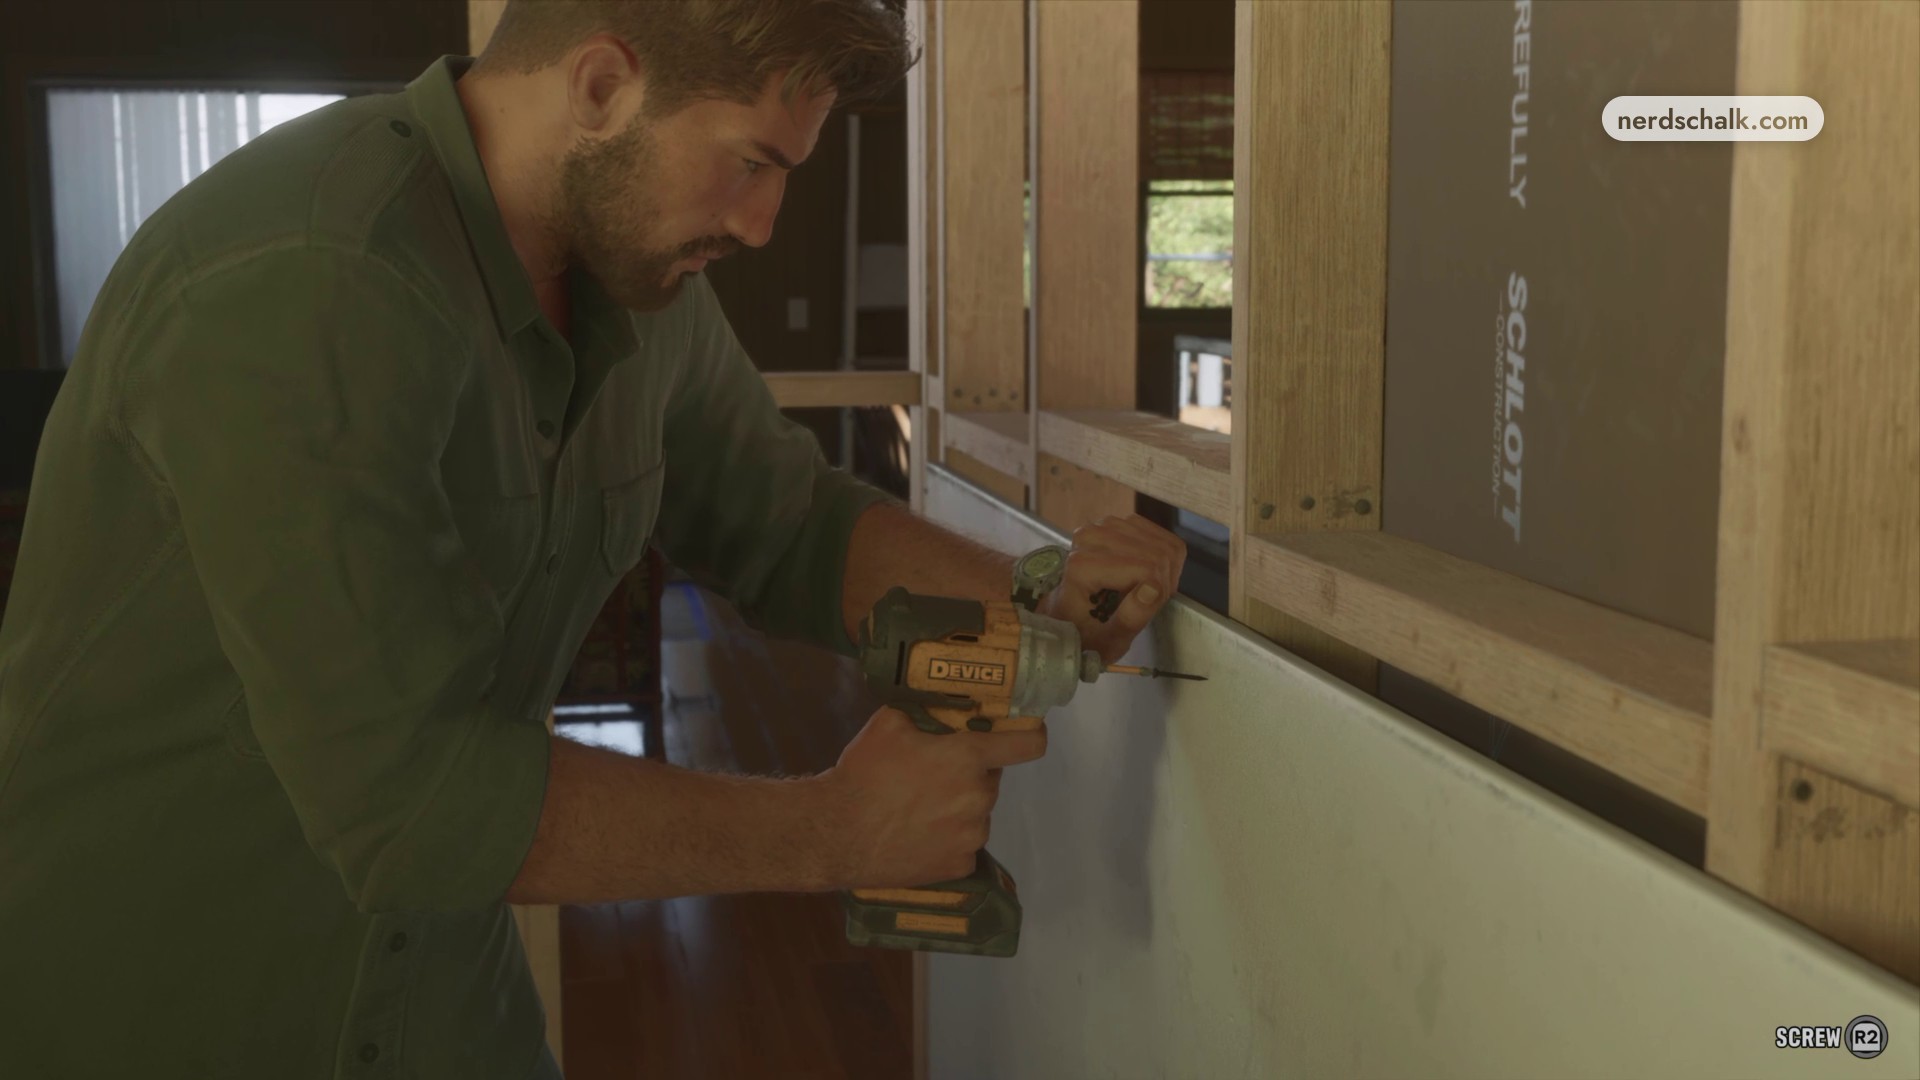
Fasten the upper sheet
Jason raises the larger sheet into the upper section of the wall. Press R2 to drive the remaining screws into that panel.
Inspect the primed wall
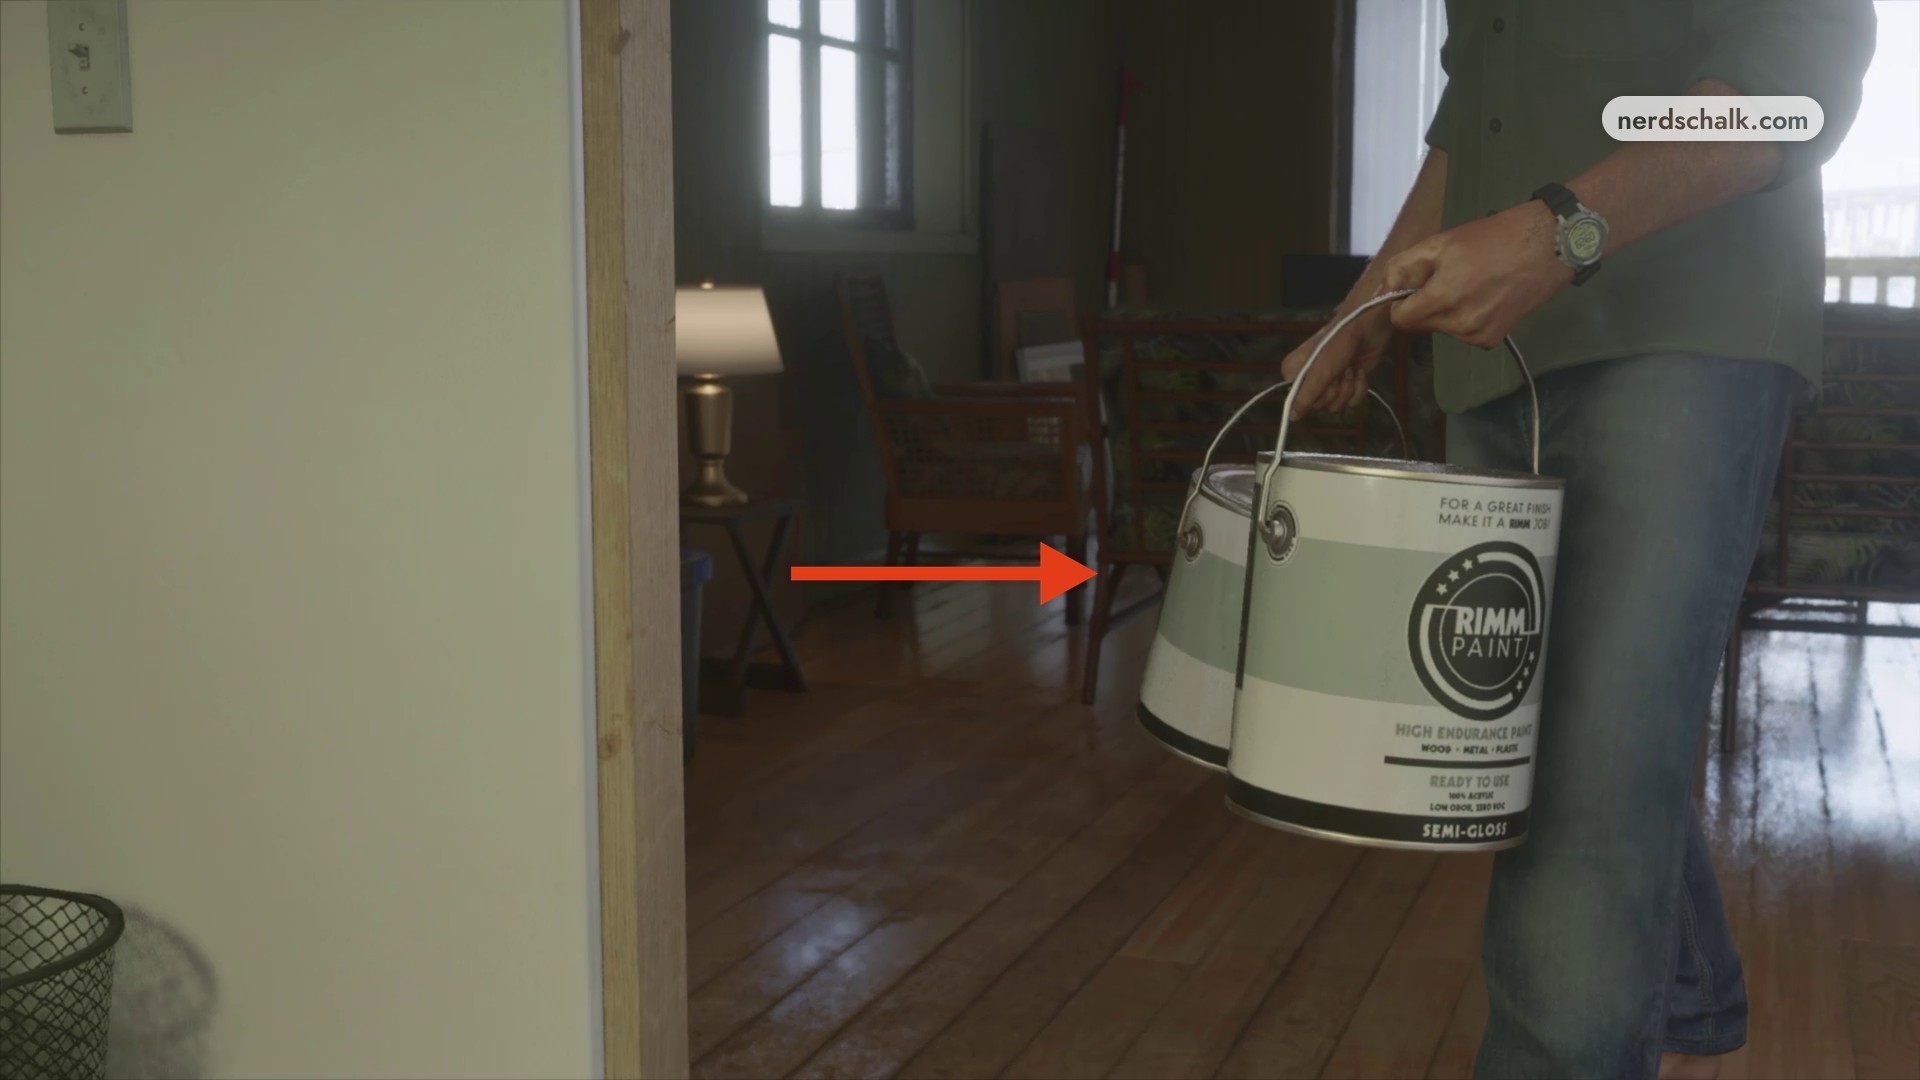
Let the automatic finishing montage apply spackle, sand the surface, and coat it with primer. Jason then carries RIMM PAINT cans into the bedroom and sets them on the floor. Once control returns beside the wall, inspect the finished surface.
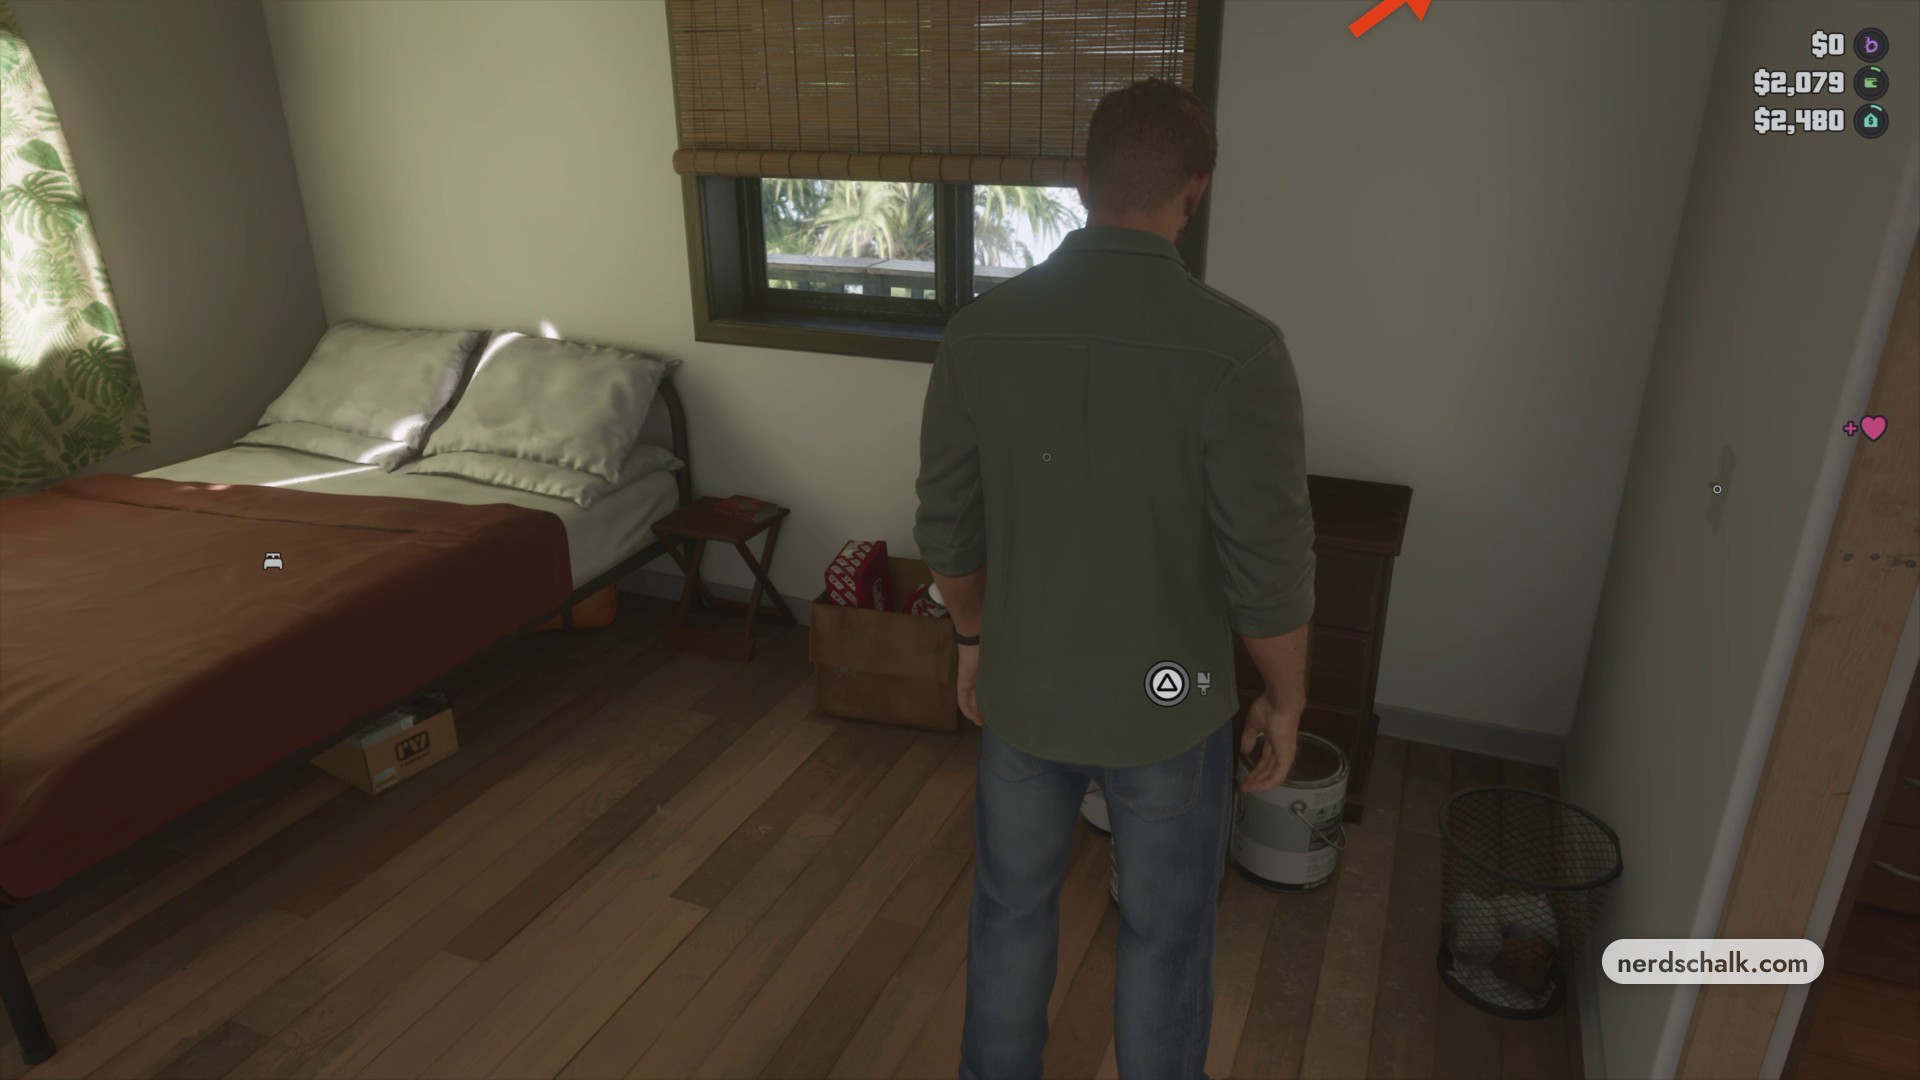
The completed wall is fully boarded, sanded, and primed, ready for painting.
Related Grand Theft Auto VI guides
Leave a Reply