

Clockwork Shardstone sits in a chest inside Alchemist’s Workshop, which you unlock by grabbing the Makeshift Projectile near the Outskirts of Mammon, firing it from the nearby catapult, then clearing the hidden bookshelf, lever, and lift route inside the dungeon.
Clockwork Shardstone is one of the more satisfying Tarstones to slot onto a big two-hander, but the game does almost nothing to point you toward it. There’s no marker on your map and no boss that hands it over — instead you have to solve a small siege-weapon puzzle out in the open world to even open the door, then find your way through a dungeon that hides its own path. Here’s the full chain, from the catapult to the chest.
What Clockwork Shardstone does for your primary weapon
| Level | Effect |
|---|---|
| Level 1 | Consume Resolve over time to hold your weapon out with its chainsaw spinning at full speed |
| Level 2 | Each chainsaw spin deals 15% of the weapon’s base damage and Stagger Damage |
| Level 3 | Each chainsaw spin deals 15 Stagger Damage (some accounts list this as added chainsaw damage) |
| Level 4 | Each chainsaw spin deals 20% of the weapon’s base damage |
Clockwork Shardstone is an Ability Tarstone that equips to your Primary Weapon. Once slotted, it consumes Resolve over time to set a chainsaw spinning along the blade, augmenting every attack you throw while it’s running. On a heavy weapon it turns a normal swing into a grinding hit, which is why it’s a favourite for aggressive, Resolve-hungry builds rather than patient counter play.
The stone scales across four levels as you upgrade it. The lower ranks just keep the chainsaw spinning and add a slice of your weapon’s base damage per spin; the higher ranks push that percentage up. The Level 3 rank is the one worth a note — it’s usually listed as 15 Stagger Damage per spin, though some accounts simplify it as extra chainsaw damage instead, so treat the exact wording of that single rank as the one loose detail here.
The full route from beacon to Clockwork Shardstone chest
| Objective | Where to go |
|---|---|
| Start point | Outskirts of Mammon Beacon |
| Grab the Makeshift Projectile | Southern edge of the Outskirts, across the hanging bridges near the Grisha hunters |
| Return to the catapult | Just east of the beacon statue, southeast across the grassy terrain |
| Fire the siege weapon | Load the projectile to blow open the Alchemist’s Workshop entrance near Castigator’s Keep |
| Reach the dungeon door | From Castigator’s Keep Beacon, drop down and follow the wooden platforms southwest |
| Pass the hidden bookshelf | Go through the bookshelf into the secret room |
| Find the lever | Continue until the lever that powers the lift |
| Take the lift | Ride it down to the final room |
| Loot the chest | Clockwork Shardstone sits in the chest at the end |
Key The chain splits neatly into two halves: an open-world puzzle that opens the dungeon, and the dungeon route itself. Do them in that order — the door genuinely does not exist until you fire the catapult, so there’s no point hunting for the entrance early.
How to get Clockwork Shardstone in Mortal Shell 2
This first stretch is the part players skip, because the game never explains what the Makeshift Projectile is for. It’s ammunition for a nearby catapult, and firing it destroys a rock formation across the region that seals the dungeon.
Start at the Outskirts of Mammon Beacon
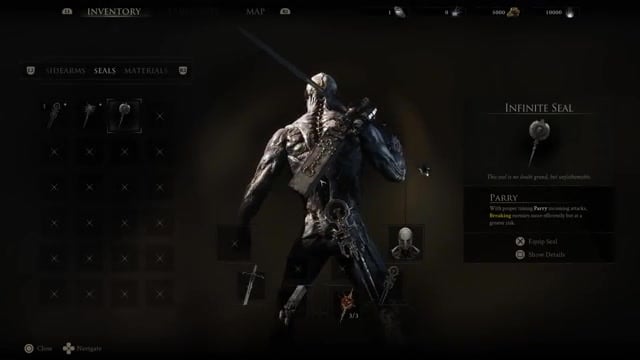
Fast travel in and get your bearings — everything for this half is a short trip from here.
Cross into the lower area for the Makeshift Projectile
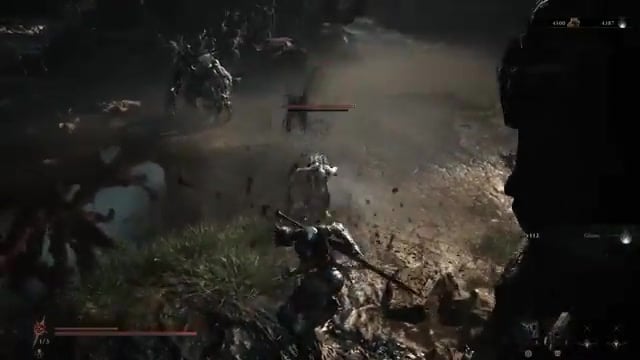
Head toward the southern edge of the Outskirts and cross the hanging bridges down into the lower area, near a group of Grisha hunters, to pick up the glowing Makeshift Projectile.
Return to the catapult east of the beacon statue
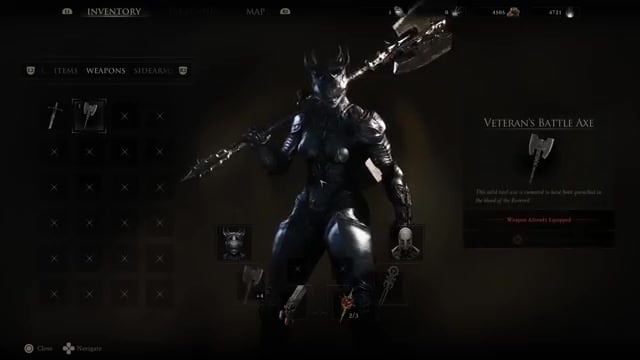
Head back southeast across the grassy terrain to the catapult sitting just east of the beacon statue.
Load and fire the projectile
Firing the siege weapon smashes a rock formation elsewhere in the region and opens the Alchemist’s Workshop entrance near Castigator’s Keep.
Approach the newly opened entrance
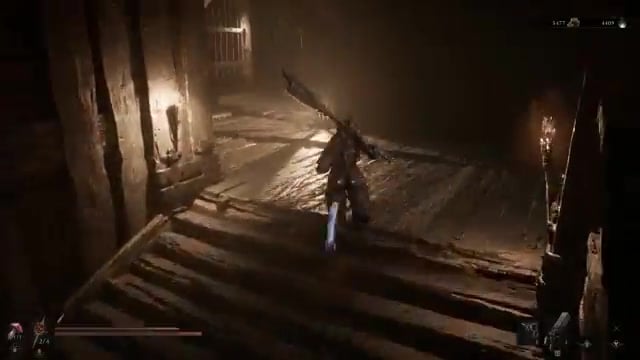
From Castigator’s Keep Beacon, drop to the lower area and follow the wooden platforms southwest to the now-open dungeon door.
If the Workshop door isn’t there, you haven’t fired the catapult yet — the Makeshift Projectile is the only thing that opens the entrance, so grab it and load the siege weapon before you go looking for the dungeon.
Working through the dungeon to the Shardstone chest
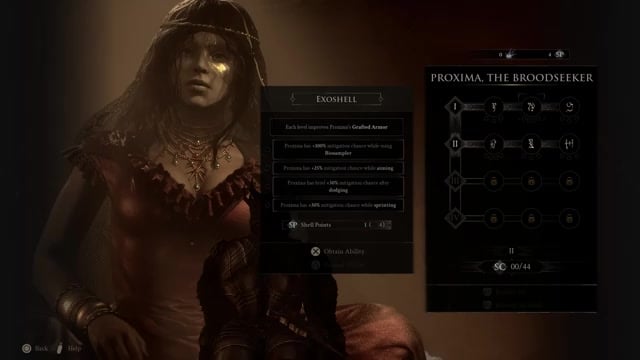
Go through the bookshelf to reach a secret room rather than treating the wall as solid.
Continue to the lever
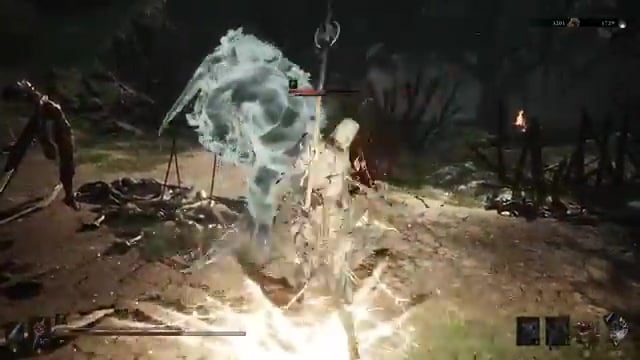
Make your way through the secret room until you reach a lever.
Use the lever to power the lift
Pulling the lever gives you access to a lift that carries you toward the final room.
Ride down to the final room
The lift leads to the chamber at the end, which also holds a couple of Gloombound trees for minor gloom and the dungeon exit.
Clear the final-room obstacle if needed
A Shell Thief can be waiting here as the last enemy of the area — deal with it, but it isn’t the source of the Tarstone.
Loot the chest for Clockwork Shardstone
Open the chest at the end of the room to claim Clockwork Shardstone.
Where players lose the trail

Almost every miss on this Tarstone comes down to one of a handful of skipped beats. The biggest is never grabbing the Makeshift Projectile at all, which leaves the dungeon sealed with no obvious clue why. Close behind is not realising the catapult and the projectile are connected — firing that siege weapon is what opens a completely separate entrance, so treating the projectile as random loot leaves the door shut.
Once you’re inside, the two traps are the hidden bookshelf and the lever-and-lift route. Walk past the bookshelf and you’ll think the dungeon is a dead end; skip the lever and you never power the lift down to the final room. And finally, don’t wait for a boss to hand this over — the Shell Thief at the bottom is just an obstacle, and the Shardstone is a chest loot, so actively open it rather than expecting an automatic drop.
Upgrading the Shardstone and where builds go next
Getting the stone is only the start of its damage curve. Tarstone upgrades run through the Tarforge back at Marrow Keep — handing Franz the Etching Needle unlocks the fuller set of Tarforge upgrades. From there you earn Tarstone XP by killing enemies and then spend Coin to push Clockwork Shardstone up through its levels toward that 20% base-damage spin.
As for what to build around it, the obvious direction is chainsaw-leaning weapons that want a constant spinning hit rather than measured strikes, since the Resolve drain rewards staying aggressive. If you enjoy that style, Scholar’s Wormstone is the natural next pickup — it further boosts chainsaw spin damage and can stack alongside Clockwork Shardstone for a specialised, grind-everything setup. There’s a whole spread of Tarstones beyond these, but those two are the ones that speak directly to this playstyle.
Video help
Related Mortal Shell 2 guides


Leave a Reply