
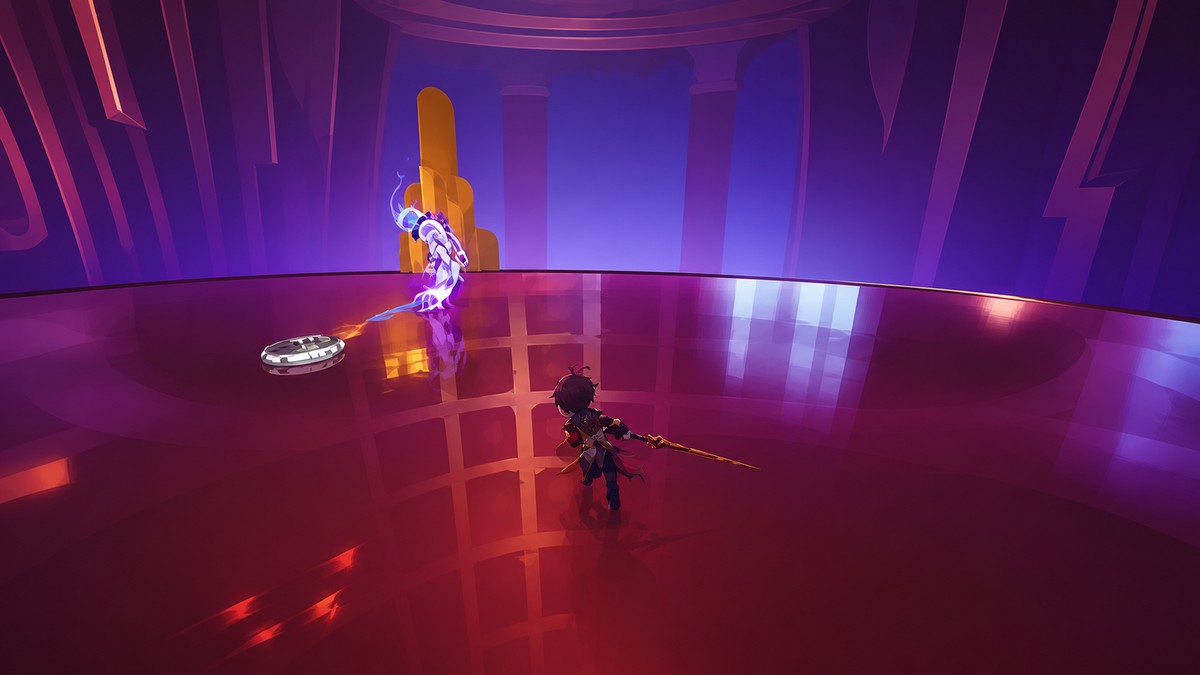
To beat Sadness in Duskfade, dodge her bubbles, slams, and spinning attack, punish her when she gets dizzy, and during each shield phase climb the floating platforms to break the clock mechanisms before dropping back down for damage.
Sadness is a rhythm fight: survive the attack string, take the short punish window, then move fast when she shields herself in a bubble. This guide stays with the fight itself: the arena patterns, the clock routes, and the openings that actually let you deal damage.
Sadness fight plan in Duskfade
| Fight rule | What |
|---|---|
| Normal phase | Dodge bubbles, slams, and spins until Sadness exposes a safe punish window. |
| Dizzy window | Move in immediately after the spin ends and land a short combo. |
| Bubble shield | Use bounce platforms and glowing grapple points to reach the clock mechanisms. |
| Clock break | Drop back near Sadness and attack while she is down. |
| Low health | Wait for one more safe opening instead of forcing the last hit. |
The clean way to beat Sadness is to stop chasing constant damage. She gives you reliable openings after her spin leaves her dizzy and after you break a bubble shield, so your job is to be close enough to reach those windows without standing in the attacks that create them.
Greed is the main way this fight punishes you. A few clean hits after a dizzy state are better than eating a slam because you tried to squeeze in one more swing.
Stay close after the spinning attack, because Sadness becomes dizzy right after it ends and that window is easy to miss if you back away too far.
Sadness attacks and punish windows
| Attack | Response |
|---|---|
| Purple-pink falling bubbles | Keep dodging out from under them and do not stop in their landing path. |
| Spinning Beyblade-style attack | Circle or dodge away, then close in as soon as Sadness gets dizzy. |
| Slam and heavy attacks | Back off, dodge the impact, and only swing after the animation is spent. |
| Bubble shield | Stop attacking Sadness and climb to the clock objectives instead. |
Sadness mixes arena control with short melee pressure. The purple-pink bubbles force you to keep moving, while the spinning attack is the pattern you most want to recognize because it leads directly into one of your safest damage chances.
Key You want to hover at a middle distance during the spin: far enough to avoid the hitbox, close enough to reach Sadness before the dizzy window disappears. During slams and heavy attacks, give up the hit and reset your spacing.
How to beat Sadness in Duskfade
Follow the fight in cycles: short opening damage, disciplined dodges, clock breaks during shield phases, then one final careful punish.
STEP 1/20
Start with a few hits
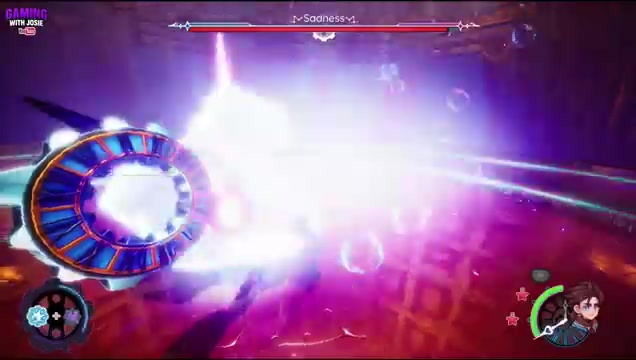
Move in at the start of the fight and land early damage before Sadness begins filling the arena.
STEP 2/20
Dodge the falling bubbles
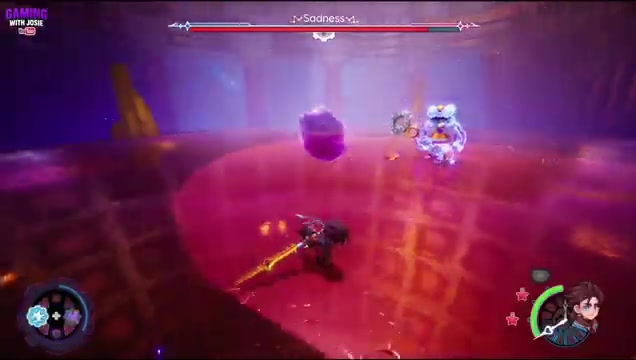
Keep moving away from the purple-pink bubbles as they drop toward the floor.
STEP 3/20
Avoid the spinning attack
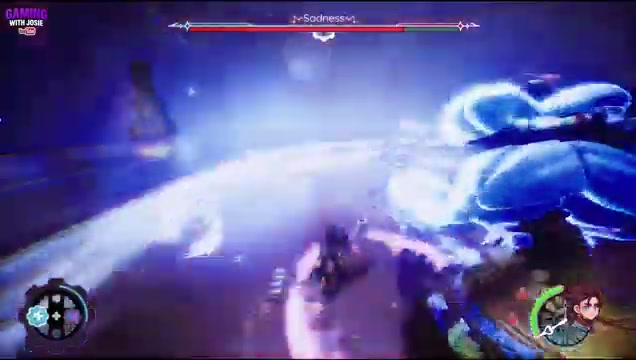
Stay outside the Beyblade-style spin while keeping close enough to punish the dizzy state.
STEP 4/20
Punish Sadness when she gets dizzy
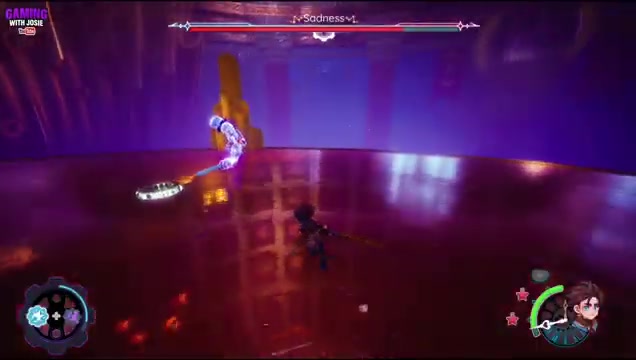
Close in as soon as the spin ends and hit her during the dizzy window.
STEP 5/20
Enter the first clock phase
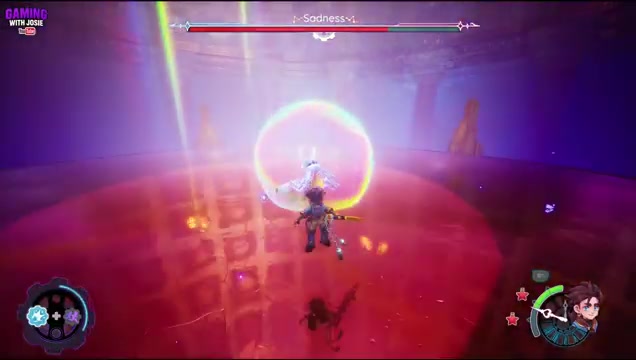
When Sadness goes into a bubble, bounce upward and use the glowing grapple points to reach the platforms.
STEP 6/20
Break the first clock
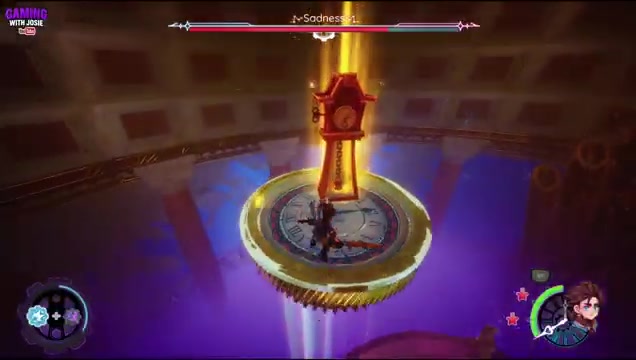
Strike the clock mechanism to pop the shield and send Sadness back down.
STEP 7/20
Drop down for damage
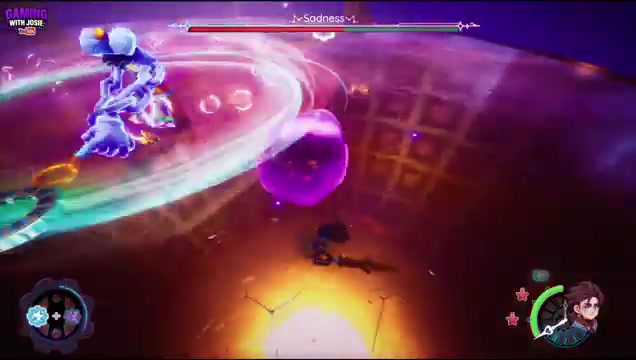
Land near Sadness and attack while she is grounded.
STEP 8/20
Respect the slam
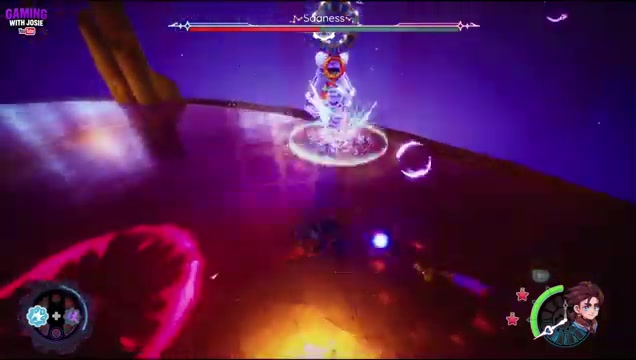
Dodge away from the heavy slam and wait for the next safe opening instead of forcing damage.
STEP 9/20
Start the second shield phase
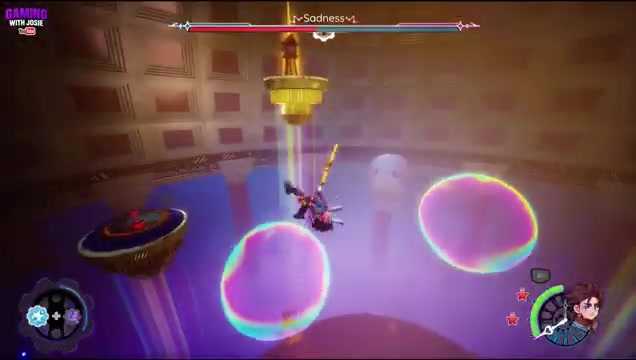
When Sadness bubbles again, climb the platform route because this phase has two clocks.
STEP 10/20
Break the first clock in phase two
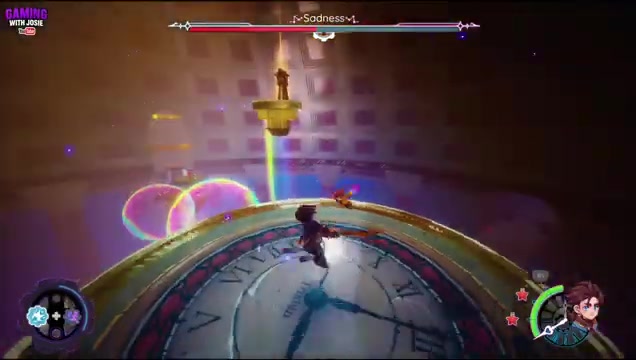
Hit the first clock, then immediately move across the platforms toward the second one.
STEP 11/20
Break the second clock
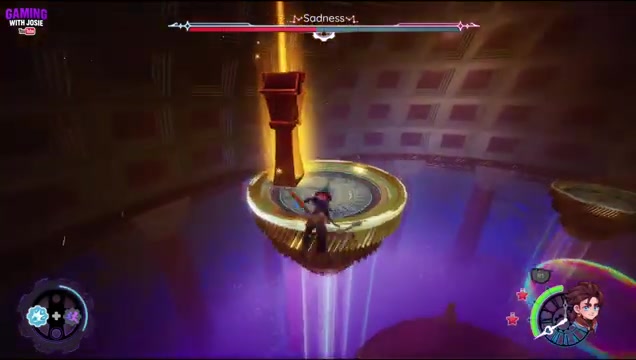
Strike the second clock, then drop back into the arena near Sadness.
STEP 12/20
Punish the second knockdown
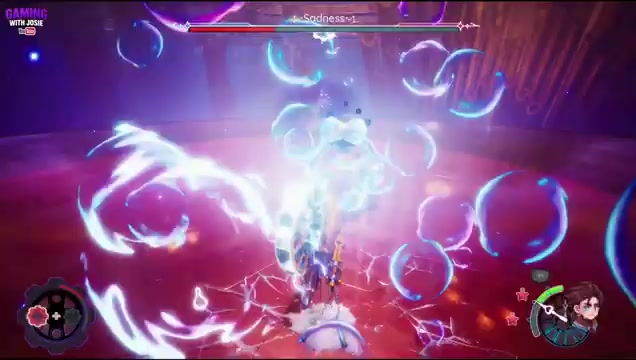
Land close and attack while Sadness is down on the ground.
STEP 13/20
Start the final shield phase
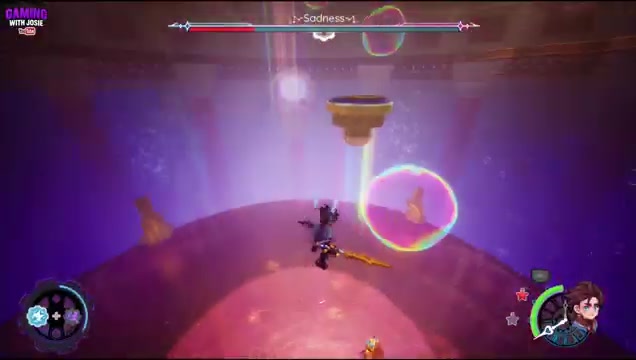
Bounce up quickly when the third bubble phase begins because this route has three clocks.
STEP 14/20
Break the first clock in phase three
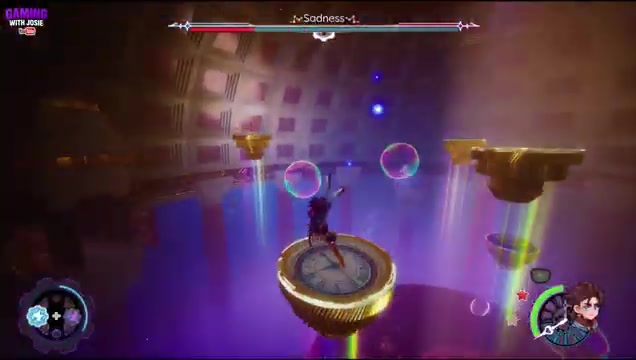
Hit the first clock and keep moving instead of lingering on the upper route.
STEP 15/20
Reach the final clock route
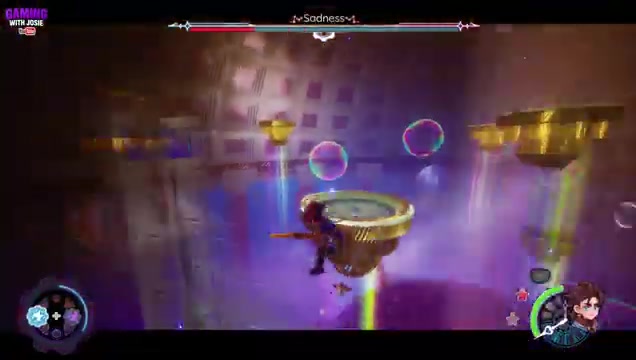
Grapple and bounce through the last platform stretch toward the remaining clock objective.
STEP 16/20
Break the last clock
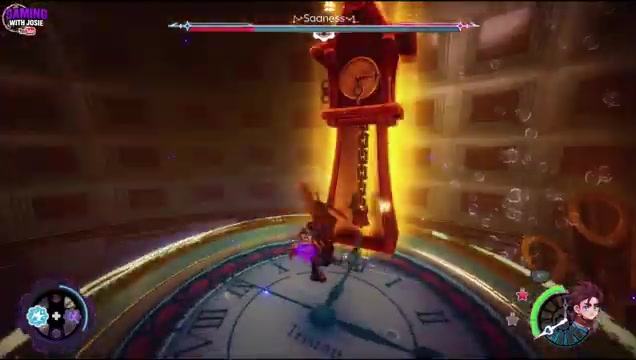
Strike the final clock, then drop down as fast as you can.
STEP 17/20
Attack after the final shield break
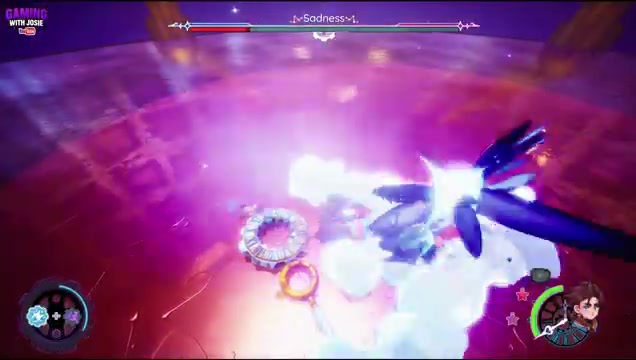
Land near Sadness and use the knockdown window for more damage.
STEP 18/20
Back off from heavy attacks
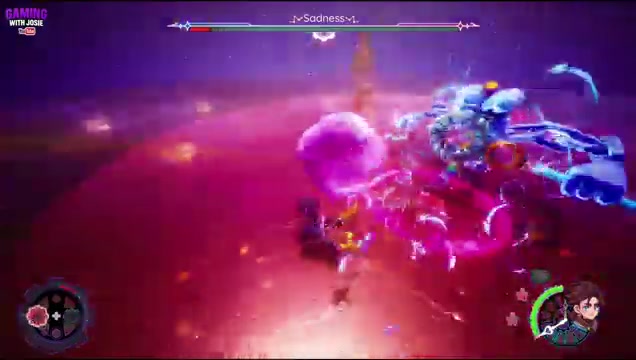
When Sadness resumes slams and heavy attacks, retreat and keep dodging.
STEP 19/20
Wait out the last spin
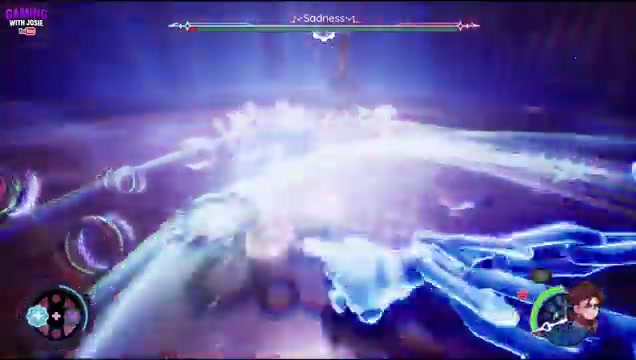
Avoid the final spinning attack and get ready for the dizzy punish.
STEP 20/20
Land the final hit

Take the safe opening and finish Sadness without chasing reckless extra swings.
Video help
Sadness clock shield phases in Duskfade
| Shield phase | Clock objective |
|---|---|
| First shield | Break one clock, then drop down for a grounded punish. |
| Second shield | Break two clocks across the upper route before returning to Sadness. |
| Final shield | Break three clocks quickly, then land near Sadness for the last damage cycle. |
Each bubble shield turns the fight into a quick platforming check. Sadness becomes unreachable inside the bubble, so climb the floating route, use the bounce platforms, follow the glowing grapple points, and break the clock mechanisms to bring her back down.
There are health pickups on the clock routes, so grab one if you need it, but do not turn the climb into sightseeing. The longer the final clock phase drags on, the more dangerous the health drain becomes, so keep moving and prioritize getting back to the arena floor.
Mistakes that make Sadness harder
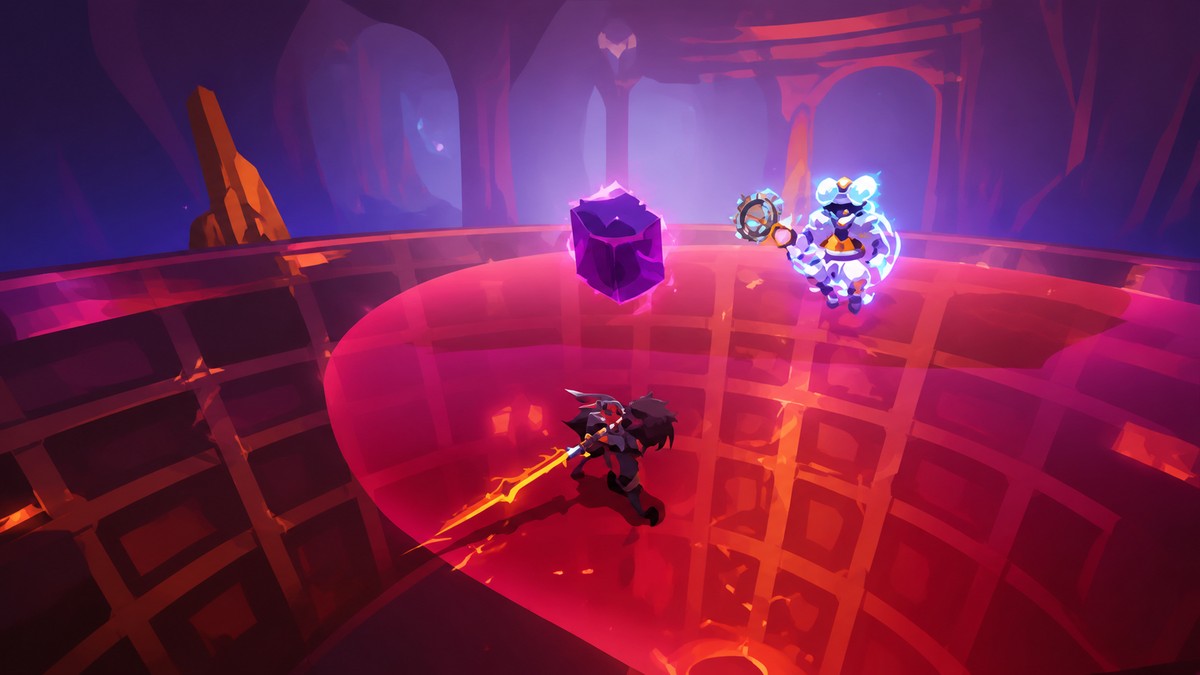
Do not overcommit to long combos. Sadness is built around short punish windows, and trying to force damage through a slam or heavy attack usually costs more time than it saves.
Do not back up too far after the spin. If you are late to the dizzy window, you lose one of the best chances to damage her cleanly.
During clock phases, wasting time is the big mistake. Take health pickups when needed, but keep your route moving from bounce platform to grapple point to clock, then drop near Sadness so the shield break turns into real damage.
At the end, do not chase the last hit through unsafe attacks. Wait for the spin to end, punish the dizzy state, and finish the fight on a clean opening.
Frequently Asked Questions
Can you damage Sadness while she is inside the bubble shield?
No. When Sadness is inside the bubble shield, switch to the clock objective. Breaking the required clocks pops the shield and creates the next damage window.
What should you do if your health starts draining during the clock phase?
Keep moving toward the clocks and only grab nearby health if it is on your route. The fix is speed: break the clocks, drop back down, and return to the normal dodge-and-punish loop.




Leave a Reply