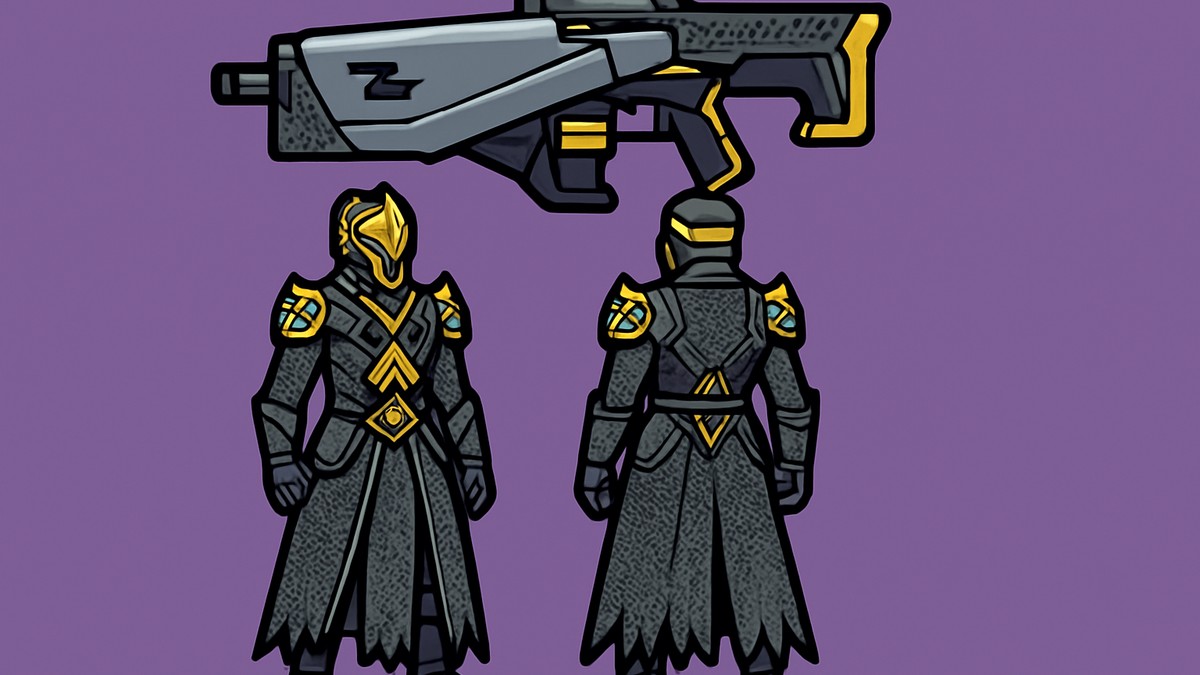
Destiny 2 dungeon armor sets now offer powerful playstyle bonuses, so knowing what each does helps you farm the best picks and avoid weak or broken options.
Each Destiny 2 dungeon drops a unique armor set with a 2-piece and 4-piece bonus tuned to a specific playstyle, and they range from must-equip (Apostate’s Blade, Dark Age, Flame) to skippable or currently broken (Descending Echo).
Every dungeon in Destiny 2 hands out its own armor set, and unlike most world drops these are built around a clear identity — healing, solar melee, threadlings, sword energy, and so on. After grinding out the full lineup and testing each one, a clear picture emerges: a handful are among the strongest sets in the game right now, a few are situational, and at least one simply does not work as written. Here’s what all 11 sets do and which are worth your time.
How dungeon sets are built — and why they beat world gear

The structure is consistent across the board. Every dungeon set has a 2-piece bonus that kicks in once you’ve equipped two pieces, and a 4-piece bonus that layers a second, usually stronger effect on top once you’re wearing four. The two effects almost always feed each other — the 2-piece sets up a state or a stack, and the 4-piece pays it off — so the sets are designed to be worn as a full kit rather than mixed and matched.
Every dungeon set at a glance
| Dungeon | Armor Set | Playstyle / Focus | Verdict |
|---|---|---|---|
| Duality | Deep Explorer | Weapon handling, swap healing | Skip |
| Equilibrium | Sage Protector | Sword energy and damage | Good (with Practic Blade) |
| Ghost of the Deep | Taken King | Arc moths, super stat | Top-tier |
| Grasp of Avarice | Descending Echo | Pickups, orbs, damage resist | Broken — avoid |
| Pit of Heresy | Apostate’s Blade | Solar melee, emergency heal | Top-tier |
| Prophecy | KOD | Weapon-element grenade/melee energy | Very good |
| Spire of the Watcher | Tex Mechanica Custom | Quick-draw precision damage | Niche / fun |
| Sundered Doctrine | Flame | Threadlings and healing | Very good |
| Shattered Throne | Techeun’s Regalia | Passive damage resist, ability regen | Good |
| Vesper’s Host | Spacewalk | Primary damage, grenade disorient | Niche / build-dependent |
| Warlord’s Ruin | Dark Age | Melee/sword healing, reload and handling | Top-tier |
That’s the full map. The verdicts are a bottom-line read on how each set actually performs in play, not on paper — the set-by-set breakdown below explains how each one earns its grade, and where the caveats hide.
What each set’s 2-piece and 4-piece actually do
Deep Explorer (Duality)
The 2-piece gives a stacking weapon handling and reload buff that grows as you take damage, and the 4-piece heals you when you swap weapons with any number of stacks. Stacks build up to 10. In testing the reload and handling are close to unnoticeable, but the healing is genuinely strong — a full health bar of damage feeds about two or three stacks, and even two stacks is a sizable heal, enough to stretch out a standoff against a champion when you mix in a dodge. The problem is upkeep: juggling stacks while timing your weapon swaps takes real focus, and in a firefight you usually want to be shooting back, not managing swaps. Not the worst set, but close to it.
Sage Protector (Equilibrium)
Built for swords, and really for the Practic Blade in particular. The 2-piece returns grenade and class ability energy from sword hits, and the 4-piece boosts that energy gain plus your sword’s lunge and damage if you strike shortly after blocking. The ability gains alone aren’t much, but together they add up to a meaningful chunk of energy. The sword damage buff lands around 10%. With a Practic Blade the routine is simple — hold block until the sword swings around your back, then start chopping. A very good set if you live on that sword; if you don’t, skip it, since it’s tied so tightly to one weapon.
Taken King (Ghost of the Deep)
This one spawns arc moths from ability takedowns. The 2-piece grants a non-stacking buff after a finisher that adds super stat, and the 4-piece lets you spawn arc moths from ability kills while that buff is up, refreshable by grabbing an orb. The super stat boost looks to sit around 20 to 30 — roughly a 15% damage increase once you’re at or over 100 super — pushing a Cataclysm Nova Bomb from about 6,000 to 6,800 in one showcase run. The moths are the highlight, and they’re the real thing: fast, blinding, and dealing solid damage. Spawn rate looks like about every other ability takedown, though it was occasionally three kills (mostly off red bars), so treat it as roughly two ability kills for one moth, on a 30-second window that any ability kill can trigger and an orb can refresh. A genuinely good set, and one of the few that hands out super stat at all. The only real catch is having to run Ghost of the Deep to get it.
Descending Echo (Grasp of Avarice)
On paper this is a pickup-and-orb engine: the 2-piece stacks damage resist and reload speed when you collect almost anything — ammo, orbs, tangles, elemental pickups — and the 4-piece is supposed to boost those stacks, sharpen the pickups, and spit out a “fountain of orbs” when your shield breaks, with Untold Greed stacking up to 100. In practice, as of testing, it barely functions. The only thing that reliably works is the damage resist, and not even much of it — no fountain of orbs, no extra energy from elemental pickups like stasis shards or fire sprites, and it doesn’t even consume your stacks on shield break the way the text claims. This reads as a straight-up bug rather than a weak design, so it may well be patched; until then, this is one to avoid.
Apostate’s Blade (Pit of Heresy)
One of the best sets in the game right now, built around solar melee and survival. The 2-piece banks an emergency heal after a finisher that pops the next time your shields break, and the 4-piece adds a scorching solar explosion to your melee as long as you have a solar buff of some kind. The emergency heal is fantastic — no obvious cooldown, a big chunk of instant health, and it kickstarts your regen, making it one of the strongest “don’t die” effects on any set. The melee side is just as good: with a solar buff active, hits (not kills — hits) trigger an explosion that applies scorch in the 25 to 30 range, igniting in about four melees, or closer to the 40 range and three melees with Ember of Ashes on. That’s all from base melee, so pairing it with any scorching melee gets you to ignition fast. Tested on Hunter throwing knives, but the effect cranks solar melee hard. Its only real nitpick is that it leans on the bonus scorch fragment to truly shine. If you run solar, you should probably be running this.
KOD (Prophecy)
This set synergizes your weapons with your grenade and melee, and despite a wall of text it’s simple in play. The 2-piece gives a stacking buff on weapon takedowns based on element, and the 4-piece hands out bonus grenade or melee energy depending on the weapon, plus a short damage resist if you alternate elements. Arc, solar, or void kills give a light buff; stasis, strand, or kinetic give a dark buff. Light buffs feed grenade stat, dark buffs feed melee stat — one flex grenade reading climbed from 1,200 to 1,500, about a 30-stat bump, though it takes five takedowns of one type to fill. The stacking 2-piece isn’t the draw; the 4-piece is. A light-weapon kill returns a sizable chunk of grenade energy, a darkness-weapon kill a sizable chunk of melee — in testing, a lot came back per kill even from a low starting pool. Alternating elements adds a resist x3 that only needs one stack to trigger. A surprisingly strong set that asks for nothing more than a light and a darkness weapon, which most Guardians carry anyway.
Tex Mechanica Custom (Spire of the Watcher)
A quick-draw set with a cowboy streak. The 2-piece heals and fires a small disorienting blast when you swap off a weapon after a takedown on a non-red-bar enemy, and the 4-piece boosts precision damage for a few seconds when you draw a weapon — about 10% in general, and roughly 15% specifically for Tex Mechanica weapons, meaning legendaries with the Tex Balanced Stock origin trait or exotics like The Last Word and Dead Man’s Tale. The heal and the blast are fine — not great, not bad — and the precision boost is solid but not exciting. It’s a fun, functional set with a strong fantasy, but it’s not something to reach for in a grandmaster. PvP might be its better home.
Flame (Sundered Doctrine)
Simple and very effective. The 2-piece occasionally pops out threadlings when you take damage, and the 4-piece makes threadlings restore health when your shields break. It’s hard to tell whether the 2-piece triggers off a damage threshold or a chance per hit, but either way you get about two or three threadlings per health bar. When your shields break you gain three stacks of Knit Together, so your next three threadlings heal you on hit — land all three and you’re back to full, on a few-second cooldown but consistent. The open question is who it’s for: Warlocks are the obvious pick thanks to their threadling output, but with hatchling weapons, strand fragments, and artifact perks you can build threadling generation on any class, and this set only reinforces that. A very good set with a very clean effect.
Techeun’s Regalia (Shattered Throne)
A passive damage-resist and ability-regen set that works quietly in the background. The 2-piece gives an overshield and a slowing effect to finishers, making you very hard to kill mid-finisher; the 4-piece stacks damage resist that starts adding ability recharge at max. Those stacks climb to a staggering 999, at which point they convert to power stacks, and there’s no timer — once you’re stacked from dealing damage and getting kills, you stay there until you die or leave. At max stacks a champion that broke shields in seven hits needed ten, so the always-on resist is genuinely potent. Ability regen is more modest: a grenade returning in about 55 seconds stacked versus roughly 1 minute and 4 seconds without. The active numbers look underwhelming, but as a set-and-forget passive that just makes you tankier the longer you survive, it’s a good one.
Spacewalk (Vesper’s Host)
This set boosts primary damage and bolts a disorient onto your grenades. The 2-piece raises primary damage against disoriented combatants by about 10%, and the 4-piece adds an extra disorienting blast after your grenades detonate. The catch is that the blast has only an okay radius and duration and deals essentially no damage, so on its own it doesn’t do much. The upside is there are no conditions to meet — every grenade you throw simply carries a flashbang effect. There’s a real build hiding in here with something like a double-grenade setup spamming disorients, but it needs that full build to come alive. As a pick-up-and-go set, it leaves a bit to be desired.
Dark Age (Warlord’s Ruin)
The last set, and one of the strongest. The 2-piece gives a stacking reload and handling bonus after striking enemies with a melee or sword, and the 4-piece deploys a repeating healing pulse after your class ability so long as you have stacks. The reload and handling boost is surprisingly noticeable, and since the stacks shed only one at a time it’s easy to keep them topped up — lightsaber throws and caster-frame sword hits count too, which makes building stacks fast. The buff stacks up to five, and the healing drone pulses five times regardless of stack count, with the heal per pulse scaling on how many stacks you had when you used your class ability; even two or three stacks gives a real bump. It needs no kills at all — just melee or sword hits plus a class ability — so layered into any build that recharges its class ability with some regularity, it’s a really strong healing engine you won’t want to give up.
Running a solar build? Equip the Apostate’s Blade set from Pit of Heresy — its finisher-charged emergency heal is one of the strongest survival effects in the game, and the 4-piece turns every solar melee hit into a scorch explosion.
Which sets to farm first, and which to skip
The situational picks are Sage Protector (great, but only if you’re committed to the Practic Blade), Tex Mechanica Custom (fun and fine, more a PvP or fantasy pick than a grandmaster tool), and Spacewalk (real potential, but only inside a dedicated grenade build). Deep Explorer is near the bottom — the healing is there, but the upkeep isn’t worth it for most players.
Related Destiny 2 guides
Video help
Frequently Asked Questions
Which Destiny 2 dungeon armor set is the best?
There’s no single winner, but the top tier is Apostate’s Blade (Pit of Heresy), Dark Age (Warlord’s Ruin), and the Taken King set (Ghost of the Deep), with Flame (Sundered Doctrine) right alongside them. Which one is “best” depends on your build — Apostate’s Blade for solar melee, Dark Age and Flame for easy healing, Taken King for a damage and super-stat boost.
Is the Grasp of Avarice (Descending Echo) set broken right now?
Yes — as of testing, the Descending Echo set is essentially non-functional. Only a small amount of its damage resist actually works; the promised fountain of orbs, the extra energy from elemental pickups, and the stack-consumption on shield break all fail to trigger. It reads like a bug rather than a weak design, so it should be worth revisiting once it’s patched, but for now it’s the one set to skip.
How do the 2-piece and 4-piece dungeon set bonuses work?
Equip two pieces of a set to unlock its 2-piece bonus, and four pieces to unlock the second, usually stronger 4-piece bonus on top. The two effects are designed to combine — the 2-piece typically sets up a state or stacks something, and the 4-piece cashes that in — so most dungeon sets are meant to be worn as a full four-piece kit.
What’s the best dungeon set for a solar or healing build?
For solar, Apostate’s Blade is the standout — its finisher-banked emergency heal is one of the strongest survival effects around, and its 4-piece adds scorch explosions to solar melee. For healing more broadly, Dark Age gives a repeating heal pulse off your class ability, Flame heals through threadlings when your shields break, and Deep Explorer heals on weapon swap if you’re willing to manage its stacks.