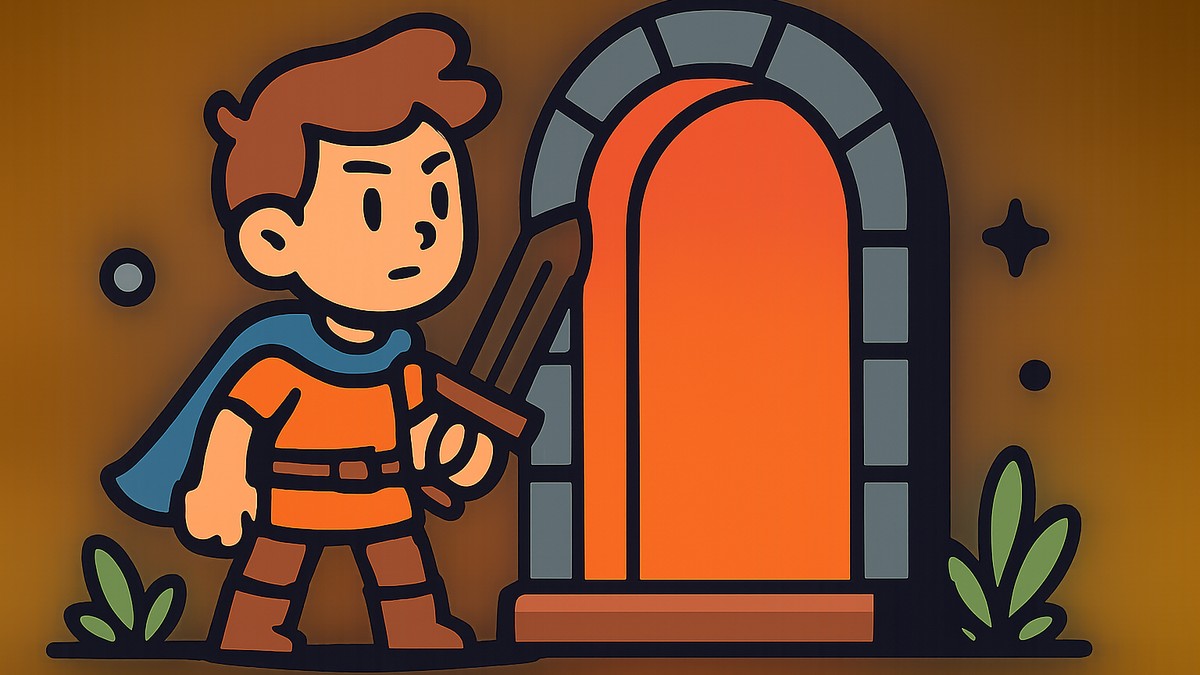
Learn how to get the Immortal armor and Immortal Title in Destiny 2 by choosing the easiest Monument of Triumph objectives and skipping the toughest raid and PvP grinds.
The Immortal armor — the Immortal Legend ornament set — unlocks the moment you earn the Immortal Title in Monument of Triumph, and the fastest route is to clear roughly 12 of the title’s key objectives by cherry-picking the single easiest Triumph in each category instead of grinding raids or PvP.
Monument of Triumph dropped a fresh ornament set tied to one of the Tower’s tenets, and it doubles as a victory lap for all the years you’ve put into Destiny 2. The catch is that it isn’t a straight vendor buy — the set is gated behind a title, and the title is a checklist of Triumphs. There’s no rush to grab it, but if you want it sooner rather than later, the trick is to ignore the hard objectives entirely and only ever do the laziest one in each category.
What the Immortal armor actually is
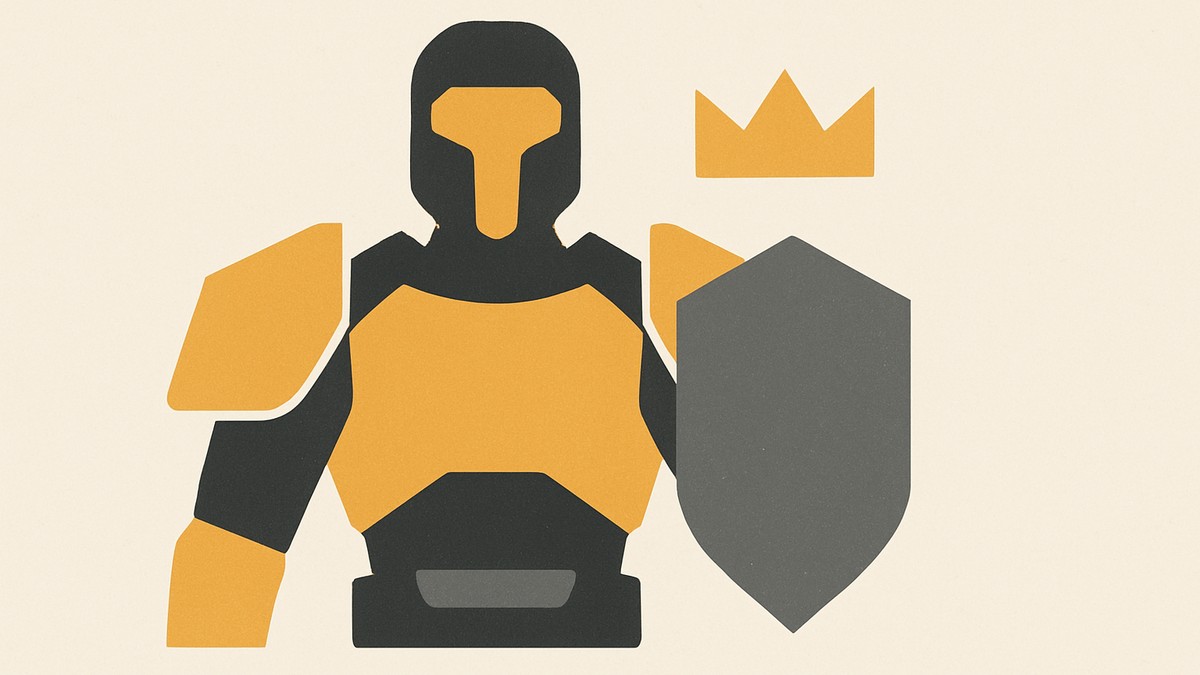
First, a naming thing worth clearing up, because it trips people. Folks search for “Immortal armor,” but what you’re really chasing is the Immortal Title. The Immortal Legend Armor Ornament Set sits on one of the Tenet vendors in the Tower Courtyard — alongside the Tenet of Bravery, Tenet of Devotion, Tenet of Sacrifice and Tenet of Death — and it only becomes available once that title is on your account.
You earn Legendary Marks by completing Monument of Triumph Triumphs, and you spend those Marks at the tenet vendors on most of the event’s rewards. The ornament set is the exception: it’s flagged as a special reward that requires the title first, so don’t assume Marks alone will hand it over. The exact Mark cost of the set isn’t confirmed anywhere reliable yet, so treat any specific price you see floating around with suspicion.
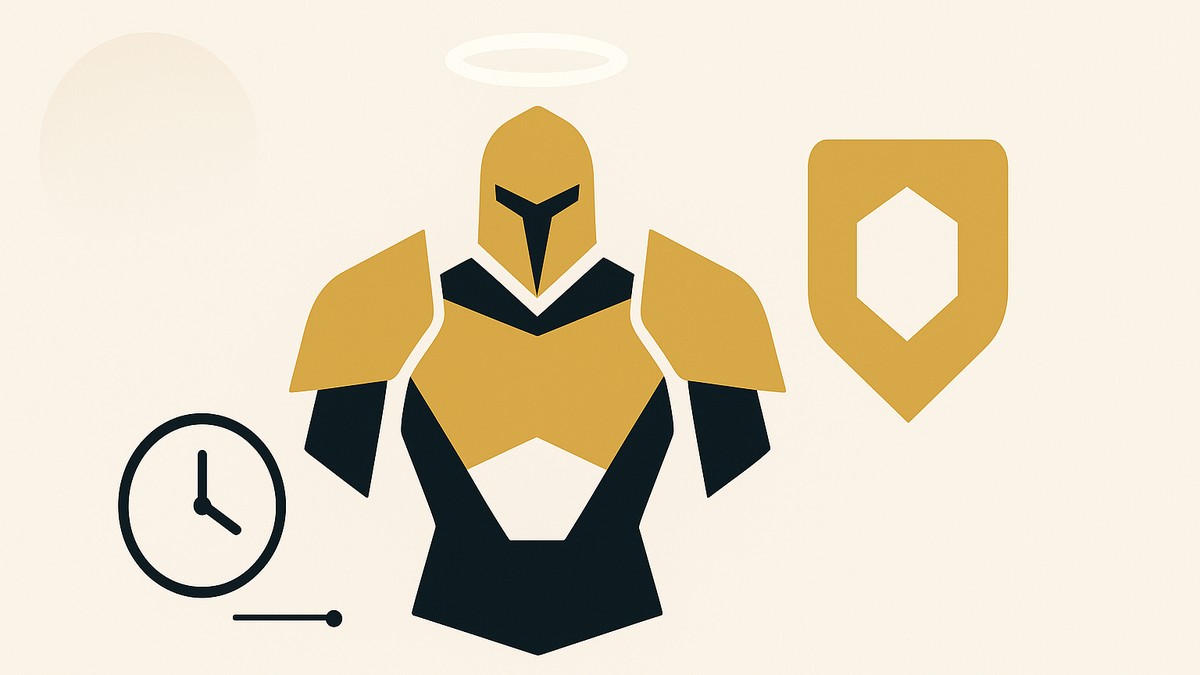
How the Immortal Title unlocks and guilds
The title works on a key-objective count. You reportedly need to complete 12 of the title’s key objectives to unlock Immortal, and then finishing all of the remaining objectives guilds it. That “12” figure comes from early players working through it rather than an official number, so think of it as the ballpark target, not gospel — the in-game tracker is the thing to trust when you’re actually counting.
The fastest Triumph in each category
| Triumph category | Easiest objective to target | Where / how |
|---|---|---|
| World’s Vistas | Visit a scenic spot or talk to an NPC | Map-marked viewpoints; e.g. Aora on Nessus |
| World’s Patrol | Speak with Eris, or double up public-event steps | Enduring Abyss, Moon; events in the Cosmodrome |
| Loot Goblin | Disturb the remains to spawn enemies | Skywatch, Cosmodrome (old D1 loot cave) |
| World’s Treasure Hunting | Return Xûr’s leftover strange meals | His old spawns: EDZ, Tower hangar, Nessus |
| World’s Distortions | Collect Case File books | Only during the featured distortion activity |
| Stories of the Nine | Clear a base lost-sector corruption | Run the base lost sector (e.g. the Quarry) |
| Combat Targets | Talk to an NPC, or defeat Vex with Void | Europa / Nessus with the suggested loadout |
| Combat Armaments | Defeat one enemy with your Super | Any activity |
| Strikes & Battlegrounds | Defeat Champions in any activity | Boot strikes directly from the destination |
| Gambit | Clear blockers and Primeval Envoys | Any Gambit match — ticks three Triumphs |
This is the meat of it. Rather than chase every collectible in the game, you pick the path of least resistance in each category — usually “talk to an NPC,” “sit at a scenic spot,” or “run the base version of a thing.” None of it is hard; it’s almost entirely a time sink. Here’s the genuinely easy pick per category, then the table sums it up as a checklist.
World’s Vistas is one of the absolute easiest. You’re mostly just hopping between destinations to talk to NPCs like Aora on Nessus, or finding scenic spots that are literally marked on the map, where you sit down for a moment and take in the view. World’s Patrol is similar in spirit — sometimes you get a freebie like speaking with Eris in the Enduring Abyss on the Moon, but most are tied to public events: deliver arc charges during the Rift Generator event in the Dreaming City, destroy a glimmer refiner in Fallen Glimmer Extraction, that sort of thing. You can sometimes double them up — defeating a spider tank during a Fallen Walker public event in the Cosmodrome can clear two at once.
Loot Goblin sends you to Skywatch in the Cosmodrome — the old D1 loot cave — where you interact with something that disturbs the remains and spawns a wave of enemies; related steps live in lost sectors like K1 Crew Quarters on the Moon. For World’s Treasure Hunting, the easy one is returning Xûr’s leftover strange meals, which appear in his old spawn locations — one in the EDZ’s Winding Cove, one in the Tower hangar on the walkway behind the FWC area, and one on Nessus where you climb the tree by his grave. A Pathfinder journey in the Dreaming City or a wish at the Last Wish wishing wall are both painless alternatives, and upgrading a crafted Tier 5 weapon (reshape an old raid craft and level it to 30) is trivial if you’ve crafted before.
World’s Distortions is where Case File collectibles come in — hidden books scattered across set areas on each destination. They’re easy to grab, but with a timing catch covered in the next section. Stories of the Nine has gimmes like speaking to Loi in Eternity, but the real time-saver is the corruptions: bosses Bungie swapped into certain lost sectors. You just run the base version of the lost sector — the Quarry, for instance — and skip Legend and Master entirely.
Combat Targets almost always has a “talk to an NPC” option, and otherwise it’s loadout stuff like defeating Vex with Void abilities or Choir of One on Europa. There’s also Teis the Defended under the bridge on Rheasilvia in the Dreaming City — a shielded enemy you peel down with Telesto rounds (and if nearby players are also firing Telesto, it counts for you too). Combat Armaments is as basic as defeating one rank-and-file enemy with your Super — easy to do by accident — or grabbing 100 Telesto kills with the Telesto emblem on for bonus progress. Strikes & Battlegrounds is mostly passive: defeat Champions in any activity, or finish a strike with a seven-perk artifact equipped, plus things like 20 precision sniper final blows in Inverted Spire. And Gambit is the sleeper pick — clearing the blockers and Primeval Envoy objectives ticked three competition Triumphs at once.
Play a couple of rounds of Gambit and focus only on clearing blockers and defeating Primeval Envoys — those two objectives ticked three separate competition Triumphs at once, making it one of the best progress-per-minute picks on the whole list.
Timing, gotchas and how long it takes
As for time: budget somewhere around six to eight hours of focused grinding if you go the easy route. None of it is a skill check — it’s a time investment, full stop. If you’d rather, the harder paths are still on the table: raid objectives, exotic missions and PvP objectives all count too, and a competent raider will blow through their versions quickly. Or you can simply keep playing Destiny normally and let the title fill in on its own.
Related Destiny 2 guides
Frequently Asked Questions
How long does it take to earn the Immortal Title?
Do I have to do raids or PvP to get the Immortal armor?
How do I guild the Immortal Title?
Where do I claim and equip the Immortal armor once I have the title?
Do partial or multi-step Triumph categories still count toward the title?
Video help