

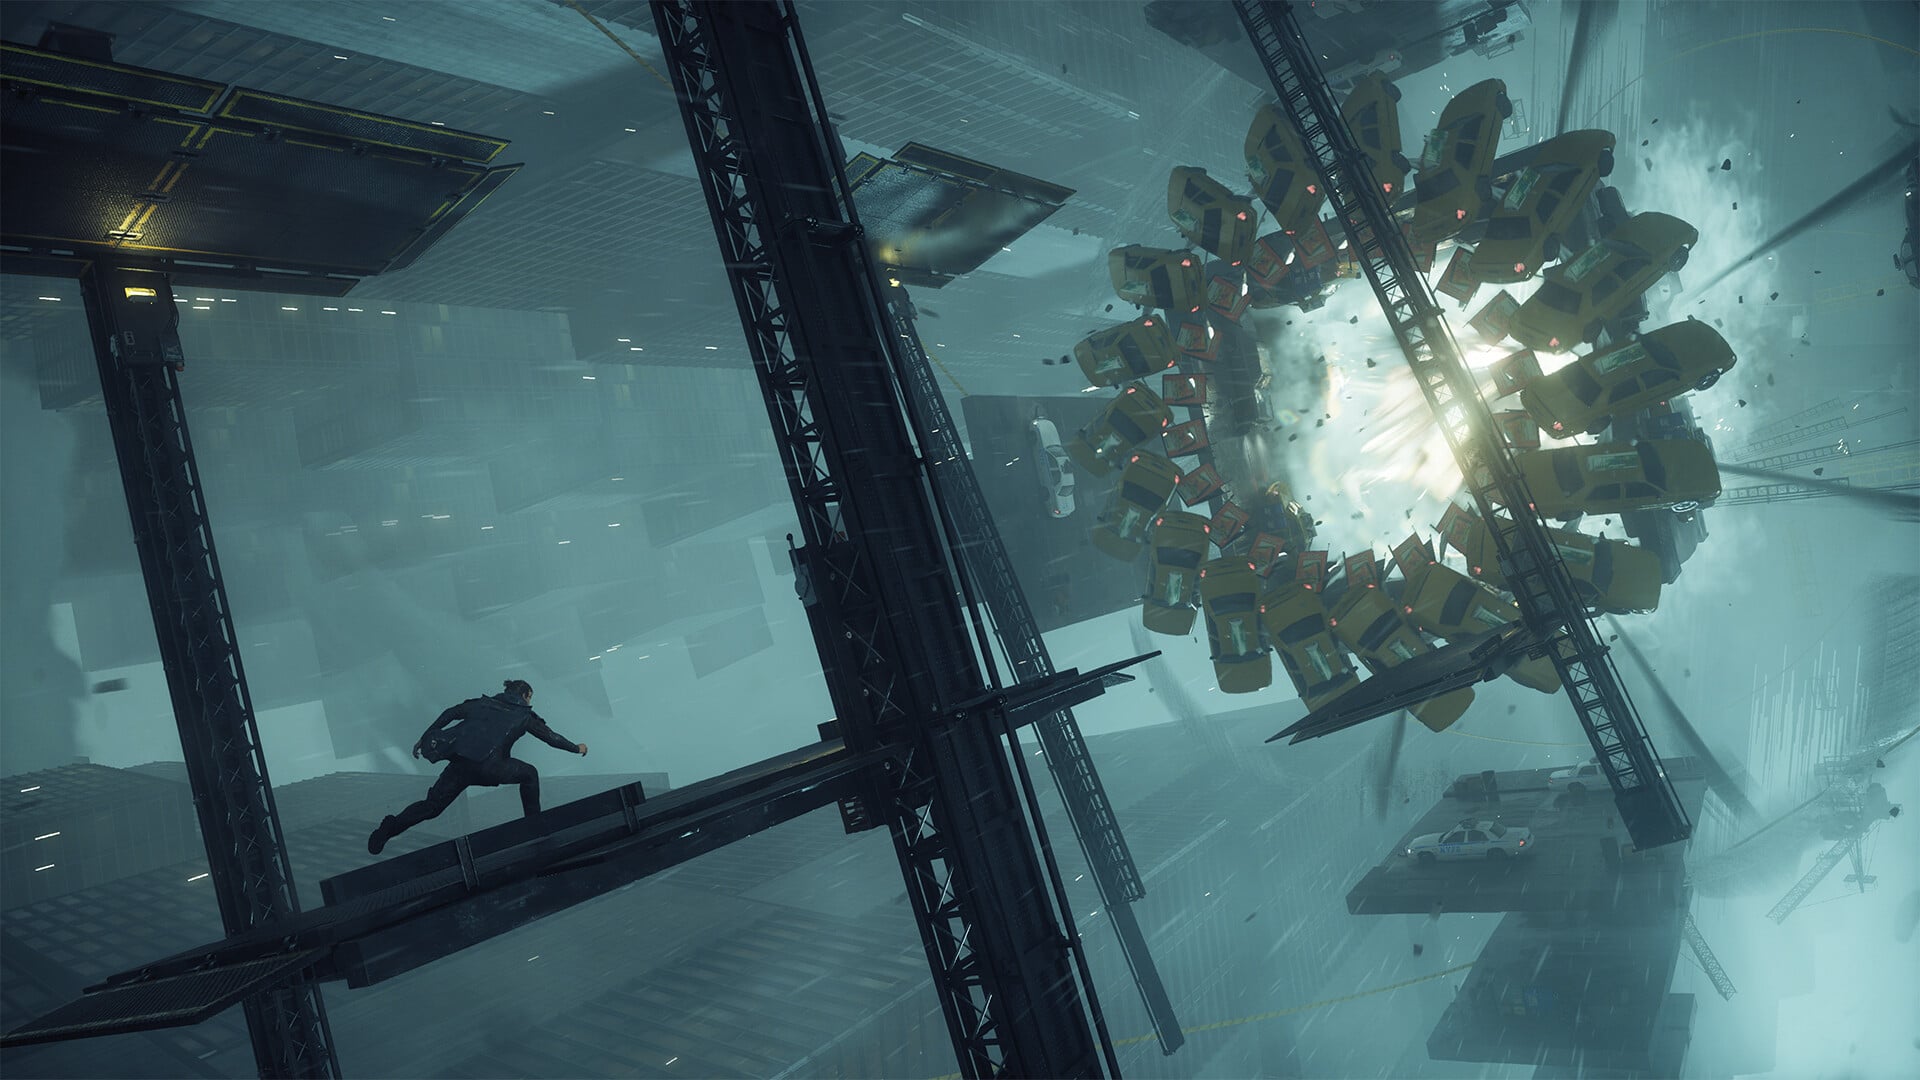
If you have reached the Central Checkpoint in Control Resonant and are wondering why the electrical charge keeps disappearing before you can reach the destination, the solution is to treat the Power Cores as a chain of temporary charging stations. Each successful transfer refreshes the charge timer and lets you continue toward the checkpoint.
| Quick overview | Details |
|---|---|
| Game | Control Resonant |
| Mission | Welcome to Manhattan |
| Objective | Move the Charge to Central Checkpoint |
| Main mechanic | Transfer electricity between Power Cores |
| Charge duration | Short, so move quickly |
| Route | Garage/loading dock → street relay → rooftop → Central Checkpoint |
| Final event | Hiss ambush |
| Mission reward | Living Shard + Level 1 Keycard |
How to move the charge to Central Checkpoint
The important thing to understand is that you are not supposed to make the entire journey with a single charge. The electrical power must be passed between several Power Cores positioned around Downtown. The map marks these boxes, allowing you to identify the next destination before taking the charge.
Step 1: Start at the first Power Core
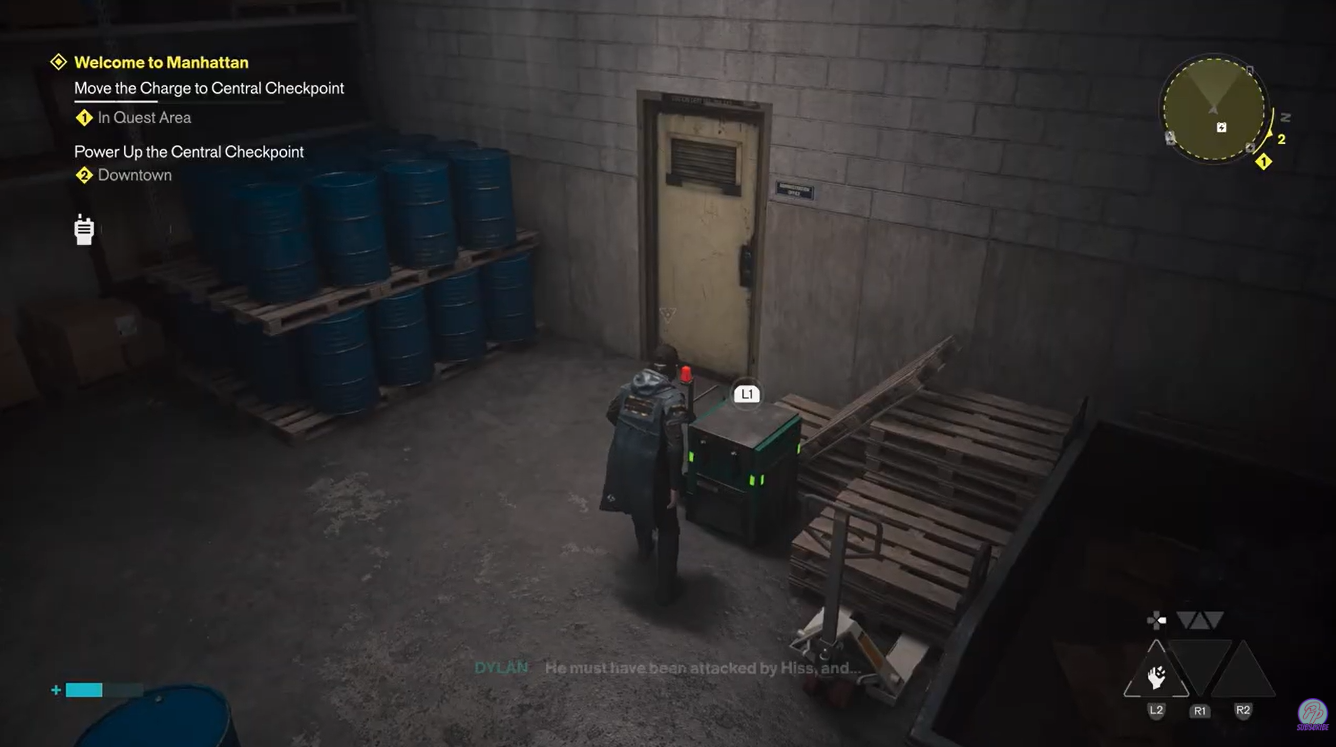
Approach the active Power Core near the maintenance area. Strike the sparking box with your melee attack to transfer its electricity to Dylan.
The charge is temporary, so start running immediately. Spending time fighting nearby enemies can cause the charge to expire before you reach the next relay.
Step 2: Reach the first street relay
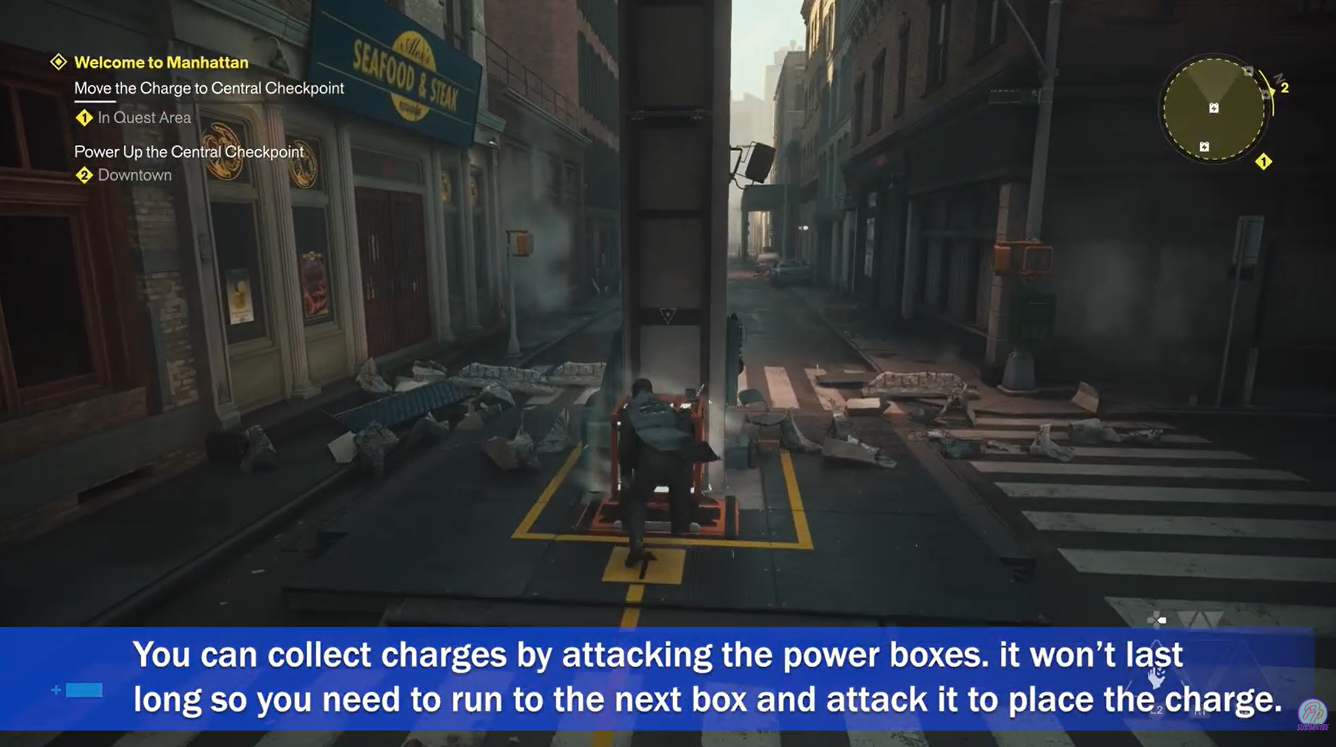
Leave the starting area and head toward the street. Follow the marked route to the next Power Core mounted around the street infrastructure.
Strike the second box while the charge is still active. This transfers the electricity to the new Core and resets the timer, giving you another window to reach the next location.
This relay system is the key to the entire puzzle. If you lose the charge, simply return to the previous active Core and repeat the transfer.
Step 3: Go through the garage and loading area
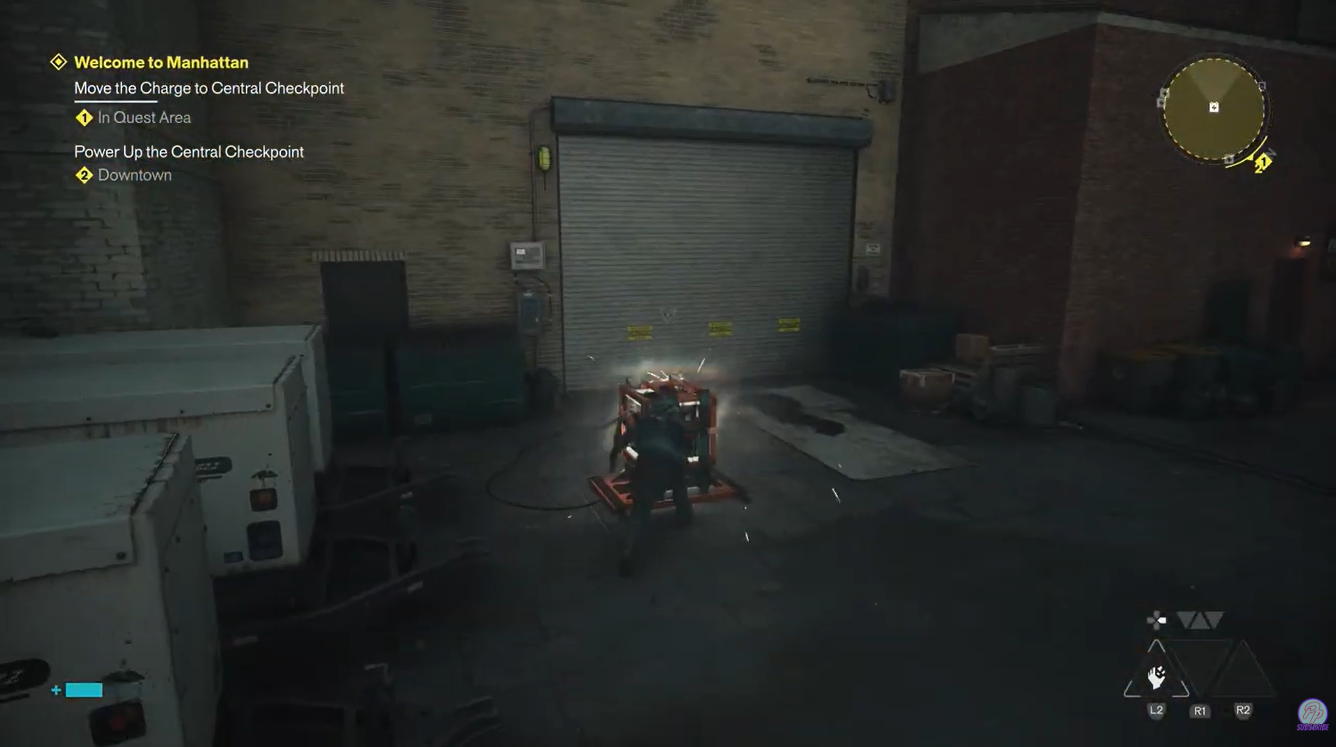
From the street relay, continue toward the nearby loading area. The next Power Core is located inside a garage/loading-dock section.
Once you reach it, transfer the charge again.
There is an additional reason to enter this area: the garage contains the body of the missing Maintenance Worker. Inspecting it lets Dylan report the discovery to Zoe. A loot crate is also available inside, so you can collect it before continuing.
If you are struggling with the timer, however, prioritize the Power Core first. You can return to explore after the electricity has been transferred.
Step 4: Climb toward the rooftop Power Core
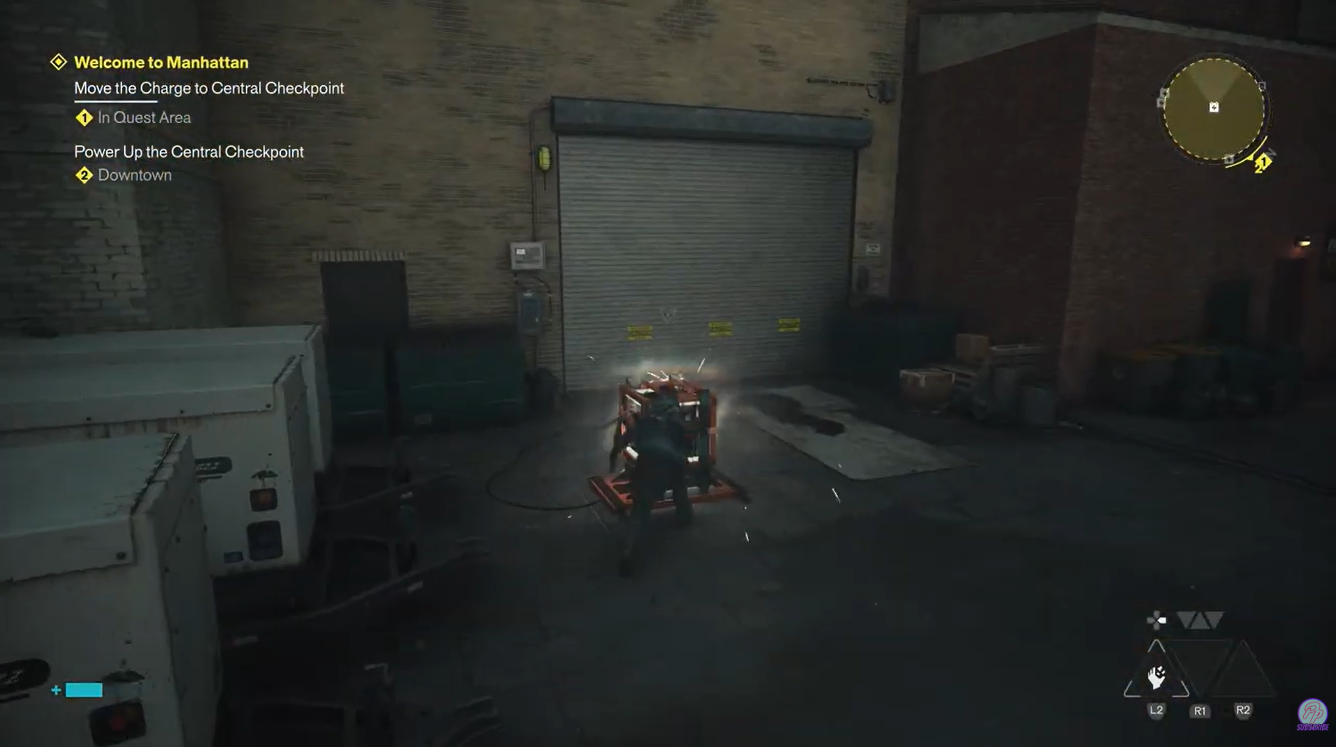
The next relay requires vertical traversal. From the loading area, continue down the alley and use the available platforms and awnings to gain height.
The next Power Core is positioned on a rooftop. Plan your climb before grabbing the charge, because the limited traversal options available this early in the game make unnecessary movement particularly costly.
Once you reach the rooftop Core, strike it to transfer the electricity again.
Step 5: Cross toward the Central Checkpoint
With the charge refreshed at the rooftop Core, continue toward the Central Checkpoint. Follow the marked route across the rooftops and descend toward the FBC barricade.
You do not need to stop and clear every enemy along the way. The charge timer is the main concern, so keep moving and avoid unnecessary combat when the route allows it. This is especially useful because the game expects you to learn the relay mechanic rather than treat the objective as a combat encounter.
Step 6: Power the Central Checkpoint
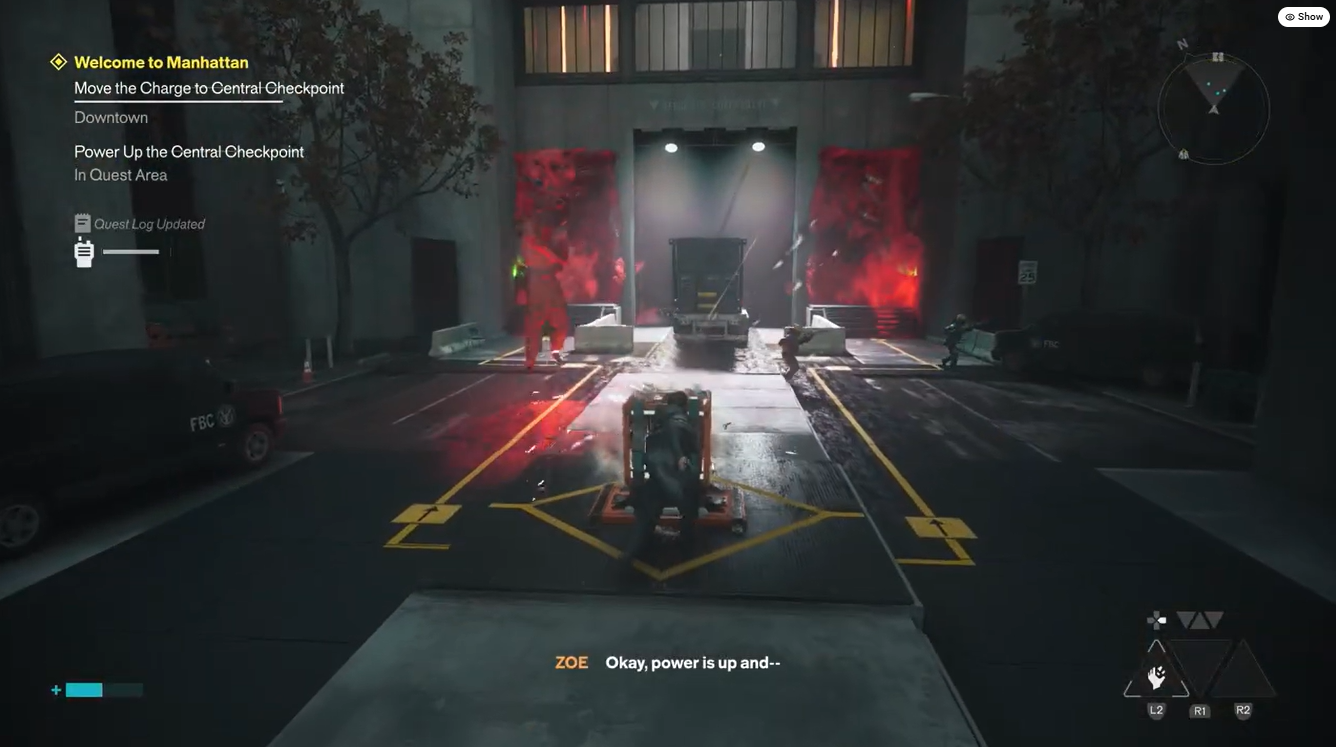
Reach the final Power Core positioned near the Central Checkpoint and transfer the electricity into it.
Once the final connection is made, the checkpoint receives power and the objective changes. The Central Checkpoint then becomes accessible, but you are not finished yet.
Step 7: Defeat the Hiss
Powering the checkpoint triggers a Hiss ambush. Prepare for combat before assuming the puzzle itself is the end of the objective.
Defeat the enemies that appear around the checkpoint. Once the area is secure, you can continue toward the Watchtower and meet Zoe.
Why the charge keeps disappearing
If the charge repeatedly expires, the most common mistake is trying to run directly from the starting Power Core to the Central Checkpoint.
The game intentionally makes that route too long. Every intermediate Power Core is a checkpoint for the electricity. When you reach one, transfer the charge instead of continuing past it. This refreshes the timer and gives you enough time to reach the following Core.
| Problem | Solution |
|---|---|
| Charge disappears before reaching the checkpoint | Use the intermediate Power Cores |
| You cannot find the next box | Check the Power Core icons on the map |
| You keep running out of time | Sprint and avoid unnecessary combat |
| The rooftop relay seems unreachable | Use the nearby awnings, scaffolding and rooftop route |
| You lose the charge | Return to the previous active Core and restart |
| Hiss are slowing you down | Ignore them where possible until the charge is secured |
How the relay system works
The puzzle introduces a mechanic that becomes useful beyond this one mission. Power Cores act as temporary electrical relay stations. You take energy from one, carry it to another, and transfer it before the timer expires.
The sequence can therefore be understood as:
Starting Power Core → street relay → loading-dock/garage Core → rooftop Core → Central Checkpoint
The exact route is easier to follow from the Power Core symbols shown on the map, so check your destination before activating each box.
Rewards for completing Welcome to Manhattan
The charge puzzle is only one objective inside the larger Welcome to Manhattan mission. Completing the mission ultimately provides a Living Shard and a Level 1 Keycard, with the keycard granting Level 1 Security Clearance.
| Reward | What it provides |
|---|---|
| Living Shard | Upgrade/progression resource |
| Level 1 Keycard | Access to Level 1 security doors |
| Level 1 Security Clearance | Opens doors requiring the first security level |
The mission then leads into the next part of the Contain the Crisis storyline. Speaking with Zoe at the Watchtower starts the progression toward Evacuation Procedures.
How to complete the puzzle without losing the charge
The safest approach is to study the route before hitting each Power Core. Look at the map, identify the next electrical-box icon, and then activate the current Core only when you are ready to move.
Once the charge is active, sprint along the planned route. Do not stop to loot or fight unless necessary. When you reach the next Core, transfer the electricity immediately. Repeat this process until you reach the Central Checkpoint.
The rooftop section is the part most likely to cause problems because you need to combine the temporary charge mechanic with traversal. Getting the route wrong can waste enough time for the electricity to disappear, forcing you to return to the previous Core.
Video help:




Leave a Reply