

The Art Gallery puzzle is one of the optional secrets you can discover while exploring the Evacuation Zone in Control Resonant. Rather than simply collecting a resource crate, this gallery contains a small environmental puzzle that uses the paintings on its walls as the combination. Once you identify the four correct paintings and illuminate them, a hidden section of the gallery opens.
| Detail | Information |
|---|---|
| Game | Control Resonant |
| Area | Evacuation Zone |
| Location | Konstig Art Gallery |
| Puzzle type | Painting and spotlight puzzle |
| Clue | “Paintings Sold This Month” |
| Clues | Journey, Windows, Thunder, Tides |
| Correct order | Second, First, First, Second |
| Main reward | Health Upgrade |
| Other rewards | Secret Hideout and lore documents |
Where to find the Art Gallery puzzle in Control Resonant
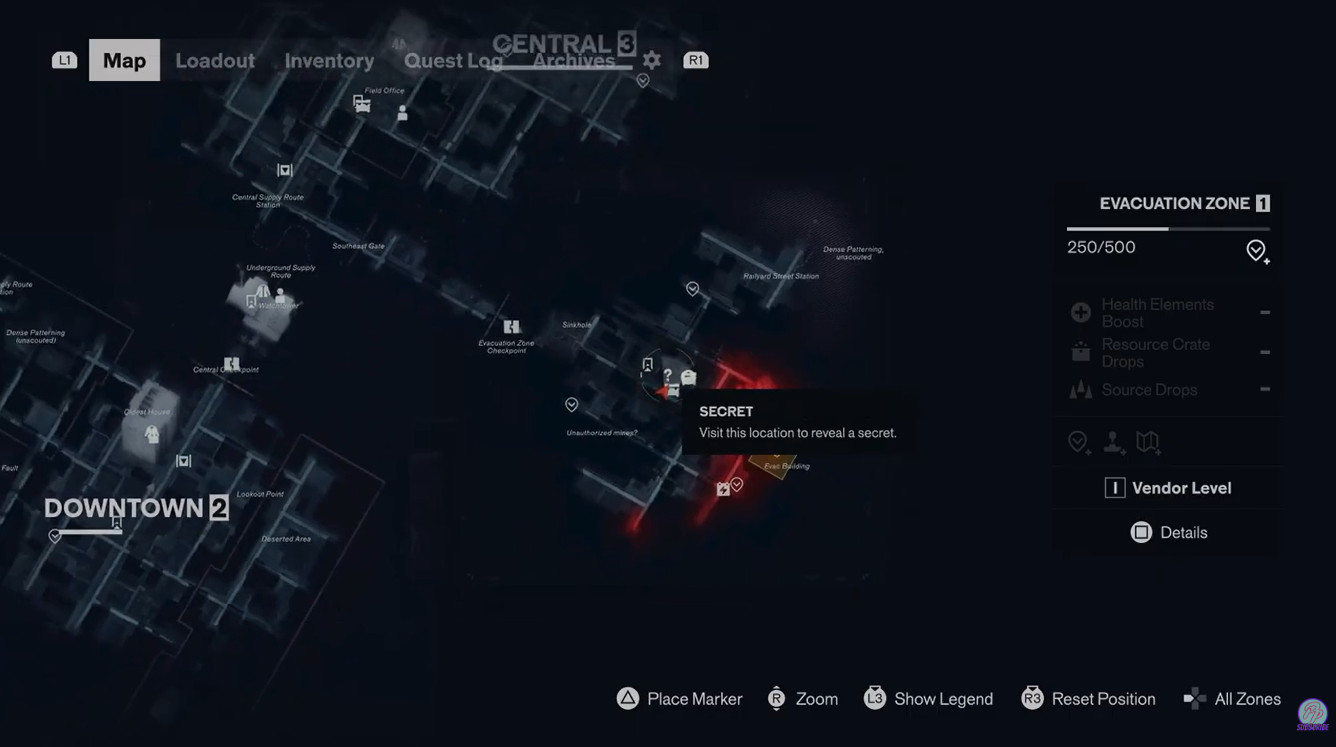
The puzzle is located inside the Konstig Art Gallery in the Evacuation Zone. The gallery is in the central part of the zone, on the road southwest of the Vendor, and the Health Upgrade associated with this secret is found downstairs in the gallery’s basement. Another location reference places the gallery south of the Main Street fast-travel door.
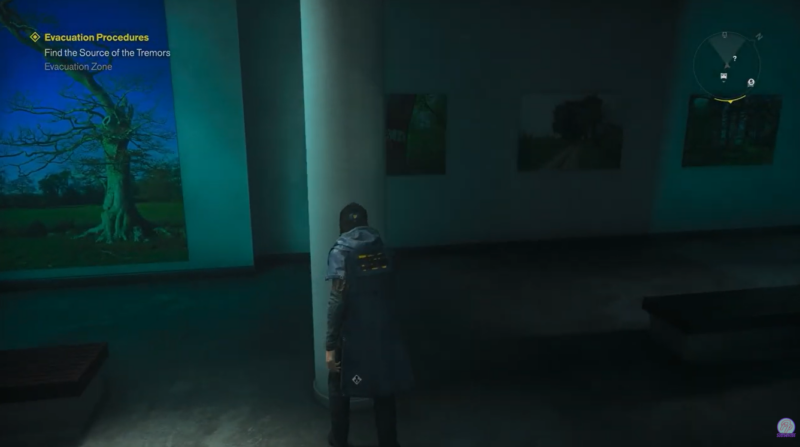
Once you enter the gallery, look around the room before interacting with the paintings. You will find four separate display walls, with three paintings on each wall and a button or light control associated with the display. Interacting with the control changes which painting is illuminated.
How to Solve the Konstig Art Gallery Painting Puzzle in Control Resonant
Step 1: Find the note on the desk
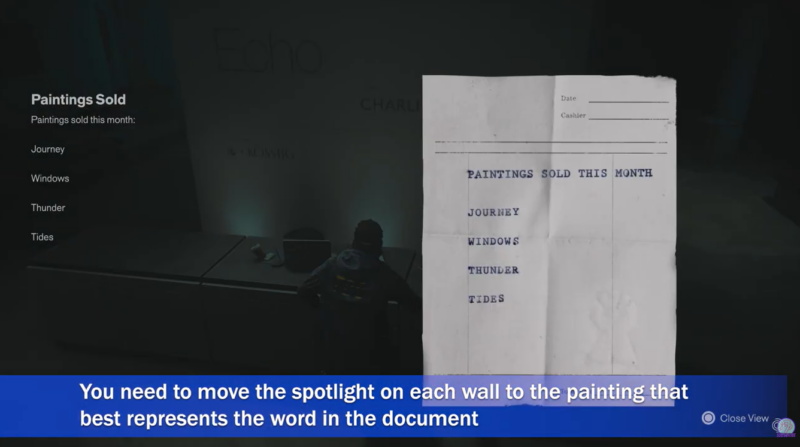
Look for the document on the desk or counter near the entrance. Its title is “Paintings Sold This Month.”
The note provides four words:
| Clue | Matching painting position |
|---|---|
| Journey | Second |
| Windows | First |
| Thunder | First |
| Tides | Second |
The words correspond to the four painting displays from left to right. You therefore need to select one painting on each display rather than trying to combine all four clues across the entire room.
Step 2: Set Journey to the second painting
Go to the first display on the left.
Use its light control until the middle painting is illuminated. This is the painting associated with Journey, featuring a road-like scene.
This is the second painting in the first group.
Step 3: Set Windows to the first painting
Move to the second display.
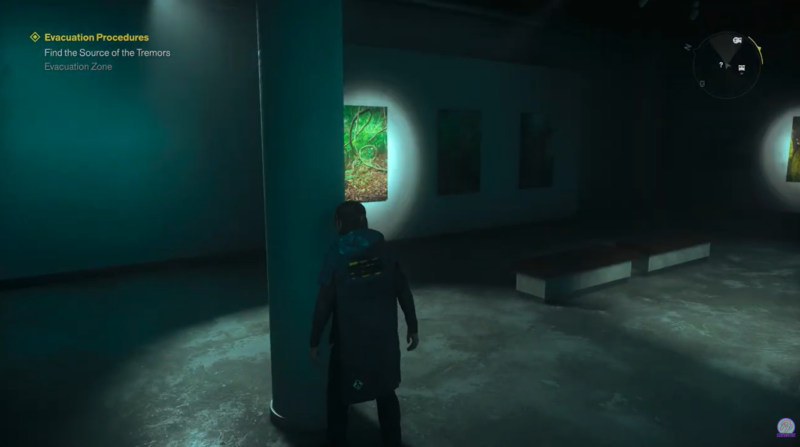
Cycle the spotlight until it highlights the first painting. This artwork features distinctive circular tree-stem shapes and represents the Windows clue.
The correct position here is first painting.
Step 4: Set Thunder to the first painting
Continue to the third display.
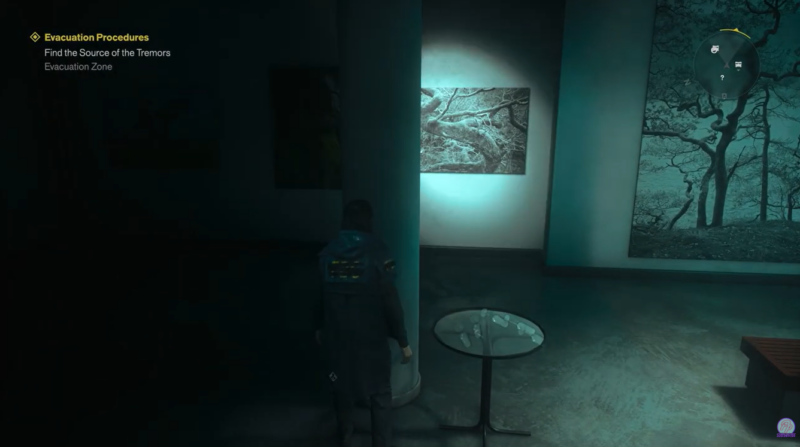
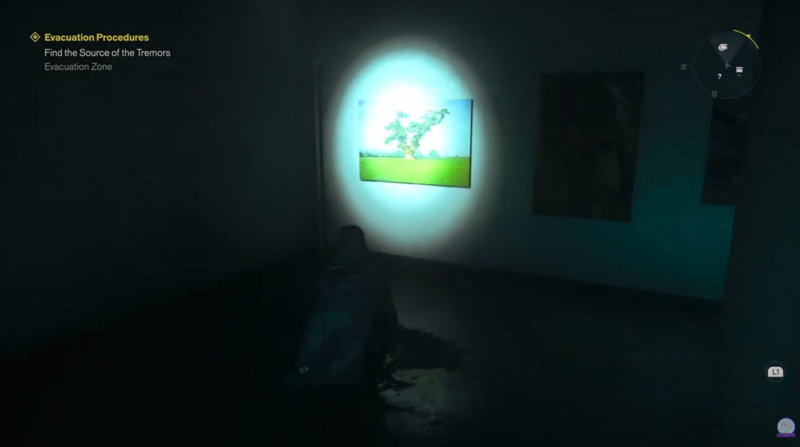
Change its lighting until the first painting is illuminated. This is the artwork with a prominent tree positioned in the center.
The correct position is again first painting.
Step 5: Set Tides to the second painting
Finally, go to the fourth display.
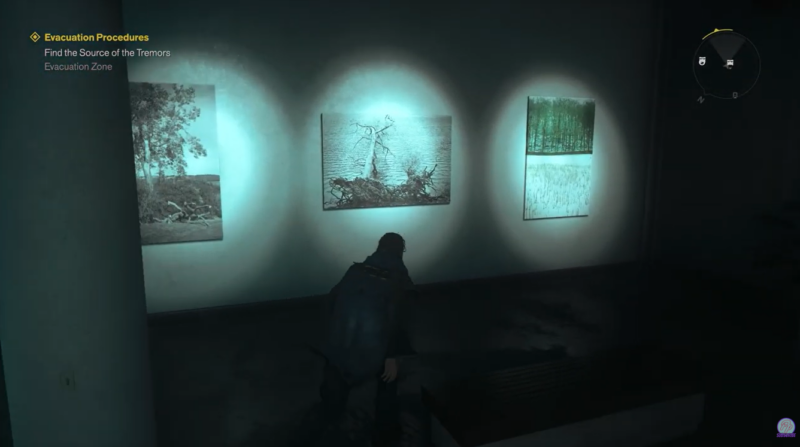
Set its spotlight to the middle painting. The correct artwork shows water beneath fallen trees and corresponds to Tides.
This is the second painting in the final group.
Insider Gaming independently gives the same four-position combination, while Destructoid identifies the individual paintings by their visual features.
How to open the Art Gallery secret room
Step 6: Check all four lights
After setting the four displays, make sure the correct paintings remain illuminated simultaneously.
If the combination is correct, the hidden mechanism activates and a wall toward the back-left side of the gallery opens. You do not need to enter a separate code or interact with another puzzle once the four paintings are correctly selected.
Step 7: Enter the Secret Hideout
Go through the newly opened passage and follow the hidden route into the secret area.
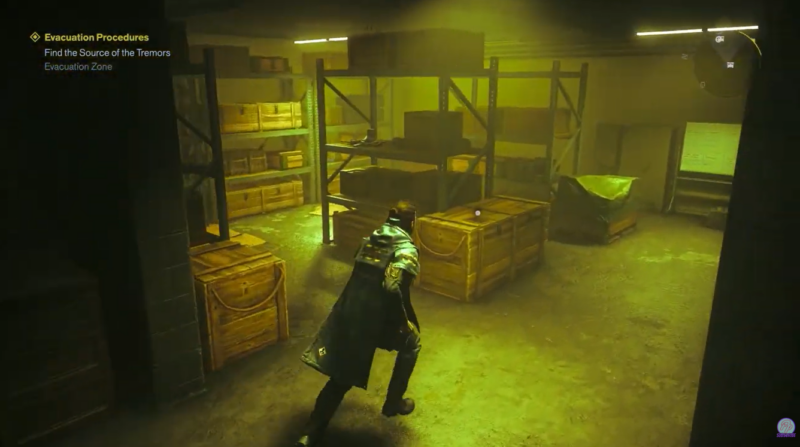
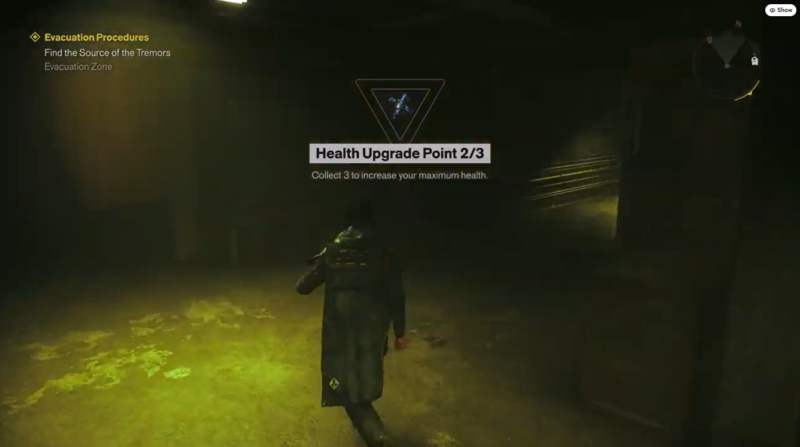
The room contains additional documents and lore material, giving you extra information to collect while exploring the gallery. More importantly, the area contains a Health Upgrade, making the puzzle worthwhile even if you are primarily interested in character progression.
Art Gallery puzzle rewards
| Reward | Details |
|---|---|
| Health Upgrade | Found inside the secret area/basement |
| Secret Hideout | Hidden room unlocked by the painting combination |
| Lore documents | Collectible documents and journal-style material |
The Health Upgrade is the key gameplay reward. Current location guides specifically list this gallery secret among the Health Upgrade locations in the Evacuation Zone.
Why the painting puzzle can be confusing
The room initially looks like an ordinary gallery, and the spotlights can make the controls seem decorative. The important clue is the “Paintings Sold This Month” document. Once you realize that each word corresponds to one display from left to right, the puzzle becomes a visual matching exercise rather than a trial-and-error combination.
The four answers are particularly easy to remember as 2-1-1-2:
| Display | Clue | Correct position |
|---|---|---|
| 1 | Journey | 2 |
| 2 | Windows | 1 |
| 3 | Thunder | 1 |
| 4 | Tides | 2 |
If the secret wall does not open, check each display again and make sure you have not accidentally changed one of the spotlights. The solution requires the correct four paintings to be illuminated together.
For a quick solution, enter the Konstig Art Gallery in the Evacuation Zone, read the “Paintings Sold This Month” note, and work across the four displays from left to right. Set the paintings to second, first, first, second. The first choice is the road painting, the second is the circular tree-stem painting, the third is the painting with the central tree, and the fourth is the water-and-fallen-trees painting. Once all four are lit correctly, the hidden wall opens and you can collect the Health Upgrade and lore items.
Video help:




Leave a Reply