
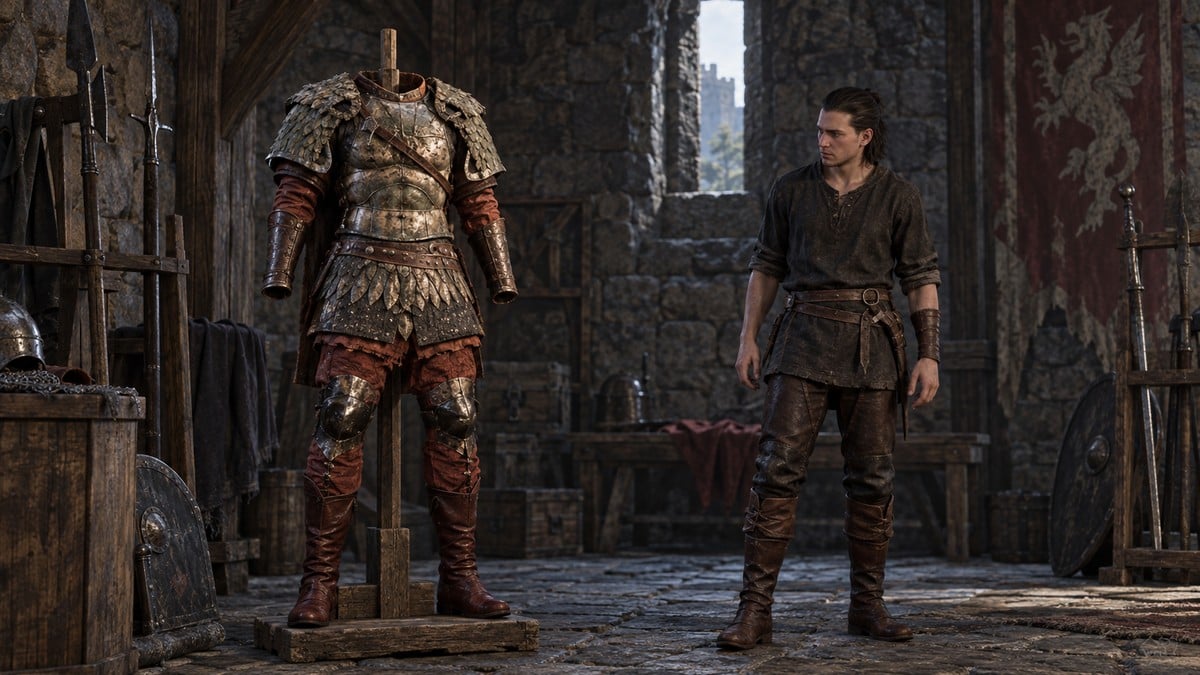
Complete Ancient Hero gear through Father Florin’s quests, Xanthe’s activities, and Anca’s questline, then follow The Champion of Old for Erkas’s Sword.
The Ancient Hero collection takes you beneath Svartrau City, into ruins, and through Anca’s questline. The chestpiece sits behind Father Florin’s quests, while the other armor pieces have separate acquisition routes. Start at the cathedral: the underground journey also connects you to the sword’s location.
- Ancient Hero equipment and weapon attributes
- Begin the Svartrau cathedral and treasury route
- Collect the shortsword, ring, and chestpiece underground
- Find Ancient Footwear at Xanthe’s excavation
- Recover Ancient Hero’s Vambraces from the transport
- Obtain Ancient Greaves through Anca’s quests
- Follow The Champion of Old for Erkas’s Sword
- How to collect Ancient Hero gear and Erkas’s Sword
Ancient Hero equipment and weapon attributes
Armor pieces, accompanying sword, and additional rewards
| Equipment | Type | Level | Attributes |
|---|---|---|---|
| Ancient Hero’s Armour | Armor: Legendary Heavy Chestpiece | 20 | Weight 10.9; human health restoration +12.7%; activation charge restoration from actions +5.9%; damage against supernatural enemies +5.9%; Witchcraft damage effect. |
| Ancient Hero’s Vambraces | Armor: Legendary Heavy Bracers | 30 | 165 Armour; effects on maximum human health, activation charge restoration from Perfect Blocks and actions, and dodge stamina cost. |
| Ancient Footwear | Armor: Legendary Heavy Boots | 32 | 208 Armour. |
| Ancient Greaves | Armor: Legendary Heavy Trousers | 11 | 120 Armour. |
| Erkas’s Sword | Accompanying weapon: Legendary Longsword | 32 | 446 DPS; 373–390 damage. |
| The Hand of Fate | Additional reward: Legendary Shortsword | 19 | 262 DPS; 152–215 damage. |
| Ancient Hero’s Ring | Additional reward: Epic Ring | 19 |
The levels and numerical combat attributes describe the displayed items. The ring’s displayed level is also 19.
Spoiler notice: The walkthrough covers quest encounters, boss outcomes, and the dialogue choice used to obtain the greaves.
Begin the Svartrau cathedral and treasury route
The cathedral investigation includes A Monk and a Saint, whose tracker asks you to search the grounds for St Mihai’s symbol.
Father Florin’s congregation meets underground near Svartrau’s Western Gate. Speaking with him there completes In the Name of the Father and leads into A Hero’s End, which sends you after the ancient warrior’s armor.
Before leaving the congregation, collect the Ancient Key from a skeleton. It opens the sealed doorway into the deeper ruins.
Collect the shortsword, ring, and chestpiece underground
The ruins hold successive encounters before you reach the chestpiece. During the final armor encounter, Rigoz, the Betrayed Hero appears with additional enemies, making target selection worth deciding before the fighting starts.
Find Ancient Footwear at Xanthe’s excavation
Xanthe’s Excavations: Bloodied Dagger takes you to the excavation ruins marker. The reward depends on a corpse interaction after the fighting.
Recover Ancient Hero’s Vambraces from the transport
Xanthe’s Transports: When Two Dogs… points you toward a transport wagon in the forest. The vambraces belong to its transported cargo.
Obtain Ancient Greaves through Anca’s quests
Anca’s journey reaches the Font of Life. Its conversation presents three choices; the destruction branch exposes the armor beneath the font’s former position.
Follow The Champion of Old for Erkas’s Sword
The Destroyed Shrine is near the starting area. Destroyed Shrine, near Briar Sloughs and Maragir Wealds, is the landmark for the approach to these separate ruins.
How to collect Ancient Hero gear and Erkas’s Sword
Begin with Florin’s cathedral investigation, continue through the separate equipment activities, and finish at the ruins.
STEP 1/58
2%
Begin the Svartrau armor route
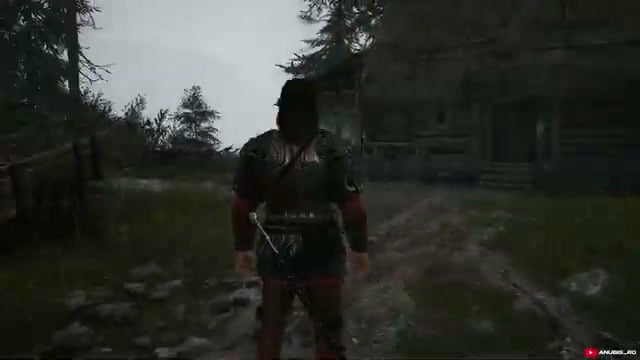
Enter Svartrau Cathedral through its gate during daytime, when the complex is open.
STEP 2/58
3%
Meet Father Florin
Watch the entry scene, then speak with Father Florin when it finishes. He asks you to take confession.
STEP 3/58
5%
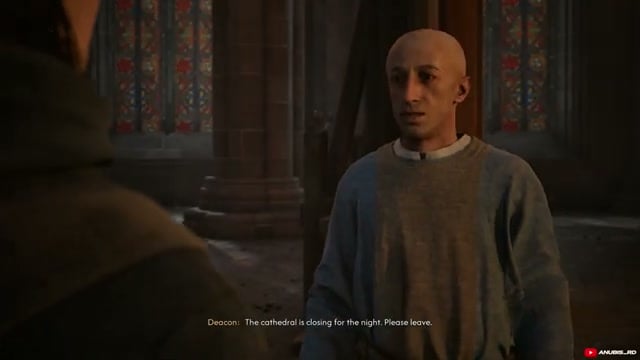
Accept the confession
Choose “Very well.” to begin the quest conversation. Follow the confession through and admit three sins.
STEP 4/58
7%
Leave when the cathedral closes
If the conversation carries you into nighttime, comply with the closure and return outside. The main gate is shut at night.
STEP 5/58
9%
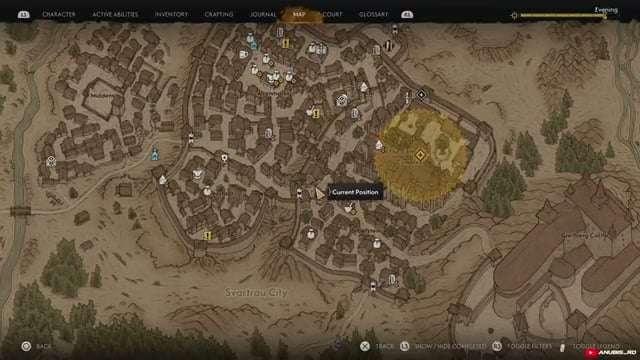
Climb the right exterior
Circle around the complex’s right side and climb its exterior ledges to the roof for the alternative entrance.
STEP 6/58
10%
Investigate the upper interior
Drop through the roof opening onto the upper walkway. Examine the area, including the documents on the candlelit table.
STEP 7/58
12%
Descend to the left-hand room
Drop toward the lower floor and activate Shadow Step just before landing to avoid taking the full fall damage. Take the doorway on your left.
STEP 8/58
14%
Retrieve the Treasury Key
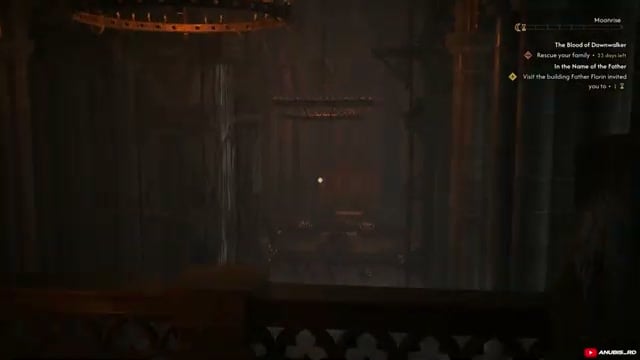
Investigate the open book in the left-hand room and collect the Treasury Key concealed there.
STEP 9/58
16%
Return outside by the roof
Retrace the ledges and roof route used to enter the cathedral.
STEP 10/58
17%
Approach the treasury
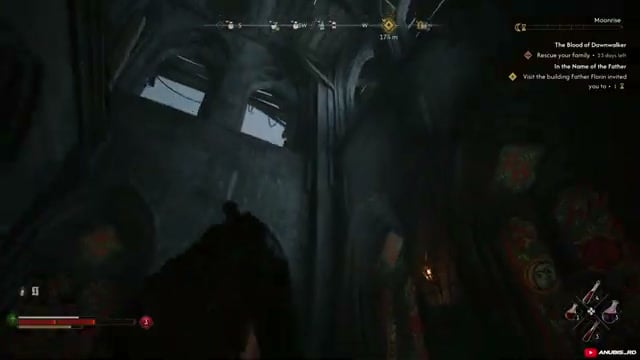
After leaving the complex, go right through the alleys of the city, then take the route leading upward to the left toward the treasury entrance.
STEP 11/58
19%
Unlock the treasury
Use the Treasury Key on the locked entrance to get inside.
STEP 12/58
21%
Investigate the tall bookshelf and push it aside, exposing the passage down into the basement. The hidden area also holds a Golden Chalice.
STEP 13/58
22%
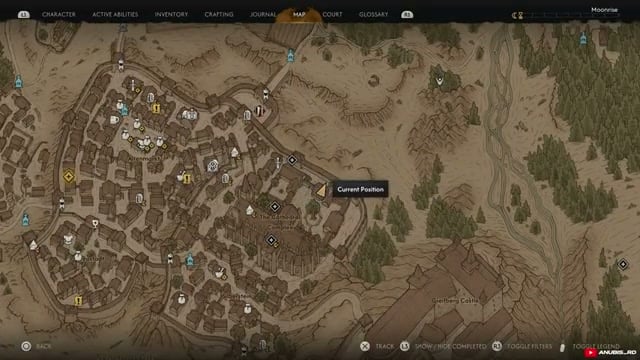
Find the hand-marked house
Continue around to the back of the building.
STEP 14/58
24%
Enter the congregation’s passage
Use the rear gate and speak with the Brute by the entrance, who directs you inside and down the ladder.
STEP 15/58
26%
Reach Florin underground
Take the room on the right and follow the guide through the tunnels to the lower chamber.
STEP 16/58
28%
Hear Florin’s directions
Speak with Florin in the chamber to learn the onward route into the ruins.
STEP 17/58
29%
Begin collecting the underground rewards
Continue beyond the congregation and pass through the sealed doorway into the ancient ruins.
STEP 18/58
31%
Defeat the Ancient Guardian
Fight the Ancient Guardian in the circular stone chamber, using sword attacks and your available combat abilities.
STEP 19/58
33%
Follow the carved passage
Continue beyond the Guardian’s chamber, then take the left-hand route through the passage lined with ancient remains.
STEP 20/58
34%
Collect Florin’s letter
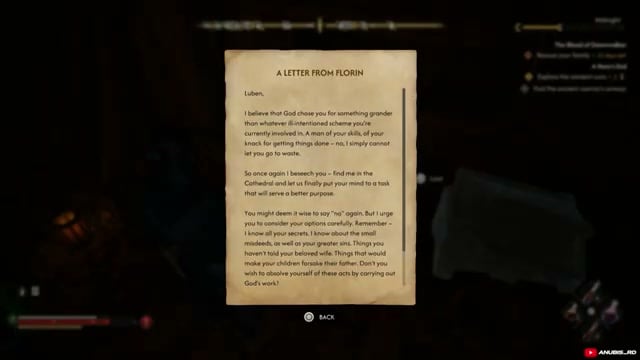
Search near the chest area for A Letter from Florin before descending farther underground.
STEP 21/58
36%
Cross the flooded cavern
Drop into the cavern with green water and vines, then continue straight through the underground section.
STEP 22/58
38%
Climb toward the upper ruins
Climb out of the cavern toward the upper ruins and continue into the stone corridor.
STEP 23/58
40%
Clear the chest corridor
Defeat the creatures attacking in the corridor before approaching the large decorated stone chest.
STEP 24/58
41%
Open the stone chest
Interact with the chest and release its locking mechanism, allowing Coen to lift the lid.
STEP 25/58
43%
Take the shortsword and ring
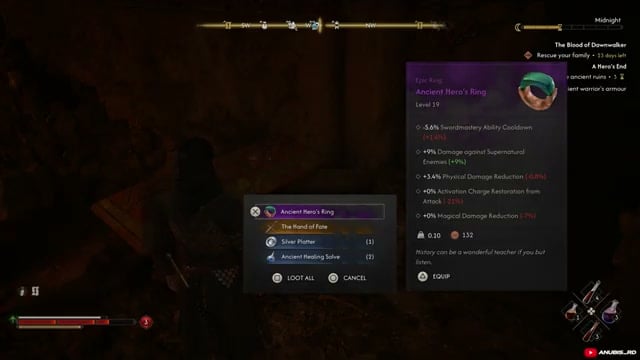
From the opened chest, loot Ancient Hero’s Ring along with The Hand of Fate.
STEP 26/58
45%
Enter the right-hand wall crack
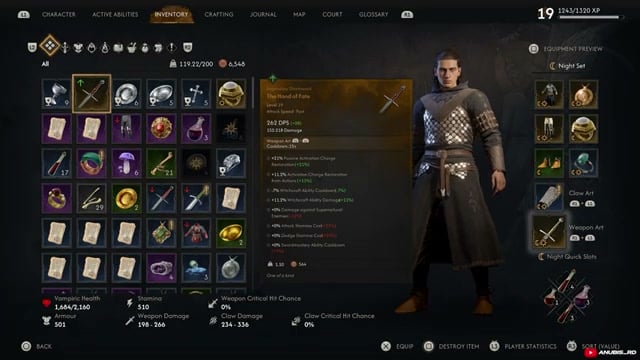
Squeeze through the narrow crack on the right to reach the passage below.
STEP 27/58
47%
Search the corpse below
Take the key from the corpse at the bottom of the passage.
STEP 28/58
48%
Return to the locked gate
Climb the wooden ladder back to the upper hallway, where the corpse’s key opens the gate.
STEP 29/58
50%
Prepare for the Fallen Witch
Fight the Fallen Witch, dodging her red projectiles and landing melee attacks between them.
STEP 30/58
52%
Loot the Witch’s body
Search her remains for the Cycle of Ruin Manual before leaving the chamber.
STEP 31/58
53%
Descend into the remaining corridors
Leave the Witch’s chamber and head down, then turn right. You can bypass the enemies along this stretch and continue forward.
STEP 32/58
55%
Inspect the right-hand mural
Examine the painted wall on your right and collect the Decrepit Key. This interaction starts The Champion of Old.
STEP 33/58
57%
Enter the left chamber
Leave the mural room and take the chamber on the left, beyond the red mist.
STEP 34/58
59%
Defeat Rigoz
Fight Rigoz, the Betrayed Hero, to clear the final encounter on the armor route.
STEP 35/58
60%
Open the armor chest
Once the encounter is over, open the chest behind Rigoz and collect Ancient Hero’s Armour.
STEP 36/58
62%
Begin the Ancient Footwear excavation
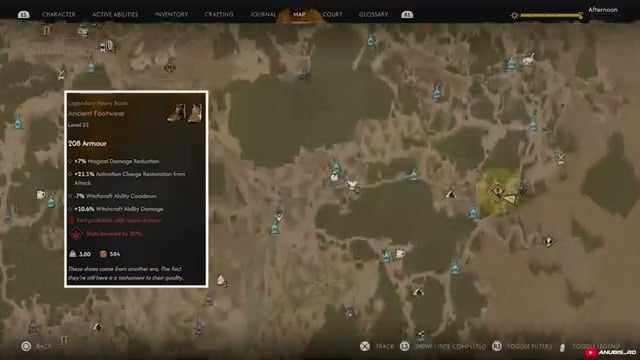
Follow the excavation activity marker to the ruins.
STEP 37/58
64%
Clear the excavation entrance
Defeat Xanthe’s guards outside the excavation, then deal with the soldiers before entering the ruins.
STEP 38/58
66%
Enter the inner tomb
After clearing the soldiers, enter the inner chamber of the ruins. You find Armaya inside.
STEP 39/58
67%
Defeat Armaya
Fight Armaya, Scholar of the Occult.
STEP 40/58
69%
Collect Armaya’s Notebook
Search Armaya’s body and take Armaya’s Notebook.
STEP 41/58
71%
Take the Ritual Dagger
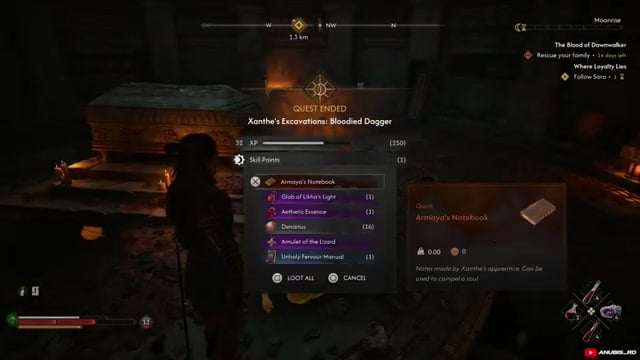
Search the chamber’s wall for the mounted Ritual Dagger and collect it.
STEP 42/58
72%
Use Compel Soul on the corpse
Return to the corpse beside the chest and use Compel Soul with the dagger acquired. Completing the interaction makes the reward chest accessible.
STEP 43/58
74%
Complete Ancient Footwear
Open the glowing chest and take Ancient Footwear.
STEP 44/58
76%
Begin the vambraces transport search
Travel to Xanthe’s transport wagon at the activity marker.
STEP 45/58
78%
Defeat the surrounding bandits
Clear the bandits around the wagon to finish the encounter before searching the cargo.
STEP 46/58
79%
Search the rear cargo
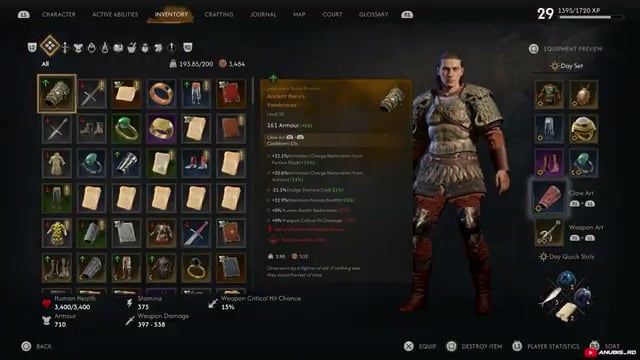
Return to the wagon and search the transported container to collect Ancient Hero’s Vambraces.
STEP 47/58
81%
Begin Anca’s Ancient Greaves route
Complete Where Old Devils Lie in Anca’s questline before continuing to the next quest.
STEP 48/58
83%
Continue Stronger Than Achilles
Progress through Stronger Than Achilles with Anca, following the ruins’ objectives and completing the trials until you reach the font.
STEP 49/58
84%
Let the font scene finish
After the dialogue selection, Coen and Anca destroy the Font of Life.
STEP 50/58
86%
Search beneath the former font
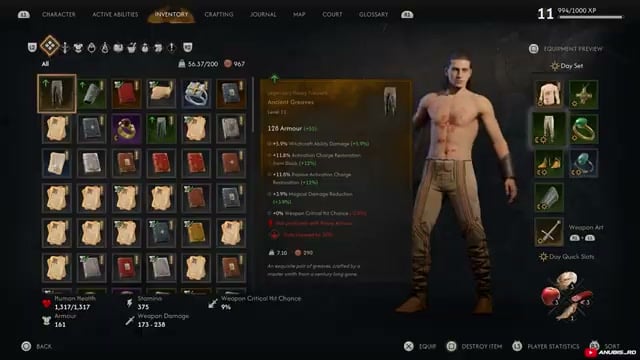
Search the pedestal debris and collect Ancient Greaves.
STEP 51/58
88%
Begin the Erkas’s Sword excursion
Track The Champion of Old and head to Destroyed Shrine to begin the approach.
STEP 52/58
90%
Follow the cliffside path
From the shrine, move forward-left, then continue onward toward the right.
STEP 53/58
91%
Unlock the ruins entrance
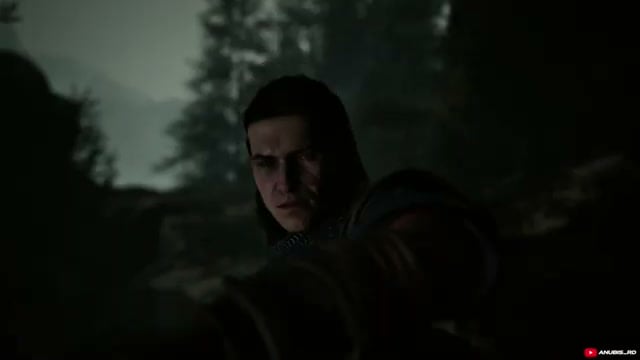
Follow the path to the ruins entrance and interact to open the way inside.
STEP 54/58
93%
Enter the circular chamber
Unlock the heavy stone doorway to enter the ruins.
STEP 55/58
95%
Inspect the fresco murals
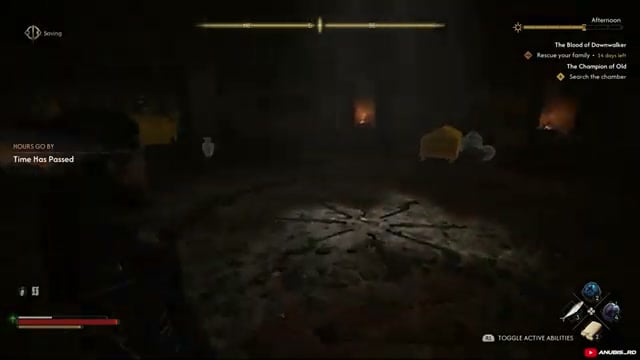
Examine the murals around the chamber’s walls. Prepare before inspecting the last one, because completing the inspections summons Erkas the Repenter.
STEP 56/58
97%
Defeat Erkas the Repenter
Defeat Erkas the Repenter.
STEP 57/58
98%
Claim Erkas’s Sword
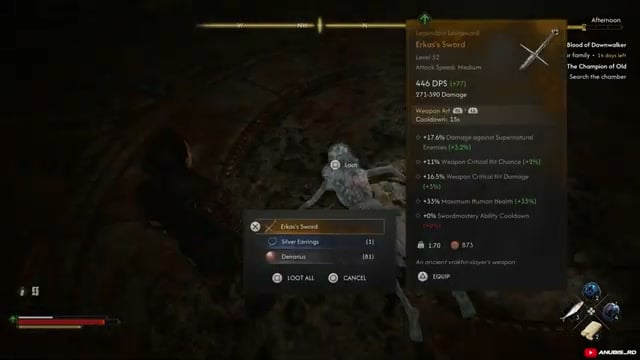
Loot the body to collect Erkas’s Sword.
STEP 58/58
100%
Check the assembled equipment
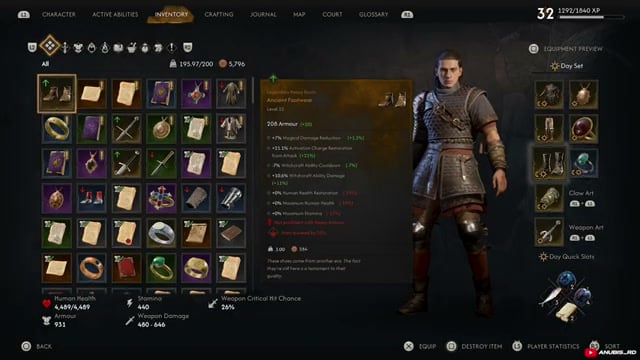
Open your inventory and confirm you have the chestpiece, vambraces, footwear, greaves, and Erkas’s Sword together.



Leave a Reply