
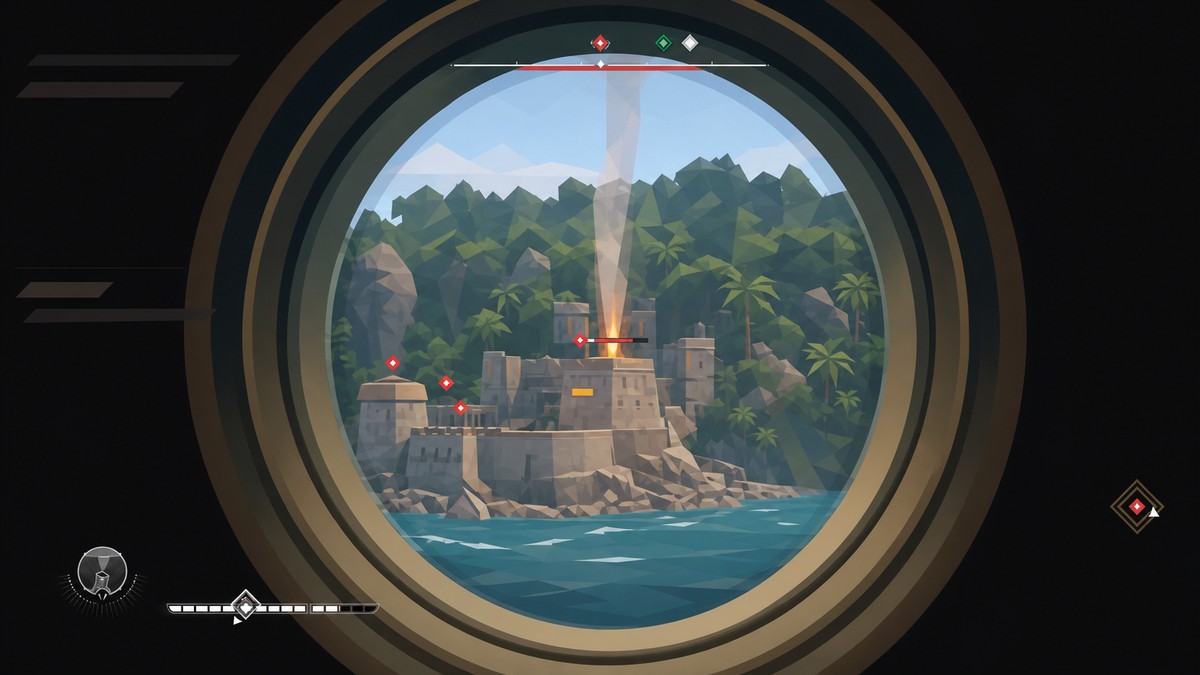
The best early items to grab first are Exotic Sea Shells, Folded Palm, Anchor Medallion, the mortar upgrades, Ram Dash with the upgraded ram, and the Black Island Captain Morgan gear because they speed up money, materials, ship combat, and survivability almost immediately.
Assassin’s Creed Black Flag Resynced gives you several powerful early pickups before the grind really starts. The smartest route is to grab the economy trinkets first, then build your ship damage, then clean up the style and weapon rewards that let you keep good perks without giving up the pirate look.
- Early item priority table
- Best pickup order for early momentum
- Folded Palm location in Havana
- Narwhal’s Horn with Folded Palm
- Anchor Medallion on Sacrifice Island
- Captain Morgan gear on Black Island
- Rustic Flintlock pistols as the free perk pick
- Ram Dash and upgraded ram for early ship burst
- Mortar storage and strength upgrades
- Captain Drake gear on Sacrifice Island
- Early store and Exchange weapons after free pickups
- Free Additional Content and Eye in the Dark rewards
- Mistakes that slow the early route
- Frequently Asked Questions
Early item priority table
| Item | Where to get it | Use |
|---|---|---|
| Core early pickups | ||
| Exotic Sea Shells | Southeast Havana, around 213,568, in a treasure chest between two buildings | More wildlife products from skinning animals, faster crafting materials, and more sellable skins |
| Folded Palm | Havana at 225,589, from the dock NPC near the viewpoint route | 50 gold per takedown |
| Narwhal’s Horn | Equip from your trinket inventory once available | Breaks enemy defenses faster, feeding more Folded Palm takedowns |
| Anchor Medallion | Sacrifice Island shoreline chest | More resources from floating ocean crates |
| Captain Morgan’s Outfit and Captain Morgan’s Pistols | Black Island, using the viewpoint route to the pistol chest and outfit chest | Early pirate outfit plus pistol appearance for transmog |
| Rustic Flintlock pistols | Free from the store | Perfect-dodge quick shots do not consume ammunition |
| Ram Dash | Recruit Padre after two short officer missions | Close-range ship burst with L1+R1 |
| Upgraded ram and Ultimate Ram plan | Buy ram upgrades at a harbor master; get the plan at La Concepcion wreck, 150,271 | Stronger ramming damage, especially with Ram Dash |
| Mortar storage plan | Tortuga treasure map, then Matanzas waterfall chest | Raises mortar storage to 20 shots |
| Mortar strength upgrade | Antarre route after the storage plan | Higher mortar damage for forts and ships |
| Optional early additions | ||
| Captain Drake’s Outfit and Drake’s Swords | Sacrifice Island shoreline pickups | Optional outfit and 38-damage swords with a heavy strike move |
| Double Shot | Dry Tortuga fort; break walls with ship cannons, defeat guards, raise your flag | Front-cannon upgrade for chasing ships |
| Officer’s Blade | Any General Store | Chain stat 4 for guard chains after a Perfect Parry |
| Matched Golden Swords | Treasure Dealer at your home docks | 25 damage, chain 4, and longer chain lunge range |
| Altaïr’s Swords and Ezio’s Swords | Exchange, using Animus Keys | Strong early Exchange sword options |
| Lucy Baldwin quest pistol | Lucy Baldwin’s third Officer quest, Plantain! | Strong early pistol target after free pickups |
| Additional Content rewards | Additional Content menu | Free Shipmate Monkey pet and Nomad’s Bronze Ensemble outfit |
| Eye in the Dark rewards | Activate the Resurgence Project Eye in the Dark | Dark Animus Corsair Flintlocks, Obsidian Monolith, robes, and pet progression rewards |
This route starts with money and materials, because every fight, hunt, and ocean pickup gets better once the right trinket is equipped. The optional items are worth grabbing when they sit on the same sailing loop, but the Havana trinkets and early ship upgrades do the heaviest lifting.
Best pickup order for early momentum
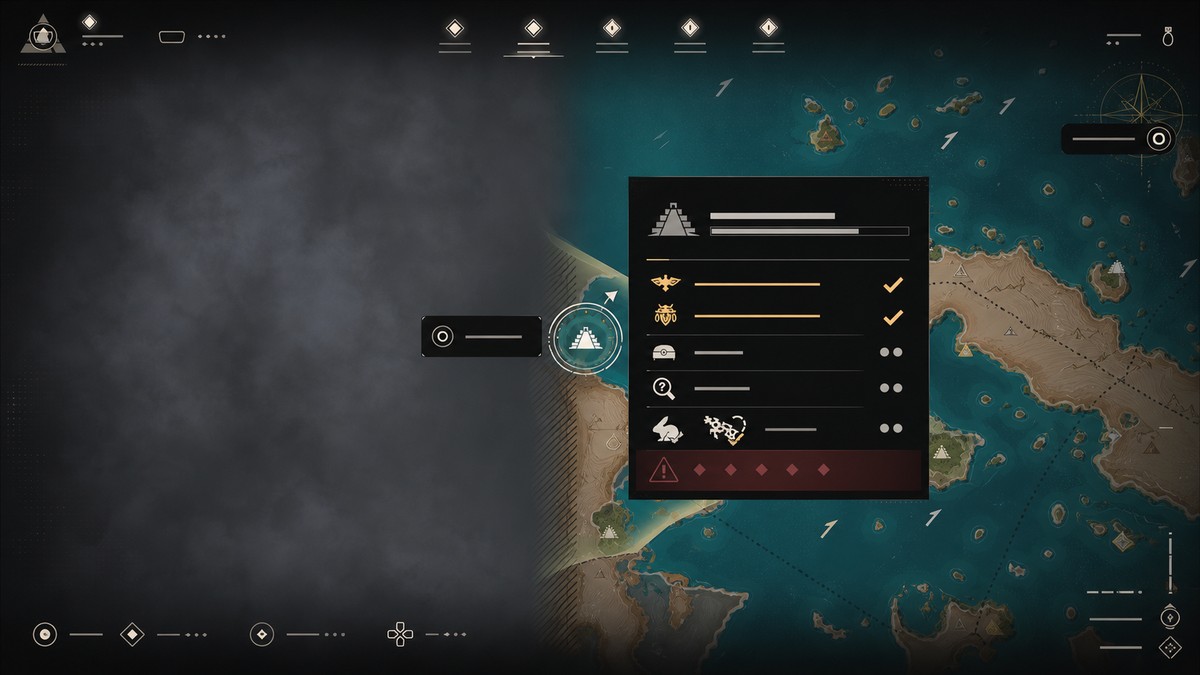
Start in Havana with Exotic Sea Shells and Folded Palm. Exotic Sea Shells speeds animal material gains, while Folded Palm turns normal guard takedowns into steady gold, so you are earning before you start deliberately farming.
After that, sail for Anchor Medallion on Sacrifice Island, then move into ship power: Ram Dash, the upgraded ram, and the mortar storage and strength upgrades. Once your economy and naval damage are in place, the Black Island Captain Morgan gear, free Rustic Flintlock pistols, Sacrifice Island extras, and Exchange weapons become cleaner upgrades instead of distractions.
For animal money, equip Exotic Sea Shells before hunting or harpooning. The north and northeast perimeter of Kingston is a fast deer loop, and selling stacked skins at a treasure dealer can fund several early upgrades.
Equip Exotic Sea Shells before hunting and Folded Palm before guard fights; both rewards come from actions you are already doing.
Folded Palm location in Havana
Folded Palm is one of the easiest early trinkets to miss because it is carried by an ordinary dock NPC instead of sitting in a normal treasure route. Get it before you leave Havana for long, then keep it equipped whenever you expect guard fights.
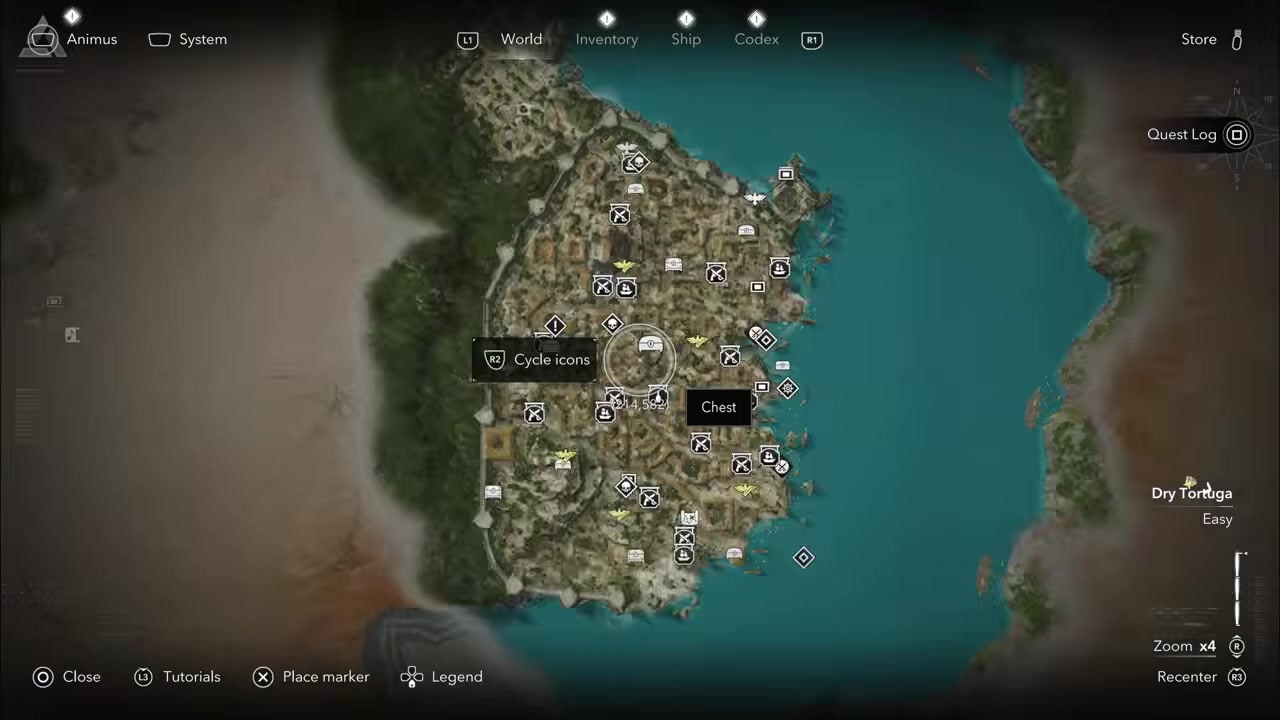
Folded Palm is a quick Havana pickup that turns every takedown route into a gold route.
STEP 1/4
Spawn at the Havana viewpoint
Use the viewpoint nearest 225,589 so you start close to the dock.
STEP 2/4
Go to the dock NPC
Head down to the dock and find the NPC carrying the trinket.
STEP 3/4
Pickpocket or assassinate him
Either method gives you Folded Palm, though pickpocketing lets you leave quietly.
STEP 4/4
Equip Folded Palm
Every takedown gives 50 gold, so five guards become 250 gold and ten guards become 500 gold.
Narwhal’s Horn with Folded Palm
Narwhal’s Horn is the combat partner for Folded Palm. Its value is not direct gold; it helps you break enemy defenses faster, which leads into faster takedowns and therefore more Folded Palm payouts.
On PlayStation controls, the simple flow is to pressure defense with R1 until it shatters, then press Triangle for the takedown. If you are clearing guards anyway, this pairing makes the same fights pay faster.
Anchor Medallion on Sacrifice Island
Anchor Medallion is the early naval economy trinket. Floating crates show up constantly while sailing, and the medallion increases what you get from those pickups, including resources like wood, wine, spice, and other crate contents.
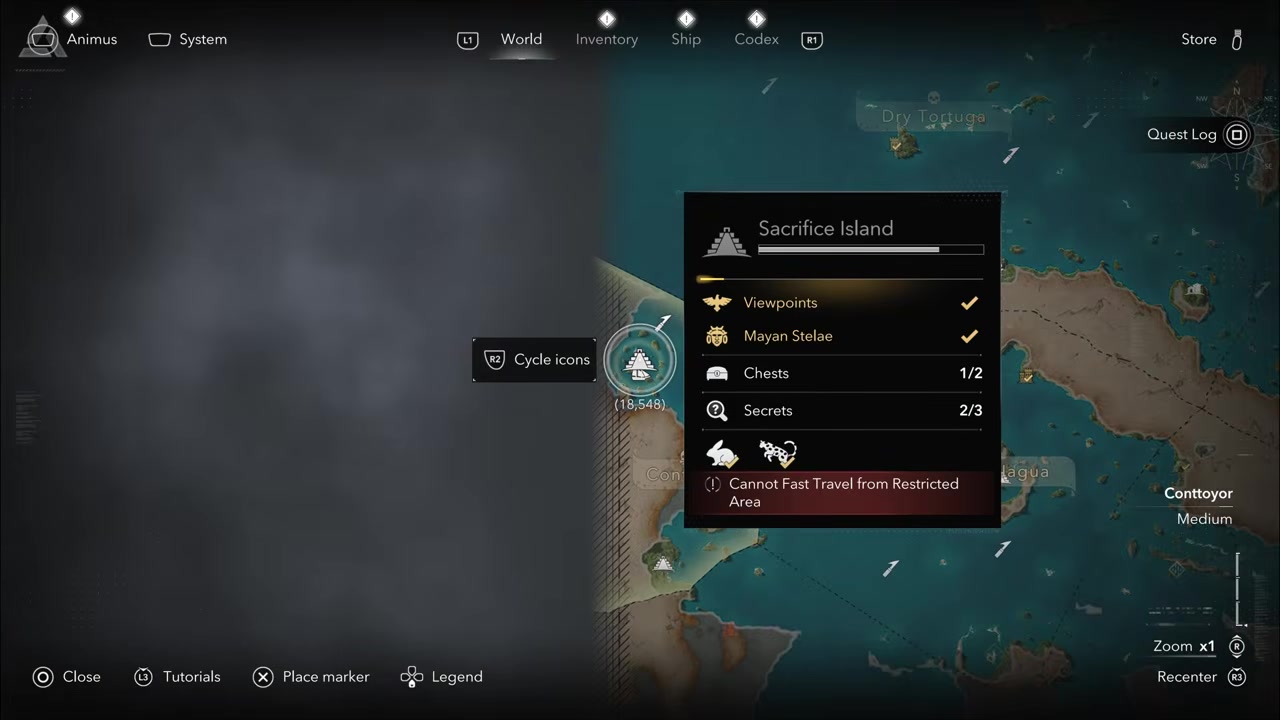
Anchor Medallion should be equipped before long sailing loops, especially while collecting crates between fights.
STEP 1/6
Sail to Sacrifice Island
The medallion is available straight out of the gate on the island.
STEP 2/6
Follow the shoreline chest route
Move from the landing area toward the shoreline chest and avoid drawing a long guard chase.
STEP 3/6
Stay anonymous before opening the chest
If guards spot you, clear them or lose alert status before trying to open it.
STEP 4/6
Loot the chest
Take Anchor Medallion from the chest on the route.
STEP 5/6
Equip it before crate pickups
Floating crates give more resources while the trinket is active.
STEP 6/6
Pick up ship loot while wearing it
Loot left floating after destroyed ships also appears to benefit, so collect it with Anchor Medallion equipped.
Captain Morgan gear on Black Island
Captain Morgan’s Outfit is an early style pickup, and the nearby Captain Morgan’s Pistols complete the look. The pistols’ standout use is appearance rather than a unique perk, because you can apply their look to another pistol through transmog.
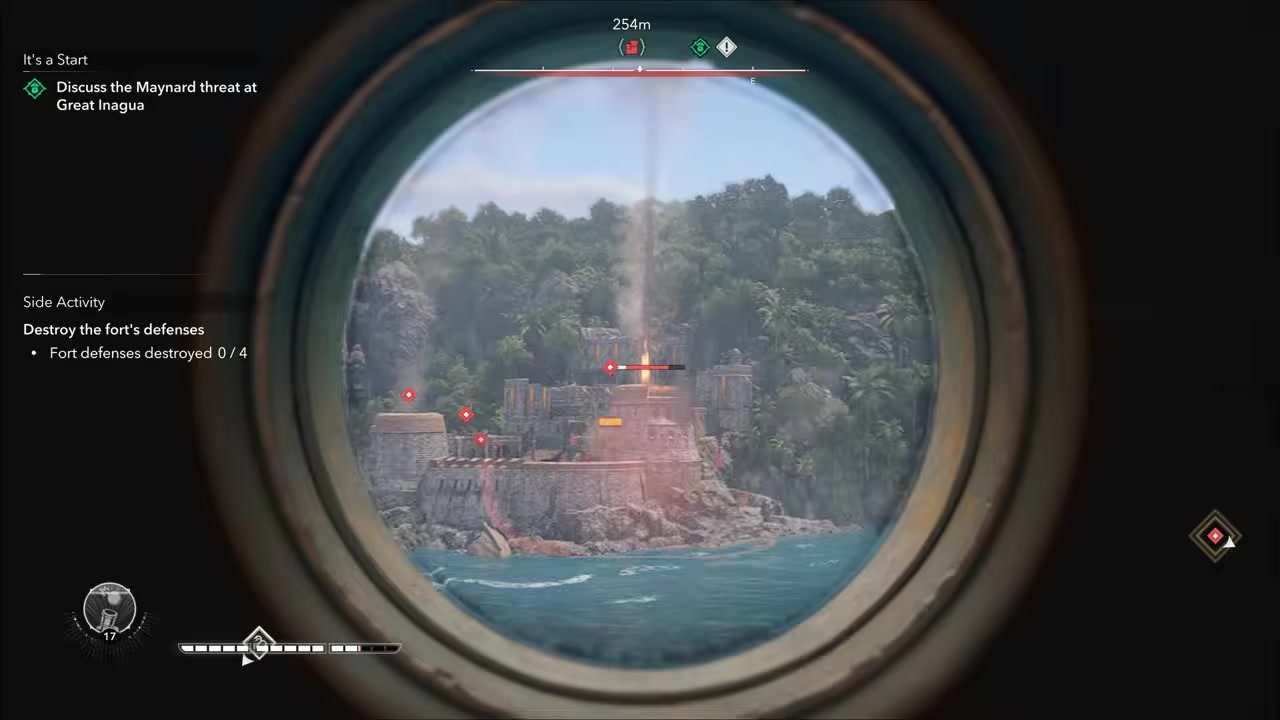
Black Island gives you the Captain Morgan outfit and pistols in one short chest route.
STEP 1/5
Spawn at the Black Island viewpoint
Start from the island viewpoint and move out of the restricted zone.
STEP 2/5
Head toward the ridge route
You can fight the guards or simply push through the route toward the chests.
STEP 3/5
Open the pistol chest
Pick up Captain Morgan’s Pistols from the chest along the way.
STEP 4/5
Climb to the outfit chest
Continue upward and loot Captain Morgan’s Outfit.
STEP 5/5
Use Change Appearance
Equip the pistol perk you prefer, then apply the Captain Morgan’s Pistols appearance for the matching look.
Rustic Flintlock pistols as the free perk pick
Rustic Flintlock pistols are free from the store for every edition, which makes them the cleanest early pistol perk to pair with the Captain Morgan appearance. Equip the Rustic Flintlocks for function, then use Change Appearance if you want them to look like Captain Morgan’s Pistols.
The perk is simple and strong: after a perfect dodge, a quick shot immediately after it does not consume ammunition. That lets you fire after a dodge without spending a bullet, creating extra shot value during close combat chains.
Ram Dash and upgraded ram for early ship burst
Ram Dash is a ship ability unlocked through Padre, one of the officers you can recruit. It works best when paired with a bought ram upgrade, because the ability rewards direct, aggressive ship contact instead of slow broadside trading.
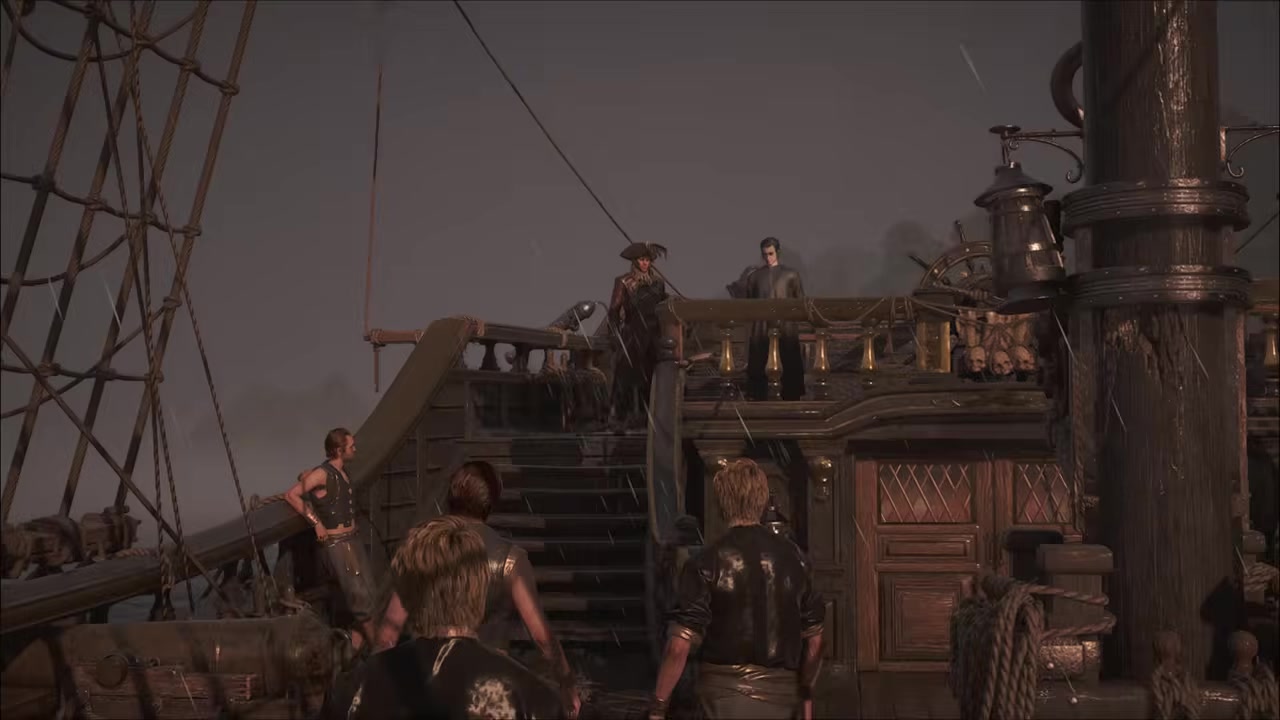
Ram Dash becomes a real early power spike once Padre is recruited and your ship’s ram is upgraded.
STEP 1/9
Start Padre’s first officer mission
Sail to Padre’s island marker and talk to him.
STEP 2/9
Finish the food errand
Tell the nearby people the food is ready to complete the short first mission.
STEP 3/9
Sail away and return
Leave the island, come back, and start Padre’s second mission.
STEP 4/9
Recruit Padre
Finish the second short mission to unlock Ram Dash.
STEP 5/9
Press L1 + R1 together to burst forward, damage ships, and begin the recharge cycle.
STEP 6/9
Buy the ram at a harbor master
Purchase the ram upgrade to add the golden ram to the front of your ship.
STEP 7/9
Pair the ram with Ram Dash
Open fights by smashing into smaller ships and chunking larger ones before swapping to broadsides or mortar.
STEP 8/9
Get the Ultimate Ram plan
Enter the La Concepcion wreck at 150,271 and open the large underwater chest for the Ultimate Ram plan.
STEP 9/9
Upgrade the ram again
Return to a harbor master and push the ram upgrade further once the plan is available.
Mortar storage and strength upgrades
Mortar is the early ship weapon that changes how safely you can fight. It hits from range, helps with forts, damages ships before they can close in, and its splash damage can pressure more than one target when ships group up.
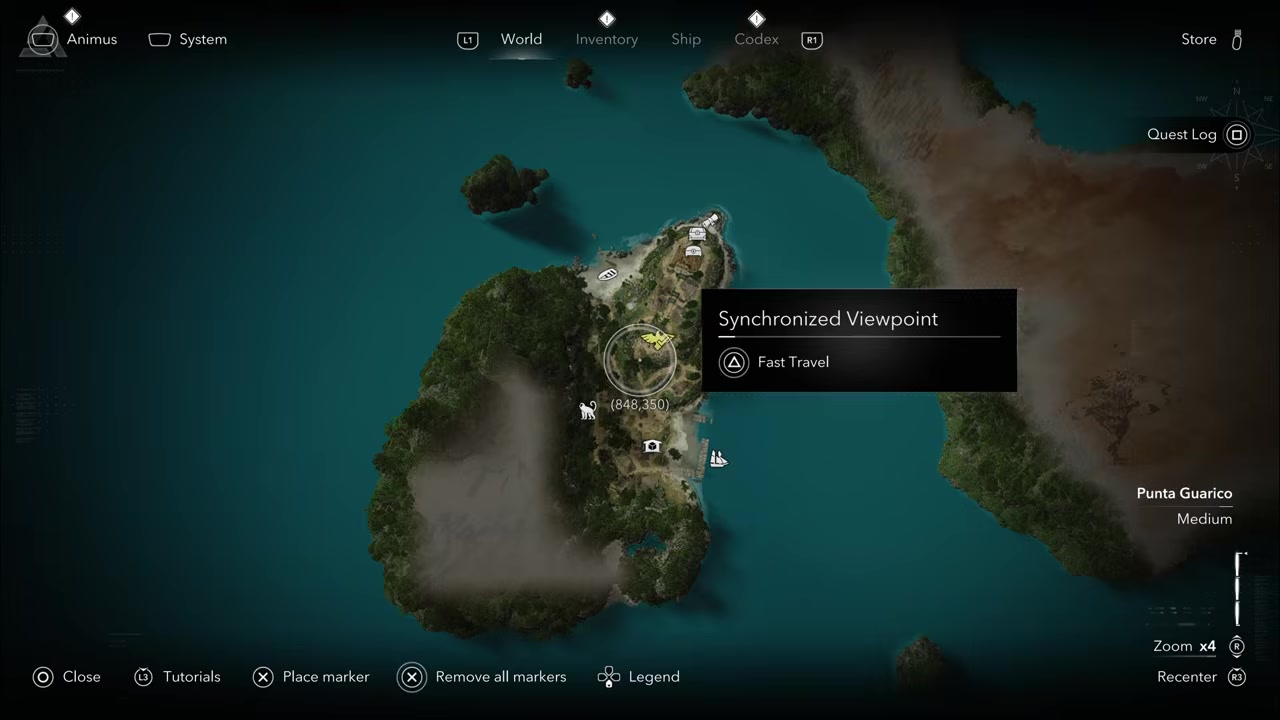
The early mortar route raises ammo first, then damage.
STEP 1/7
Collect the Tortuga treasure map
Start with the treasure map on Tortuga for the mortar storage plan route.
STEP 2/7
Sail to Matanzas
Follow the map to Matanzas and move along the path toward the waterfall.
STEP 3/7
Avoid alerting the guards
If guards spot you, become anonymous before opening the treasure chest.
STEP 4/7
Open the waterfall chest
The chest behind the waterfall contains the mortar storage plan.
STEP 5/7
Upgrade mortar storage
Mortar storage raises capacity to 20 shots, up from the small default of 3.
STEP 6/7
Get the strength upgrade
For damage, head to Antarre/Antocha; check the island label in-game, since this route’s name appears inconsistently.
STEP 7/7
<
p class=”vg-step-title” id=”pair-storage-with-strength” style=”margin:16px 0 6px”>Pair storage with strength
More shots plus stronger hits make forts and ship groups much easier to pressure from range.
Video help
Captain Drake gear on Sacrifice Island
If you are already stopping at Sacrifice Island for Anchor Medallion, sweep the shoreline for the optional Captain Drake’s Outfit and nearby Drake’s Swords. Drake’s Swords deal 38 damage and include a heavy strike move, making them a strong early side pickup if you want melee power before spending heavily elsewhere.
Keep this as a route bonus rather than the first detour. Anchor Medallion affects your sailing economy right away, while Captain Drake’s gear is best grabbed when you are already on the island.
Early store and Exchange weapons after free pickups
| Weapon | How to get it | Best use |
|---|---|---|
| Officer’s Blade | Buy from any General Store | Chain stat 4 for up to four guard kills after one Perfect Parry |
| Matched Golden Swords | Buy from the Treasure Dealer at your home docks | 25 damage, chain 4, and longer lunge range during chains |
| Altaïr’s Swords | Buy from the Exchange with Animus Keys; Altaïr’s Swords cost around 3,000 Keys | Early Exchange sword target if you have Keys ready |
| Ezio’s Swords | Buy from the Exchange with Animus Keys | Alternative Exchange sword target before heavy Reales spending |
| Lucy Baldwin quest pistol | Complete Lucy Baldwin’s third Officer quest, Plantain! | Strong early pistol target after Rustic Flintlocks |
After the free and chest-based pickups, spend carefully. Officer’s Blade and Matched Golden Swords are straightforward Reales options, while Altaïr’s Swords and Ezio’s Swords use Animus Keys through the Exchange.
Returning players may already have Keys from earlier projects like Shadow, which can make Exchange swords available before the Resurgence story gets far. For pistols, Lucy Baldwin’s third Officer quest, Plantain!, is the early quest target to remember.
Once this early list is handled, keep Cannon-Barrel Pistols in a western cove chest, Gun Swords, and Le Bourgeoys through Bernand at your mansion on the longer-term list. Le Bourgeoys needs art pieces, deals 38 damage, and fires three times during heavy strikes.
Free Additional Content and Eye in the Dark rewards
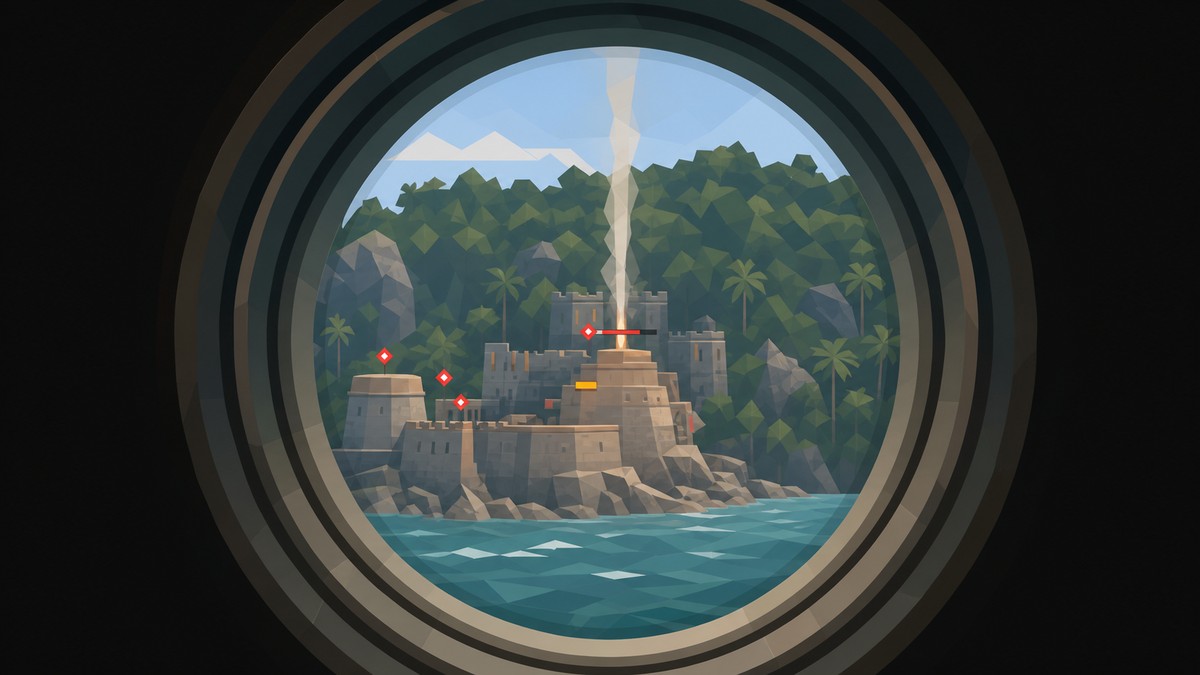
Before spending, check the Additional Content menu for free rewards. The early freebies include the Shipmate Monkey pet and Nomad’s Bronze Ensemble legendary outfit, which are easy value if you want extra cosmetics immediately.
Also activate the Resurgence Project Eye in the Dark early if you plan to progress those rewards over time. Its reward path includes Dark Animus Corsair Flintlocks, the Obsidian Monolith legendary trinket, Dark Animus Corsair Robes, and a legendary pet.
Mistakes that slow the early route
The biggest mistake is leaving Havana without Exotic Sea Shells and Folded Palm. Those two pickups make normal early play pay out better, so farming animals or clearing guards before equipping them leaves money and materials behind.
KEY!Do not delay naval upgrades too long, either. Anchor Medallion, Ram Dash, the upgraded ram, and mortar upgrades all reduce the time spent grinding ships for resources.
Use transmog instead of forcing weak style choices. Captain Morgan’s Pistols can provide the look while Rustic Flintlocks provide the perk, and the same logic applies when you prefer one sword’s stats and another sword’s appearance.
Finally, do not skip Dry Tortuga just because you lack a mortar. You can break the fort walls with normal ship cannons, defeat the guards, and raise your flag to unlock Double Shot for chasing ships.
Frequently Asked Questions
What is the first early item you should grab?
Exotic Sea Shells should be first if you want the strongest overall economy start, because it increases wildlife products from skinning and speeds crafting materials. Before leaving Havana, also grab Folded Palm so guard takedowns start giving 50 gold each.
Where is Exotic Sea Shells in Havana?
Exotic Sea Shells is in southeast Havana, around 213,568, inside a treasure chest between two buildings. Equip it before hunting, harpooning, or stockpiling animal materials.
How do you get Folded Palm?
Go to Havana 225,589, spawn from the nearby viewpoint, and head to the dock NPC carrying the trinket. Pickpocket or assassinate him, then equip Folded Palm for 50 gold per takedown.
Is Anchor Medallion worth using early?
Yes. Anchor Medallion is worth equipping during sailing loops because it increases resources from floating crates, which means more wood, wine, spice, and other materials while you travel between objectives.
Can you get the mortar early?
Yes. Start with the Tortuga treasure map, then open the chest behind the Matanzas waterfall for the mortar storage plan. That raises storage to 20 shots, and the strength upgrade route adds the damage boost after that.
More questions⤵
Do Captain Morgan’s pistols have unique perks?
No. Captain Morgan’s Pistols are mainly valuable for their appearance, so the better play is to equip a perk pistol like Rustic Flintlocks and apply the Captain Morgan look through Change Appearance.
What should you equip before farming animal skins?
Equip Exotic Sea Shells before farming skins. It increases wildlife products from skinning animals, and the deer loop around north and northeast Kingston becomes much more profitable when every animal gives extra materials.




Leave a Reply