What to know
- You can access your Android phone’s storage on File Explorer on Windows without a USB cable.
- Install Link to Windows app on your phone. Then connect it to Windows from Settings > Bluetooth & devices > Mobile devices.
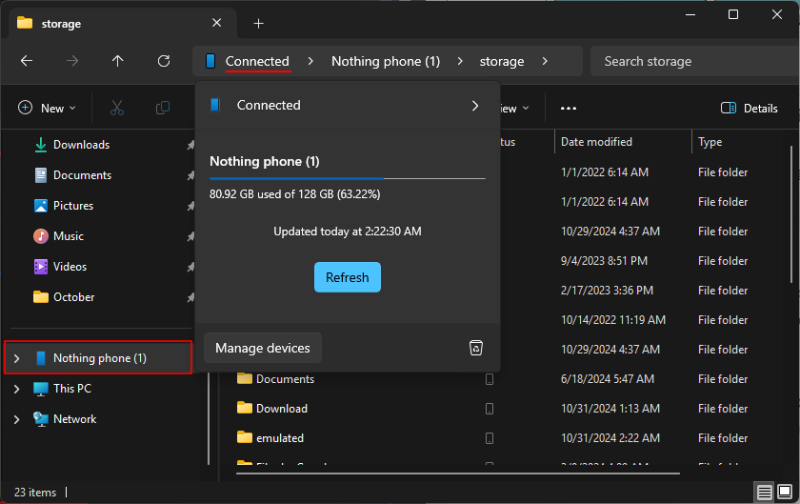
- Once connected, your Android phone’s storage will be available from the File Explorer’s sidebar. You can access your storage wirelessly as you would with a USB cable. Opening, copying, moving, or deleting files is fast and everything’s done over Wi-Fi.
- The Android integration in File Explorer is available for Windows 10 as well.
Gone are the days of fumbling with USB wires to connect your Android device with a PC. Thanks to a slew of updates, Microsoft has made it possible to connect your Android device to Windows and access its storage wirelessly, natively.
What’s even better is that once you’ve set it up, the device connects automatically over Wi-Fi so you can access your Android device’s storage without having to click any buttons. As such, you basically have access to your Android storage via File Explorer all the time.
We covered this feature back in July when it was still being developed and available only for Windows Insiders. But now that it’s available for everyone, it’s become a much simpler process. Here’s everything you need to know to connect and access your Android’s storage via your PC wirelessly.
How to connect your Android devices with Windows wirelessly
The feature is available via ‘Manage mobile devices’ settings page. It’s the same feature that lets you use your Android phone as a connected camera as well show you notifications when you take a photo or screenshot on your phone.
Requirements
Before you begin, make sure to install or update the following to ensure a seamless process:
- Update Windows
- Install or update Link to Windows app on every Android device you want to connect
- Android devices running Android 8.0 or later
- Link to Windows app version 1.23112.189 or later
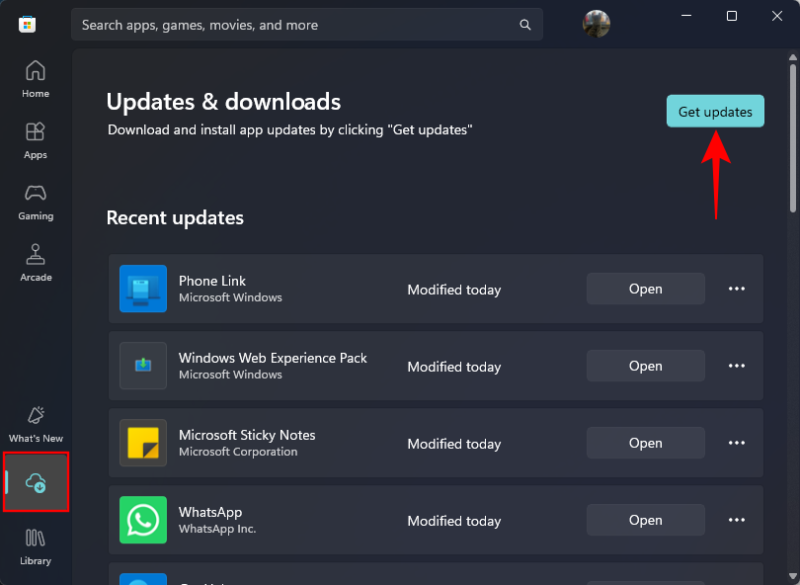
The feature also requires ‘Cross-Device Experience Host‘ to function. However, this should get updated automatically once you connect your device. If you encounter any issues, open Microsoft Store, click on ‘Downloads’ in bottom left, and click Get updates.
Guide
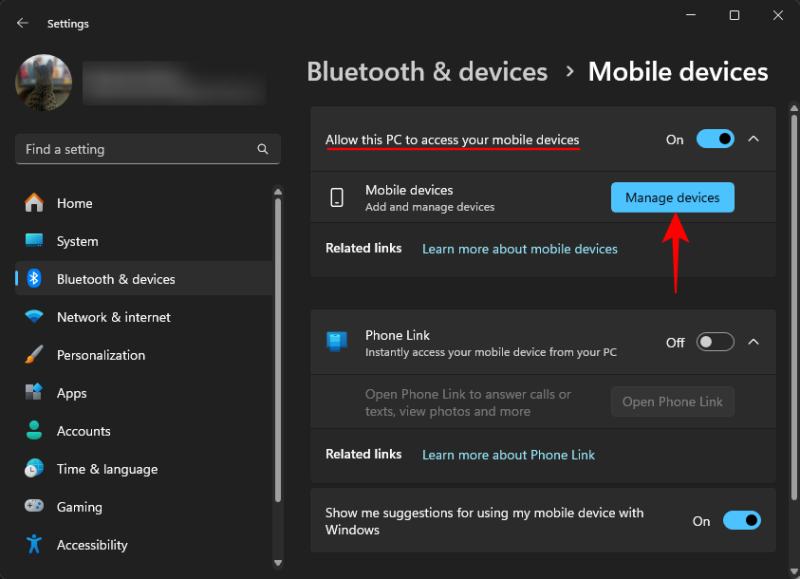
Step 1: Open the Settings app and go to Bluetooth & devices > Mobile devices.
Step 2: Enable Allow this PC to access your mobile devices. Then click on Manage devices.
Step 3: If prompted, sign in to your Microsoft account.
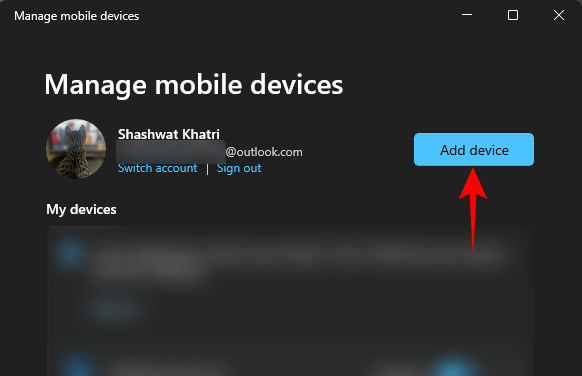
Step 4: Click on Add device.
Step 5: Open the Link to Windows app on your Android phone and sign in using the QR code on your PC, or simply use your MS account credentials.
Step 6: Make sure to provide all the necessary permissions for the feature to work.
Step 6.1: On PC, click on “Allow permissions” to do so.
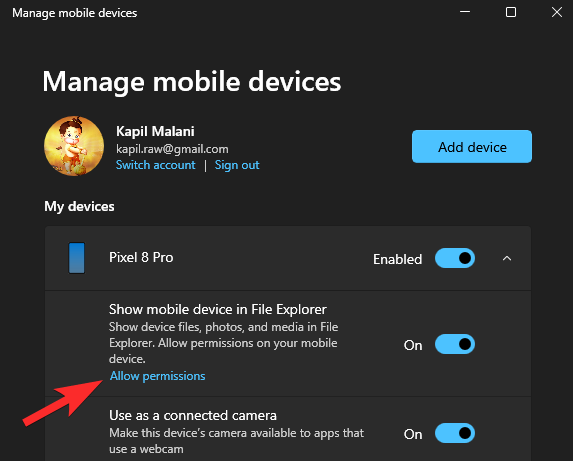
Step 6.2:This will give you a prompt, click “Continue”.

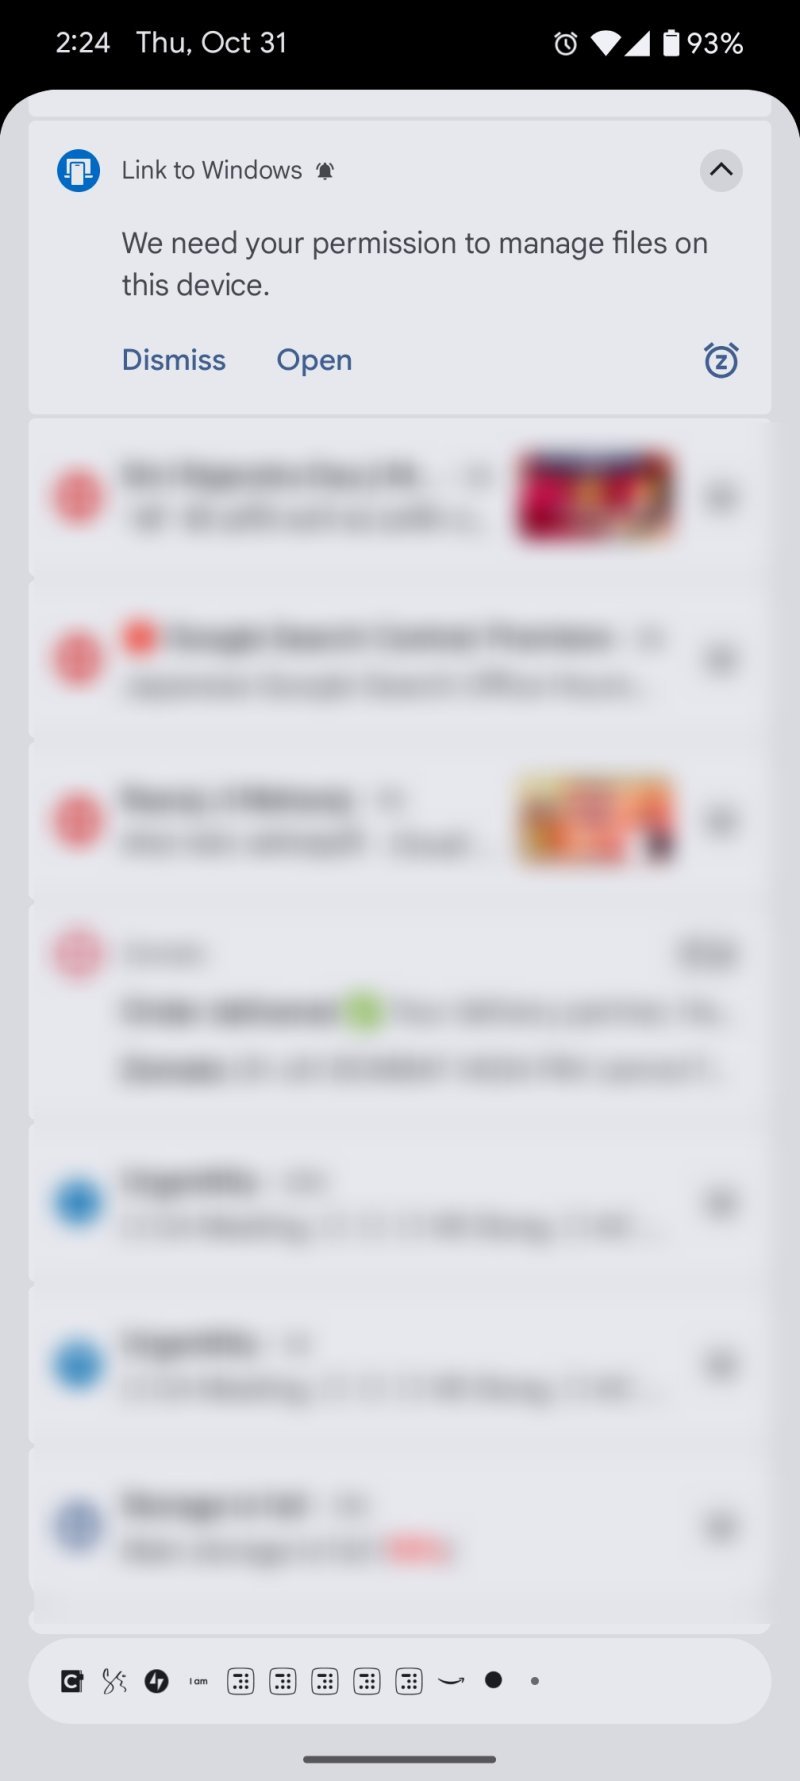
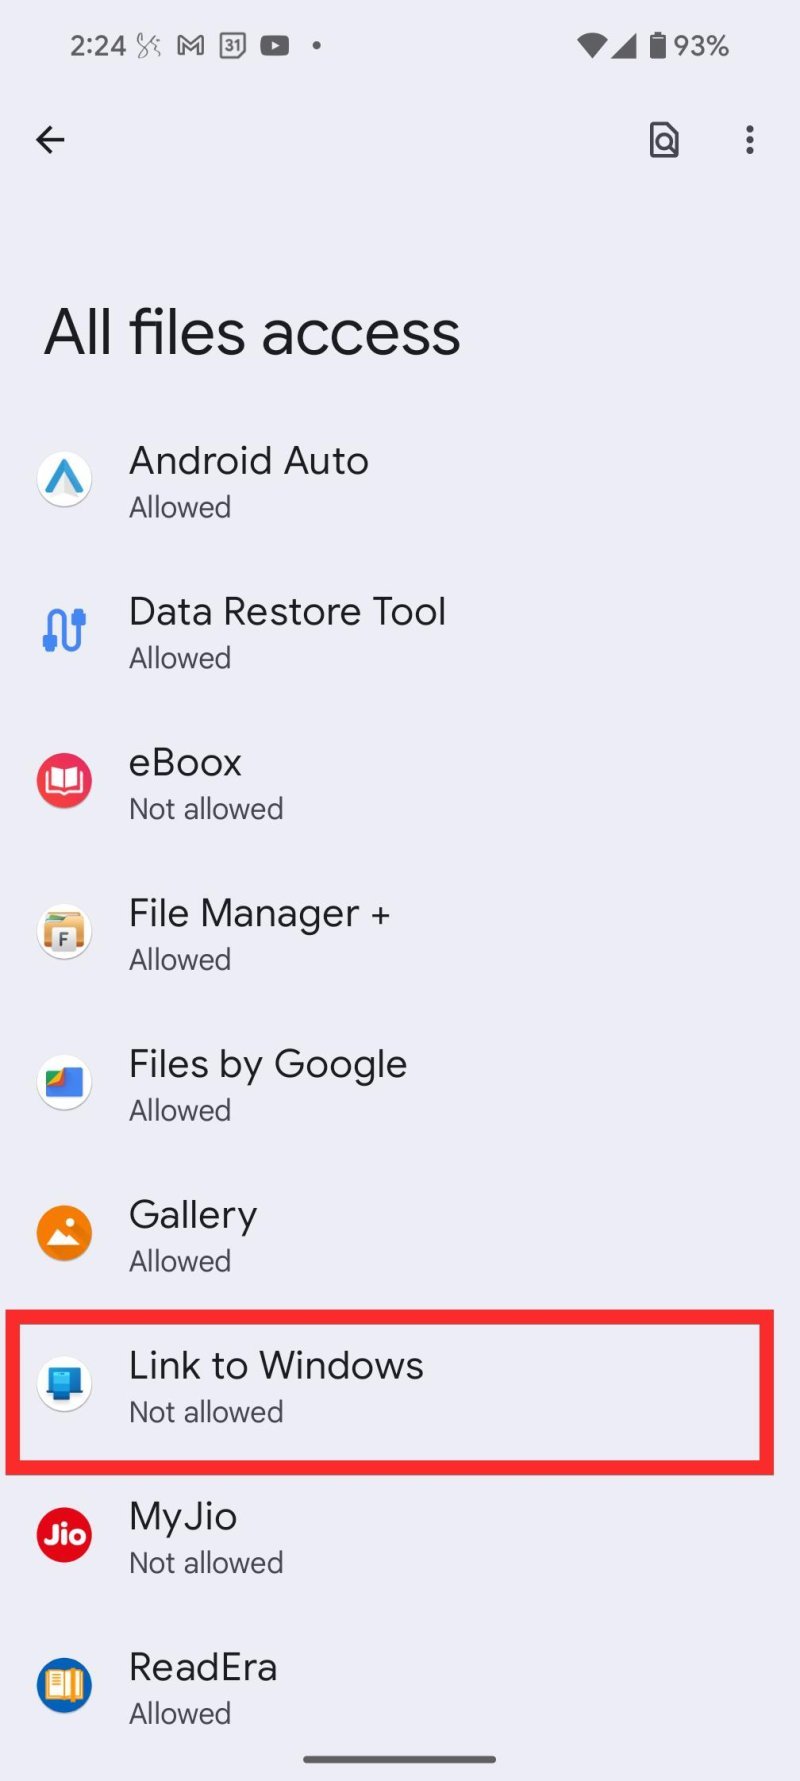
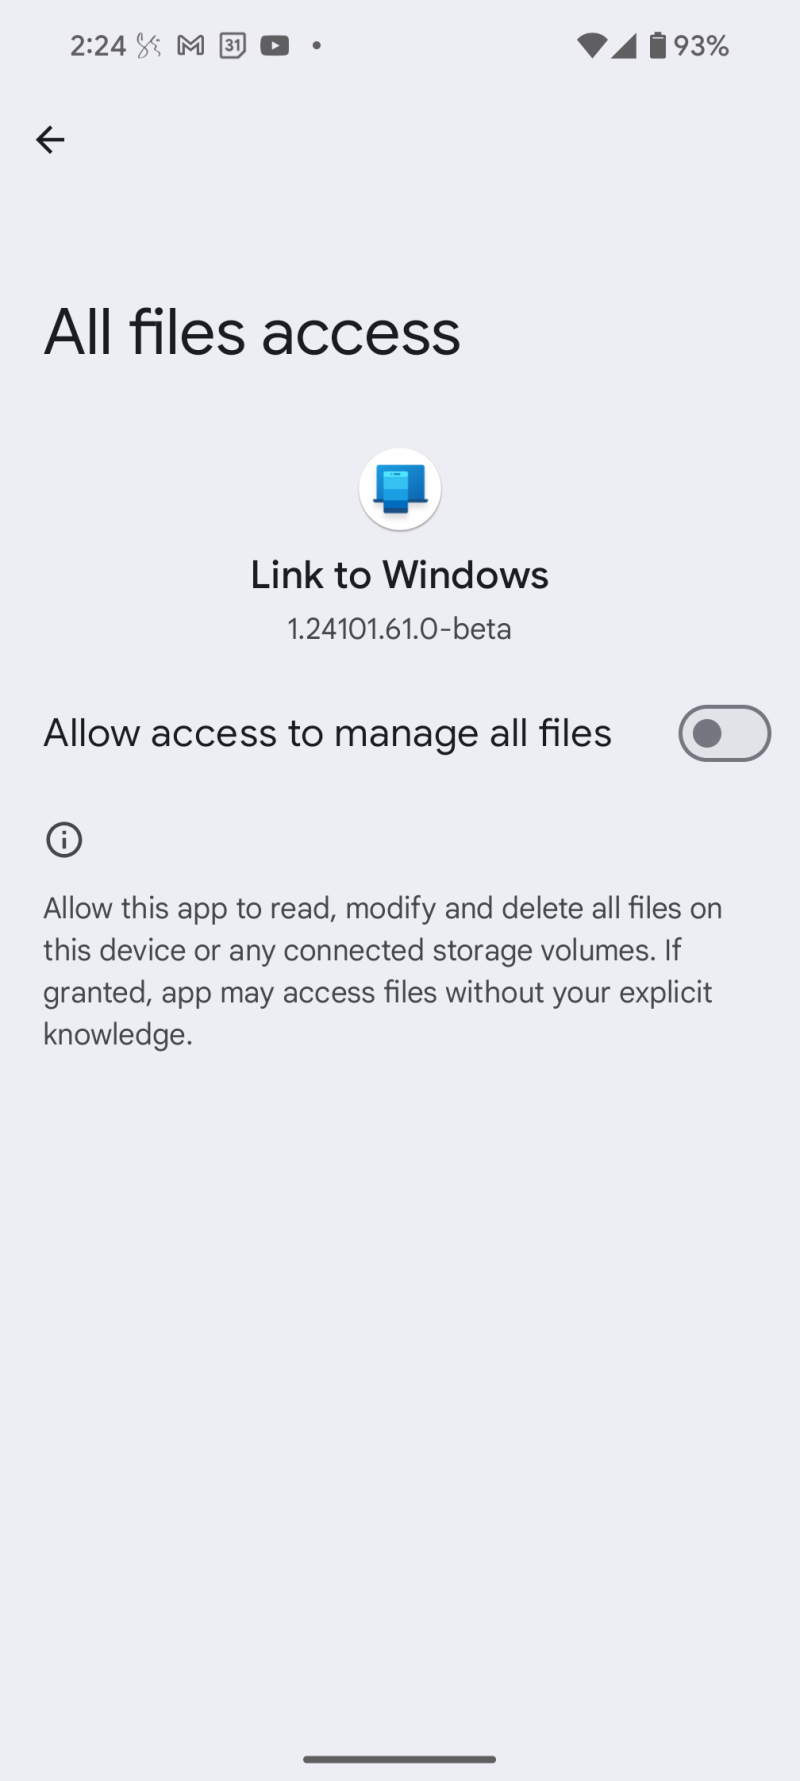
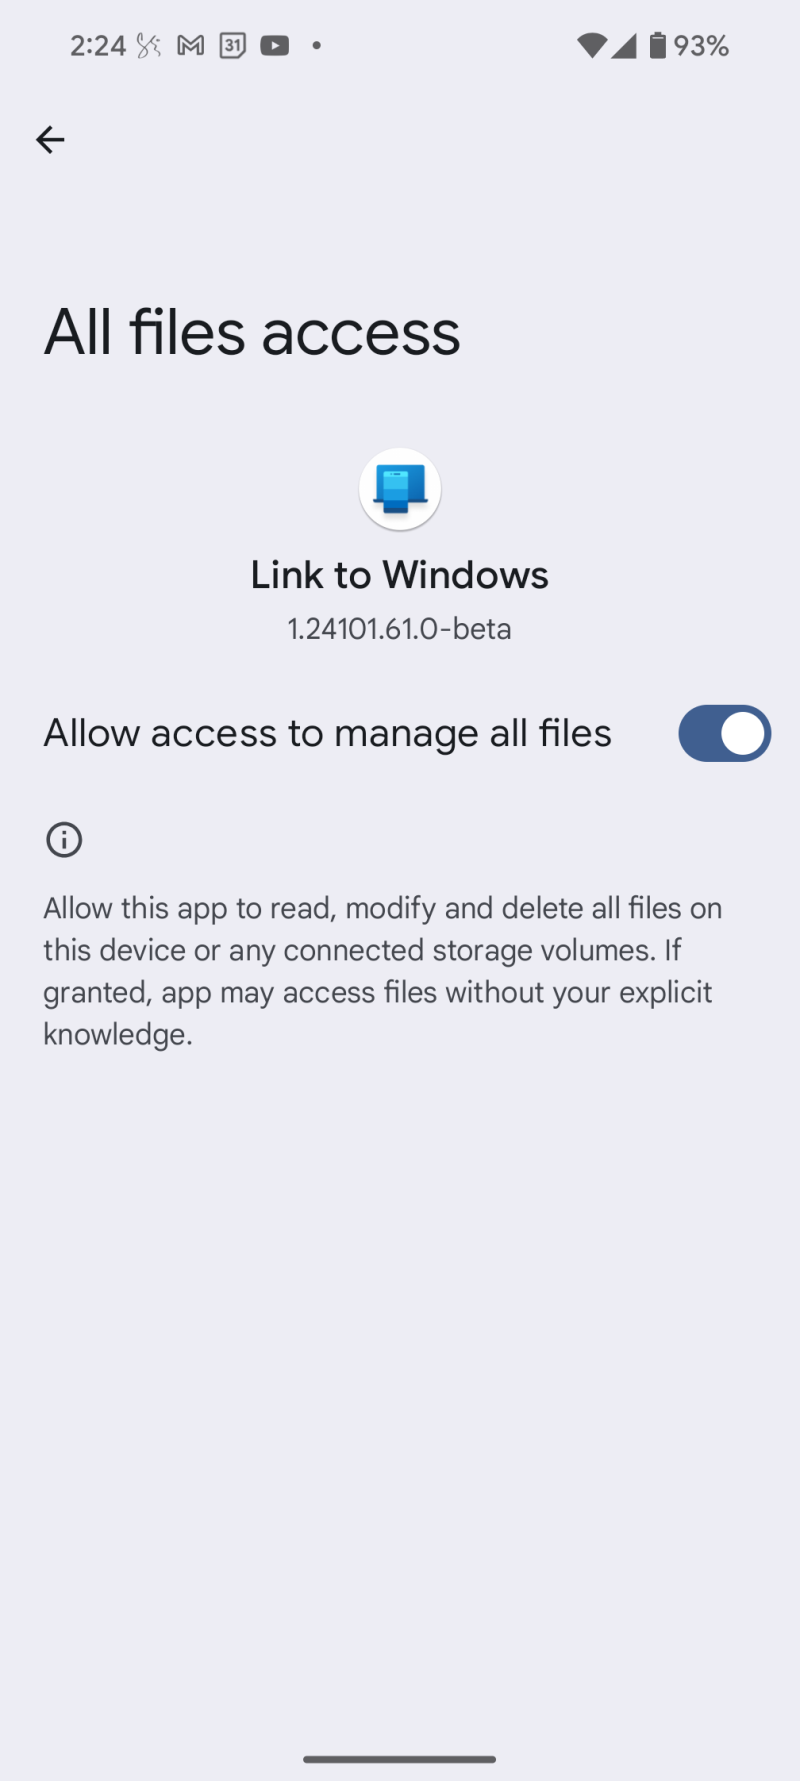
Step 6.3: Now, check your mobile phone for which you are giving permissions. You will receive a notification to allow permissions. Click on the notification. You will reach the “All files access” screen. (You can also reach this screen by searching for it in the Settings app.) Now, select the “Link to Windows” app here and then enable the “Allow access to manage all files” option by pressing on the toggle button.
Step 7: Once linked, you should see the option ‘Show mobile device in File Explorer’ under your device. Make sure it is toggled on.
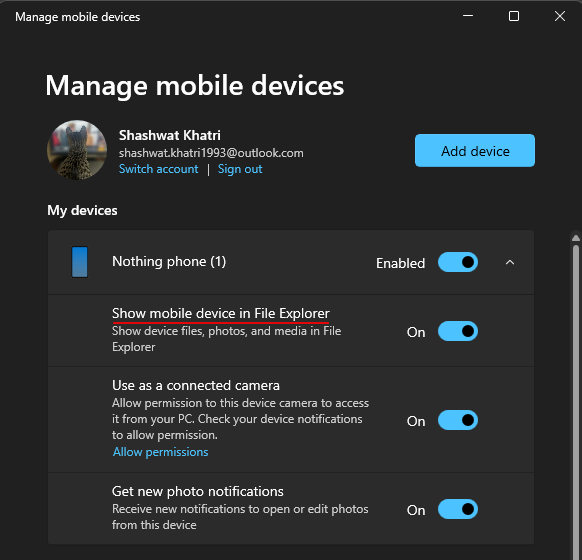
Tip: If you don’t see the option, restart your PC once. Once you’re back, you should see your phone available from the sidebar in the File Explorer.
How to access Android storage on Windows
Accessing your phone’s storage over Wi-Fi works quite well. It’s slick and fast and you won’t even realize that it’s being done without a USB cable.
Click on your Android phone in File Explorer’s sidebar to access all files and folders on your device.
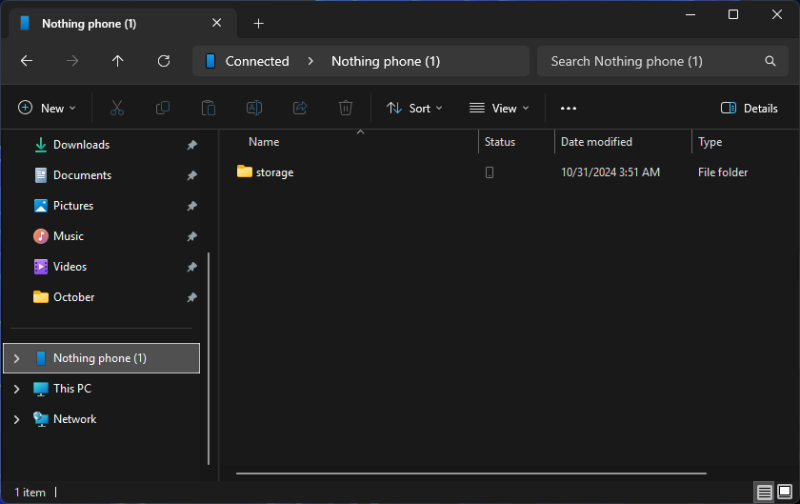
This is the only way to access your Android device storage. It won’t show up under ‘This PC’.
By default, the ‘Status’ column will display the phone icon. This means that the file/folders are available only on the device.
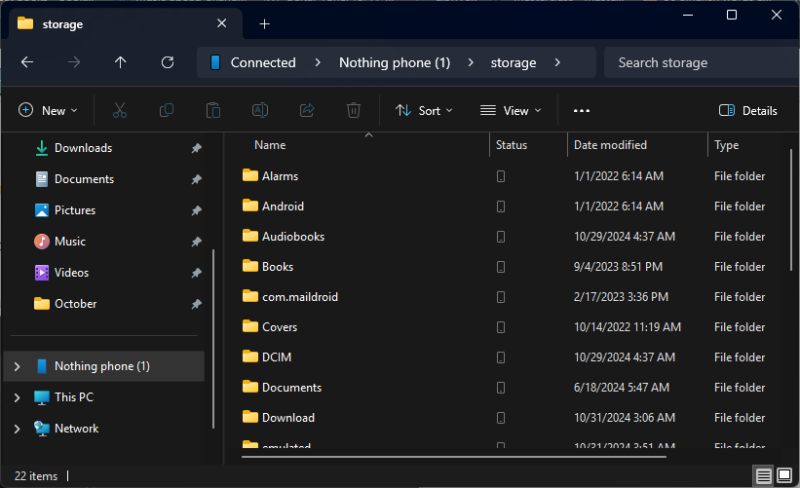
But once you open them and the files/folders are temporarily downloaded, you’ll be able to access them just like any other file.
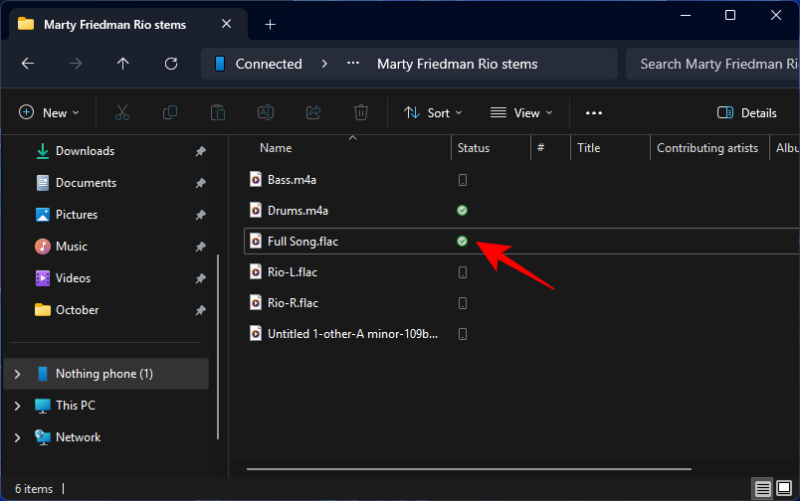
You can also rename the files and folders, move them around, copy new files, or delete them from your phone’s storage.
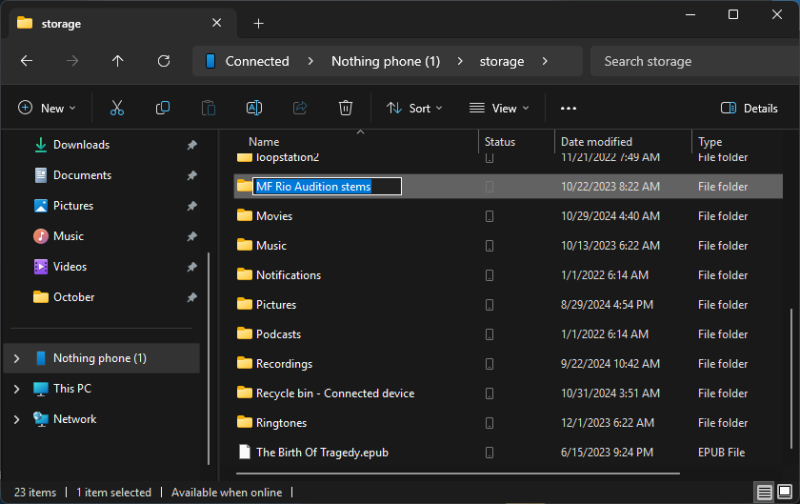
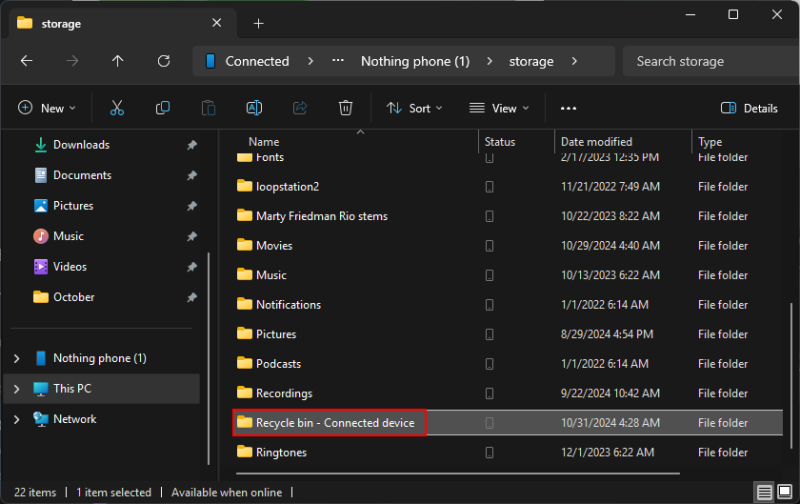
It will all be reflected in the Files app on your Android device. One thing to note is that once you delete files on your phone using Windows, they will be sent to a new ‘Recycle bin – Connected device’ folder on your phone where they will remain for 30 days after which they will be deleted automatically.
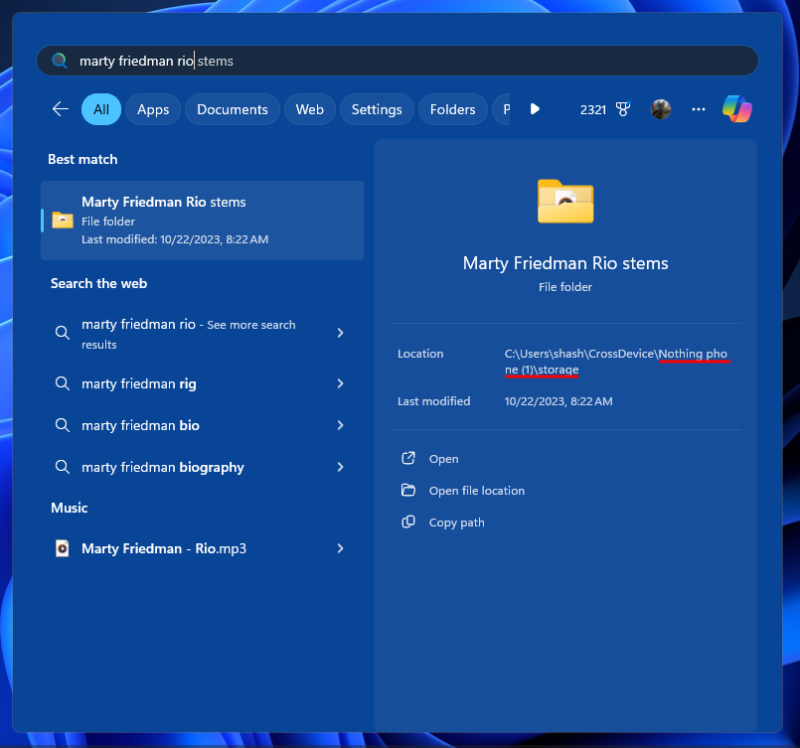
The files will also show up in search results, which makes it super easy to find them quickly.
The feature is also available on Windows 10. Access it from the Settings app > Mobile devices to get started. Note that you don’t need to use the Phone Link app at all on Windows. The whole thing is managed using the Mobile Devices feature.
If you have multiple Android devices, you can connect all of them the same way and have access to their storage from the File Explorer — one at a time — without ever having to use a USB cable. We hope the same can become possible with iPhones as well.
FAQ
How many Android phones can you get in File Explorer?
You can add multiple Android phones and tablets under the “Mobile devices” in Windows settings but you can get only one device at a time to show up in File Explorer.

How to switch between different mobile devices in File Explorer?
You can easily change the mobile device whose storage shows in File Explorer by going to Settings app > Bluetooth & devices > Mobile devices > Manage devices > Toggle on the option “Show mobile device in File Explorer” for the device you want to switch to.


