What to know
- To create Word Art, go to Google Docs > Insert > Drawing > New > Actions > Word Art.
- You can customize the Word Art you added by changing the font type, size, and color, applying borders, rotating elements, and modifying the image size, position, style, and text wrapping.
- Check out the post below to learn more.
You can use Word Art inside documents to make certain words appear more significantly and capture people’s attention. Word Art is a digital documentation feature that lets you add visually stimulating elements to text on Google Docs.
In this post, we’ll provide a step-by-step guide on how to add word art in Google Docs and customize it in all the ways possible.
Related: 2 Easy Ways to Save Google Docs Files as PDFs on iPhone
How to add Word Art in Google Docs
Here’s how to add and customize Word Art in Google Docs.
Method 1: Using the Drawings menu
- Open Google Docs and select a Blank document (or use an existing document).

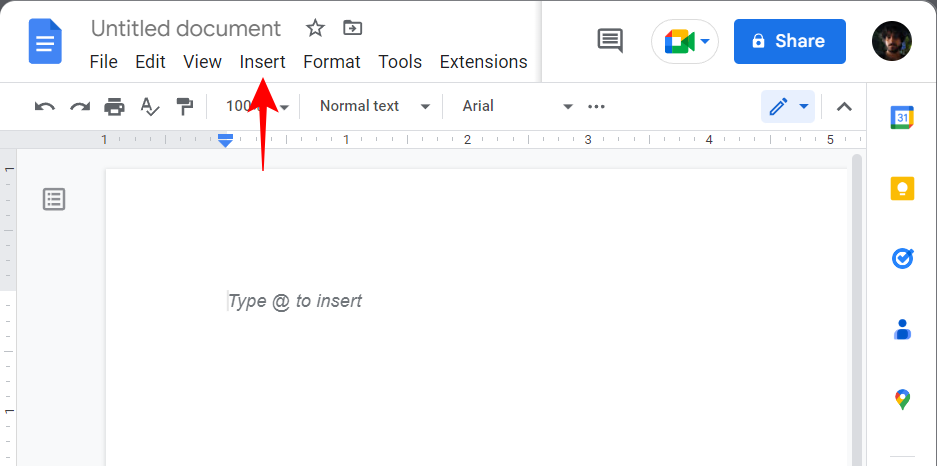
- In your document, click on Insert.
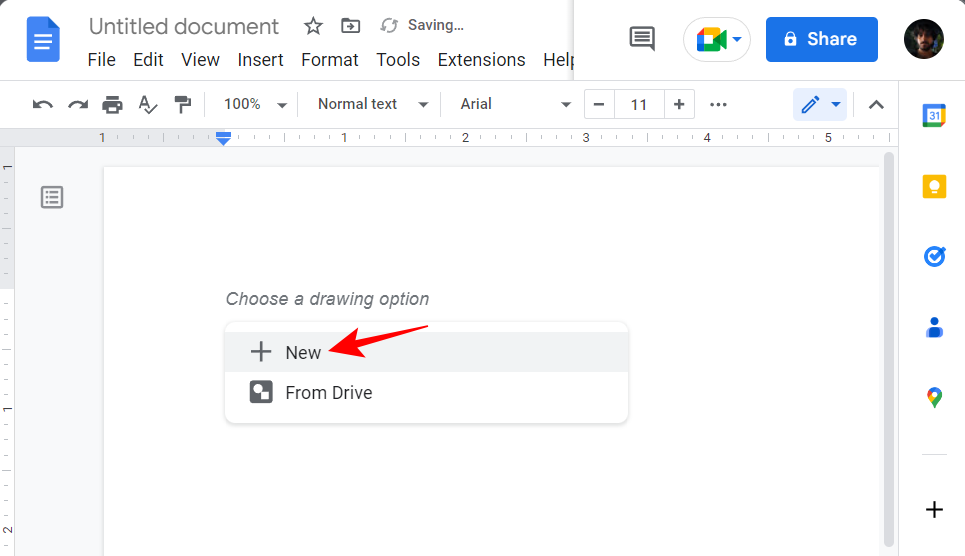
- Select Drawing, and then click on New.

- Alternatively, type
@drawingand select Drawing.

- Then select New.
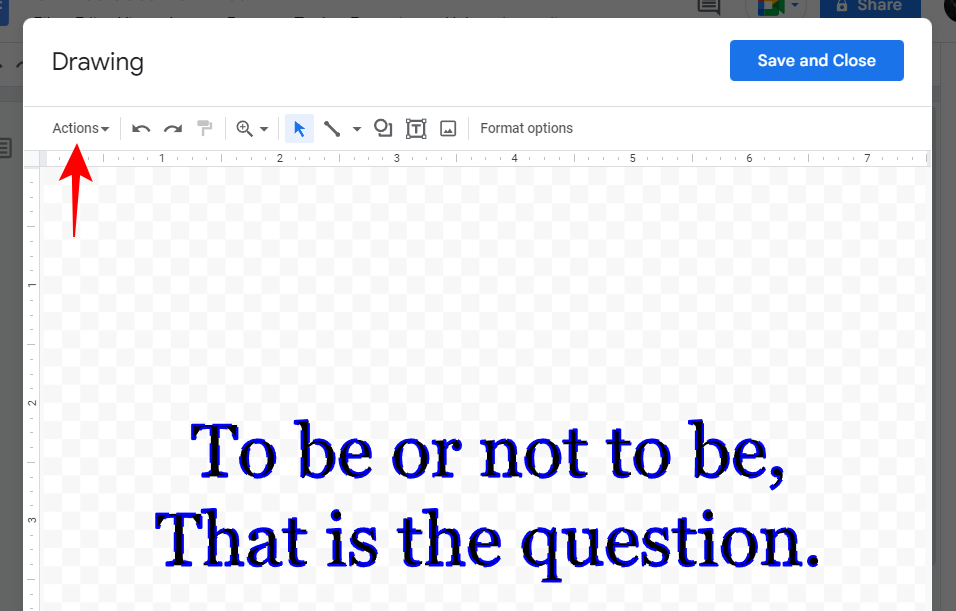
- Once the ‘Drawing’ window opens, click on Actions in the toolbar.

- Select Word Art.

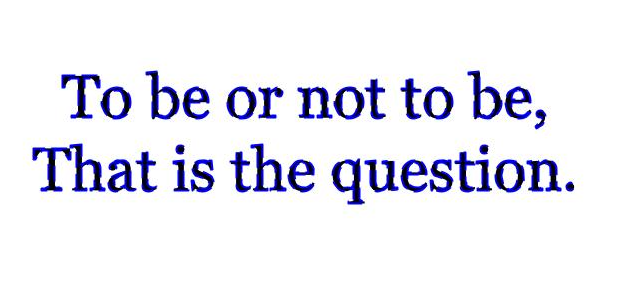
- This will bring up the text box. Type in the words that you want to turn into word art.

- As suggested, if you want to add multiple lines, use
Shift+Enter.
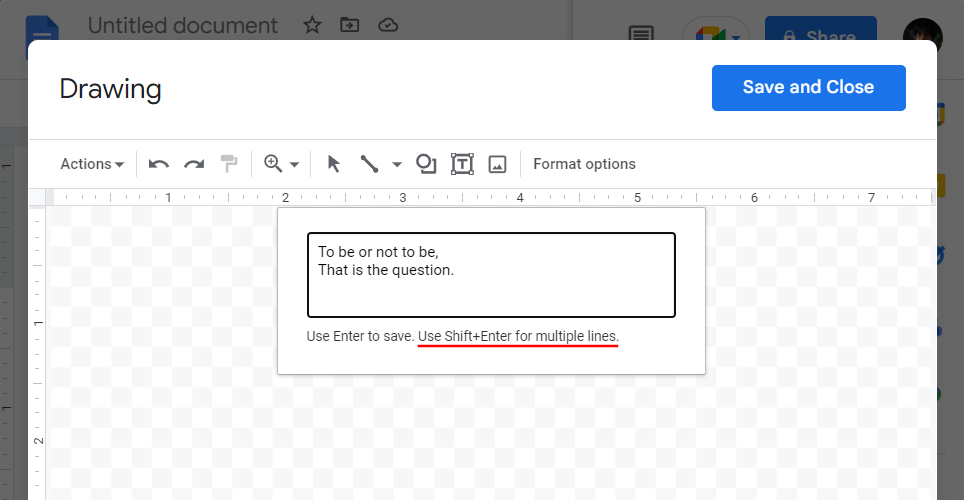
- Once you’re done typing, simply press
Enterto save. Your words will be added to the drawing board.

Related: Insert a shape in Google Docs: Step-by-step guide
Method 2: Generate and add word art as an image
If the native options to generate word art in Google Docs don’t cut it for you, then you might benefit from doing so via other sources. Here are a couple that you should check out.
2.1 – Using cooltext.com
Cooltext is as run-of-the-mill as they come – free, minimalist, and with tons of cool text graphics presets.
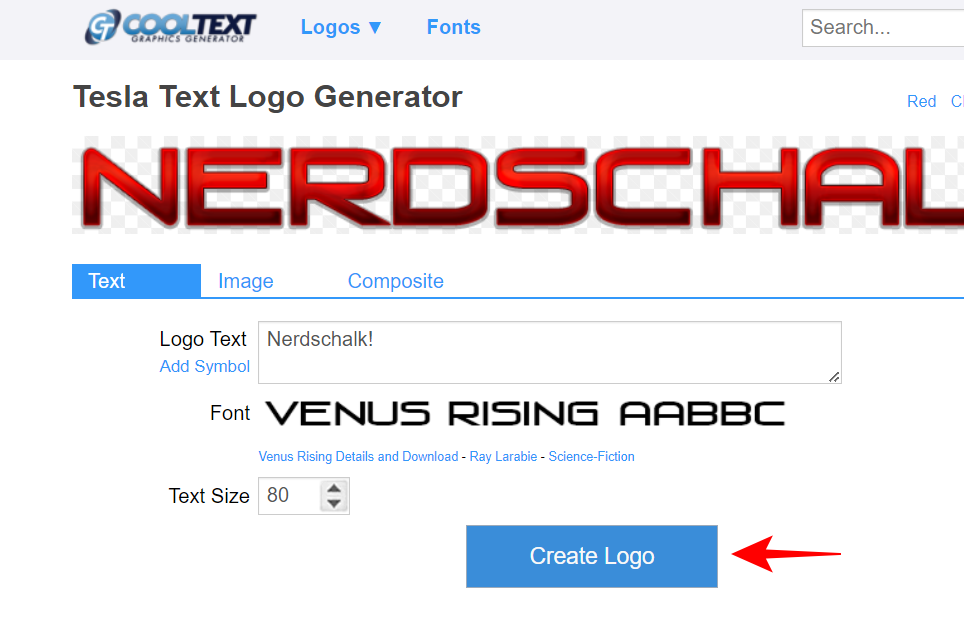
- You can generate word art by going to cooltext.com and choosing a text style.

- Enter your text in the ‘Logo text’ field.

- Then change ‘Text Size’.

- Once done, click on Create Logo.
- Lastly, click on Download.
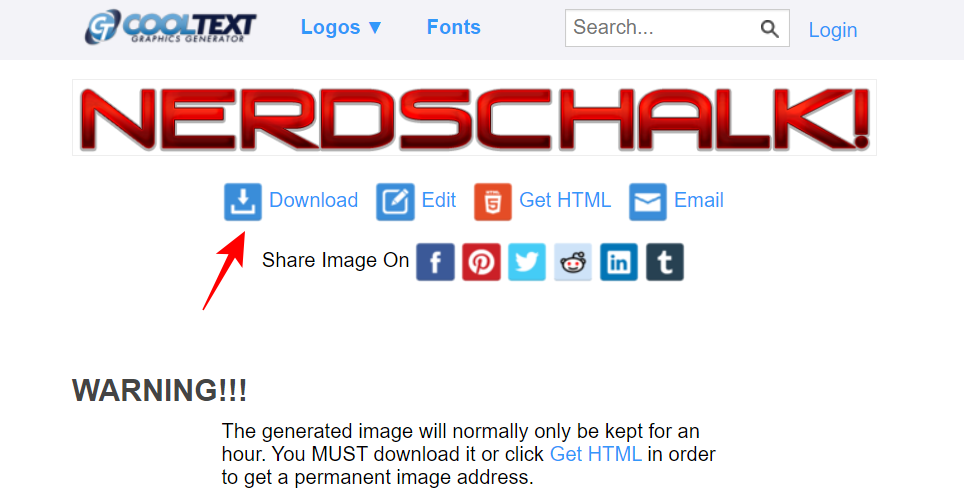
- Open the download image to see the word art output.

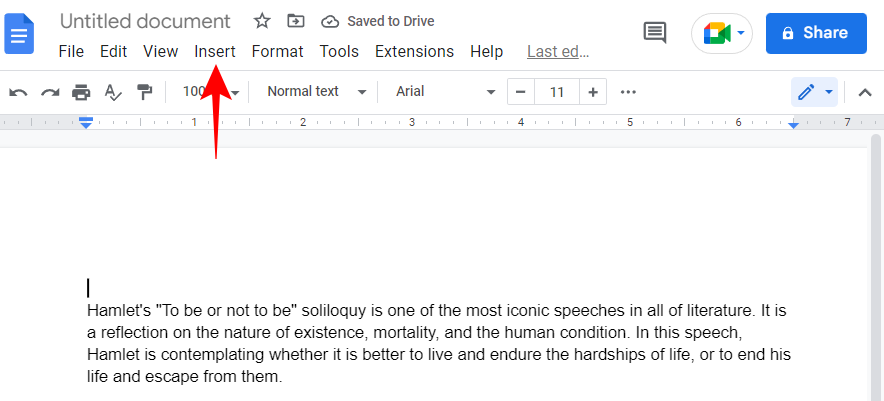
- To insert the image in Google Docs, open your document and place the cursor where you want to insert the downloaded image. Then click on Insert in the toolbar above.
- Then select Image, and then Upload from Computer.

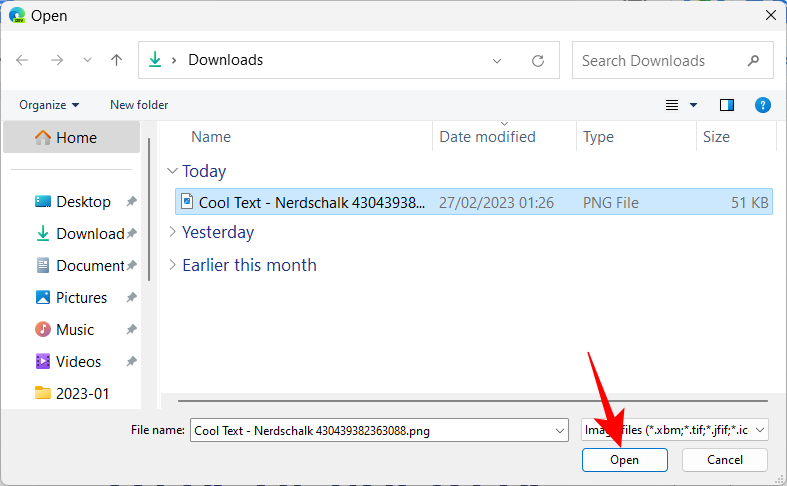
- Select the downloaded image from cooltext.com, and click on Open.
- You’ll be able to adjust its size and positioning as shown earlier. Simply click on the inserted image to reveal its options.

Related: How to insert a checkbox in Google Docs
2.2 – Using inkpx.com
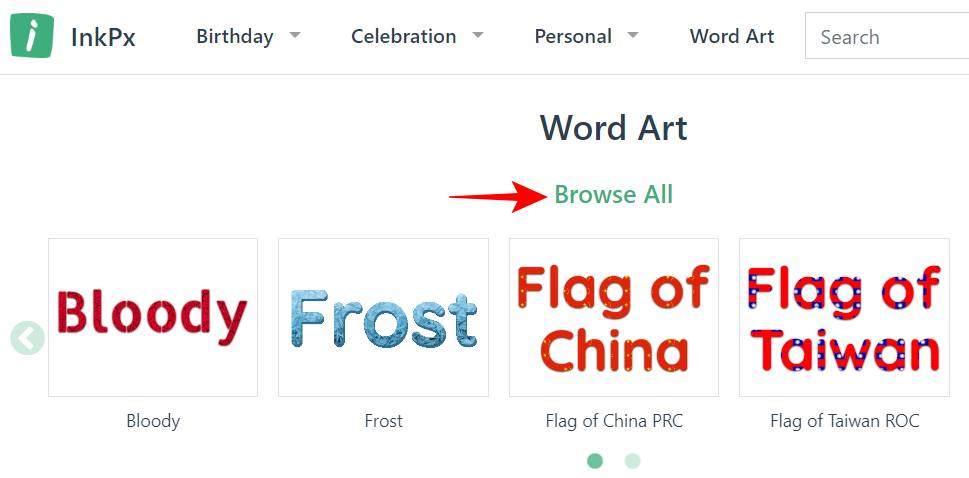
Another good source for generating and downloading word art images is inkpx.com. This one has a few extra options for you to customize your Word art. Click on the link to access the site.
- Word Art presets will be shown at the top. To check out all of them, click on Browse All.
- Choose from a category from the left pane, and then click on the word art format that best suits your purpose.

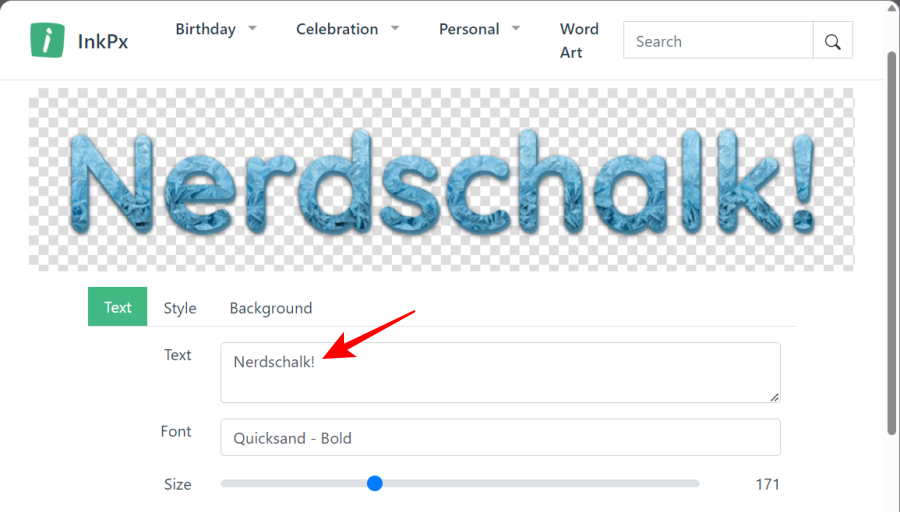
- Now, enter your text next to the ‘Text’ field.
- Select your font.
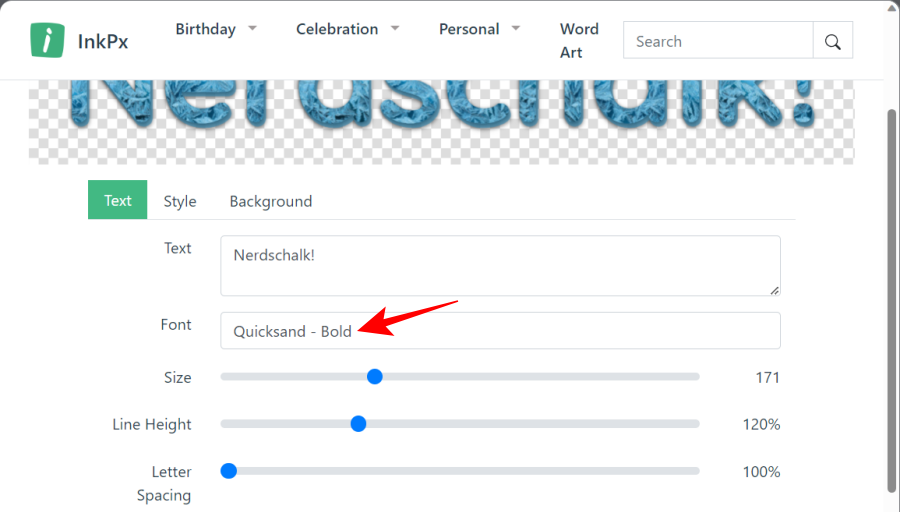
- Change the size, line height, and letter spacing using their respective sliders.

- If you want, you can also change the ‘Style’ and ‘Background’ by switching over to those tabs and choosing from the available options.

- Once you’re done customizing your word art, click on Download at the bottom.

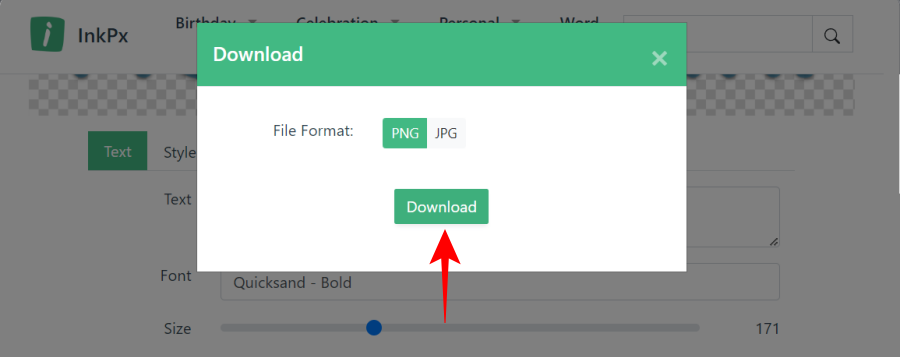
- Select your format and click on Download.
You can now insert the downloaded image into your Google Docs document as shown before.
Related: How to Merge Cells in Google Docs on Mac, Windows, Android or iOS
How to customize your word art in Google Docs
From the same page, you can customize your word art in every way imaginable. Let’s go through each option step-by-step to see how you can make use of it:
1. Change Font, Bold, and Italicize
Unless you want to go with the default ‘Arial’ font, you will want to experiment with the fonts to see which one looks best.
- Click on the font drop-down menu to get more font options.
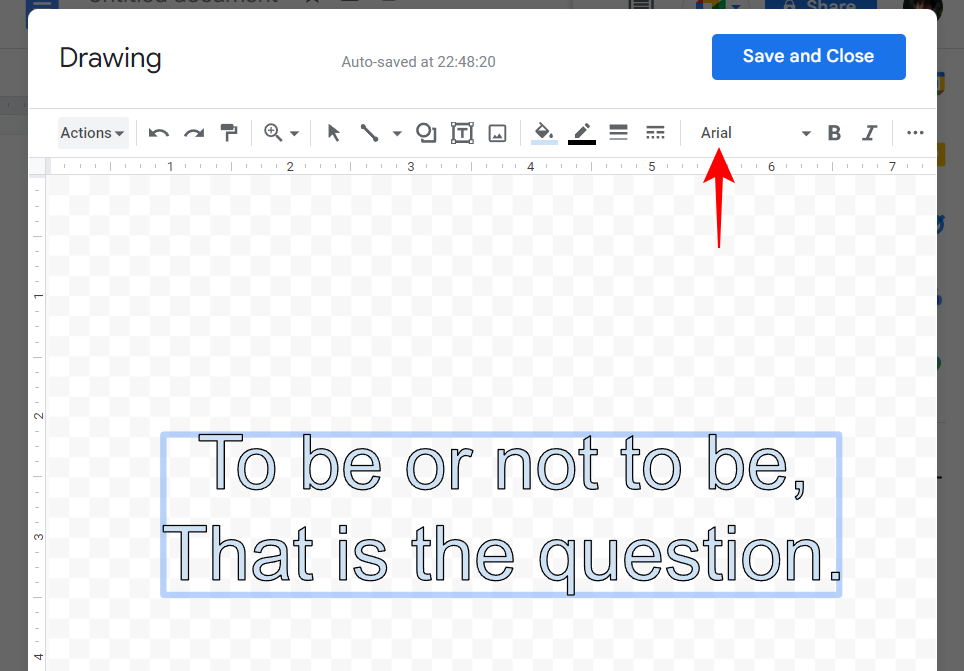
- Select the font of your choice.

- If you want to bold or italicize the text, click on B or I, respectively, in the toolbar above.

2. Customize text color and borders
You can further customize the look of the text as well as its borders to your liking.
- To change the color of the text, click on Fill color.
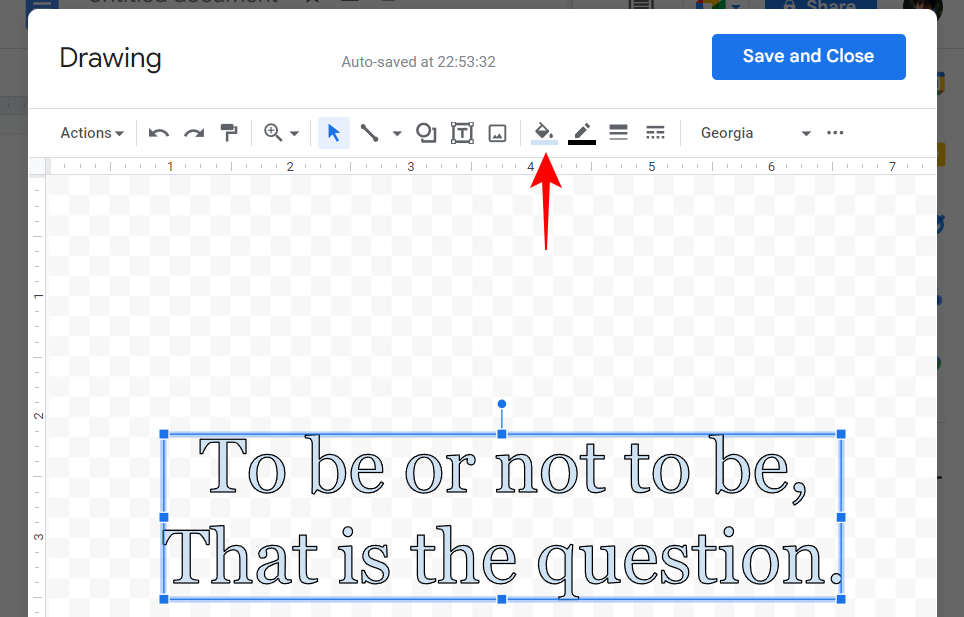
- Select your color.

You can also look through other color gradients or add your own custom one. - To change the border color, click on the ‘Border color’ (underlined pencil icon).
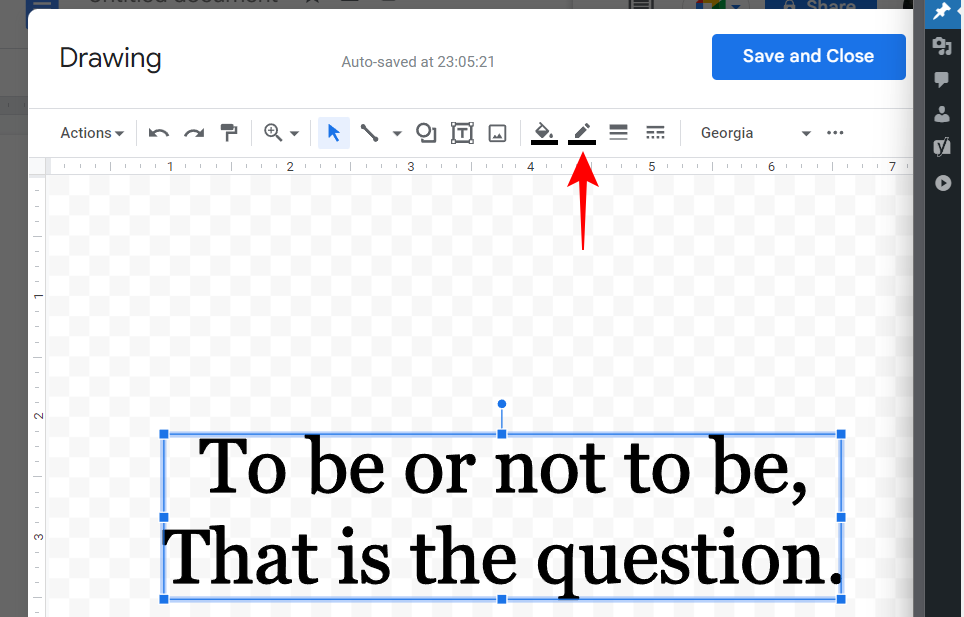
- And pick your color (again, look through the options and find one that fits your scheme).

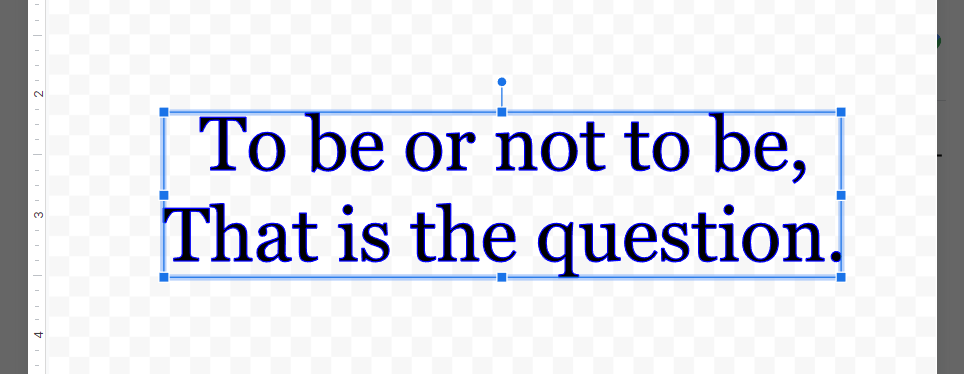
- This will add an outer layer of color to the text.
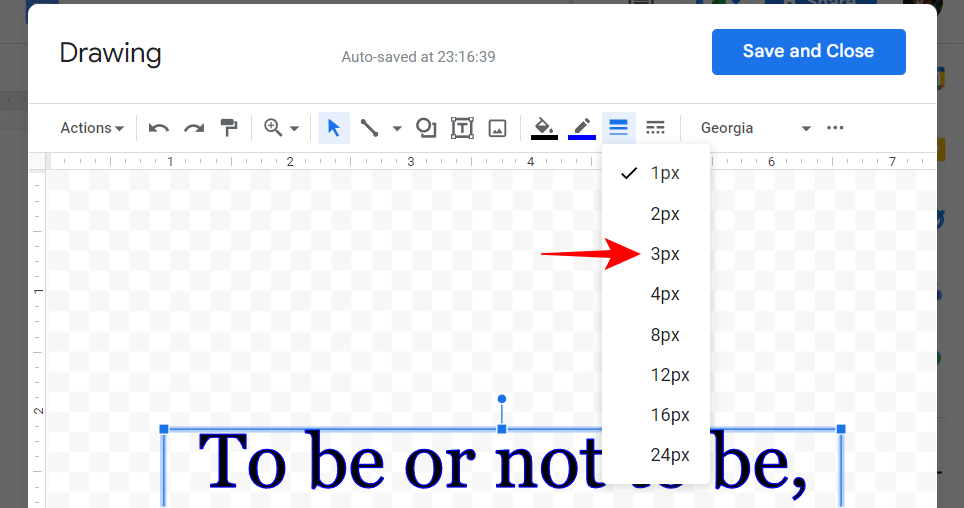
- The next option will let you change the weight (or the thickness) of the border.

- Choose from the available options to make the border thicker.
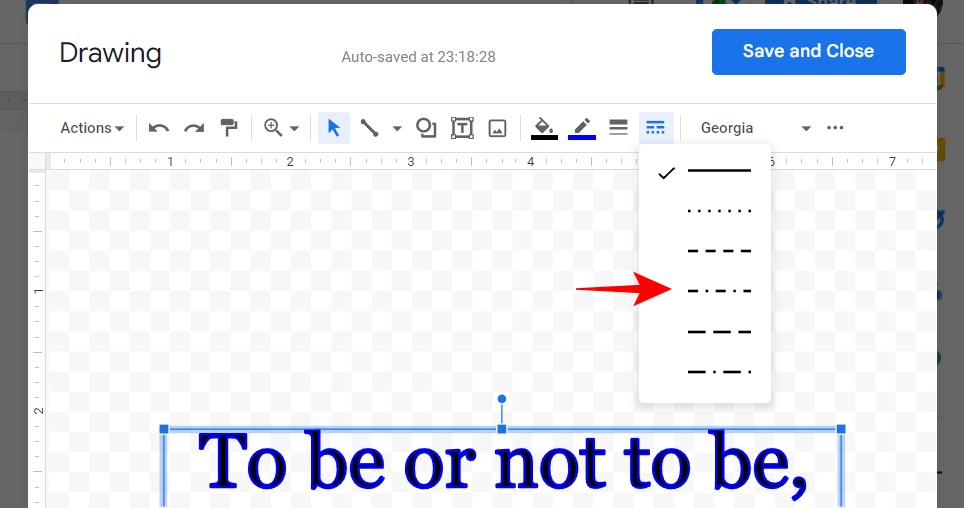
- Next, let’s change the ‘Border Dash’ or the borderline.
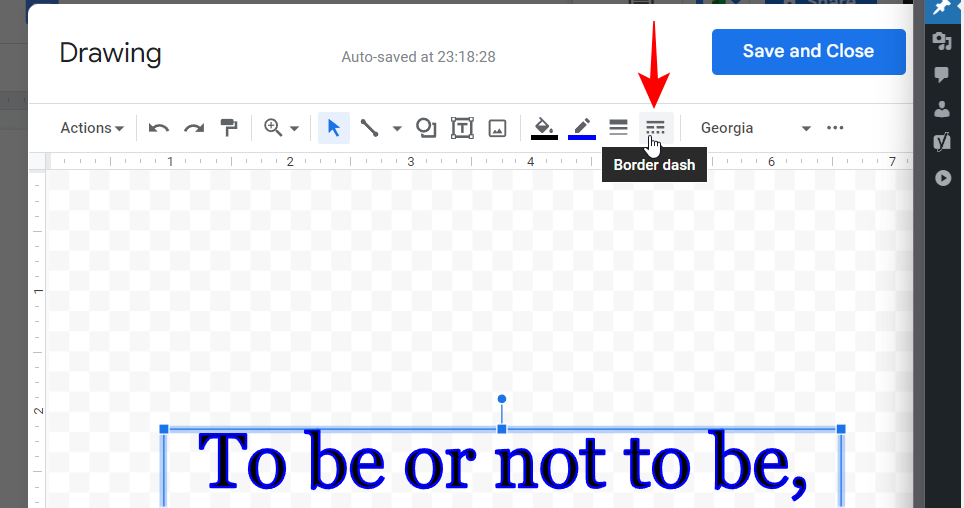
- Here, you can select from borders with a continuous borderline, or those with dots and dashes.
3. Rotate your word art
Rotating your word art is easy.
- Click on the text box, select the pin holding the box, and then use the mouse to drag it left or right and change the rotation.

- There are other things that you can add to your word art, including lines, shapes, and images from the toolbar. However, for purposes of this guide, we’re sticking to only the text.
- Once you’re satisfied with the basic look of your word art, click on Save and Close.
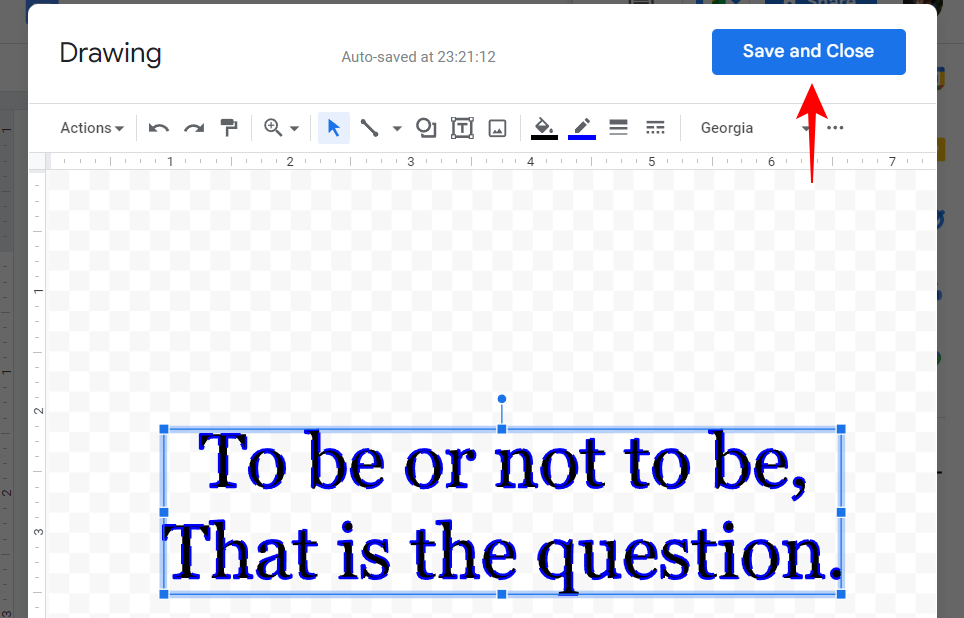
- Your word art will be added to your document.

4. Edit word art image size, position, style, and text wrapping
You can further edit the word art image in the document.
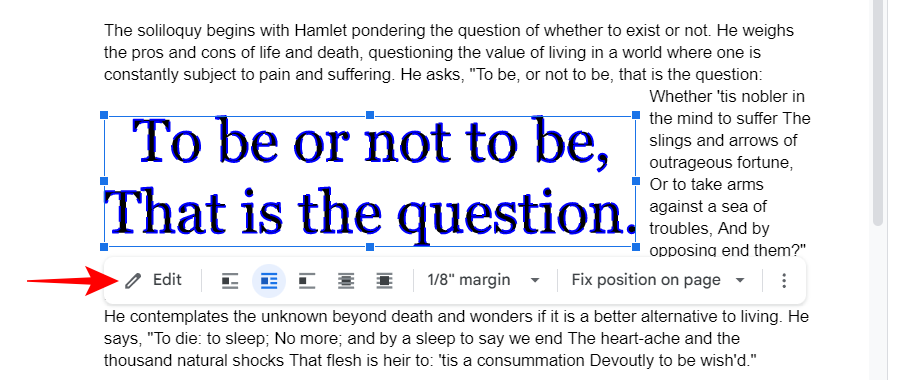
- To start with, click on the word art to select it. This will reveal a bunch of text-wrapping shortcuts, which can come in especially handy if you have other text in the document.

- But there are many more options hidden away. For demonstration purposes, we’ve added a bunch of text to show how the edited word art image will appear with the different options.
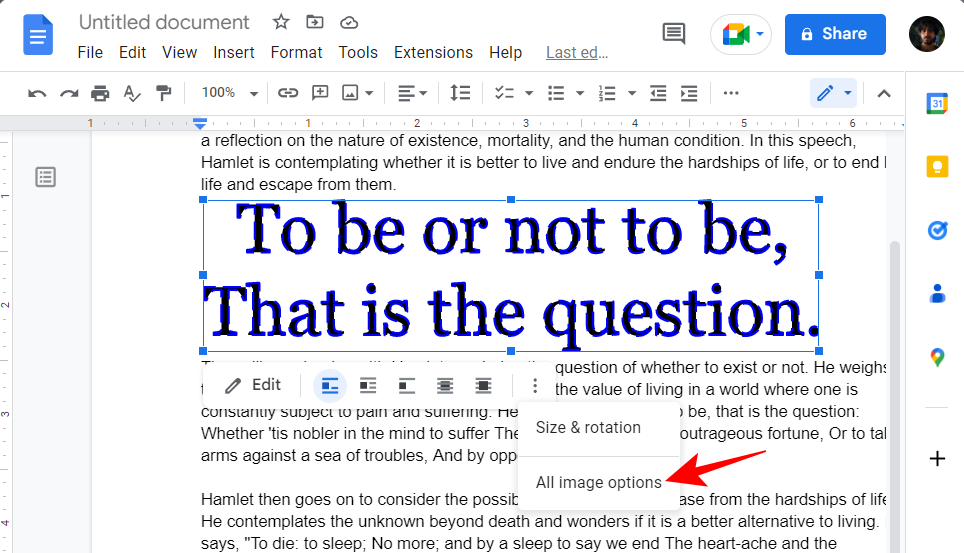
- To get access to all image editing options, select the word art image, then click on the three-dot icon to the extreme right.
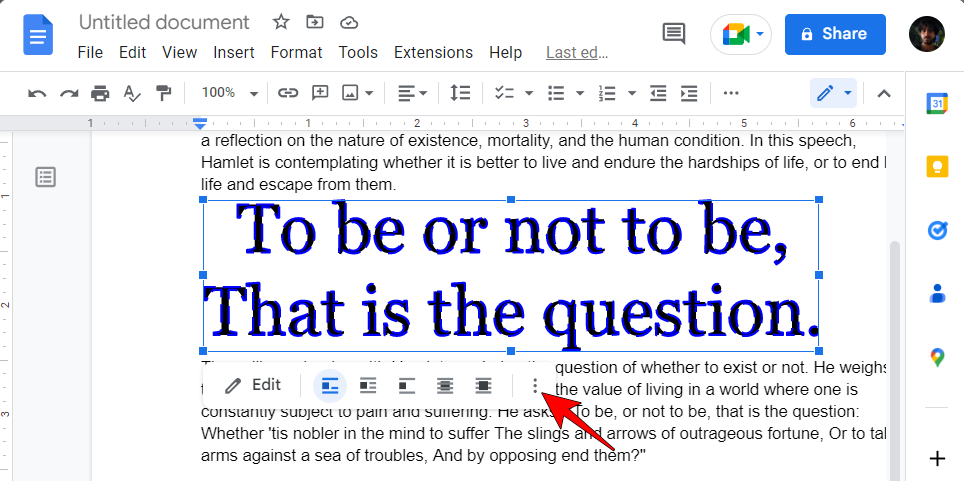
- Then select All image options.
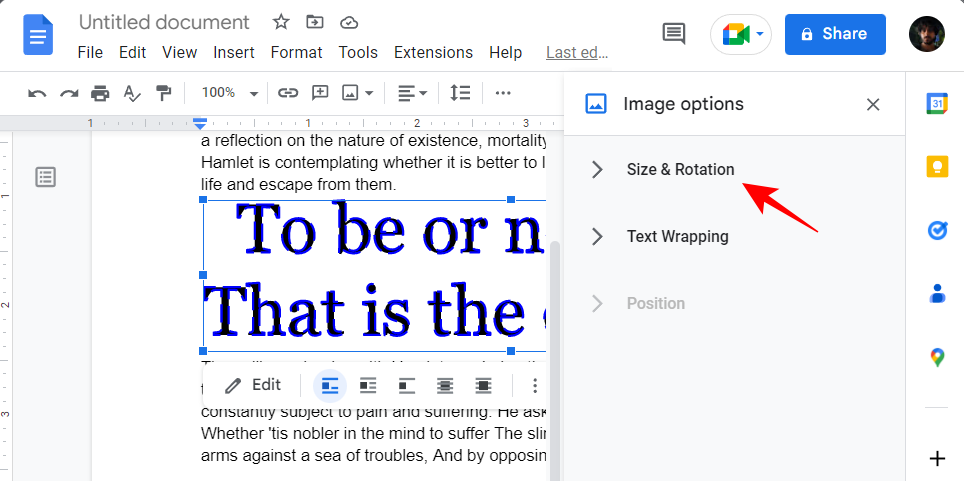
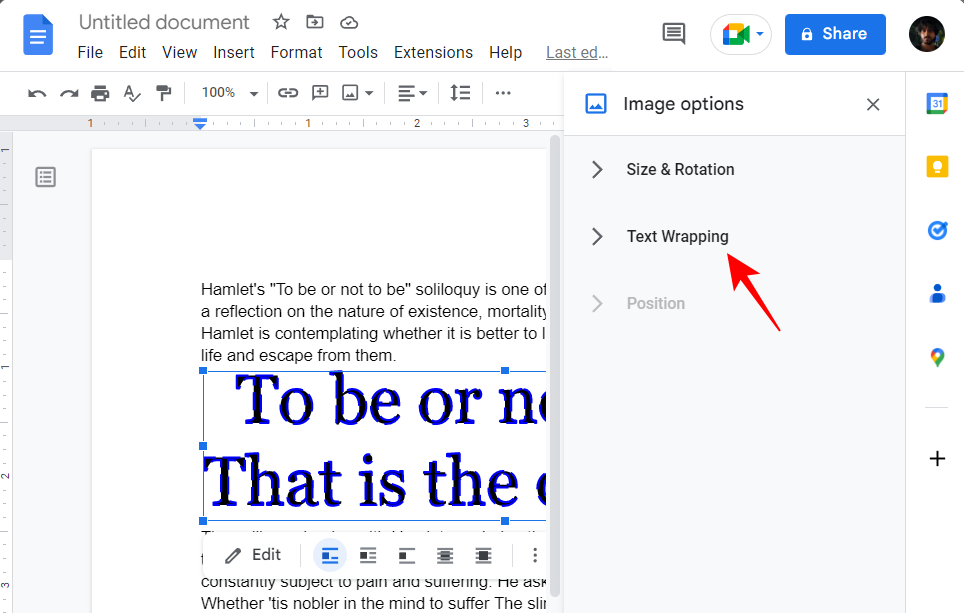
- You will see three main image option categories in the side panel – Size & Rotation, Text Wrapping, and Position. First, let’s take a look at how to change the size & rotation levels of the word art image. Click on Size & Rotation to reveal its options.
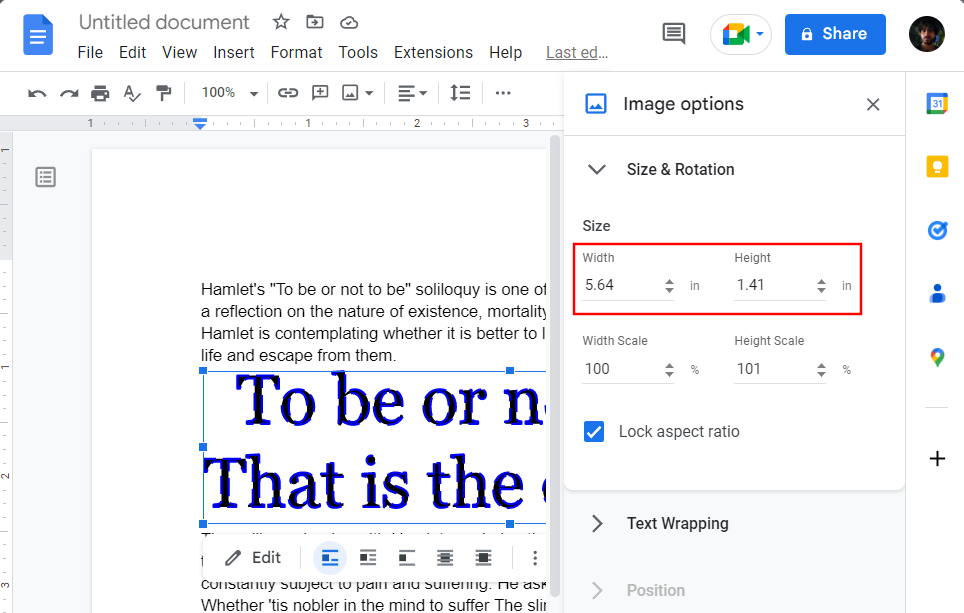
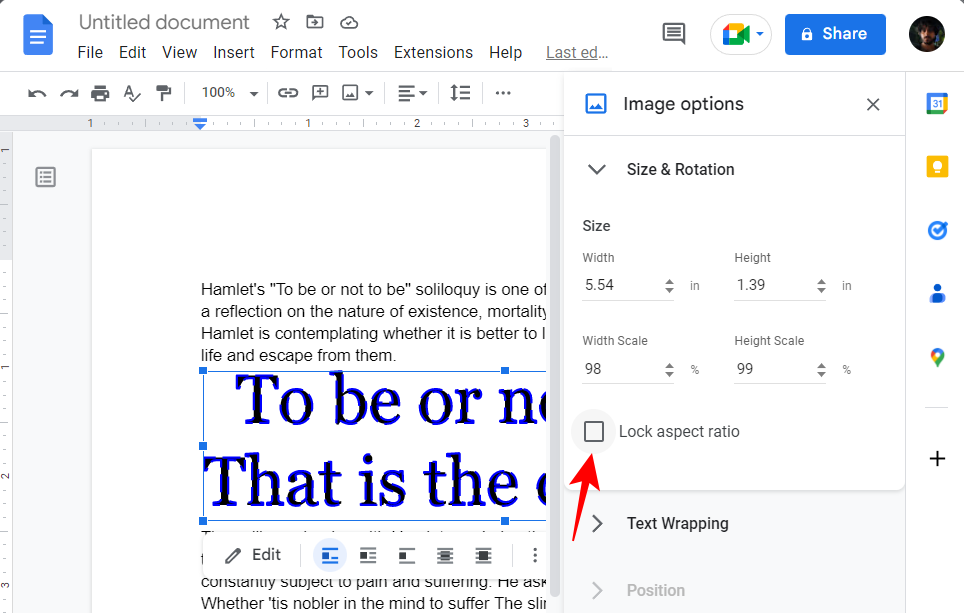
- Here, you’ll be able to change the width and the height of the word art image by inches…
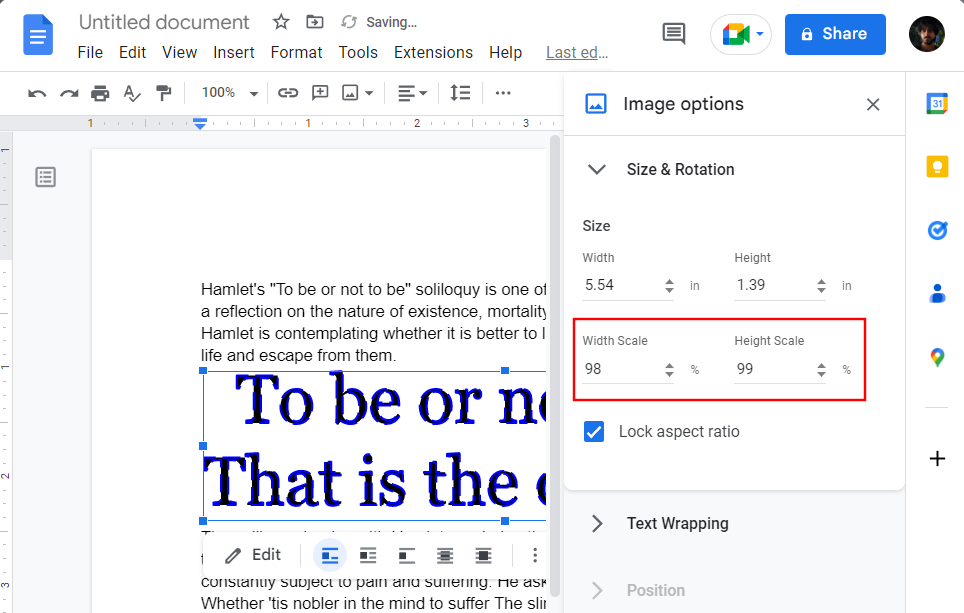
- … or by scale percentage.
- Note: If the aspect ratio is locked, changing one dimension will change the other as well. To change width and height independently, make sure to uncheck ‘Lock aspect ratio’.
- Next, let’s look at Text Wrapping. Click on it to reveal its options.
- Here, you will get 5 different text wrapping styles to choose from. The images provided should help you picture how your word art will look with the rest of the text.
- Click on the one that best suits your purpose.

- If you’ve chosen the ‘Wrap text’ option (like we have), you will see additional options open up to customize the style. The drop-down menu under ‘Wrap’ will help you determine whether you want the text to wrap on either side of the text, or both sides.
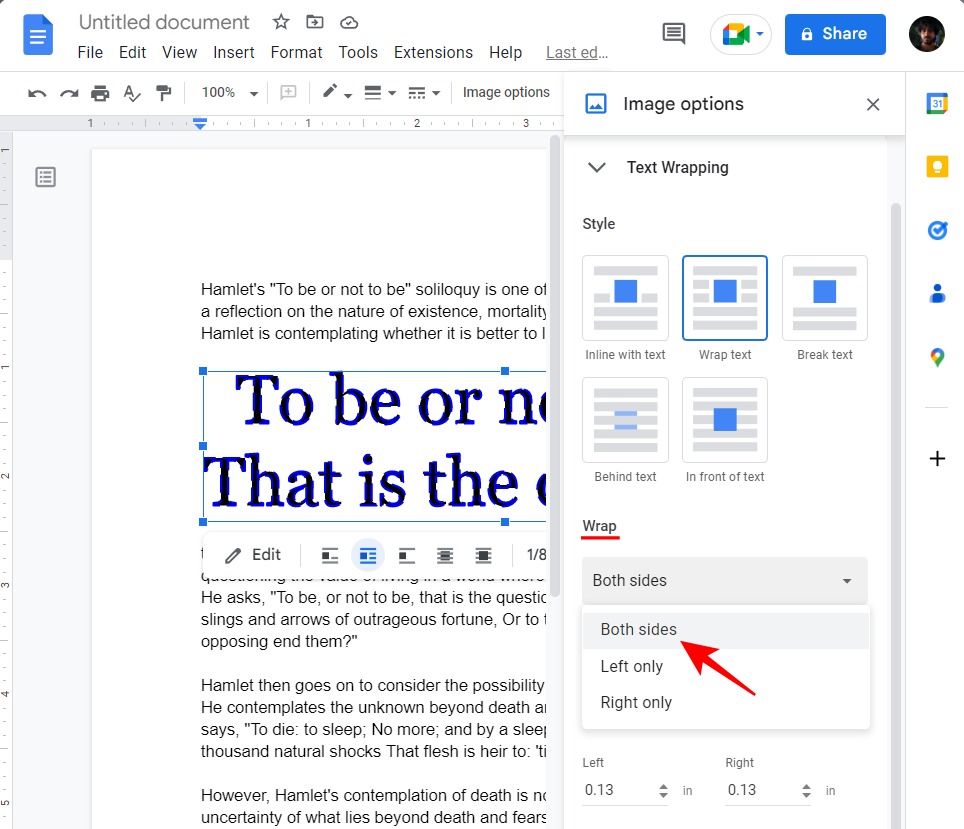
- Below it, you can customize the exact margin of the word art from the rest of the text.

- Lastly, let’s see how to change the position of the word art image. Click on Position to reveal its options.

- Here, you can change the position of the word art along the X-axis (horizontally) and the Y-axis (vertically).
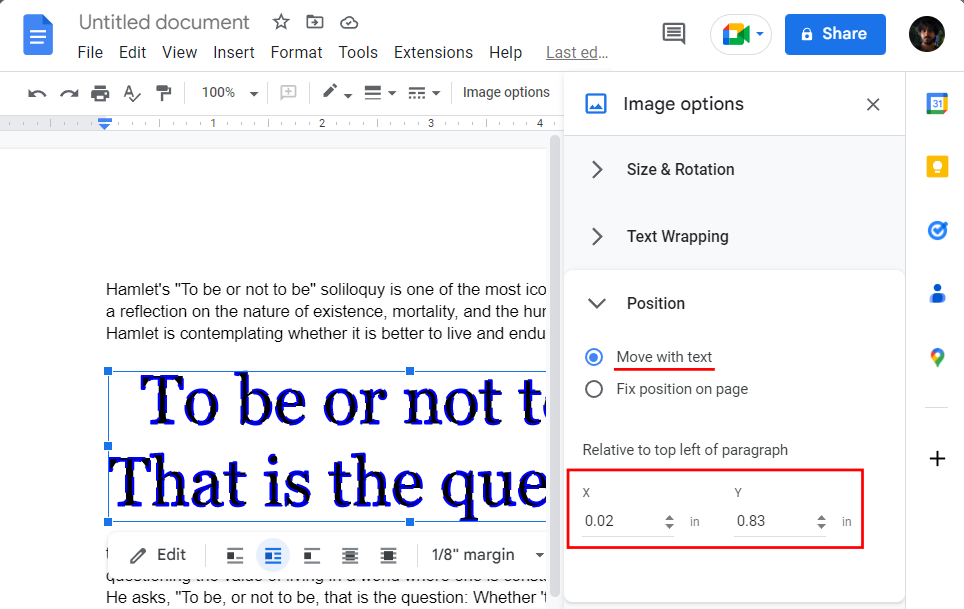
- This is about the top left of the paragraph, and when changing the position, the word art will ‘Move with text’. If you’d rather have a fixed position for the word art image, select Fix position on page.
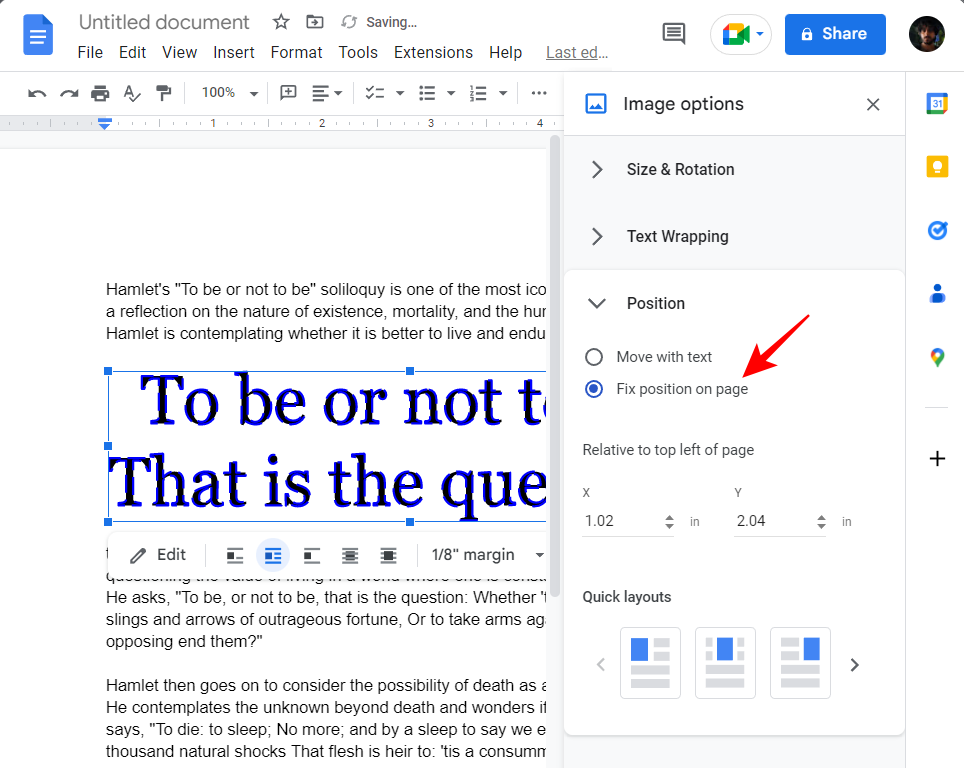
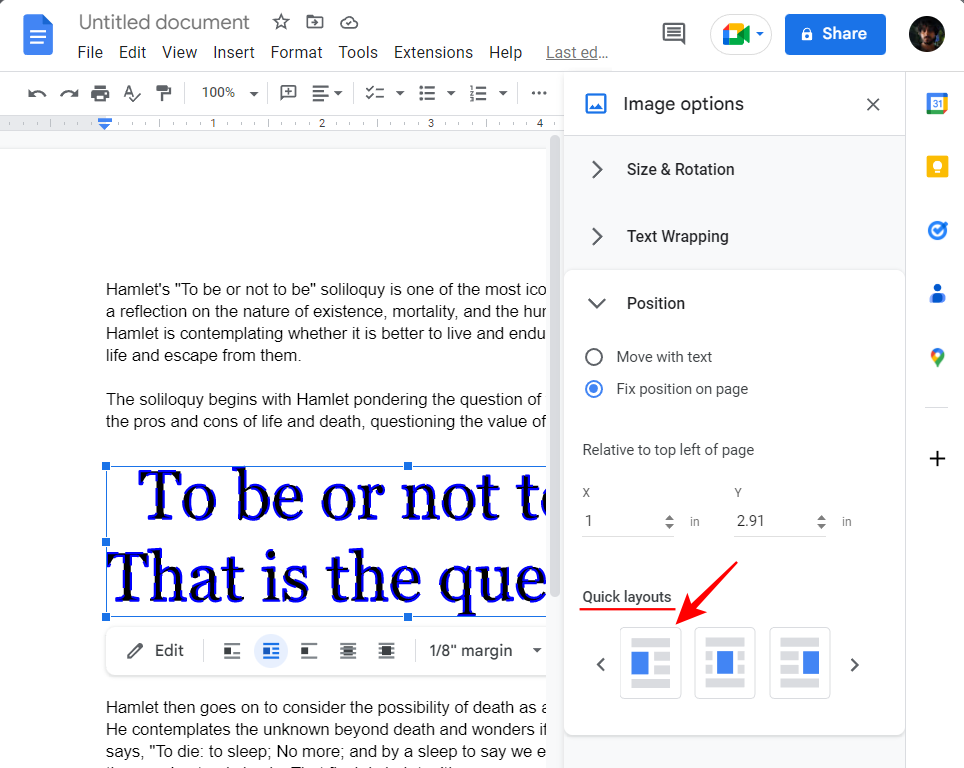
- Again, you’ll be able to change the position along the X and Y axis.

- There are also a few ‘Quick layouts’ that you can check out and select from one of them.
- Once you’re satisfied with the size, rotation, text-wrapping, and position elements, close the sidebar.

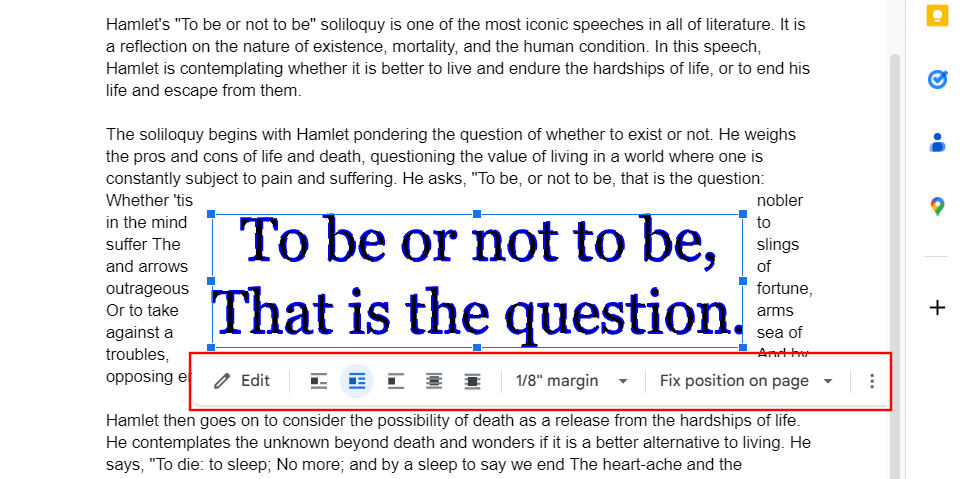
- Do note that you can also make quick adjustments to the word art image box without going into the additional menu options. To do so, simply click on the word art image to select it.
- Then use the handlebars to resize the word art box, or drag it to change its position.
- Shortcuts will also be available in the toolbar to customize the word art image box.
How to download Word Art from Google Docs
Here’s how you can download word art that you’ve created on Google Docs itself:
- Firstly, select your word art image by clicking on it. Then click on Edit in the toolbar.
- Click on Actions.
- Hover over Download, and then choose your format.

- And just like that, you would have downloaded your word art as an image.
FAQs
Before we finish, let’s take a look at a few commonly asked queries about word art on Google Docs.
Does Google Docs allow you to add word art natively?
Though there are a variety of sources online from where you can generate and download word art, Google Docs itself can be used for the same purpose. This saves one the trouble of importing it later and getting the formatting to stick. Furthermore, Google Docs is free to use for anyone, regardless of whether they’re a Google Suite user or not. So if you’re working with Google Docs, the best way to add word art is to use the native options to do so.
Can you download Word Art generated in Google Docs?
Downloading Word art from online sources is all well and good. But what if you’ve managed to create some stunning word art right from Google Docs itself? Well, fortunately, Google Docs allows you to download your Word art image to your computer so that you can share or re-use it on your future documents.
Does Google Docs have something like Word Art?
Yes, Google Docs has native options that allow you to generate word art and customize them to your heart’s content. Refer to the guide above to know how to go about the process.
How do you insert Word Art in Google Docs?
To create word art in Google Docs, select Insert, then Drawing, and select ‘New’. In the ‘Drawing’ window, select ‘Actions’, and select Word Art. You can now create and customize your text as word art as per your fancy.
How do you add art to Google Docs?
If you’re looking to add already existing word art to Google Docs, click on Insert in the toolbar above, select Image, and then select ‘Upload from computer’. Navigate to your Word art image file, select it, and click Open. Your word art will be added to Google Docs.
Google Docs provides all the necessary tools to not just create an attention-grabbing word art but also customize it to your heart’s desire. Being a free document editor, it’s one of the better options out there when it comes to adding artsy texts to your documents. But if that doesn’t cut it for you, you can always rely on the online word art generators, download the file as an image, and then insert it into Google Docs.
We hope our guide helped you create and customize word art on Google Docs and spruce up the texts in your documents. Until next time!