What to know
- The disassembly table must be crafted and placed inside bonfire range to function.
- Old gear is destroyed permanently, and you get only a portion of the base crafting materials back.
- Disassembly is done one‑by‑one; you cannot dump whole stacks at once.
- Upgraded or rare components (like special ingots) are not refunded, so timing upgrades matters.
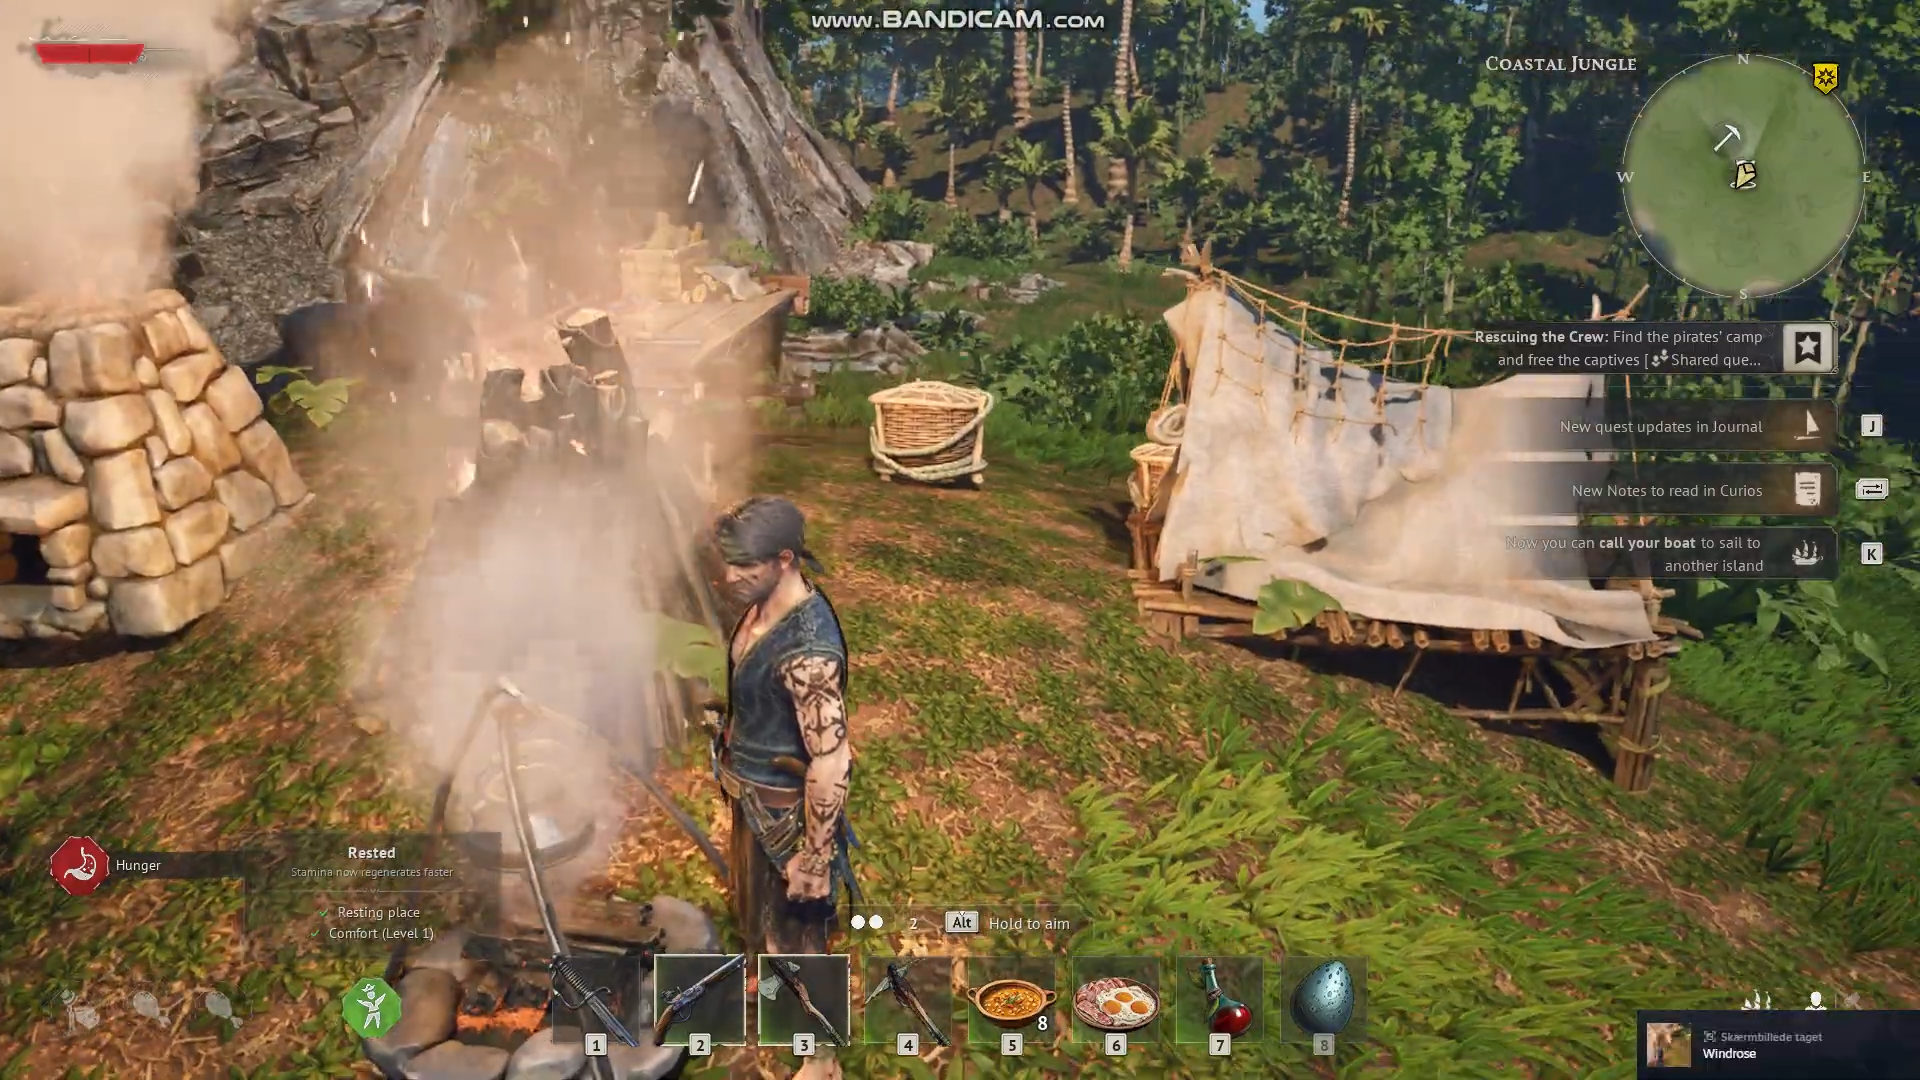
In Windrose, the disassembly table is the only way to properly recycle old gear instead of letting it rot in chests or clutter your inventory. Used correctly, it turns slain‑tier weapons, mismatched armor, and broken tools into usable base materials that feed your next crafting cycle.
What the disassembly table actually does
The disassembly table is a utility‑type structure that converts obsolete weapons, armor, and tools into their underlying raw materials. It is not a magic money‑maker; you rarely recover 100% of what you spent to craft a piece, but it is still far better than discarding or hoarding gear.
Because upgrades often consume rare mats, the table mainly pays back the common “base” recipe (wood, clay, stone, base metals, etc.), so you should treat it as a material buffer rather than a full refund tool.
Disassembly Table details
| Aspect | Detail |
|---|---|
| Function | Destroys gear and returns partial base crafting materials. |
| Item type coverage | Weapons, armor, tools, and some crafted utility items. |
| Batch handling | One item at a time; no mass‑disassemble option. |
| Upgrade material recovery | Upgrade‑only components (rare ingots, etc.) are not refunded. |
| Range requirement | Must be placed inside bonfire radius to interact. |
How to get the disassembly table
The disassembly table becomes available once you complete the early tutorial missions and unlock the utility‑building tab.
You build it like any other structure, but its recipe is gated behind basic furnace and melter progression, so you must first reach the stage where you cook resources and smelt copper.

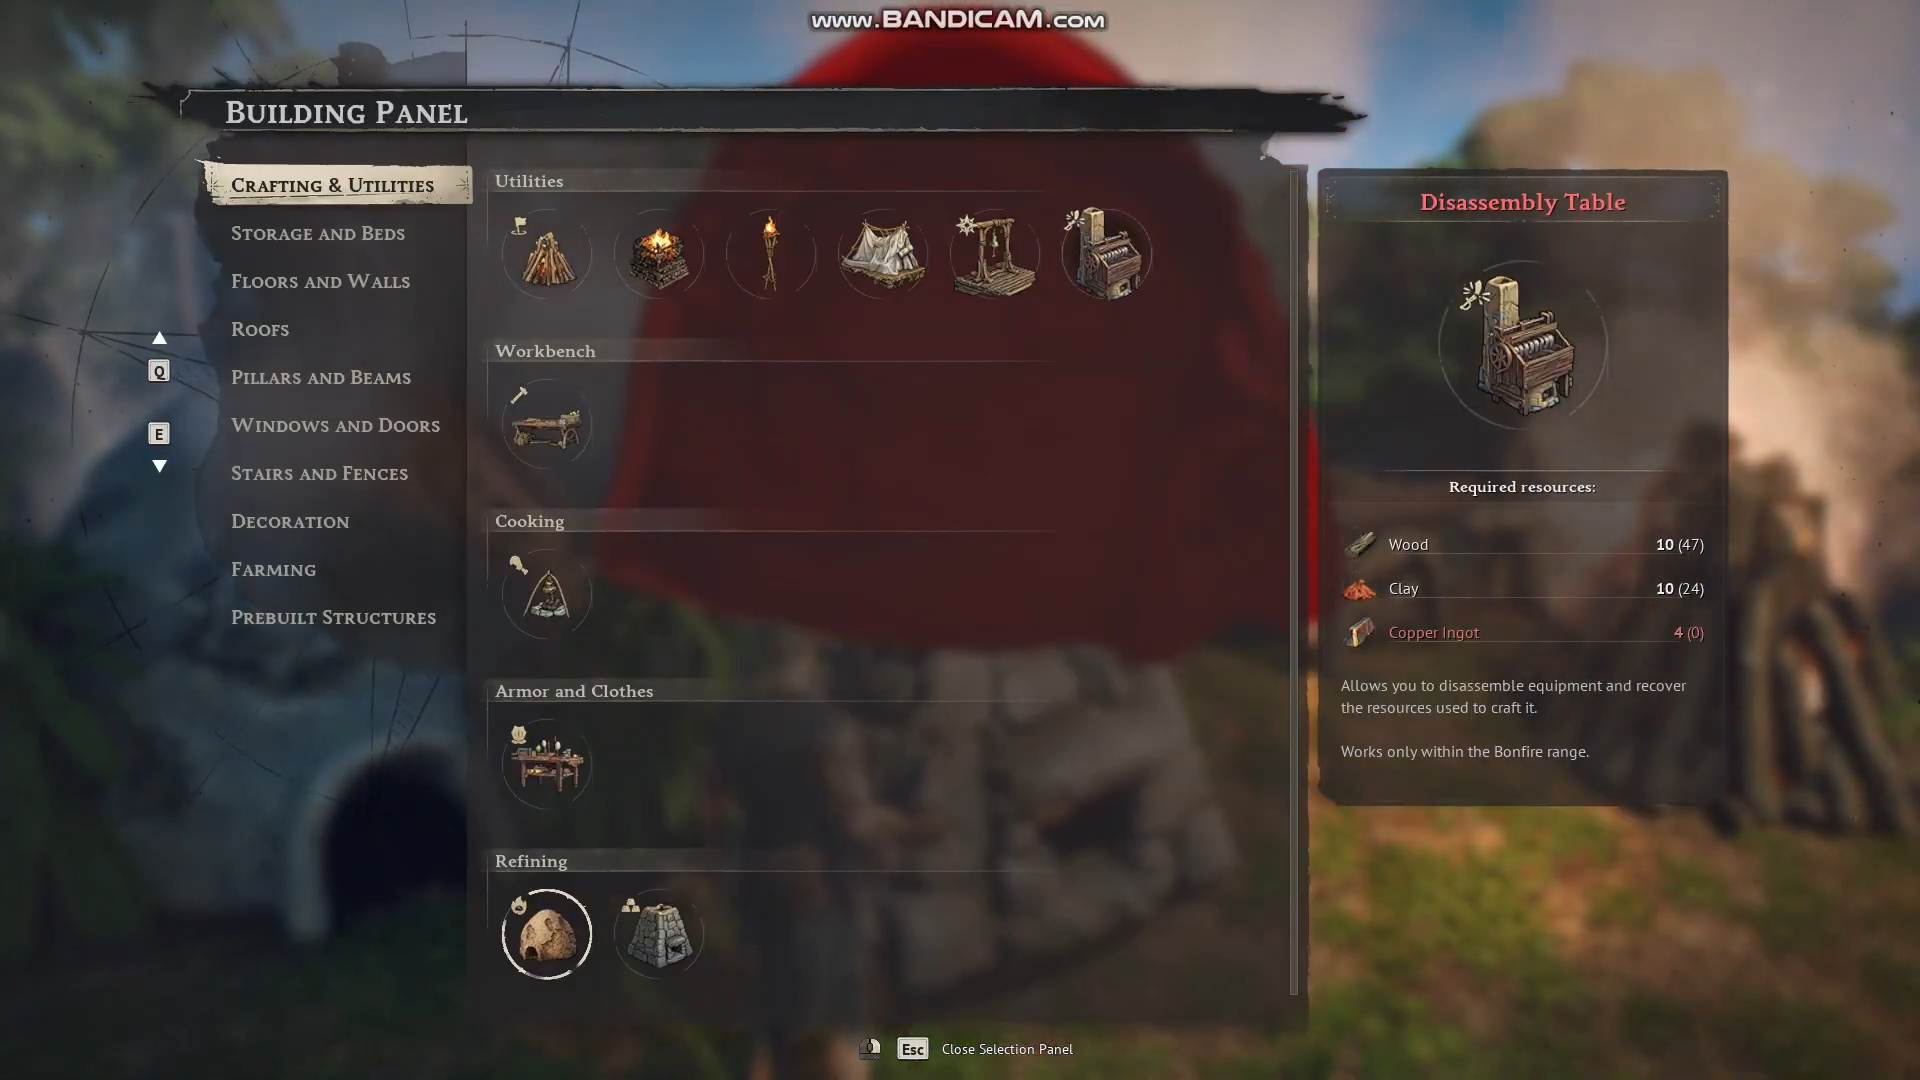
Crafting recipe and materials
- Located in the “Crafting & Utilities” sub‑tab of the building panel once unlocked.
- Requires:
- 10 wood (from felling trees or palms).
- 10 clay (harvested from coastal‑jungle or beach‑side stone‑like deposits).
- 4 copper ingots (smelted from copper ore via a basic furnace or melter).
Place the table near your main camp and within bonfire range; otherwise, you simply cannot interact with it.
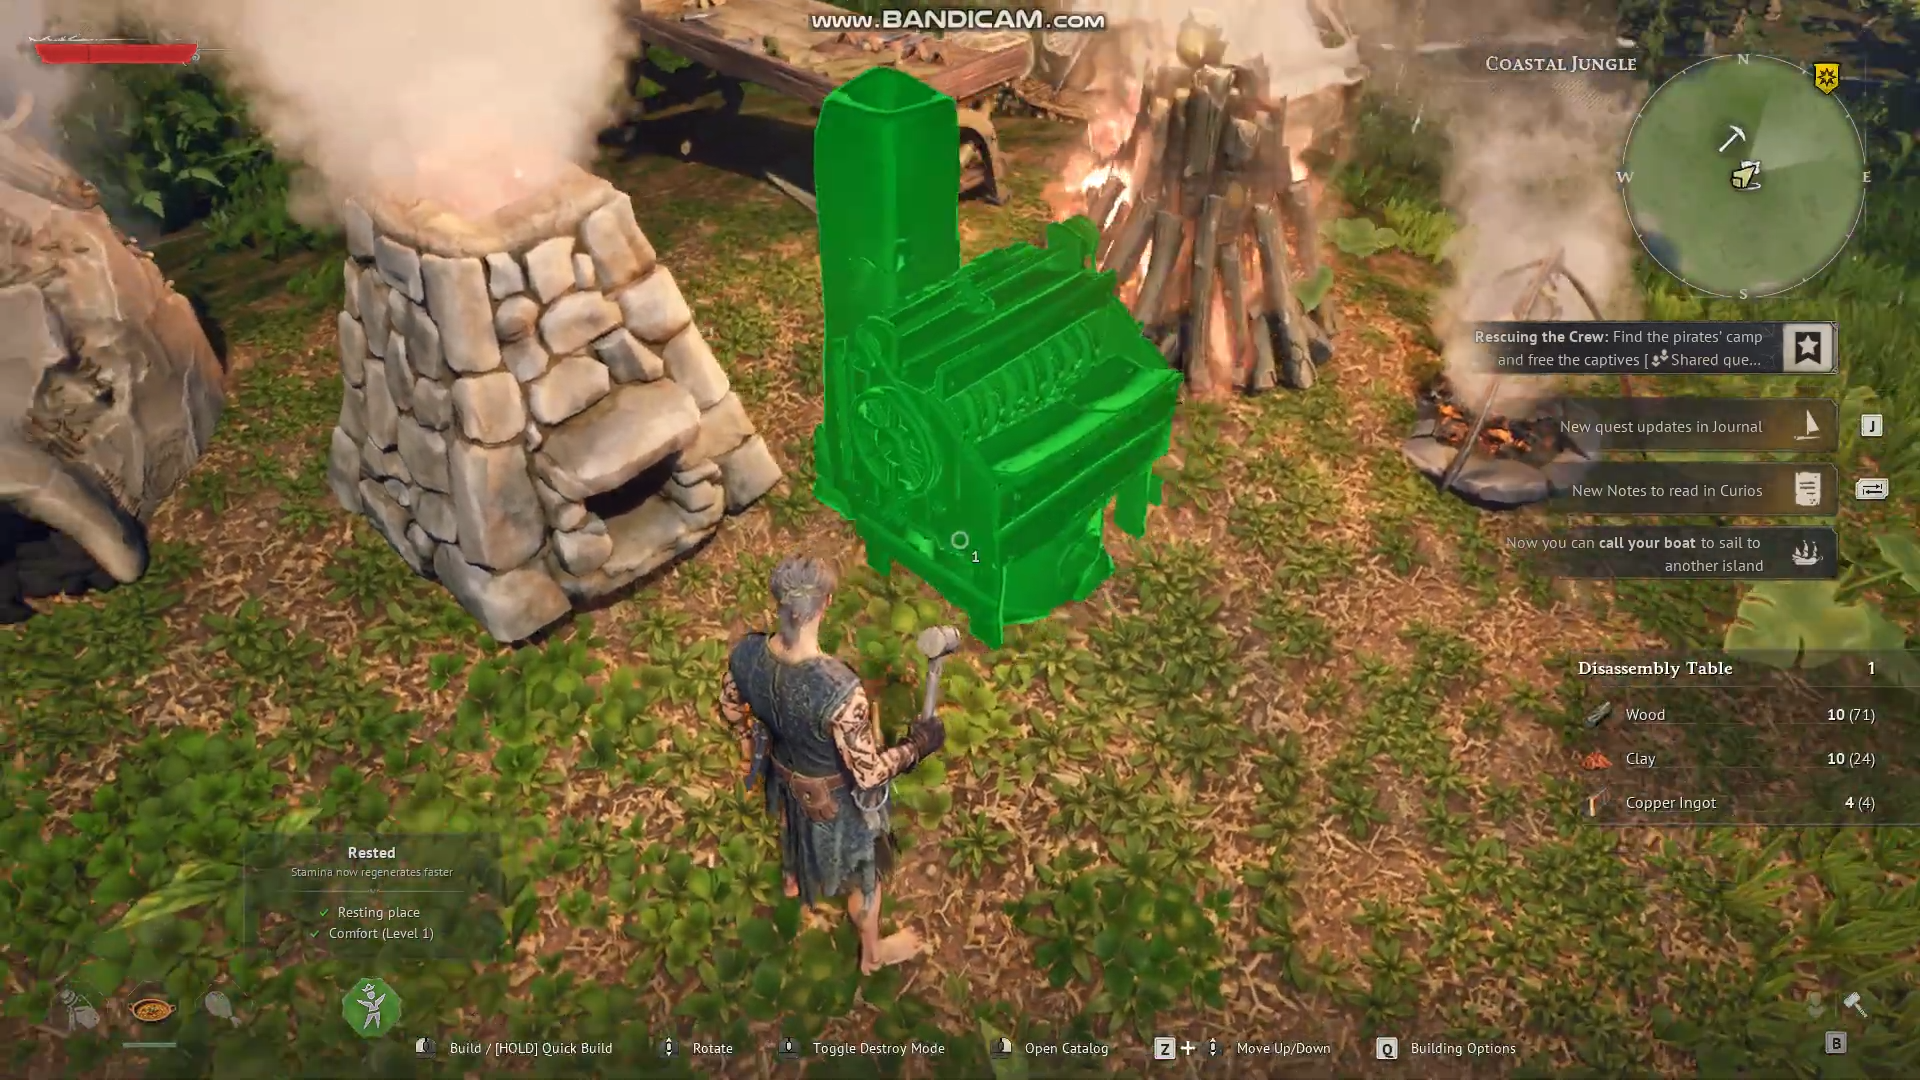
Because the recipe is modest, it is worth building this early so you can start recycling gear as soon as you pass the starter tier
How to dismantle gear at the table
Once the table is built and in range, dismantling is a simple, one‑click‑heavy workflow. The key is to scrutinize the “return” preview before you confirm, since the process is irreversible.
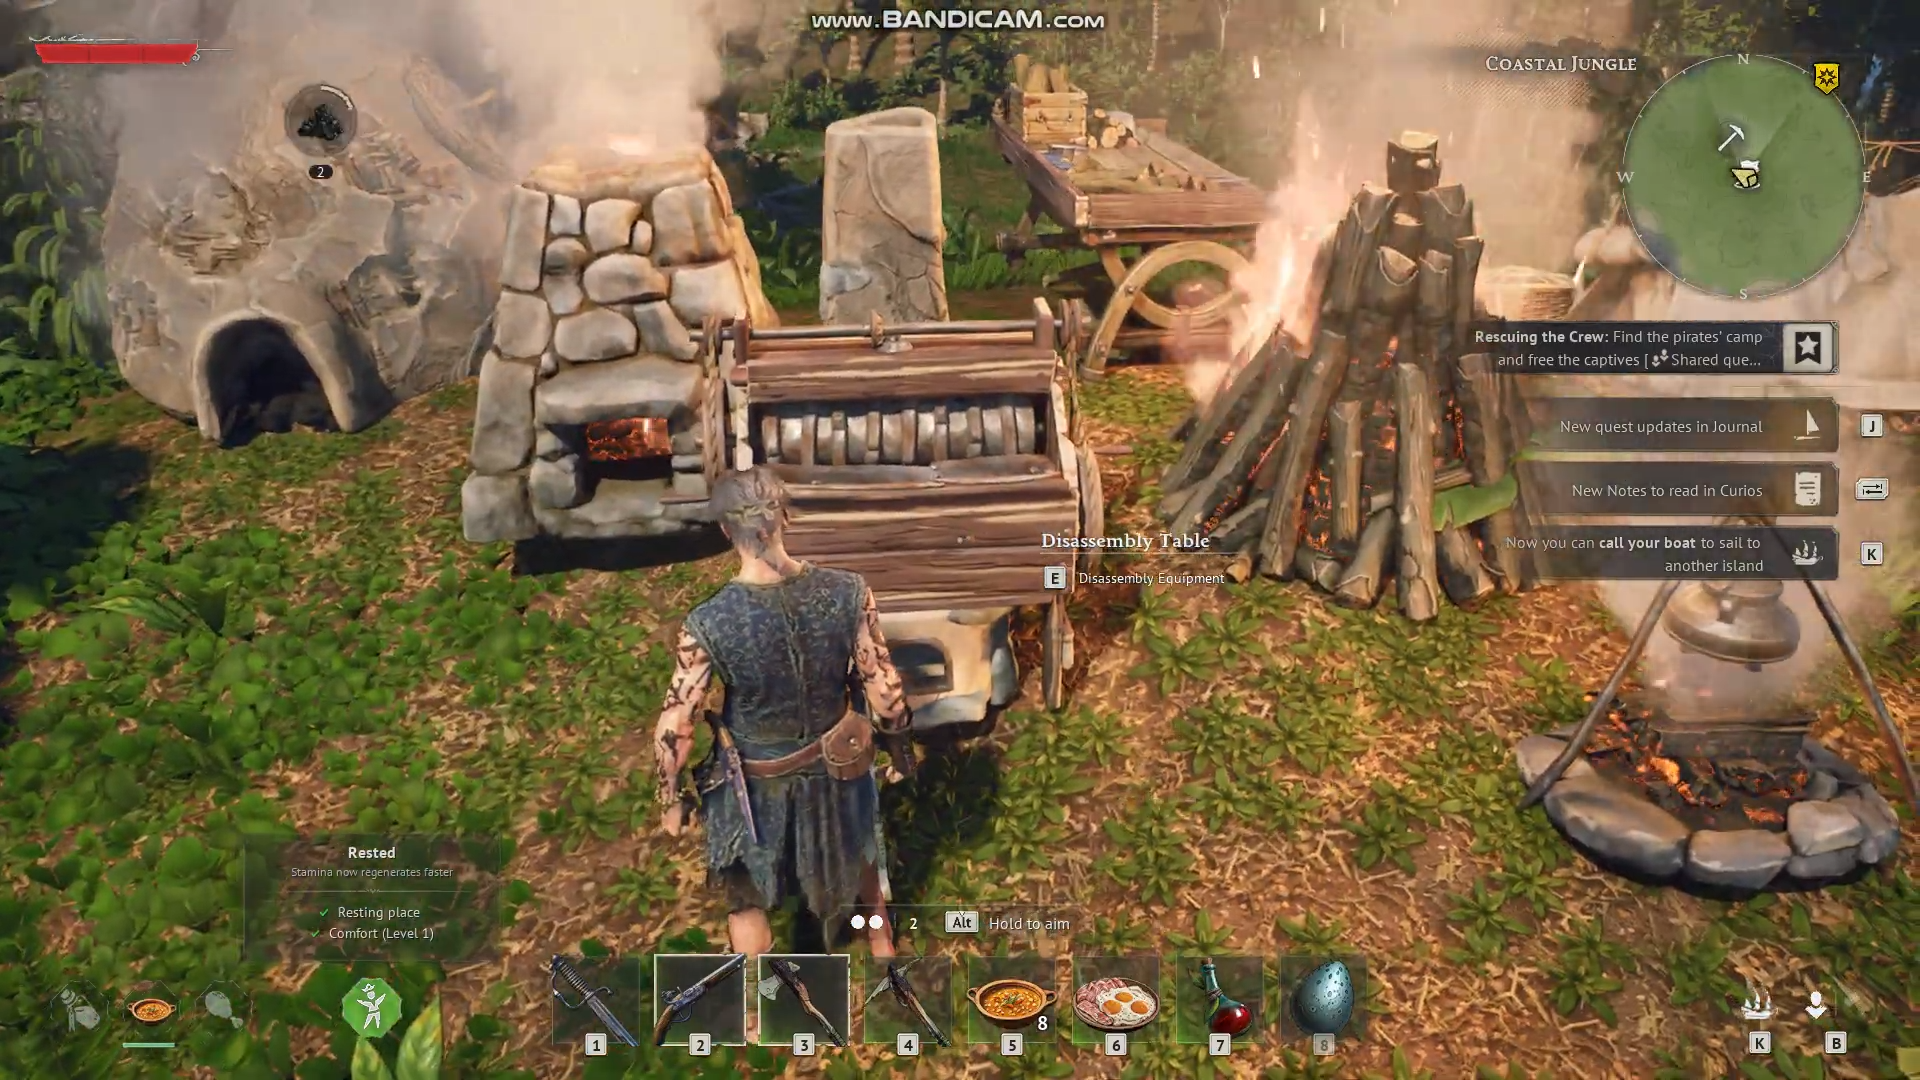
Step 1: Open the disassembly interface
- Approach the disassembly table and press the interact key (E or equivalent, depending on your control scheme).
- The UI will show an inventory‑style panel on one side and a materials preview on the other.
Step 2: Select the item to break down
- Drag or click the unwanted piece of gear (e.g., old weapon, duplicate armor, low‑roll boots) into the input slot.
- The table immediately computes how much base material you will receive, usually in the same currency used to craft that item (e.g., 1–2 copper, some wood, loose stone, etc.).
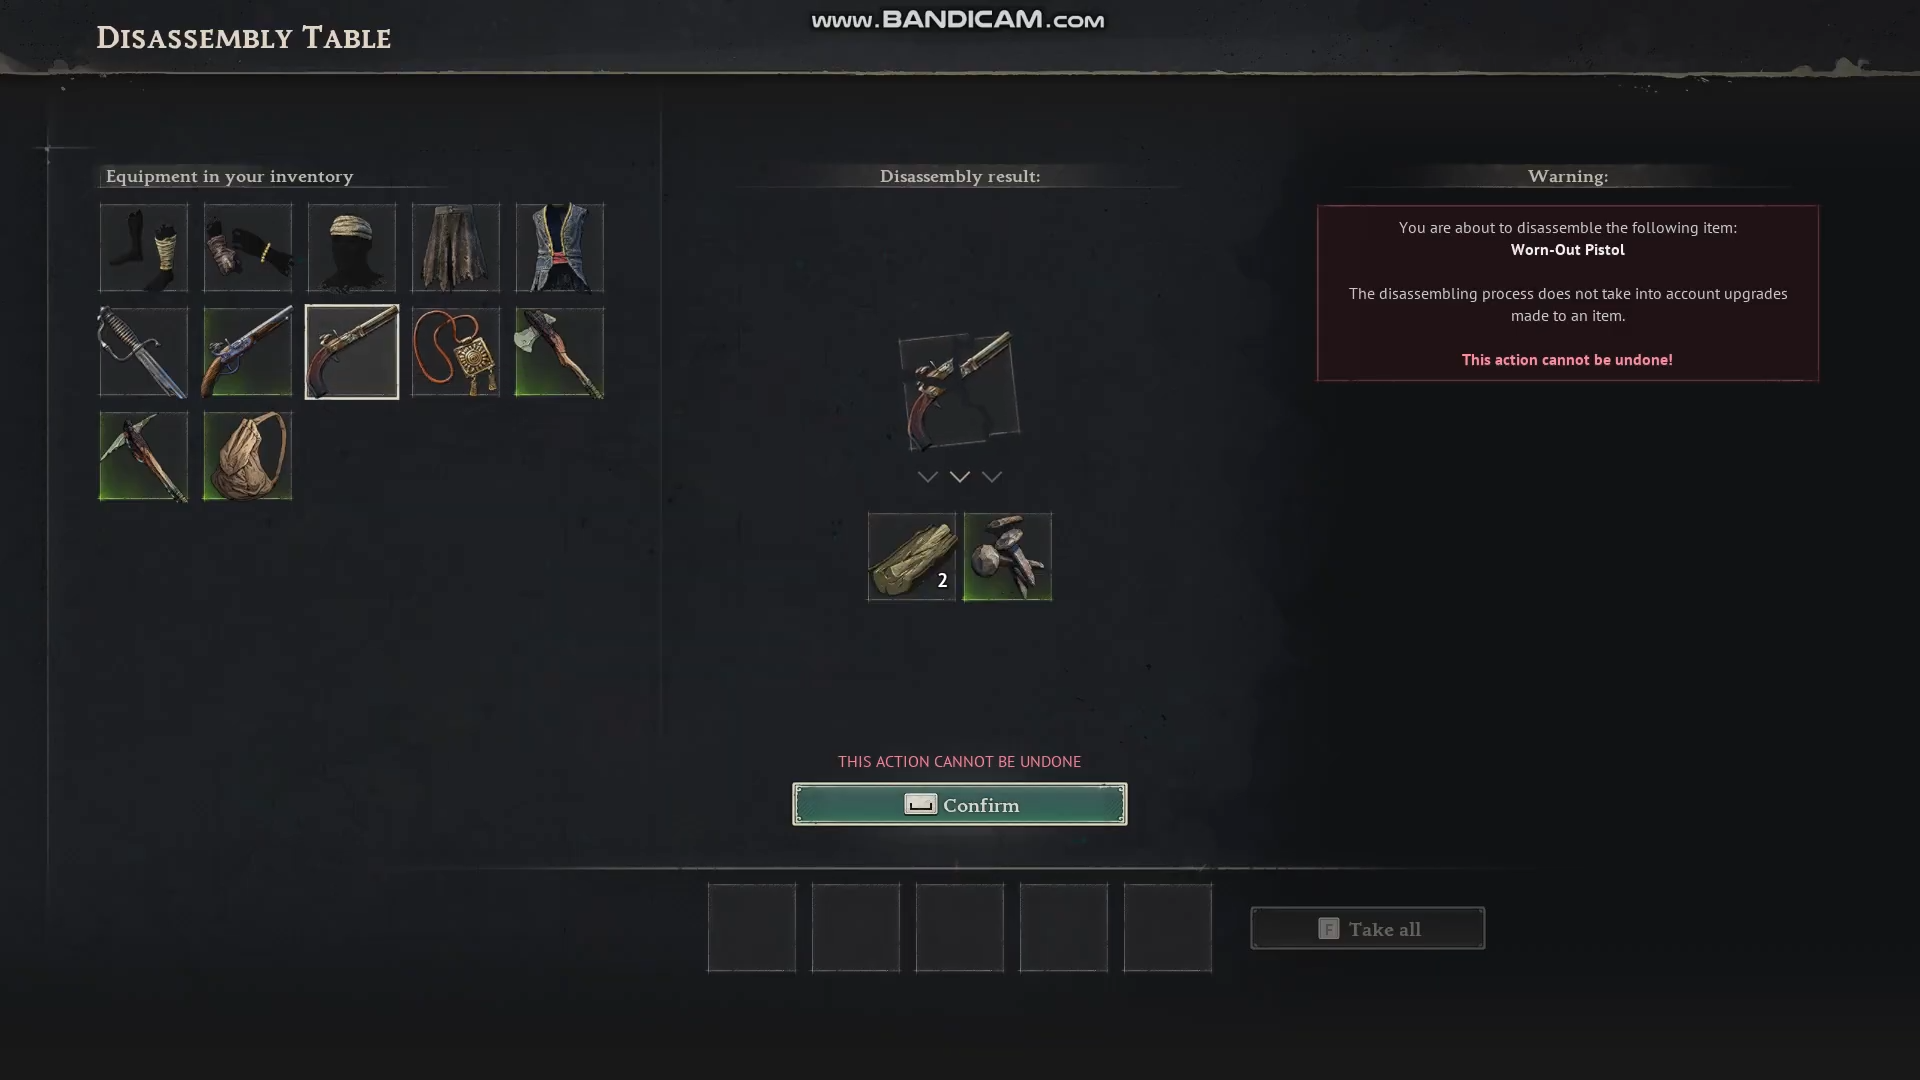
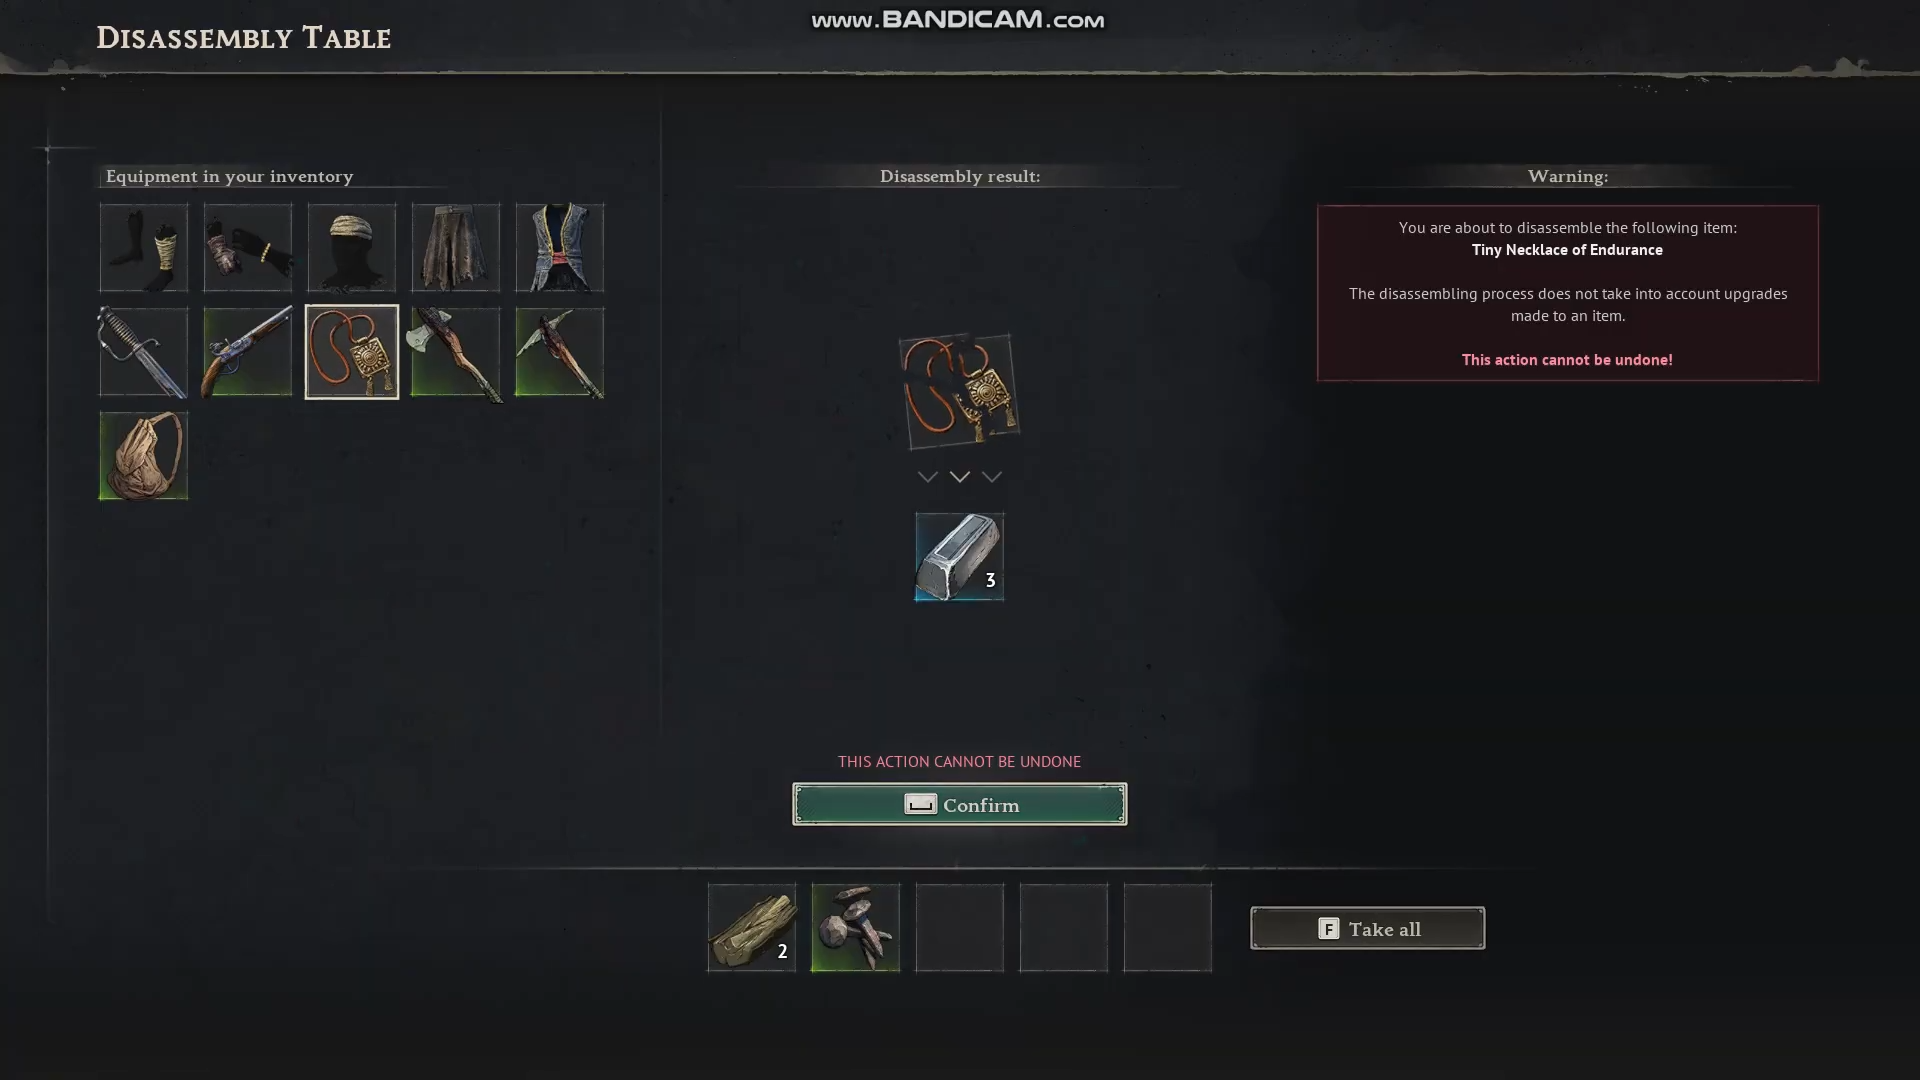
Step 3: Confirm destruction and collect materials
- Double‑check the “You will receive” line to ensure the refund is worth the loss of the item.
- Confirm the disassembly; the gear vanishes and the returned materials drop into your inventory.
- Repeat the process for each additional piece, since the table processes only one item at a time.
When and what to disassemble
Timing disassembly is more important than the mechanic itself; doing it too early or too late can cost you materials or upgrade slots.
Gear safe to disassemble
- Lower‑tier starter weapons and armor that are clearly outclassed by your current gear.
- Duplicate blue or white items from chests or farms that you have no intention of upgrading.
- Tools that are broken or have lower efficiency than your current set (e.g., basic pickaxes when you own an upgraded one).
Gear to hang on to
- Pieces with sockets or special sockets that match your build’s needs, even if the raw stats are underpowered.
- Antique or lore‑tagged gear that may be required for side missions or quests; these are often flagged in the details pane.
- Items that are currently upgraded toward a specific milestone; once you replace them, then you can recycle them after salvaging the base.
How to avoid wasting gear and materials
To maximize the table’s value, integrate it into a clean workflow between farming runs and crafting sessions.
Best‑practice habits
- De‑clutter after boss or chest runs: before re‑looting, dump all duplicates and low‑tier gear into the table to reclaim base mats.
- Disassemble before tier‑upgrades: whenever you are about to craft a new weapon or armor tier, break down the outgoing piece so its refund directly offsets the next craft cost.
- Do not hoard “maybe‑useful” pieces: if you have not upgraded or used an item for several in‑game days, assume it will never be important and recycle it.
Common pitfalls to avoid
- Using the table on highly upgraded gear with rare components: you lose those expensive upgrades with no refund.
- Placing the table too far from spawn: if it sits outside bonfire range, you effectively cannot interact with it at all.
- Rushing the confirmation step: failing to check the preview can lead to accidentally deleting a marginally useful item for a tiny material return.
How to optimize your recycling workflow
The strongest players treat the disassembly table like a mini‑logistics hub between adventuring and base crafting. Pairing it with good food and power‑buff management can subtly speed up how quickly you cycle through materials.
Example workflow loop
- Return to camp after a dungeon or ruin with a full‑ish loot bag.
- Open the disassembly table and gut all duplicates, mismatched armor, and starter gear.
- Use the refunded materials at the workbench or furnace to immediately start the next upgrade or new tier recipe.
- Exit to the world again, repeating the cycle instead of letting gear pile up in chests.
Doing this consistently keeps your inventory lean and your crafting loop tightly closed, so you spend less time farming fresh resources and more time upgrading. By disassembling the right gear at the right time, you reduce backtracking to gather resources, keep your base compact, and avoid drowning in junk that never gets used.


Leave a Reply