
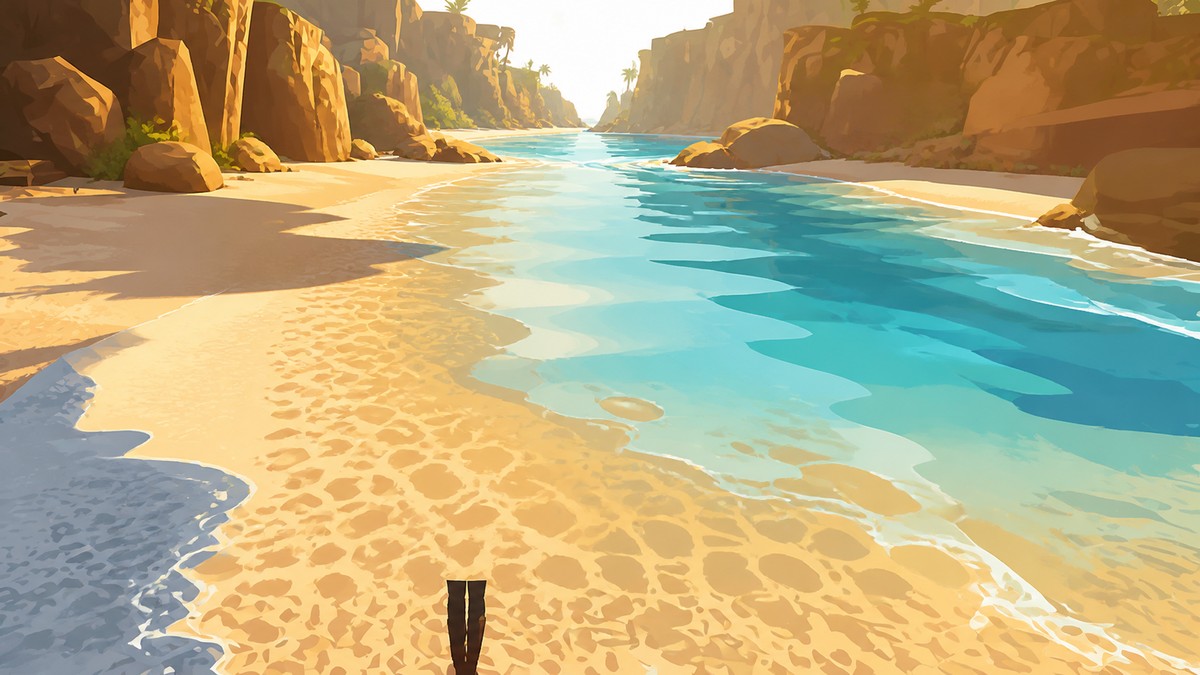
The five standout unique base spots in Palworld are the Hill of Beginnings ruins, the Small Settlement bridge, the Sakurajima giant tree, a glass water base near the World Tree, and the hidden underwater waterfall cave by Sakurajima Southern Sandbar.
These five spots aren’t about squeezing out the most ore or coal — they’re creative builds that trade raw farming efficiency for views, verticality, and places most players walk straight past. The 1.0 update’s ancient technology makes even a smaller footprint productive, so you can lean into the scenery without gutting your output. Here’s where each one sits and who it’s for.
- The five unique base spots at a glance
- What makes these builds unique, not resource farms
- Hill of Beginnings ruins base
- Small Settlement bridge base
- Sakurajima giant treehouse base
- World Tree glass water base
- The hidden underwater waterfall cave base
- How to reach the hidden underwater waterfall base in Palworld
- Which unique base to build first
- Frequently Asked Questions
The five unique base spots at a glance
| Base spot | Where to build |
|---|---|
| Hill of Beginnings ruins base | The coastal stone ruins directly behind your very first spawn |
| Small Settlement bridge base | On top of the stone bridge beside Small Settlement |
| Sakurajima giant treehouse base | The giant tree at Crystallized Ancient Tree on Sakurajima |
| World Tree glass water base | Floating in the ocean at the Foot of the World Tree |
| Hidden underwater waterfall base | Behind the waterfall near Sakurajima Southern Sandbar |
Key Every one of these is a creative or aesthetic idea rather than a min-maxed resource hub. If your only goal is stacking ore and coal, a dedicated resource-first location will serve you better — these are the spots you build when you want the base itself to be the reward.
What makes these builds unique, not resource farms
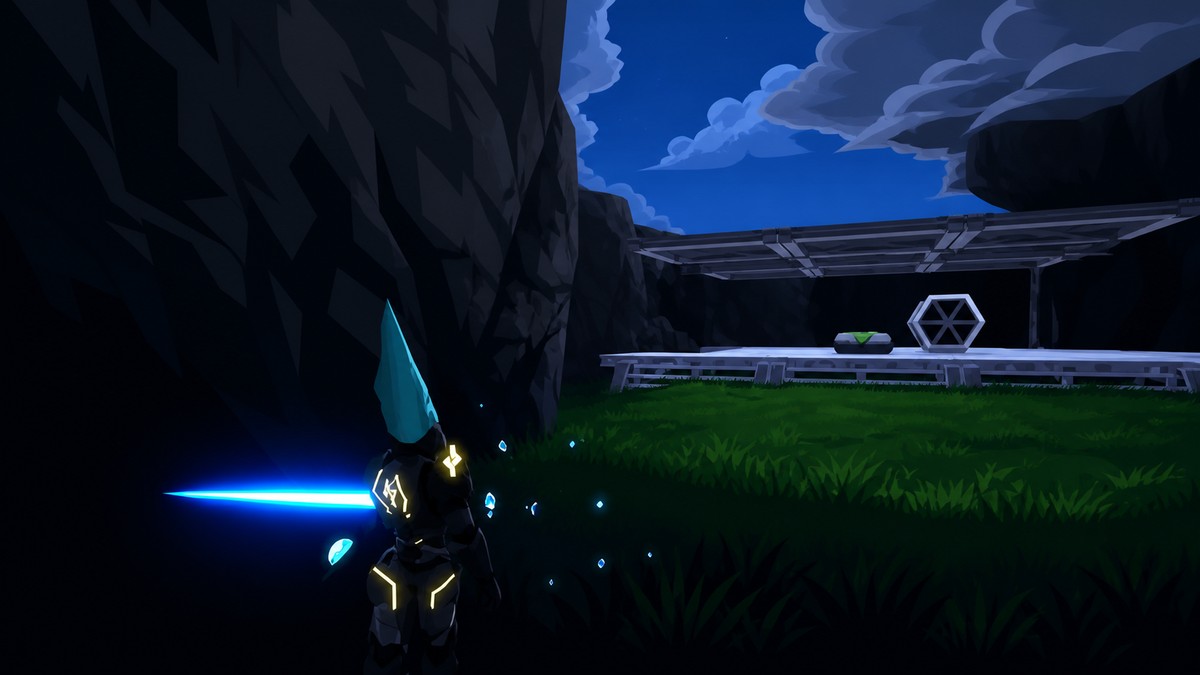
The thread running through all five is that they do something the flat, node-rich meta spots can’t. You get verticality on the bridge and in the tree, hidden space behind the waterfall, and glass reflections under the World Tree’s light. None of them were picked for how many ore or coal nodes sit in the base radius — that’s the trade you’re making on purpose.
Key The 1.0 update is what makes this practical. Ancient technology lets smaller and oddly shaped footprints stay efficient, so you’re no longer forced to sprawl across a wide, ugly plain just to keep production up. That flexibility is exactly what lets a bridge deck, a tree canopy, or a pocket of ocean work as a real base instead of a screenshot.
Hill of Beginnings ruins base
| Detail | Hill of Beginnings base |
|---|---|
| Best stage | Early game |
| Palbox spot | The smaller upper ruins, or the much larger lower area |
| Layout | Multi-layered, with floors and room to build outward |
| Build style | Match the ruins or deliberately contrast them |
The first spot is hiding in plain sight: walk down behind where you first spawn at the Hill of Beginnings and you’ll find a cluster of ruin-like coastal buildings that make a superb early-game shell. It isn’t a small area, but it is multi-layered, so you can stack floors and treat the whole thing as a vertical base rather than a flat plot.
The fun here is deciding how to treat the ruins. You can match their broken-stone look and build something that feels ancient, or contrast it with clean modern structures and let the two styles play off each other. There’s room to extend outward from the original footprint as much as you like, so the plan can grow with you.
Small Settlement bridge base
| Detail | Small Settlement bridge base |
|---|---|
| Best stage | Early game onward |
| Foundation trick | Align to the ground below the bridge, then build up |
| Signature feel | Elevated and floaty, with river views |
| Lower floor | Enclose it under the arches for a sealed base feel |
| Good for | A mining or utility base |
Next is a spot almost nobody thinks to claim: the stone bridge near Small Settlement. The trick is to use the ground and foundations below the bridge as an alignment guide, then build straight up on top of the deck. Done right, you get a large base with a full perimeter sitting high over the river — and if you spawn in at Small Settlement, you can see the whole thing from a distance.
What sells this one is the floaty, elevated feel you get standing inside it, which is genuinely hard to replicate anywhere else on the map. Enclose the lower floor under the arches and it reads as a proper sealed base rather than a platform, and the height makes it a stylish home for something like a mining or utility base.
Sakurajima giant treehouse base
| Detail | Sakurajima treehouse base |
|---|---|
| Coordinates | Around 970, -1265 |
| Access | Reachable any time once you climb down to it |
| Build | Around the trunk and branches, minimal pillars in 1.0 |
| Good for | A multi-floor oil or production base |
Over on Sakurajima there’s a giant tree at Crystallized Ancient Tree that makes a perfect treehouse, and it’s far easier to pull off than it looks. You build directly around the trunk and out onto the branches — the map marker sits at roughly 970, -1265, though the on-screen reading can drift a little depending on where you stand. As long as you can climb down to the tree, nothing stops you setting up here at any point in your run.
The one thing to plan around is clutter: earlier tree builds leaned on a mess of support pillars, and in 1.0 you can lean into the trunk and branches to keep that visible support to a minimum. From there it scales into something ambitious — a multi-floor oil or production base works well, especially now that high-pressure crude oil extractors can be placed anywhere on the map.
World Tree glass water base
| Detail | World Tree glass water base |
|---|---|
| Best stage | Endgame showpiece |
| Key material | Glass, for the reflections |
| Placement | Sit back from the tree so it frames the base |
| Scale | A single base or a stacked multi-base build |
This is the showpiece. Out in the ocean at the Foot of the World Tree, you can float a base on the water and let the tree’s light do the heavy lifting. It’s squarely an endgame build — the kind of place you set up as a final base once you’ve got materials to burn — so it’s fine if it isn’t a priority early on.
The reason to bother is glass. Building even slightly under the World Tree’s natural light, the reflections off glass structures are extraordinary, and there are few spots on the map where the effect lands this hard. If you’re building anything out of glass, this is one of the best places to do it.
Distance is the lever that makes or breaks it. Build too close and the light bounces up and over your base; sit back a certain distance and you get both — the World Tree framed above your base and the full benefit of its reflections washing across the glass below. Start with a single base to test the reflections off your foundations, and if you love it, the area happily takes a full stacked multi-base build.
The last spot is the oddest and the only one with a fixed way in. It’s a hidden cave tucked under the water near Sakurajima Southern Sandbar, and you can run it as a tiny secret hideout or as a Palbox anchor — drop the box underwater and build out around the perimeter using the radius it gives you. Getting in means clipping through the terrain behind a waterfall, so the route matters.
This is the only base here with a set route in, and it runs through a terrain glitch, so nail the entry once and anchor a Palbox so you never have to repeat it.
Travel to Sakurajima Southern Sandbar
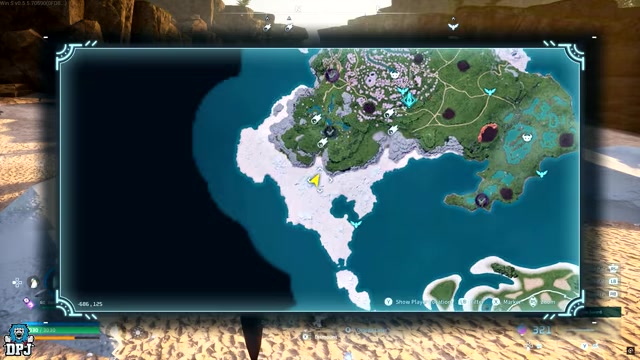
Open the map and head to the island marked at Sakurajima Southern Sandbar, on Sakurajima’s southern coast (around -689, -125).
Walk behind the waterfall
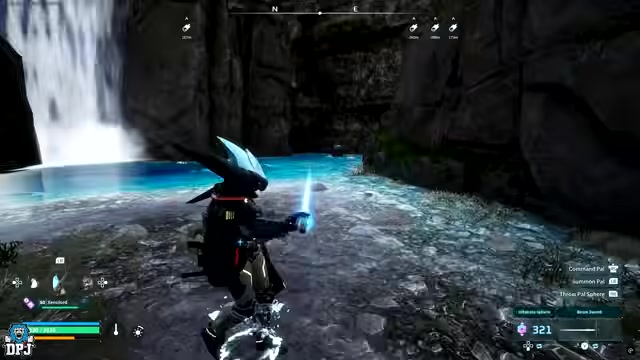
Head inland to the waterfall and step past the falling water at its foot.
Push through the wall

Walk straight into the rock behind the water to clip through the terrain and glitch inside.
Climb up on the left
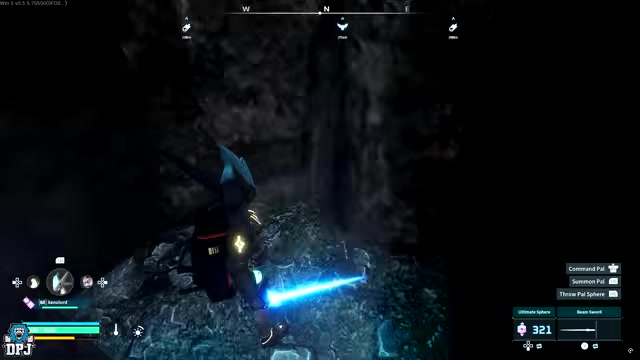
When you hit the invisible wall, climb up on your left until you reach the dry hidden pocket.
Place the Palbox inside
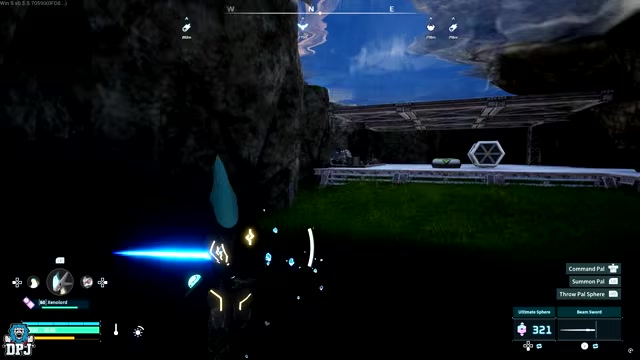
Set your Palbox down in the cave so you can fast-travel back and never have to glitch in again.
Drop your Palbox the moment you climb into the cave. You can leap out through the water ceiling from below, but you can’t drop back in from above — so the Palbox is your only return trip.
Video help
Which unique base to build first
| Player goal | Best pick |
|---|---|
| Early creative starter | Hill of Beginnings ruins |
| Scenic, floaty build | Small Settlement bridge |
| Vertical treehouse build | Sakurajima giant tree |
| Endgame glass showcase | Foot of the World Tree |
| Hidden secret base | Underwater waterfall cave |
These aren’t ranked best-to-worst — they’re built for different moods and different stages. If you’re just starting out and want somewhere characterful, the ruins are the easy call. Chasing a specific look or a final flex? Jump straight to the tree or the World Tree. Use the table to match the spot to what you actually want out of it.
Related Palworld guides
Frequently Asked Questions
Are these the best Palworld base locations for resources?
No — and that’s by design. The most efficient resource bases cluster several ore and coal nodes inside one base radius with trees nearby, so your Pals mine and haul over the shortest distance. These five prioritize looks, height, and hidden space over node density, so if raw farming output is all you care about, pick a resource-first spot instead.
Can you still use these locations after Palworld?
Yes. Version 1.0.2 (released July 29–30, 2026) is a stability-only update that fixes crashes and performance and doesn’t change building rules, so every one of these still works — the earlier 1.0.1 patch from July 15 is superseded. The one thing to watch is the underwater cave: because it relies on clipping through terrain, that single spot could stop working in a future patch.
Do you need a flying mount to build these bases?
You don’t strictly need one, but a flying mount makes the harder spots far quicker to reach and work on — getting up onto the bridge deck, into the tree canopy, and out over the ocean base is much smoother in the air. The underwater cave is the exception: you walk in and climb up, so no flying is required for that one.






Leave a Reply