
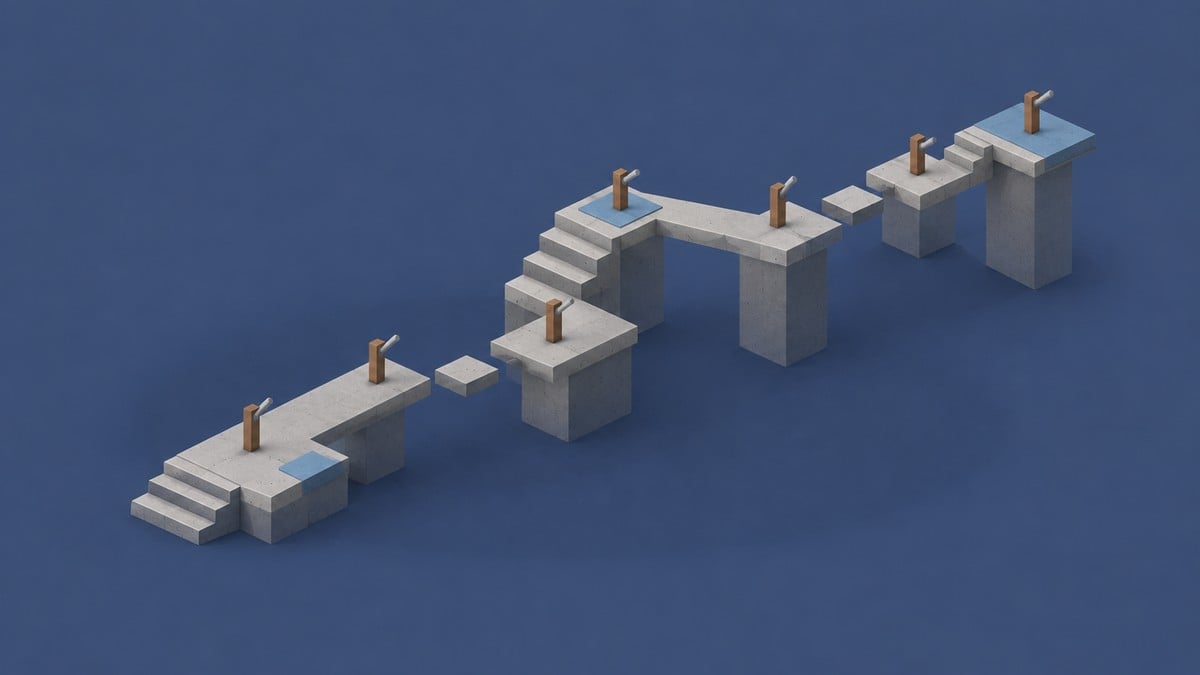
Beat the parkour by pulling all seven levers in order, avoiding poisonous grass and spikes, and touching the blue checkpoints as you advance.
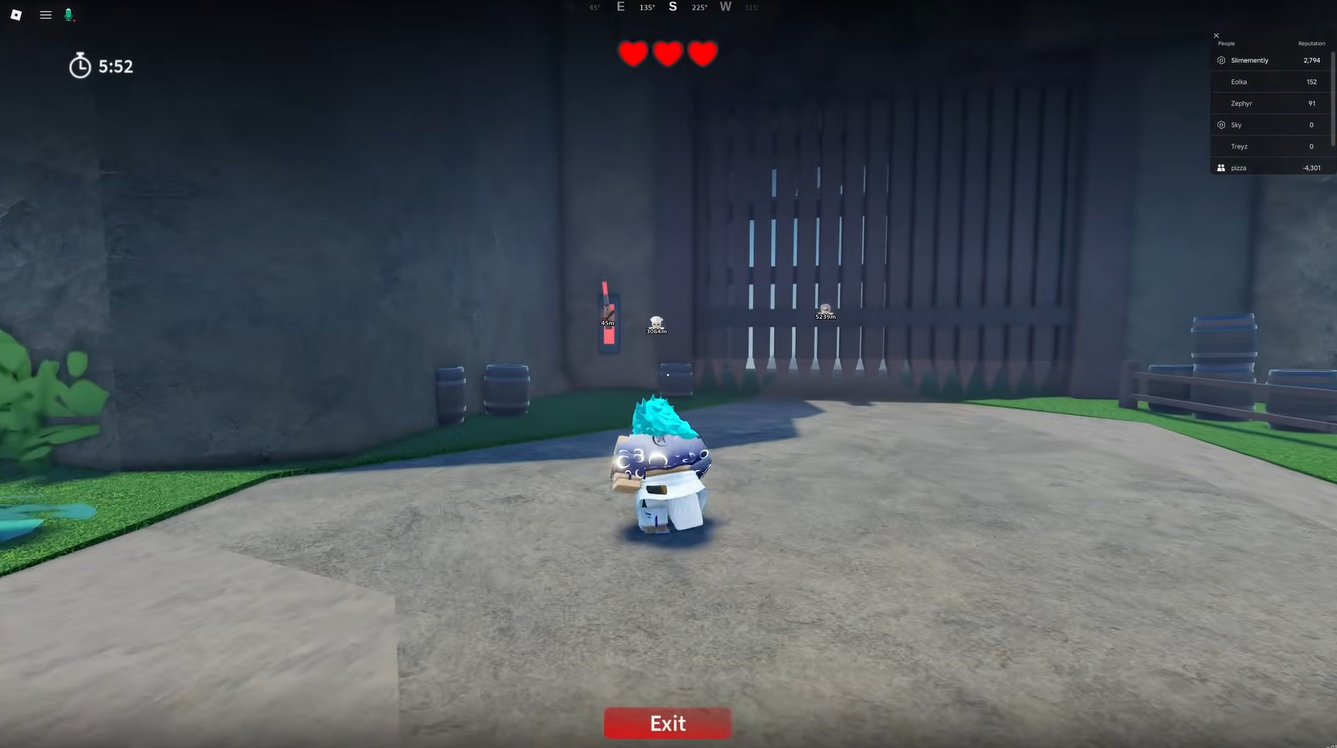
The Parkour Dungeon serves both training and Final Selection’s parkour objective. The training run starts with three lives and a six-minute timer, so each missed landing eats into a limited attempt.
Find the training entrance or reach Final Selection
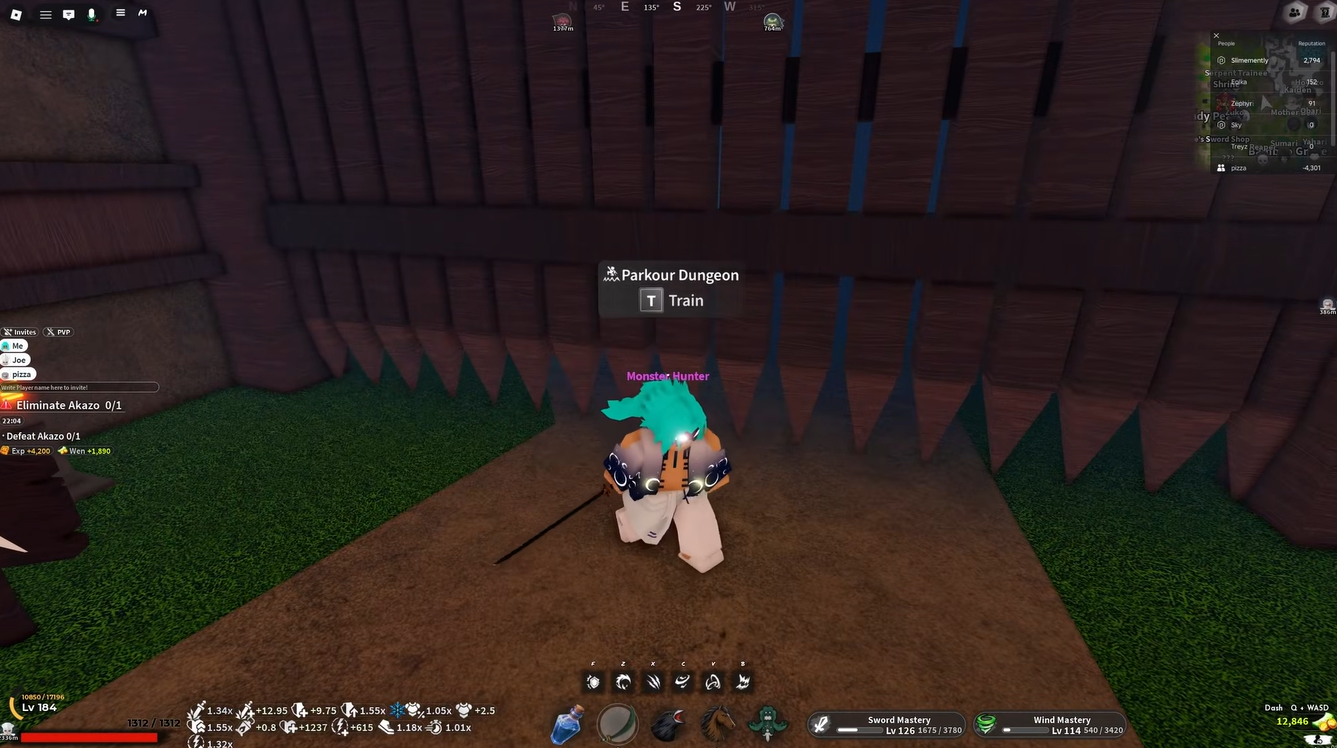
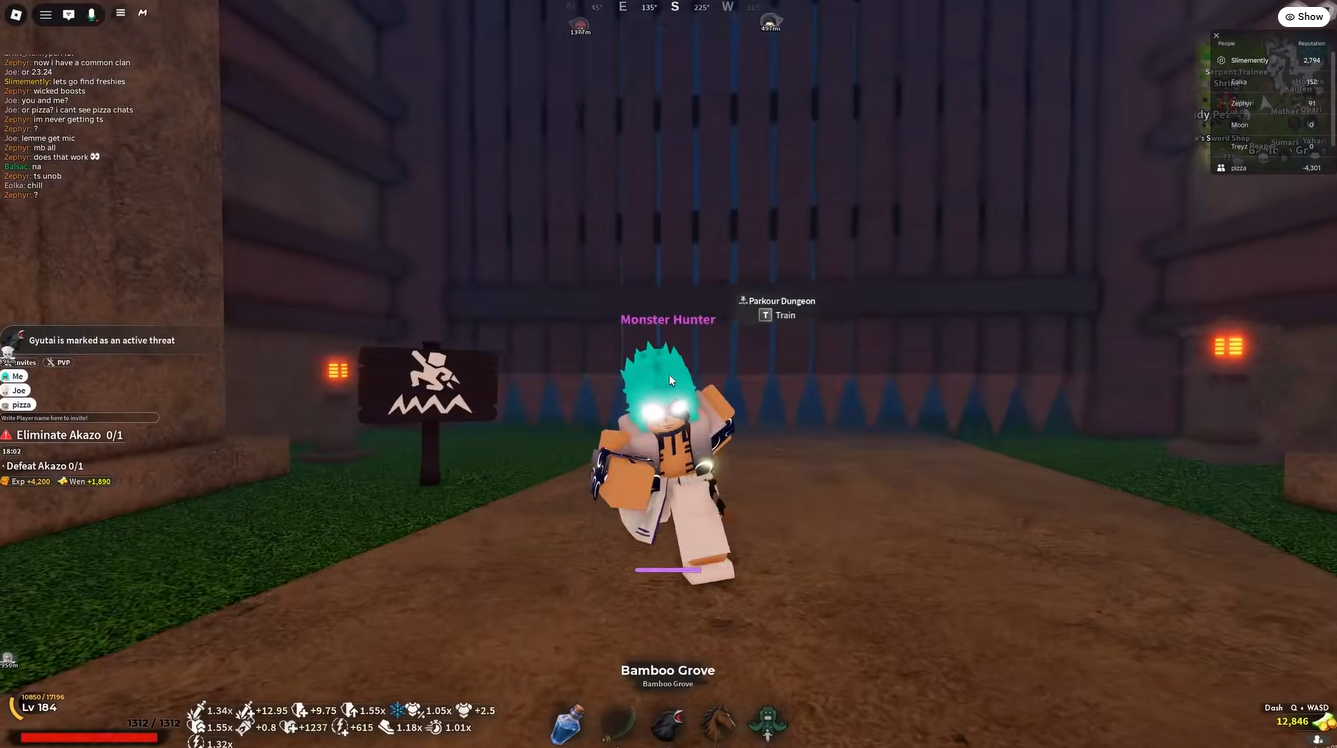
For training, head to the bear spawn in Bamboo Grove and look for the small cave. A red lantern and pink flowers mark the approach, while stone pillars and lit torches line the cavern passage toward the wooden gate. At the Parkour Dungeon interaction, press T on the [T] Train prompt to enter.
Final Selection is a Slayer-only trial requiring level 45, in the far west of the map. Travel to Mistfall Harbor, head toward Butterfly Estate, cross the long bridge south into Final Selection Plains, then follow the path northeast. Arrive early for entry. Within Final Selection, the Submerged Key opens the parkour dungeon.
How to clear the parkour from the opening lever to the exit
Work through the upper ledges, middle lever circuit and spike crossings to reach the final gate.
STEP 1/31
Open the first gate and approach the upper ledges
At the closed wooden gate, find the wall lever on its left and press T at the Lever [T] Pull prompt. The lever raises the gate and opens your route.
STEP 2/31
Take the elevated route
Avoid continuing straight ahead or dropping into the pit. Follow the high rocky ledges and stone pillar tops toward the higher platform, keeping clear of the spikes below.
STEP 3/31
Climb toward the back alcove
Wall-climb the stone face to the higher platform, then follow the narrow walkway around the wall spikes toward the back alcove.
STEP 4/31
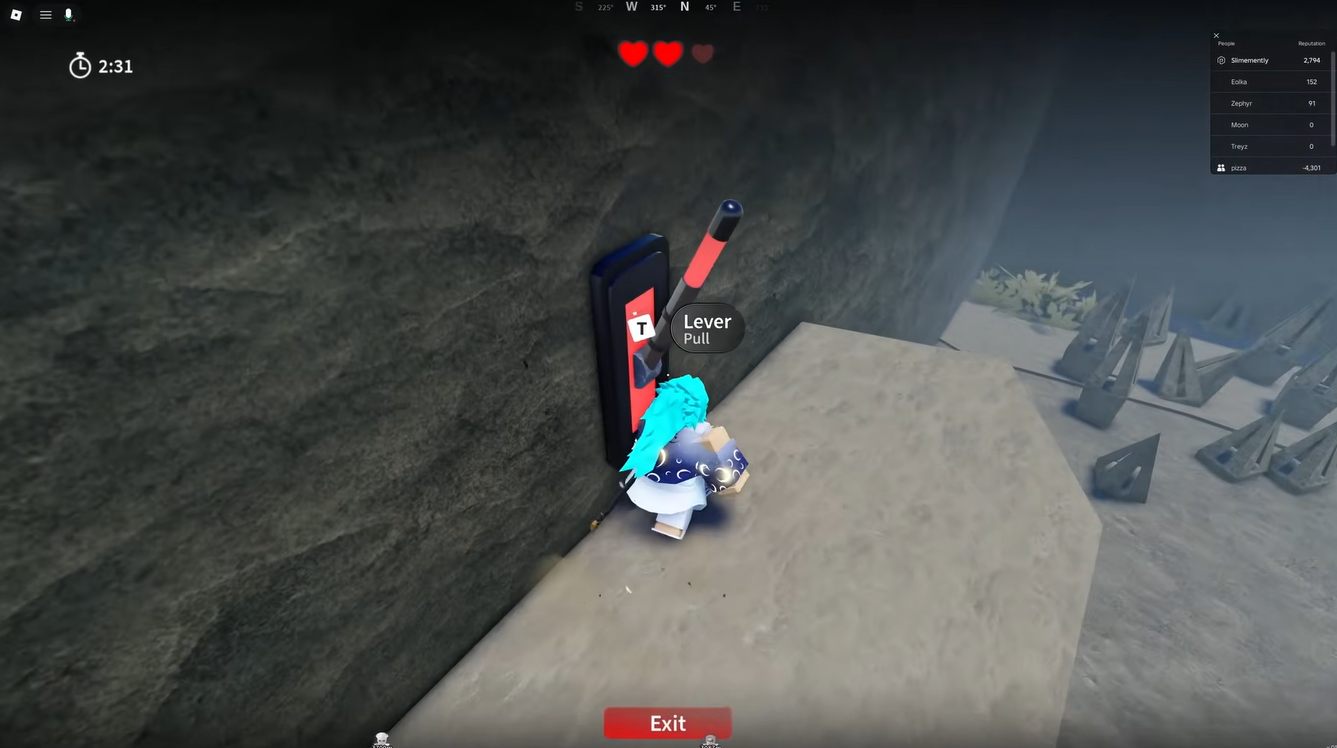
Pull the second lever
Use T on the second wall lever in the alcove. Once it activates, don’t backtrack, reset or jump off indiscriminately.
STEP 5/31
Jump and dash toward the opened gate
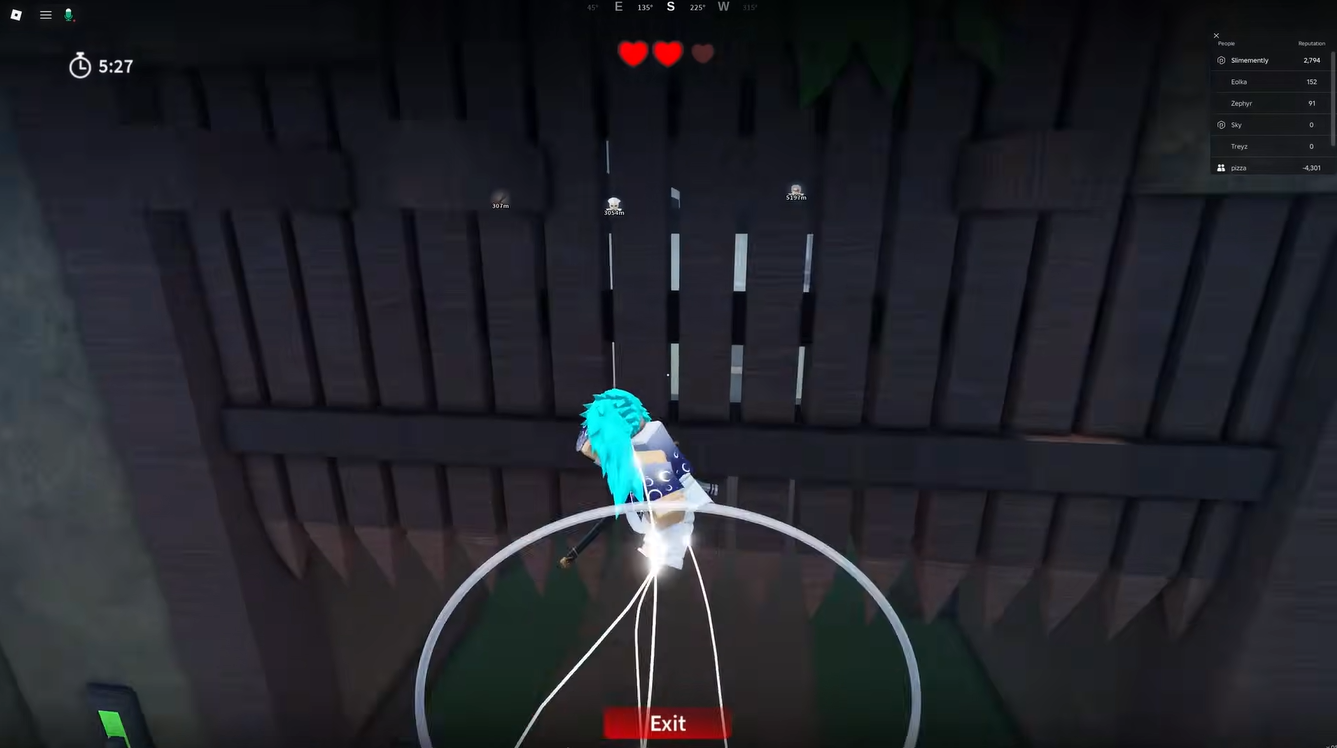
Move to the takeoff position facing the crates near the gate, then jump followed by a forward dash toward them. Continue through the opening; this controlled crossing saves the trip back along the ledges.
STEP 6/31
Touch the courtyard checkpoint
Touch the blue checkpoint flag in the courtyard before tackling the next obstacles. It sets your respawn location for subsequent failed jumps.
STEP 7/31
Begin the middle lever circuit through the pillars
Another lever needs activating before you can leave this stage. Head across the courtyard toward the tall hexagonal stone pillars, using the wall climb and pillar jumps to reach the upper cliff.
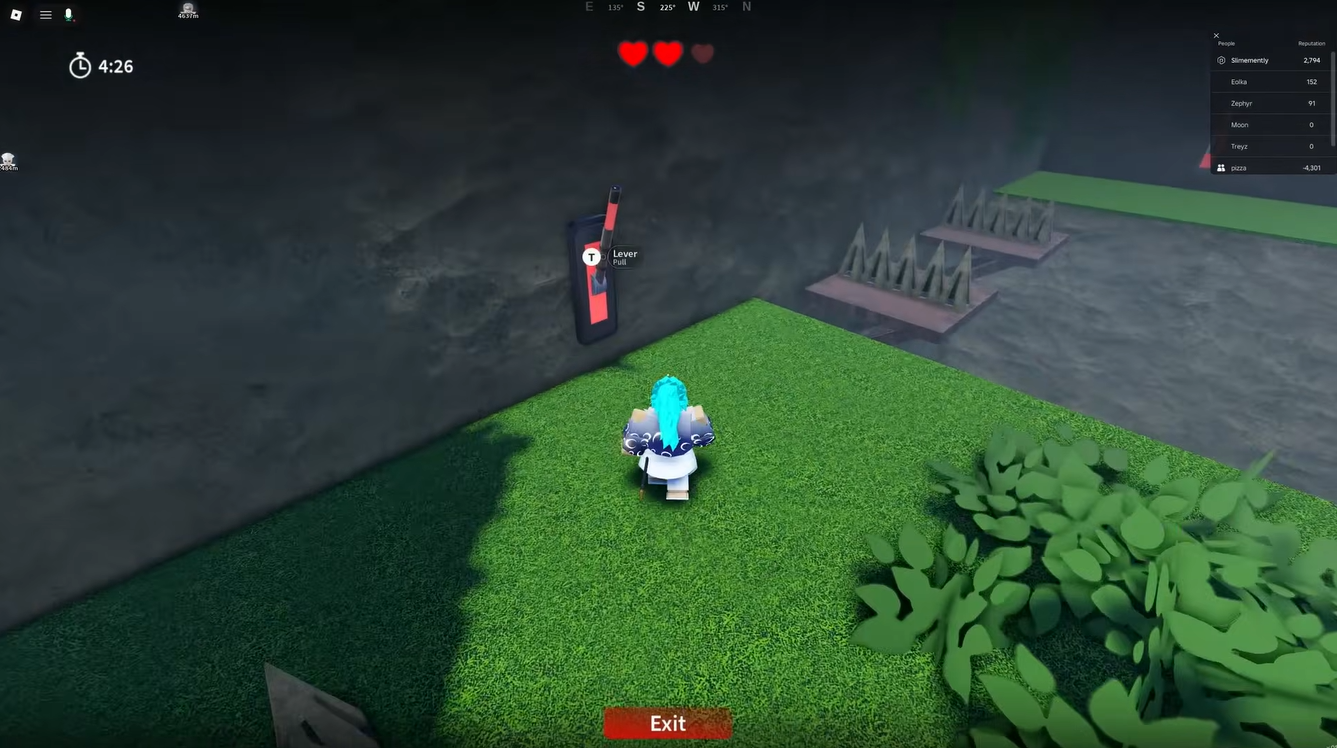
STEP 8/31
Double-jump, then pause
Make the quick double jump at this pillar section, then wait briefly before continuing. Keep this pause between the jump and the running segment.
STEP 9/31
Run without jumping
On the running segment immediately afterward, keep your feet down. Another jump or double jump here is lethal.
STEP 10/31
Pass the poisonous grass and spike traps
Grass contact in this hazardous section kills you and costs a life. Keep clear of the grass and spikes as you approach the stone lantern and wooden fence; use those objects as landmarks for the route to the wall lever.
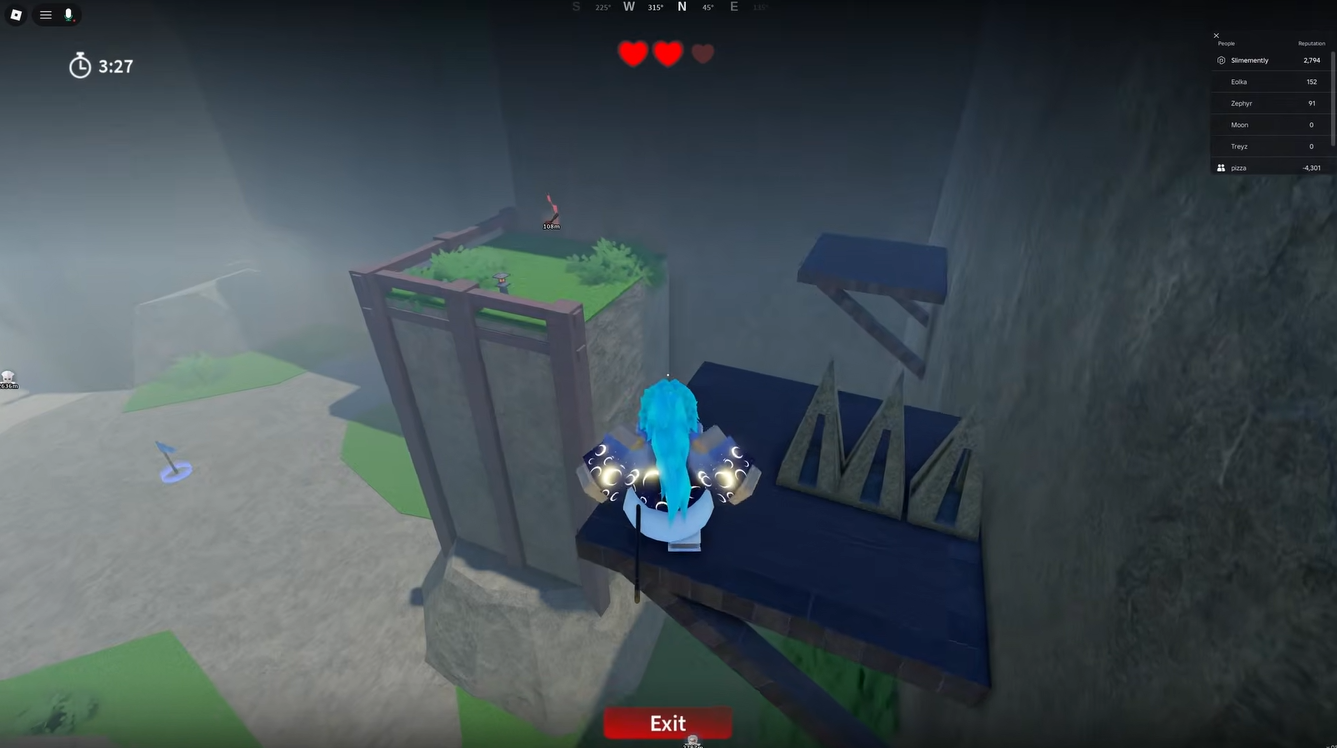
STEP 11/31
Reach the third wall lever without hitting the tree
Don’t double-jump near the tree beside this approach, which can also kill you. Continue to the dark stone wall and pull the third lever.
STEP 12/31
Cross the planks toward the fourth lever
Take your time across the narrow wooden planks and rock protrusions leading to the adjacent cliff wall. Spike traps flank these footholds.
STEP 13/31
Activate the fourth lever
At the adjacent wall, press T to pull the fourth lever.
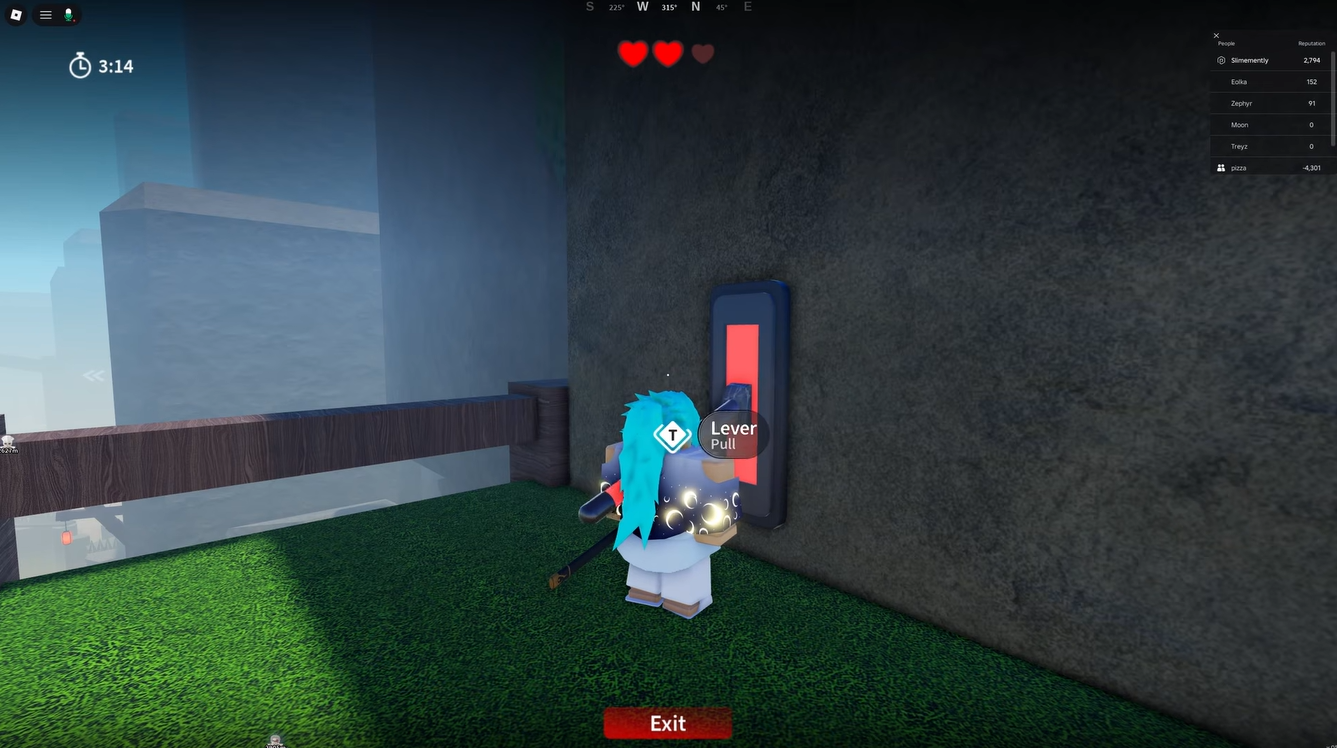
STEP 14/31
Drop toward the next pillar route
A fifth lever still remains, so don’t leave the circuit yet. Use the jump or drop toward the open area and next pillar section instead of backtracking, but skip this drop if it’s beyond your control; keep clear of the poisonous grass throughout the approach.
STEP 15/31
Scale the next stone pillars
Use the wall climb and double jump along the next pillar route to reach the elevated ledge section.
STEP 16/31
Stay against the wall on the narrow ledge
Follow the narrow stone ledge close to the wall, continuing past the spikes toward the small wooden platforms attached to it.
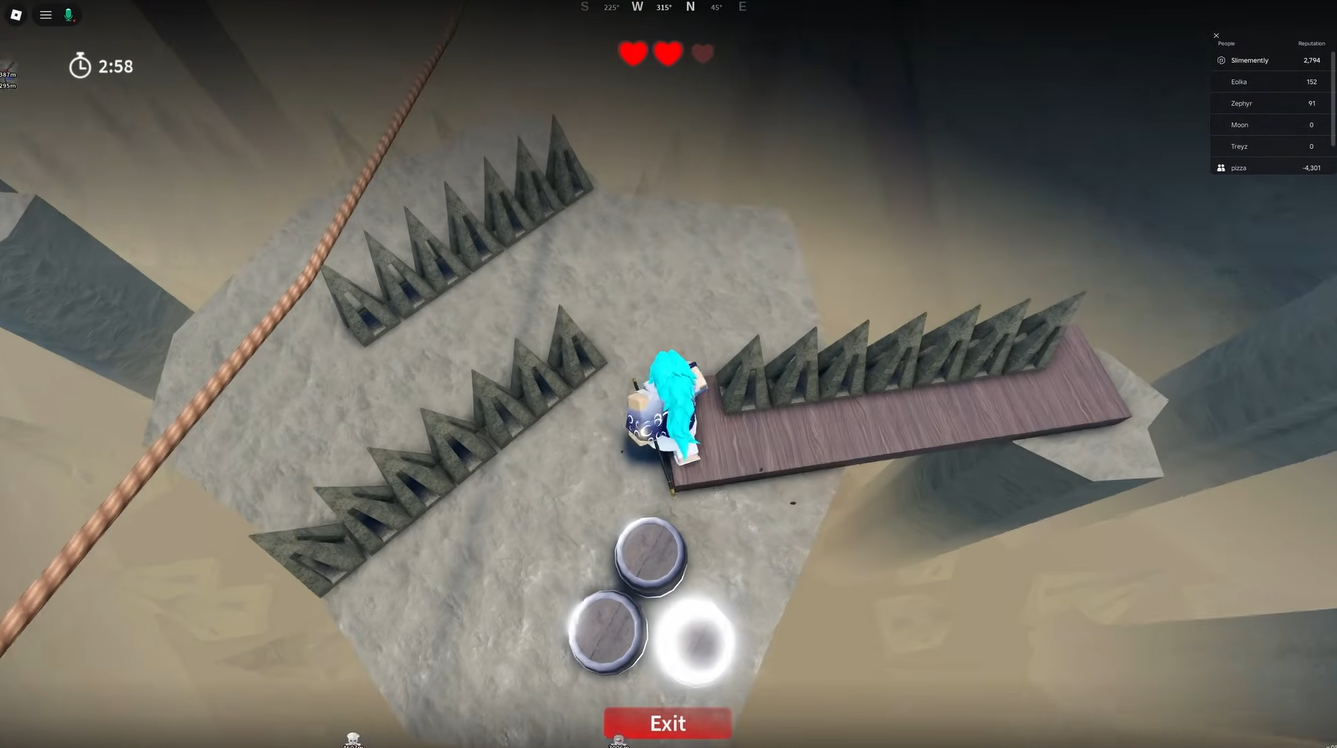
STEP 17/31
Use the wall platforms instead of forcing the shortcut
Climb the small wooden platforms toward the ledge near the railing. Attempt the shortcut jump here only if you can control it confidently, because a failed attempt can cost time.
STEP 18/31
Wait at the crossing without dashing
Pause at this crossing before moving across. Don’t dash here: the dash misses the landing. Keep your landing clear of the hazardous grass.
STEP 19/31
Pull the fifth lever near the railing
Once across, activate the wall lever beside the wooden railing before advancing to the next stage.
STEP 20/31
Cross into the next spike section
Follow the newly opened route and descend from the railing into the foggy area. Continue along the path past its blue flag toward the narrow stone columns..
STEP 21/31
Cross the beams and pillar tops
Jump across the narrow wooden beams and stone column tops over the spike pit to reach the grey platform..
STEP 22/31
Pass the spiked barricades carefully
Give the spiked barricades on the grey platform room as you pass. Even slight contact with the obstacle here is lethal..
STEP 23/31
Reach the sandy landing
Cross the remaining stone columns to the sandy flat area on the far side.
STEP 24/31
Secure the later spawn point
Touch the blue checkpoint flag until its blue aura activates. This sets the spawn point for the final stretch.
STEP 25/31
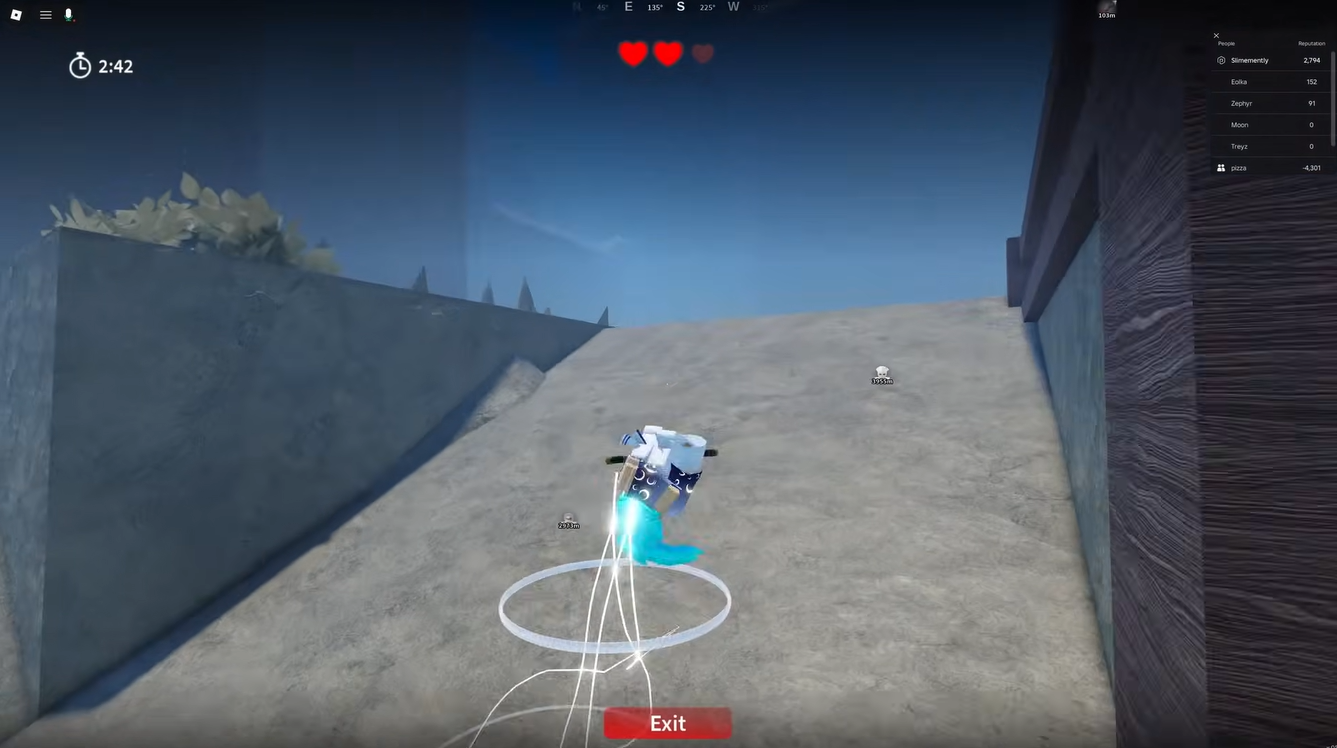
Start the final lever stretch up the dirt slope
Climb the dirt slope toward the stone-wall structure, then make your way to the cliffside wall lever.
STEP 26/31
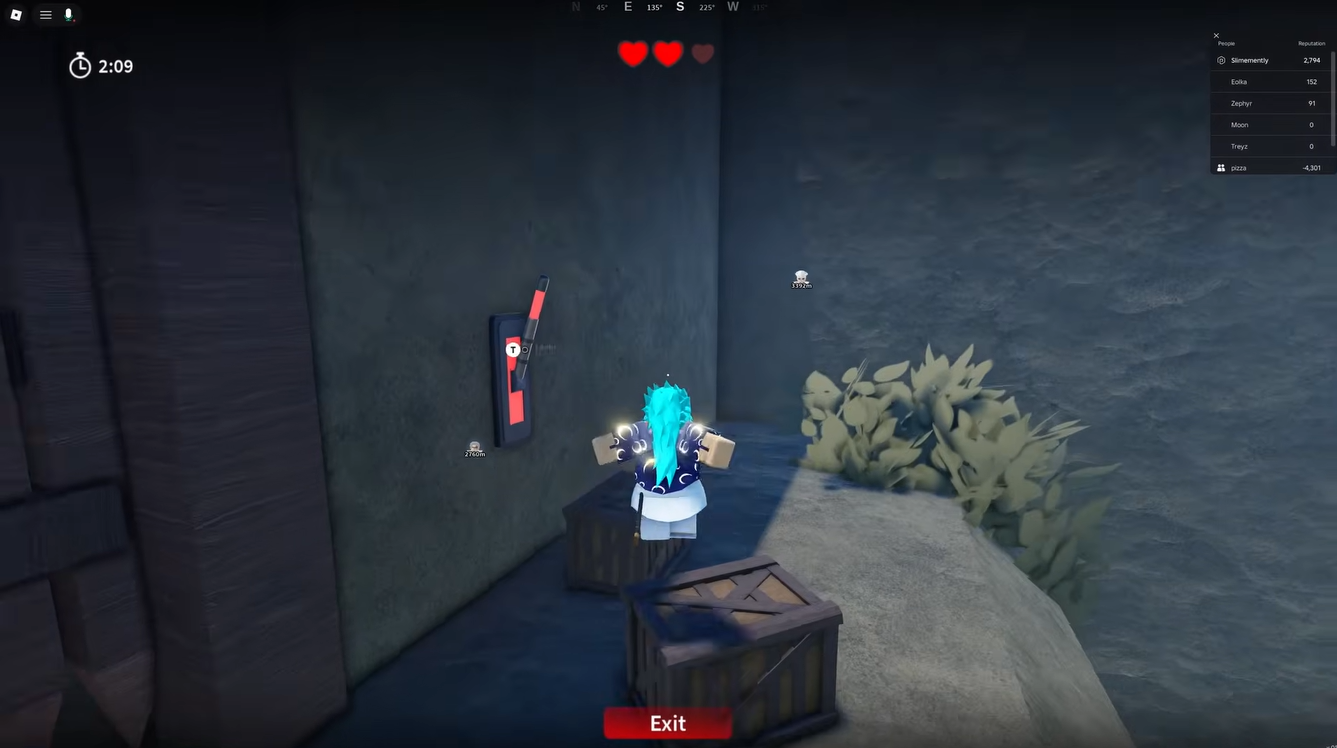
Activate the sixth lever
Stand beside the cliffside wall and press T on the sixth lever to advance the final gate mechanism.
STEP 27/31
Jump down toward the lower sandy area
Take the safe jump toward the lower sandy area; a dash is also an option at this particular crossing. From the landing, move across the open ground.
STEP 28/31
Return uphill to the wooden wall platforms
Head back up the slope and make the successive jumps along the wooden platforms attached to the stone wall.
STEP 29/31
Take the jumping shortcut toward the crates
Use the jumping shortcut through this wall-platform section, then cross the long wooden beam to the ledge with crates.
STEP 30/31
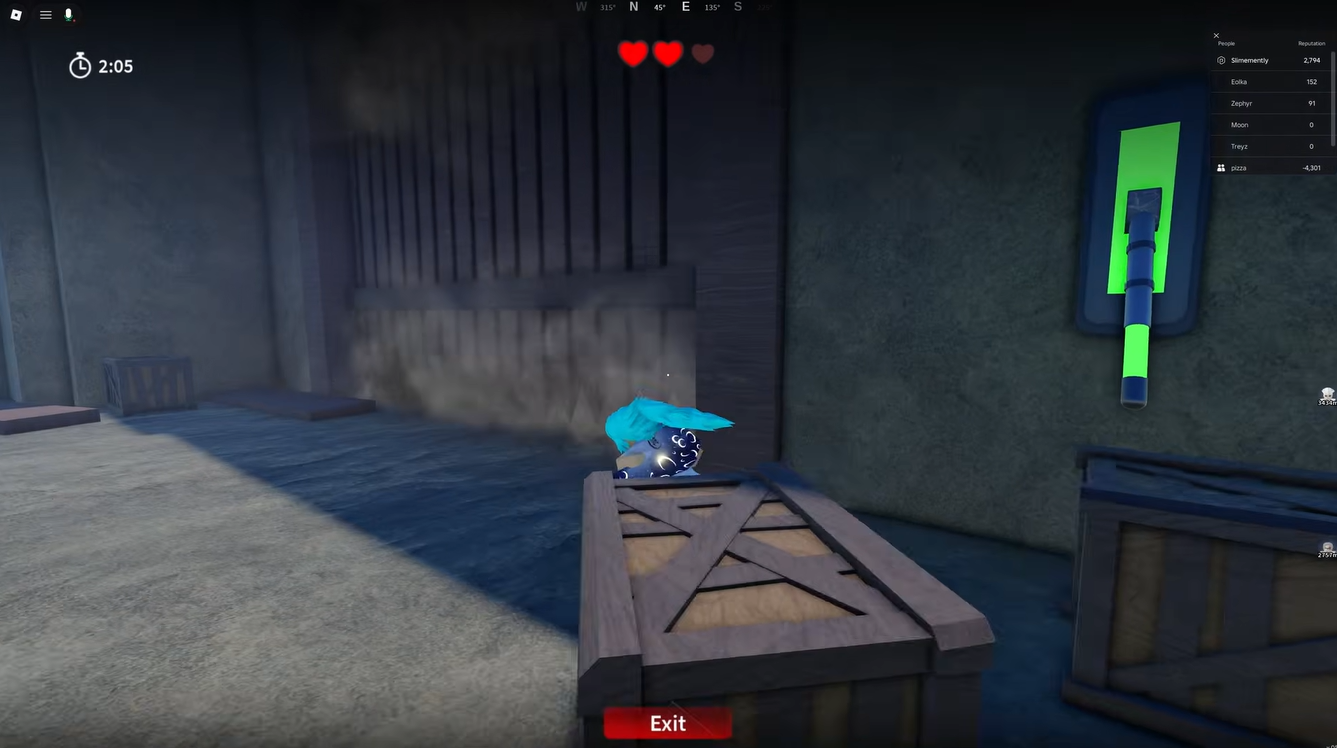
Pull the seventh lever to finish the dungeon
Hop onto the wooden crates, then press T to pull the wall lever. The seventh and final lever turns green, opens the exit gate and completes the parkour.
STEP 31/31
Leave through the open gate
Pass through the open wooden gate; the training run returns you to Bamboo Grove. During Final Selection, this clears its parkour component, or it completes the associated parkour quest when that is your active task.
Fit the dungeon into the Final Selection quest chain
Without the dungeon parkour completion, you’re stuck on his wound treatment, which burns trial time before you reach Lavato.
Breathing Styles unlock at level 25. Thunder, Sound, Snake or Water with Dead Calm give you breathing-based dashes or defensive options if you misstep, but the obstacle-specific movement restrictions still apply.
Final Selection objectives in order
| NPC or encounter | Final Selection task |
|---|---|
| The Sisters | Begin the trial. |
| Rem | Find the Apple, Banana and Grapes beside cliff edges and behind trees. |
| Vael | Meet him on the raised rock and clear five Lesser Demons from the woods. |
| Klien | Retrieve his Nichirin Katana from the cliffside and complete his wound treatment using Bandages. |
| Mizuto | Report back after completing the parkour dungeon. |
| Lavato | Undertake Mountain Survival, a timed run through four path markers up the mountain toward Levi. |
| Levi | Defend a capture point against demon waves, then escort the civilian out. |
| Steve and Hand Demon | Speak to Steve to start the final fight, then defeat the Hand Demon. |
| The Sisters | Return after defeating the Hand Demon. |
After Mountain Survival, you’ve still got Levi’s objectives, then Steve’s, to finish before the trial window closes. A training run alone won’t earn the rewards. Complete Final Selection to claim your Mizunoto rank, a Slayer Uniform, Ore and a Kasugai Crow.
Related Slayers 2 guides
Frequently Asked Questions
Can you try Final Selection again after failing?
Yes, failing Final Selection doesn’t permanently lock you out. Once the overall trial has failed, you can restart for another attempt at its NPC quest chain.






Leave a Reply