Android 4.1 Jelly Bean was announced just a couple of days ago, which was followed by a full OTA Android 4.1 ROM for the Galaxy Nexus to become available. Jelly Bean features a lot of exciting new features, such as faster and smoother performance, offline voice typing, better Google Search functionality, a much improved and even more useful notifications area, and more, making it one of the best Android releases ever.
And now, owners of the Galaxy S3 can also try out Jelly Bean thanks to XDA Recognized Developer Faryaab, who has begun porting the Galaxy Nexus ROM to the S3, and released it for everyone to try out.
Warning! The ROM is an unofficial port, and since the sources for Android 4.1 aren’t available yet, the ROM is not very stable, with a lot of things that do not work. So keep in mind that you should use this ROM only to try out Jelly Bean and that it is not suitable for daily use yet.
Here’s a list of things that work/do not work currently, quoted from the official development thread:
What Works:
- ADB
- Touchscreen
- Hardware Acceleration
- Notification LED
- Cellular Radio (But No Audio so no Calls)
- Physical Buttons
- SMS
- Accelerometer
- Charging
- Maybe More
What Doesn’t work:
- Wi-Fi/Bluetooth/NFC
- Audio
- Camera
- MTP
- Storage
- Maybe more
As you can see, many things such as Wi-Fi, camera, audio, etc does not work yet, so like said above, this ROM should only be flashed to get a glimpse of Jelly Bean Android 4.1. So, continue reading to find out how you can flash Android 4.1 on your Galaxy S3
Compatibility
This hack and the guide below are compatible only and only with Galaxy S3, model number i9300. It’s not compatible with the US variants or other devices. Check your device’s model number in: Settings » About phone.
Warning!
The methods and procedures discussed here are considered risky and you should not attempt anything if you don’t know completely what it is. If any damage occurs to your device, we won’t be held liable.
How to Install Android 4.1 Jelly Bean on Galaxy S3
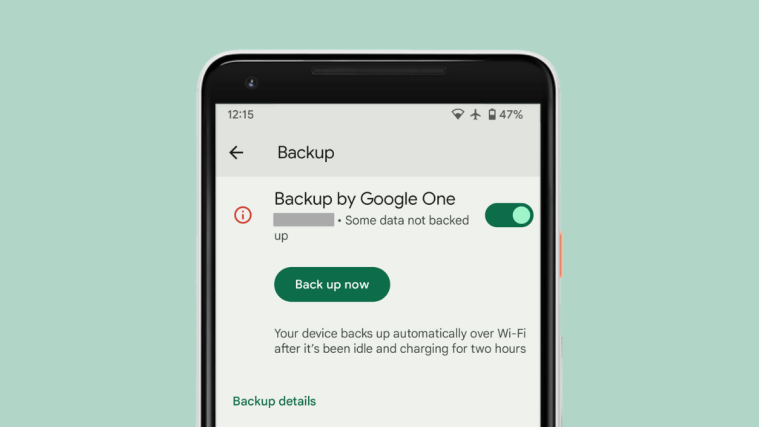
- This procedure will wipe all your apps, data and settings (but it will NOT touch your SD cards, so don’t worry about those). Backup your Apps and important data — bookmarks, contacts, SMS, APNs (internet settings), etc. This Android backup guide would help you.
Important! Don’t forget to at least make a backup of your APN settings, which you can restore later if your data connection does not work after installing the ROM. Use the backup guide to find out how. - Install ClockworkMod recovery on your phone by following the guide → here.
- Download the latest version of the ROM from the official development page.
- Copy the downloaded zip file from step 3 to the internal SD card on the phone.
- Now, boot into ClockworkMod recovery. To do that, turn off your phone. Then, hold down Volume Up, Home and then the Power buttons together until the screen turns on, then let them go. The phone will boot into ClockworkMod recovery in a few seconds.
In recovery, use the volume buttons to scroll up/down and the home button to select an option. - Perform a Nandroid Backup of your existing ROM, so that you can always restore it from recovery if something does not work out with this ROM. To perform a backup, select Backup and Restore –> On the next screen, select Backup again, then wait for the backup to finish. Keep in mind that at least 1 GB of space is required on the internal SD to make a successful backup. Go back to main recovery menu after backup is complete.
- Select wipe data/factory reset, then select Yes on next screen to confirm. Wait a while till the data wipe is complete.
- Select install zip from sdcard, then select choose zip from sdcard. Scroll to the ROM file on the SD card and select it. Confirm installation by selecting Yes – Install _____.zip on the next screen. The ROM will start installing.
- After the ROM finishes installing, select go back then select reboot system now to reboot the phone and boot up into Jelly Bean.
- NOTE: In case you want to go back to Ice Cream Sandwich/your previous ROM again, simply shut down the phone and boot into ClockworkMod recovery, select Backup and Restore, then select Restore to restore your previous ROM. Or, if you want to go back to a fully stock ICS ROM, then you can flash the stock XXLAF2 firmware → here.
Android 4.1 Jelly Bean is now up and running on your Galaxy S3. Keep checking back on the official development page for future updates on the ROM. Let us know your opinion on Jelly Bean Android 4.1, in the comments below.


