
There are 8 Ex Oblivione documents to collect in New Game Plus, starting in Apartment 6 and ending in the final portal room.
The route passes through the Library Annex, Devil’s Reef Hotel, the asylum, and Arkham Fish Market before reaching the final section. Several documents are tucked inside side rooms or back corners away from the main path.
The Sinking City 2 Ex Oblivione collectible locations
| Document | Location | Where to look |
|---|---|---|
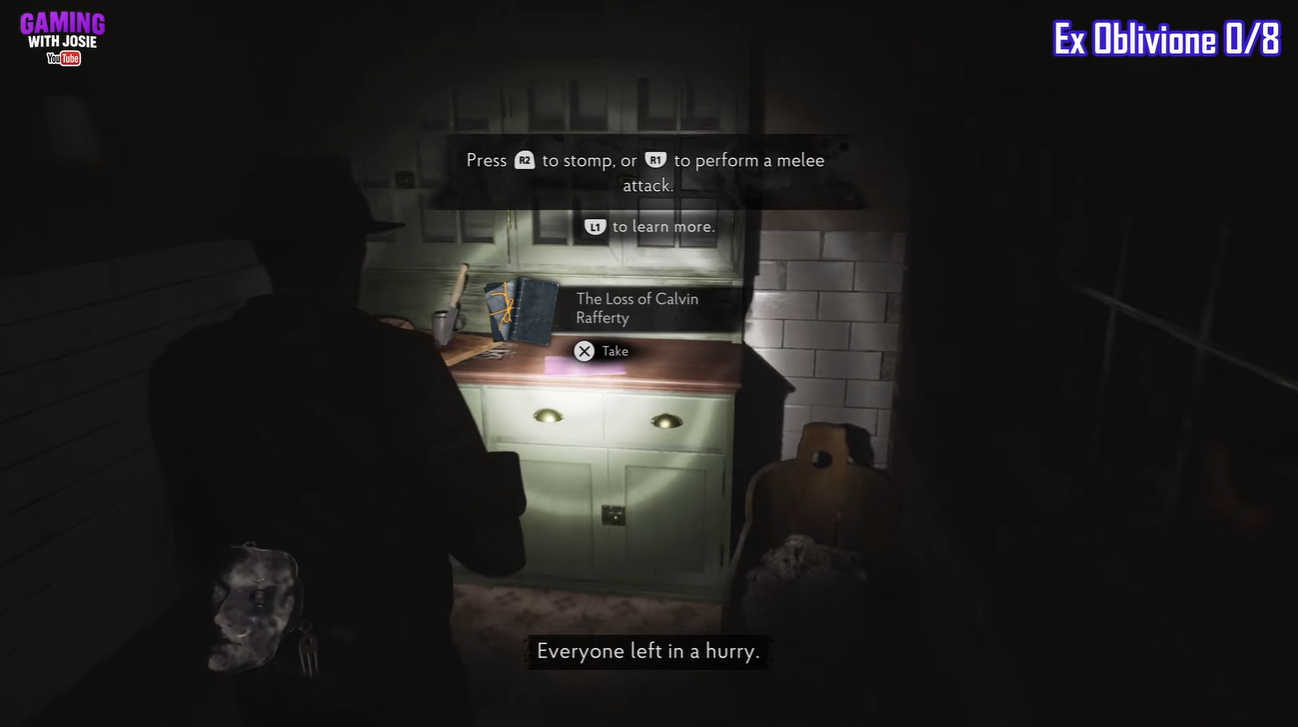
| The Loss of Calvin Rafferty / The Loss of Calvin | Apartment 6 | Kitchen cabinet before the floor drop; a Rafferty family account centered on Calvin’s childhood in Boston |
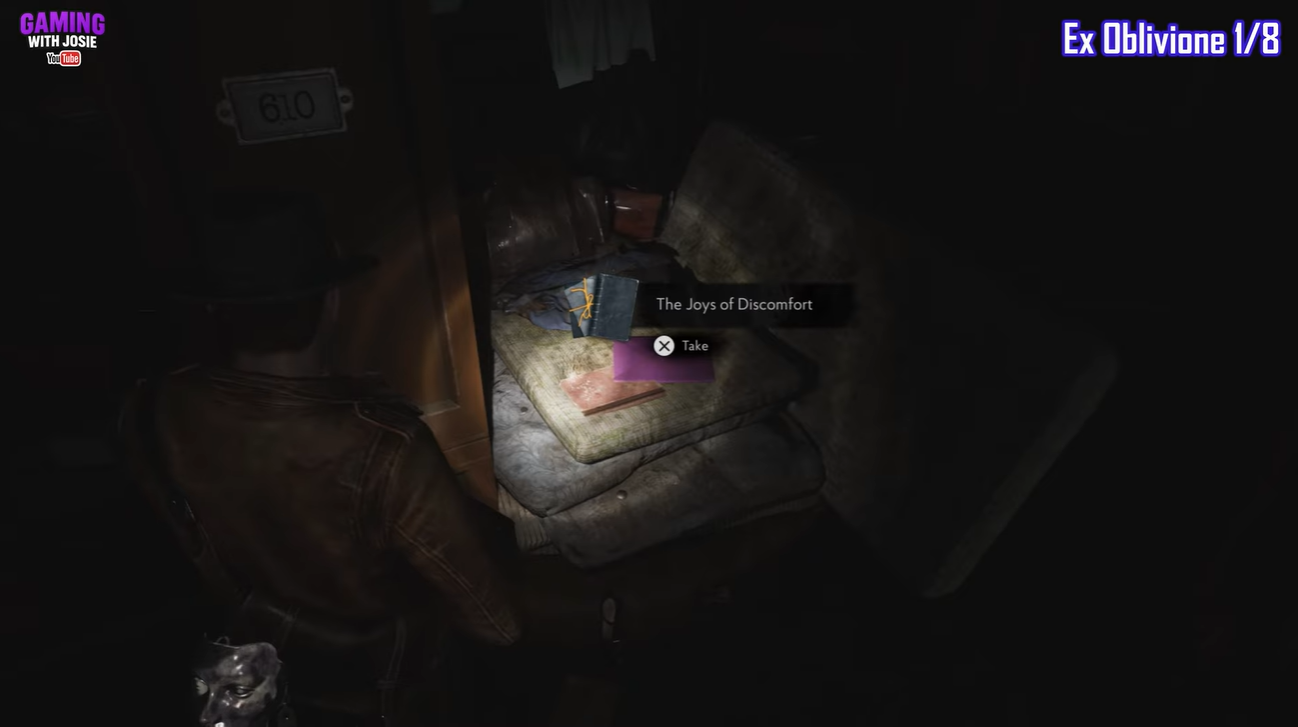
| The Joys of Discomfort | Miskatonic University Library Annex | Upper floor near bookcase 610 and the mattresses; focuses on Faye Bennett’s restless move beyond high society |
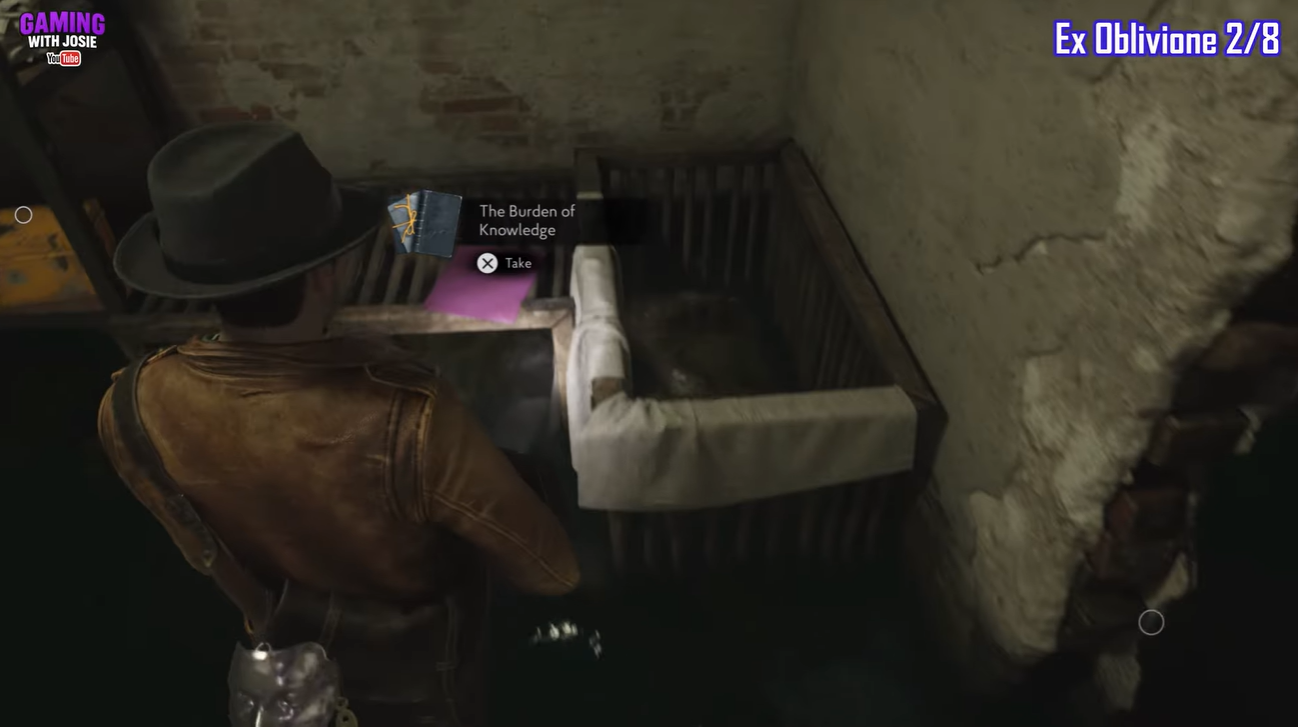
| The Burden of Knowledge | Devil’s Reef Hotel | Crate inside Linen Storage; follows Corentin de Grandemange’s obsession with language and hidden meaning |
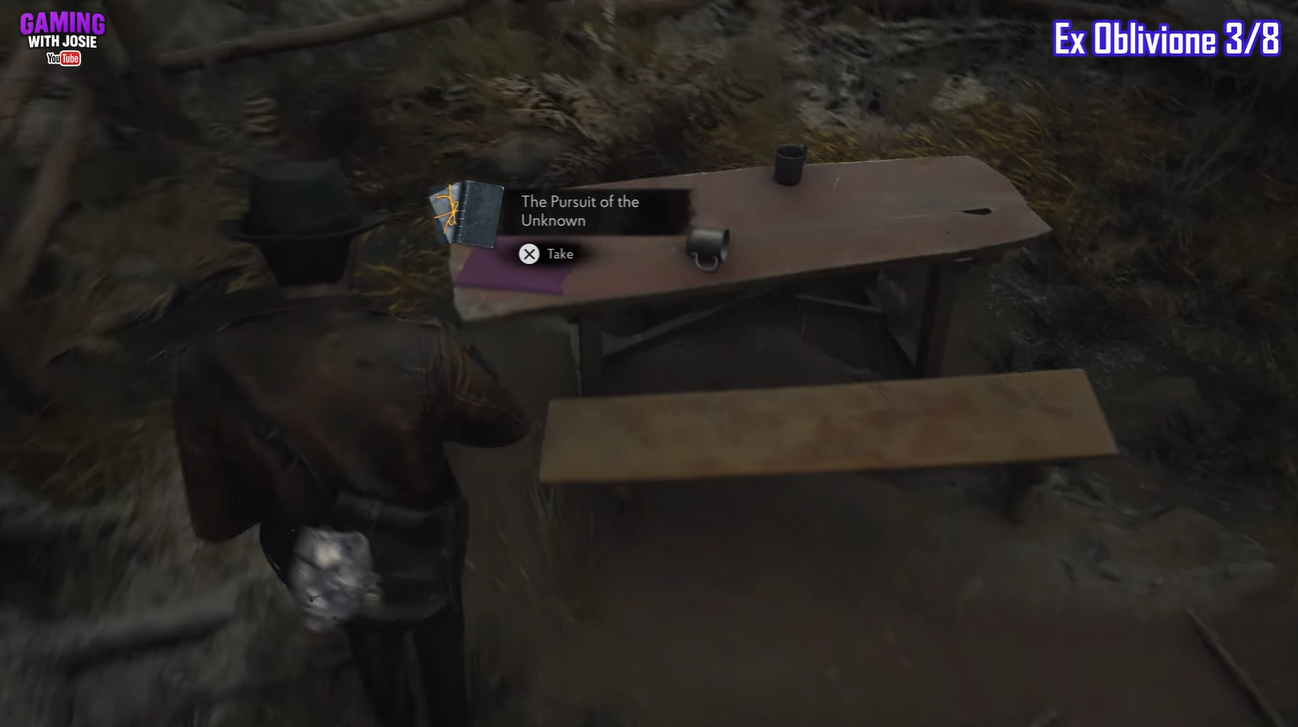
| The Pursuit of the Unknown | Asylum approach | Picnic table south of the woodland path; about Faye and Calvin chasing relics, ruins, and forbidden answers |
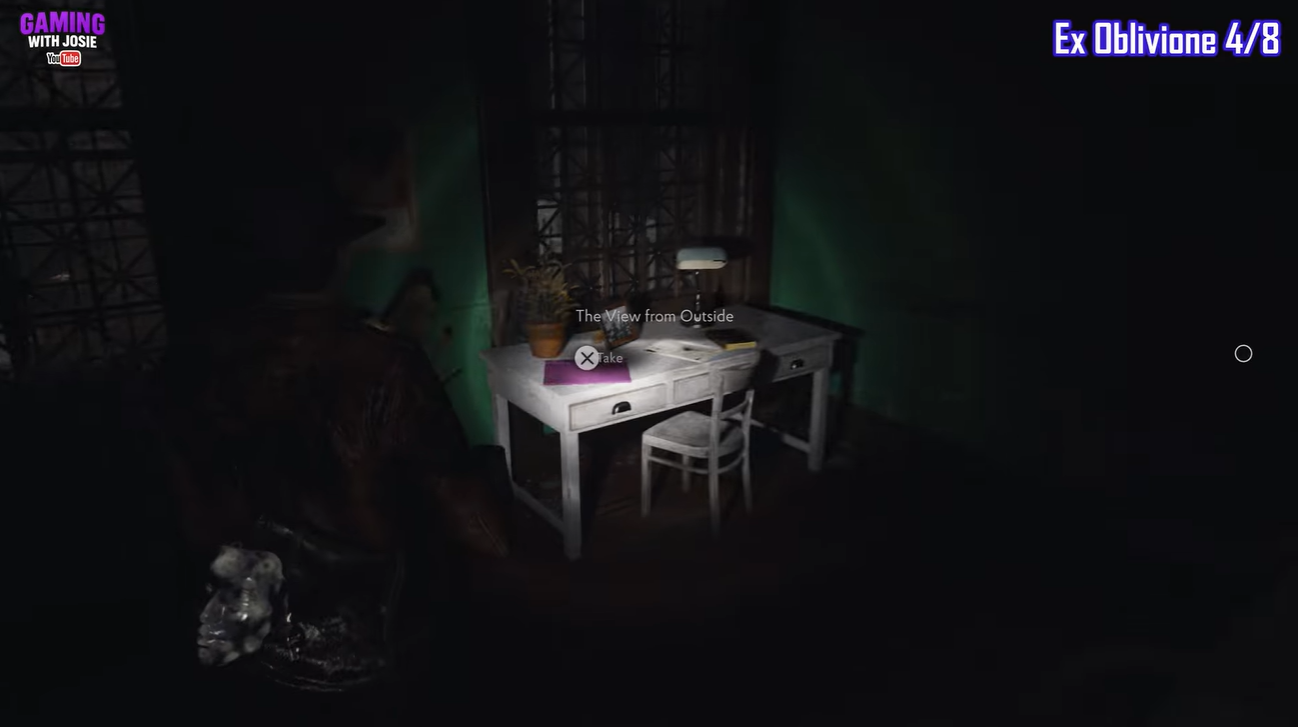
| The View from Outside | Asylum | Desk in the room beside the Observation Ward; concerns Thaddeus Lowe’s visions, intellect, and isolation |
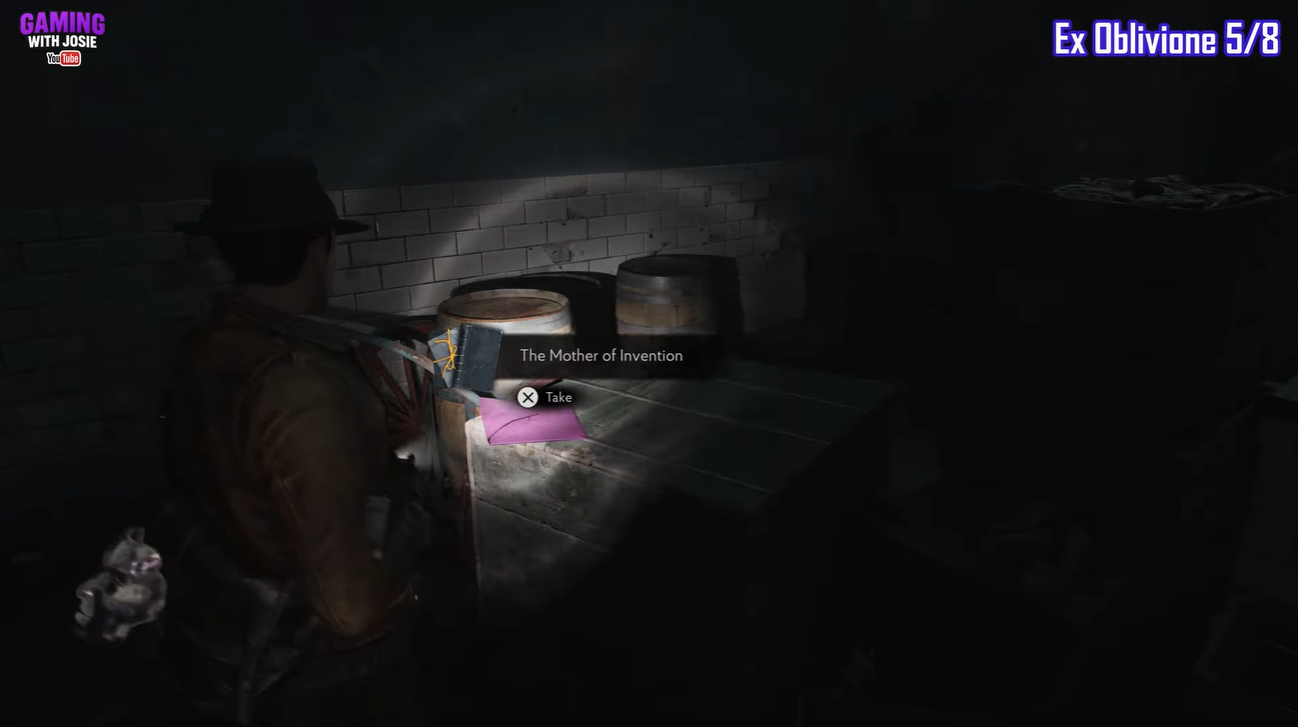
| The Path | Arkham Fish Market | Crates after using the first Leyden Jar; tells of Frances and the strange pull that keeps leading her elsewhere |
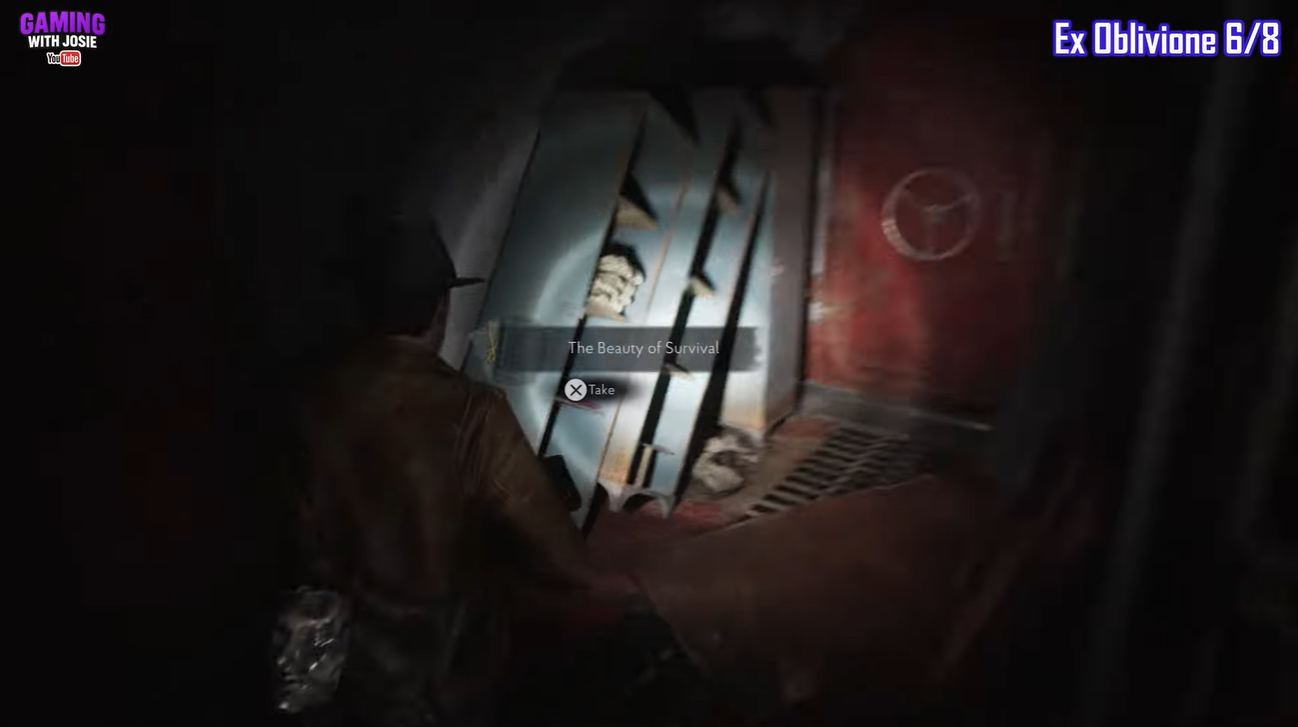
| The Beauty of Survival | Arkham Fish Market ship | Locker area at the other end of the ship; contrasts Faye’s changed nature with Calvin’s endurance |
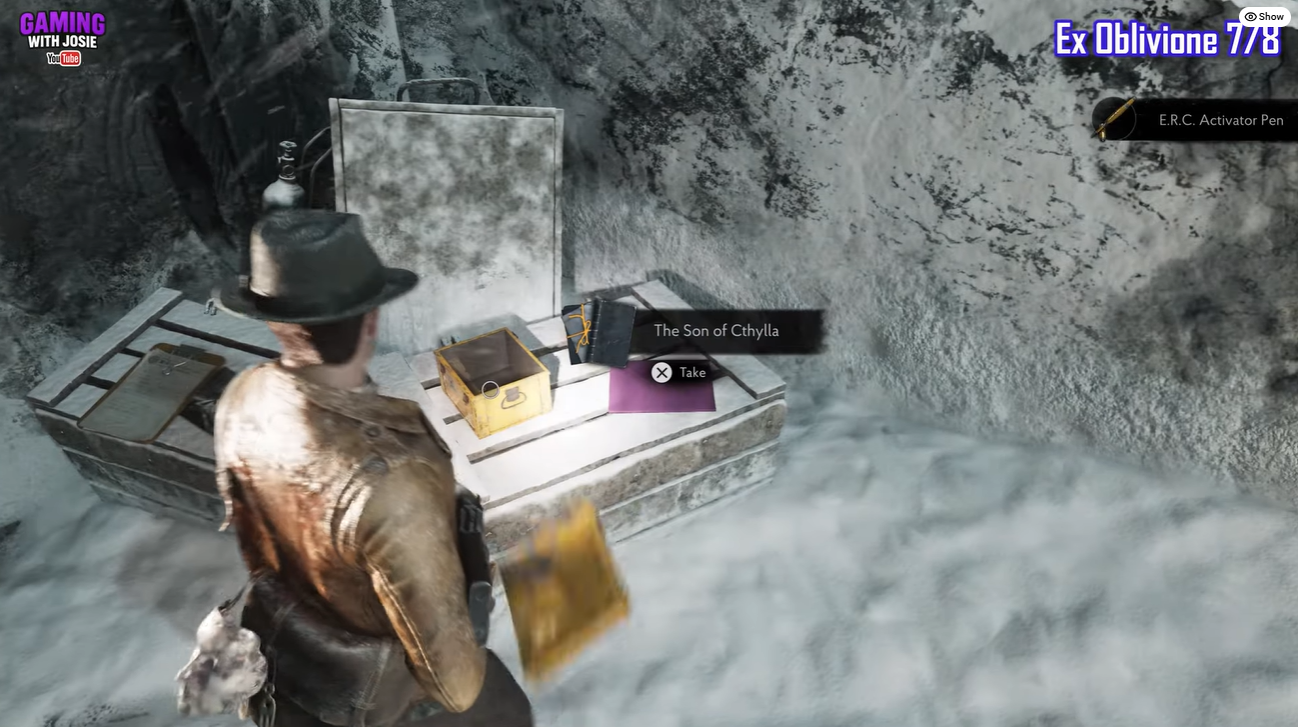
| The Son of Cthylla | Final portal room | Back corner near the additional pickups; revisits Charles Reed’s Boston past, Navy service, and visions |
Ex Oblivione documents appear only in New Game Plus, which the game calls Ex Oblivione mode. They do not appear during a first playthrough.
Watch for purple document pickups at these locations; they belong to the Ex Oblivione set rather than the regular first-playthrough notes.
Document 1 in Apartment 6
Finish Apartment 5
Complete the required opening objectives in Apartment 5, then move into Apartment 6.
Enter the kitchen
Check the cabinet
Pick up the first Ex Oblivione document from the kitchen cabinet. The Loss of Calvin Rafferty looks back at Thomas and Niamh Rafferty’s move from Ireland to Boston, their son Calvin’s difficult early life, and the family loss that shaped him.
The Joys of Discomfort at Miskatonic University
Reach the library
Continue through the story until you enter Miskatonic University, then head into the Library Annex.
Climb to the upper floor
Make your way to the library area on the Annex’s second floor.
Find bookcase 610
Look beside bookcase 610, around the nearby mattresses, and collect The Joys of Discomfort. The entry frames Faye Bennett as a brilliant, impatient woman born into privilege who rejected a safe society life and found her way into academia and stranger circles.
Reaching The Burden of Knowledge in Devil’s Reef Hotel
Switch off the poison gas
Key Disable the gas before backtracking, as the route into this part of the hotel is otherwise blocked.
Return through the cleared doorway
Go back up the route from the stairs and pass through the doorway that was previously sealed by poison gas.
Fight through to the wine room
Follow the passage around, dealing with the enemies along the way, until you enter the wine room.
Squeeze into Linen Storage
Use the gap in the back wall to enter Linen Storage.
Search the right-hand crate
Turn right after entering and collect The Burden of Knowledge from the crate. This document centers on Corentin de Grandemange, a gifted translator whose hunger for languages turns into a search for the universe’s own hidden speech.
Finding The Pursuit of the Unknown near the asylum
Follow the woodland path
After leaving the boat, proceed through the woods toward the asylum.
Check south of the path
Enter the small side area on the southern side of the route leading toward the hospital.
Search the picnic table
Collect The Pursuit of the Unknown from the wooden picnic table. It follows Faye and Calvin in their twenties as curiosity hardens into a dangerous hunt for relics, ruins, and answers no one polite would chase.
The View from Outside beside the Observation Ward
Advance through the asylum
Continue through the interior until you reach the Observation Ward area.
Enter the adjoining room
Go into the room positioned beside the Observation Ward.
Search the desk
Collect The View from Outside lying on the desk. The entry is about Thaddeus Lowe, whose lifelong dreams and morning journal entries mark him as brilliant, isolated, and haunted by places beyond ordinary understanding.
The Path document after the first Leyden Jar
Insert the Leyden Jar
Place the first Leyden Jar into the starfish-shaped device.
Pass through the opened door
Enter the newly accessible doorway and continue onto the balcony.
Drop from the balcony
Descend to the lower level, then turn left.
Search the back corner
Go to the far-left corner and collect The Path from the crates. This entry tells Frances’ story, from nights spent restraining herself in bed to an ancient ritual she hopes will explain why her body keeps wandering.
The Beauty of Survival Oblivione document
Continue through the ship
Progress through the area until you reach the other end of the ship.
Find the four lockers
Enter the section containing a group of four lockers.
Collect the document
Pick up The Beauty of Survival from the locker area. The document describes Faye’s strange, vivid dreams and the power they leave behind, while Calvin is defined more by persistence and the resolve to keep following the quest.
Final Ex Oblivione document – The Son of Cthylla
Use the power
Activate the power inside the portal room before searching the surrounding area.
Enter the back corner
Move into the rear corner containing several additional pickups like the ERC Activator Pen.
Take the final document
Collect The Son of Cthylla from this corner to finish the set. It connects Charles Reed to Boston, the Great War, his Navy diving past, and the visions that followed him.
Frequently Asked Questions
Can you collect Ex Oblivione documents on a first playthrough?
No. After completing the main story, select Ex Oblivione mode from the main menu and choose the clear save you want to use.
What carries over into Ex Oblivione New Game Plus?
Only your Talent points carry over into Ex Oblivione mode.
Do you need all 8 Ex Oblivione documents for a trophy?
Yes. Collecting all 8 new Codex entries awards the From Oblivion trophy.
Video help






Leave a Reply