For a reliable Subnautica 2 base, do not rely on solar alone: build for peak draw, watch the generation-versus-drain UI, use storage and transmitters, and upgrade toward hydroelectric or thermal power where the terrain supports it.
Subnautica 2 makes base power something you have to design around, not something you add once and forget. A base that looks stable while idle can still black out when a processor starts crafting, a Tadpole Dock begins charging, or several chargers wake up at once.
The goal is simple: keep your grid net-positive during the busiest moment, not just during the best daytime solar window. That means reading the base power UI, spotting hidden drains, and choosing generators that match the place you actually built.
- How base power fails in Subnautica 2
- Hidden base drains to plan around
- Best base power sources by situation
- What you need before linking remote power
- How to daisy-chain remote power sources into your base
- Power Transmitter placement rules for distant generators
- Energy-saving habits for large bases
- Solar Panel depth and cave behavior
- Frequently Asked Questions
How base power fails in Subnautica 2

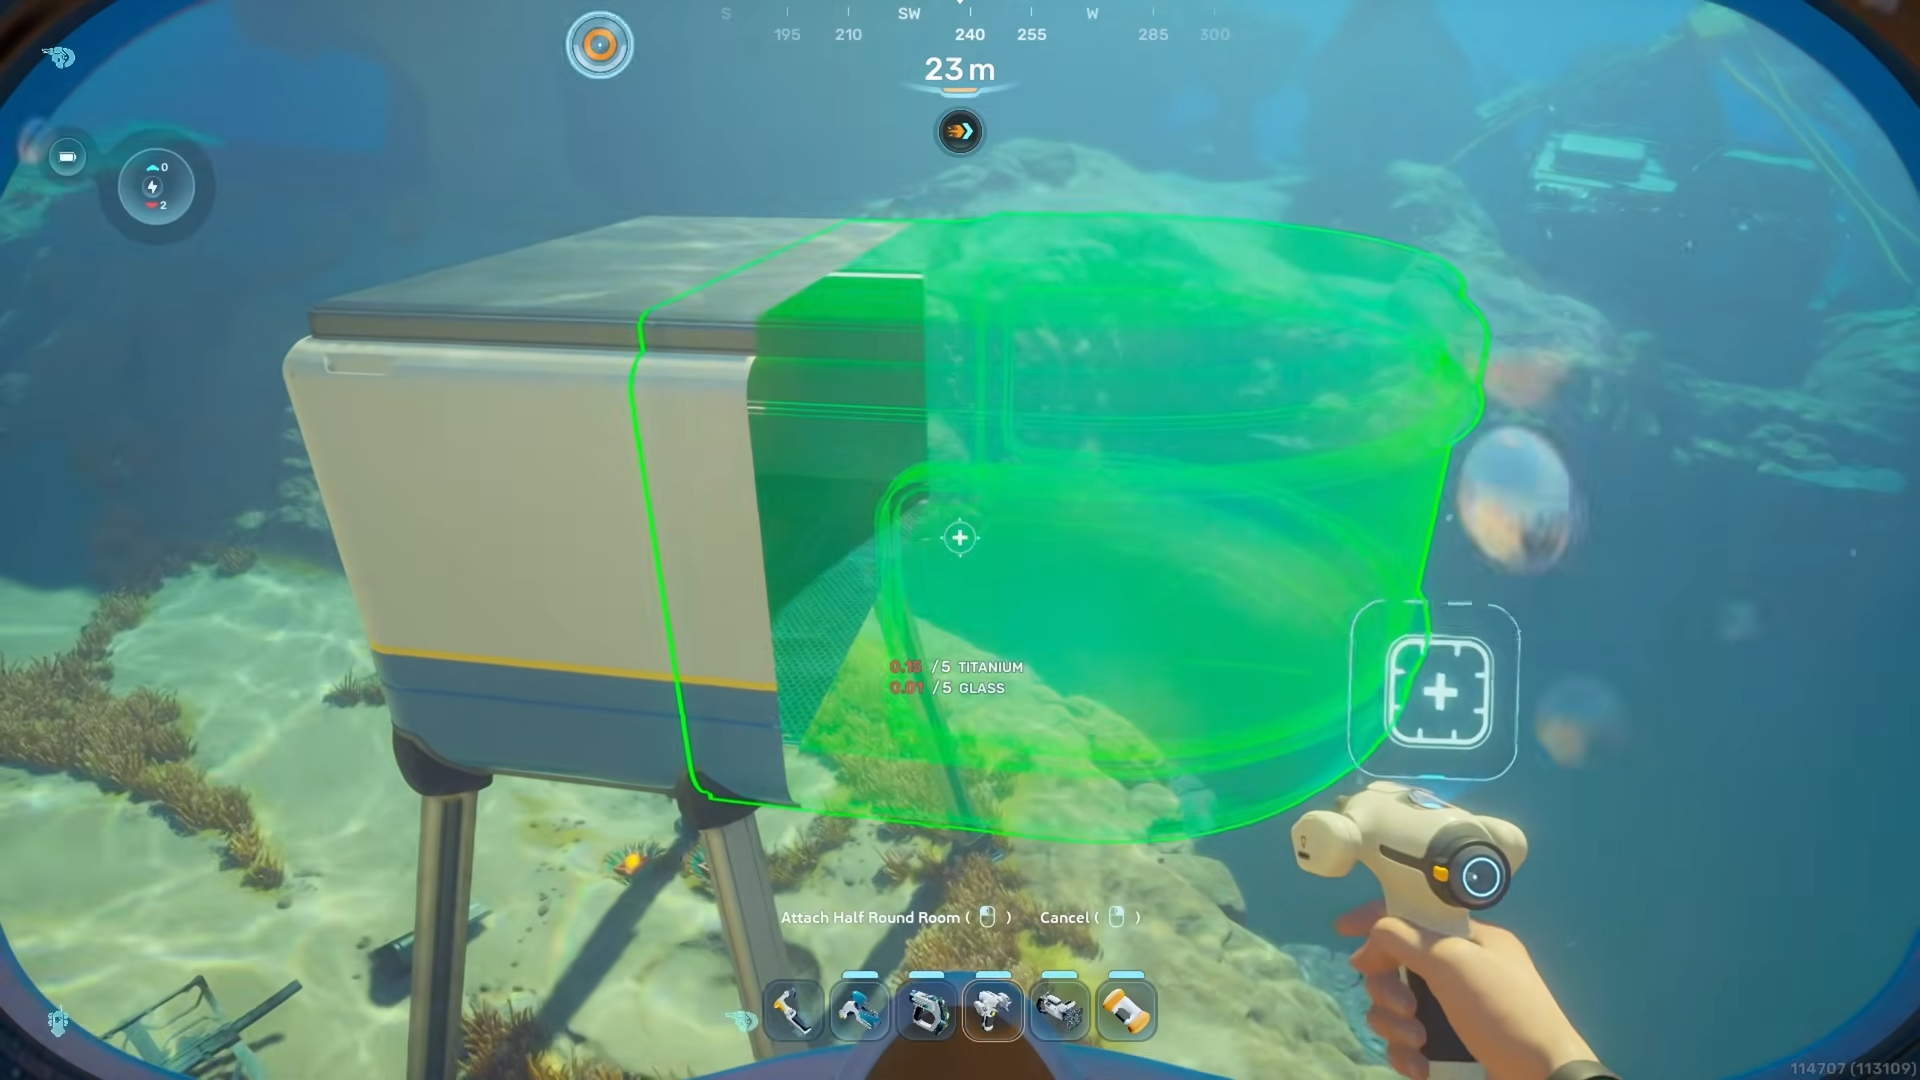
The base power UI is the first thing to watch. Blue represents power generation, while red represents total draw. If the red draw overtakes the blue generation, your base can lose oxygen production and powered machines can stop working until the grid catches up or you add more power.
The trap is that not every module drains power the same way. Some objects have a passive drain as soon as they are placed, while others spike only when they are being used. A base can sit comfortably at night, then suddenly go dark when a crafting station starts an expensive job.
| Drain | When it uses power | Why it surprises players | What to do |
|---|---|---|---|
| Processor | Low idle draw, much higher while processing | A craft such as an alloy job can push total base draw sharply upward | Check the red draw while crafting, then add generation or storage for that peak |
| Modification Station | When used, with reported heavy demand | It is easy to treat it like a small crafting add-on | Use it when the grid has surplus power, especially at night |
| Wall and room lights | Constantly once placed | Small values stack fast; a wall light was shown at 1 energy/s and a larger room light at 2 energy/s | Use fewer always-on lights in working rooms |
| Battery Chargers | While batteries are charging | A filled charger can add a noticeable burst; testing showed roughly +1 draw per battery, up to about +6 | Click the charger top to turn it off until you need it |
| Power Cell Chargers | While power cells are charging | Advanced cells may simply take longer to fill, so the drain lasts longer | Do not load every slot before leaving a weak base idle |
| Tadpole Dock | When the Tadpole is docked and charging | A test grid jumped from 18 draw to 28 draw, about a +10 increase | Dock after you have surplus generation or storage |
| Moonpool and vehicle charging | When attached vehicles need power | The base may look stable until a vehicle starts filling its power cell | Budget vehicle charging as a peak load, not idle load |
| Metal farm | Constantly, with a shown 20 draw | It can behave like a separate base until linked with power transfer hardware | Give it dedicated power or connect it properly with transmitters |
| Scanner Room | Reportedly while actively scanning | Players often leave it running in the background | Turn scanning off when you are done using it |
The easiest drains to miss are the ones that feel like background convenience: chargers, lights, vehicle docks, and automation modules. They do not look as dramatic as a new generator field, but they can eat your margin until one extra action knocks out oxygen.
Processor are the classic spike. They may have only a small idle drain, but a demanding craft can dramatically raise the base’s total draw while it runs. Lights are the opposite problem: small individually, but always-on, so a decorative base can slowly spend the power budget you thought was reserved for machines.
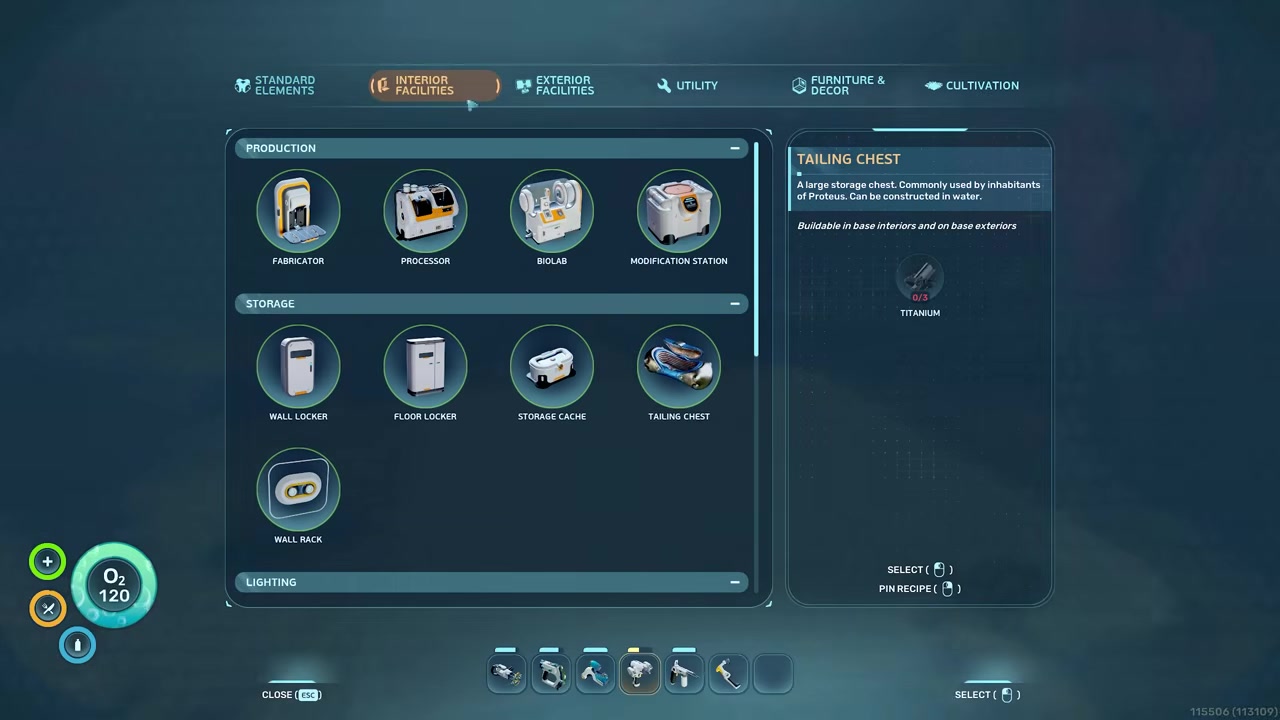
Best base power sources by situation
| Power source | Output | Best use | Main drawback |
|---|---|---|---|
| Solar Panel | About 1-8 energy/s based on light; near-surface tests showed 8 by day and about 2 at night | Starter bases, shallow oxygen hubs, and cheap early expansion | Weak at night and unreliable near the 200m depth range |
| Bioreactor | Shown at 10 energy/s with plant fiber; reported ranges go up to about 20 energy/s in overdrive, but that varies by fuel and build | Internal backup power where solar, current, or heat is not convenient | Needs fuel, takes space, and gets loud, especially in overdrive |
| Hydroelectric Turbine | Flat 12 energy/s when placed in a natural underwater current | Mid-game and main-base grids near reliable currents | Does nothing outside currents and may need transmitters |
| Thermal Plant | About 1-16 energy/s based on heat; hot zones can still give around 13-14 away from the vent center | Late-game, deep, or hot-biome bases, including areas such as the Zezuran Desert biome | Needs heat, can be awkward to place, and large animated fields can hurt FPS |
Solar Panels are still excellent early. They are cheap, fast to place, and perfect for small shallow bases where you mainly need oxygen and a fabricator. Their weakness is that they are not a permanent answer for large production bases unless you build enough storage and backup power to cover night and spikes.
Bioreactor are better as insurance than as your favorite room to live beside. They can run on organic fuel, including plant-based fuel options, but they need feeding and their hum becomes annoying if you put them in the middle of your main rooms. A separate utility room makes them much easier to tolerate.
For long-term grids, Hydroelectric Turbines and Thermal Plants are the cleanest upgrades when the map cooperates. Hydroelectric power is steady if you have currents; thermal power has the highest confirmed cap if you can place plants near heat and transmit that energy back safely.
What you need before linking remote power
How to daisy-chain remote power sources into your base
STEP 1/7
Pick the remote power site
Place generators where they work best, such as shallow Solar Panels, current-fed Hydroelectric Turbines, or Thermal Plants near heat.
STEP 2/7
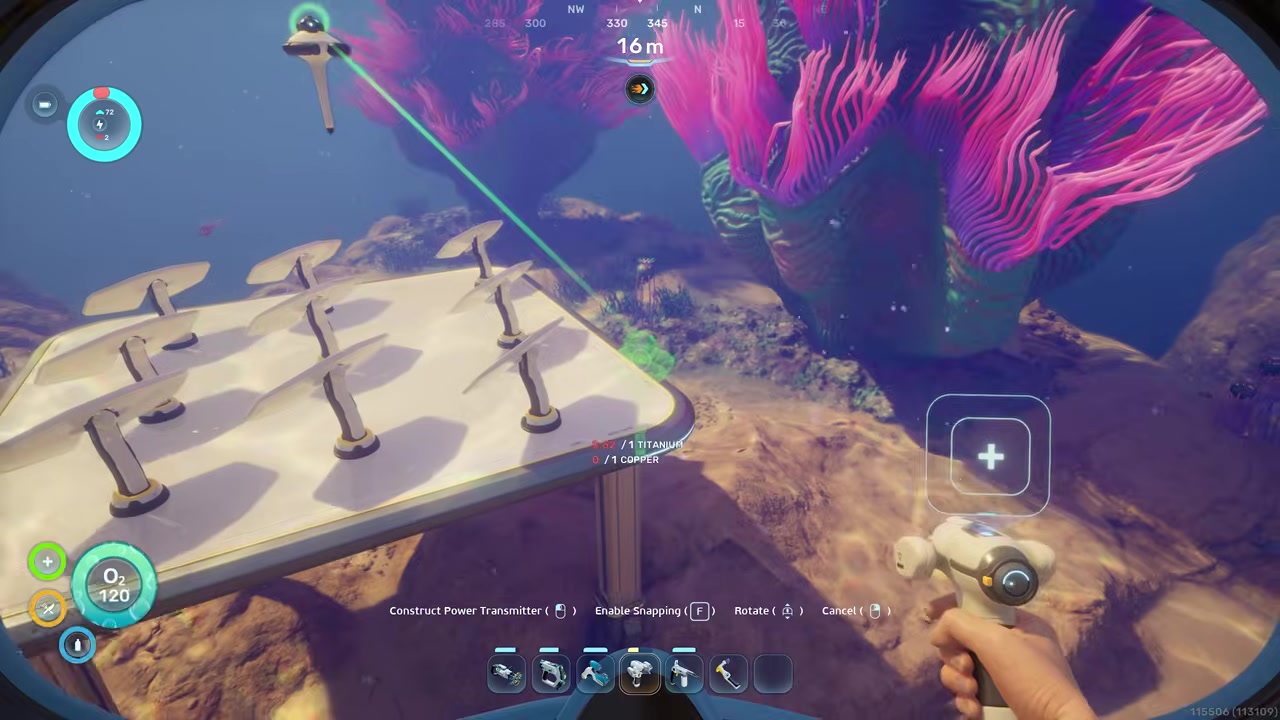
Place the first Power Transmitter

Put the transmitter close enough to the remote power source that it can form a visible connection.
STEP 3/7
Make the source-side connection
Adjust placement until the transmitter shows the base-like foot instead of only a loose tail; early-access placement can be touchy.
STEP 4/7
Chain transmitters toward the base

Day-chain Power Transmitters like cable, keeping each link visibly connected to the next one.
STEP 5/7
Attach the final transmitter to the base

Put the last transmitter onto the base itself so it forms the connected foot, not just a tail beside the wall.
STEP 6/7
Confirm the grid is linked

Check that the remote power source is feeding the main base and that the blue generation number rises against draw.
STEP 7/7
Move animated fields out of view

For big hydroelectric or thermal arrays, extend the chain outside render distance to reduce the FPS hit from animated generators.
Video help
Power Transmitter placement rules for distant generators

Power Transmitters are not just decorative cable posts. A transmitter needs to visibly connect to the power source or the base, and the little base-like foot matters. If it only has a tail, treat it as not properly attached.
This is especially important when you build a remote power platform or a small utility room covered in generators. Put the first transmitter on the outside of that structure until it clearly joins the grid, then run the chain back toward your main base. The final transmitter has to connect to the base the same way, or the power may never count.
The same logic works for Solar Panels, Hydroelectric Turbines, Thermal Plants, and even more awkward generator setups, though some placements are touchier than others in early access. For large thermal or hydro fields, the practical bonus is performance: you can park the animated machines far away and pipe power back with transmitters instead of staring at a wall of moving parts.
Energy-saving habits for large bases
Large bases need power discipline. Turn chargers off until you actually need batteries or power cells filled, especially if the base runs on solar or a small backup reactor. A charger loaded with batteries is not harmless just because it is mounted on a wall.
Do not fill every corridor with always-on lighting unless your grid can afford it. Lights are small drains, but a large decorative base can quietly turn them into a permanent tax. Put heavy production, storage, and vehicle charging near the power readout so you can catch spikes before they become blackouts.
Check base draw with your Tadpole docked and chargers loaded before going AFK, because that peak load is what decides whether oxygen and machines stay online.
If you use Bioreactor, put them in a utility room or a separate connected building so the sound does not dominate your main living space. If you rely on solar, build Power Storage so daytime surplus can cover night dips, and consider turning some storage units off to reserve emergency capacity.
Solar Panel depth and cave behavior

Solar Panels are strongest near the surface. Around shallow depths, they can produce the full 8 energy/s in bright daytime and still provide a small nighttime trickle in current tests. Some early notes describe solar as shutting off at night, so treat night output as a weak bonus, not something to build your whole base around.
Depth is the bigger limiter. Near the 200m range, output can become unreliable or drop to zero even in daytime, and early-access behavior is not perfectly consistent. One area may show partial output around shallower deep zones while another flips sharply from useful power to nothing near the limit.
Caves are unusual: current behavior can still let panels generate power inside caves if the base is above the depth threshold. That makes Solar Panels useful for small cave oxygen hubs, but not a reason to trust them for deep industrial bases. Once you are building below dependable sunlight, plan for Thermal Plants, Hydroelectric Turbines, a Bioreactor, or remote power brought in by transmitters.
Frequently Asked Questions
Can Solar Panels power a base at night?
Yes, near the surface they can still produce a small amount in current tests, around 2 energy/s per panel at night. Treat that as emergency trickle power, not full support. Use Power Storage, backup generators, or enough surplus panels to survive the night.
Why did my base suddenly lose oxygen?
Your red draw likely overtook your blue generation. Common causes are a Processor starting a heavy craft, batteries charging, a Tadpole Dock filling the vehicle, always-on lights stacking up, or reported automation drains such as Scanner Room scanning and water filtration. If the math still looks wrong, it may be an early-access power issue, but rule out visible drains first.
What is the best power source for a main base?
Thermal Plants are the strongest long-term option when you have reliable heat nearby, with output up to about 16 energy/s. If your base is near underwater currents, Hydroelectric Turbines are also excellent because they provide a steady 12 energy/s. Solar is best for shallow starters, while Bioreactor are better as backup.
How do I power a deep base?
Do not count on Solar Panels below the reliable sunlight range, especially near or under 200m. Use Thermal Plants near vents or hot biomes, Hydroelectric Turbines if currents are available, or a Bioreactor as internal backup. If the best power site is far away, daisy-chain it back with Power Transmitters.
Do battery chargers and Tadpole docks drain base power?
Yes. Battery charging added about +1 draw per battery in one test, up to roughly +6 for a loaded charger, and a Tadpole Dock charging a Tadpole raised draw by about 10. Power Cell Chargers also draw while charging, so load them when your grid has surplus.
More questions⤵
Why are my Power Transmitters not connecting?
The transmitter probably is not actually attached to the source or base. Move it until it visibly connects and shows the base-like foot, not only a trailing line. Placement is touchy in early access, so rebuilding or shifting the transmitter slightly can fix a broken chain.
Do Thermal Plants and Hydroelectric Turbines cause lag?
Large fields can, because both generator types are animated. A few units should be fine, but big arrays can hurt FPS in the current early-access build. The clean fix is to place the generator field away from the base and use Power Transmitters to bring the energy back.


Leave a Reply