
The best early-game all-round setup is Hawks as a Gunslinger, Kabb Uppercut as a Soldier, Trick as a Heavy, and Jay as a Medic, combining efficient cleanup damage, melee control, dependable tanking, and team sustain.
This spoiler-free lineup gives you a reliable answer to fragile enemies, dangerous elites, incoming damage, and clustered targets. The plan is to soften enemies for efficient finishers, punish movement with reaction fire, and keep enough flexibility to recover when a turn goes wrong.
- Recommended early-game squad roles
- Respecialize and equip the squad before deployment
- Hawks Gunslinger build for cleanup damage
- Kabb Uppercut Soldier build for melee control
- Trick Heavy build for tanking and retaliation
- Jay Medic build for sustain and buffs
- Alternative specializations and the Astromech swap
- Weapons, mods, and utility priorities
- How to run the recommended team through an early-game battle
- Early-game combat mistakes to avoid
Recommended early-game squad roles
| Operator and specialization | Combat role |
|---|---|
| Hawks — Gunslinger | Critical-hit damage, weak-target cleanup, and action-point refunds |
| Kabb Uppercut — Soldier | Melee control, knockback, Daze, and area damage |
| Trick — Heavy | High-health tanking, taunts, and retaliatory fire |
| Jay — Medic | Healing, sustained buffs, and automatic finishing attacks |
Key This is a balanced early-game recommendation rather than the only viable composition. It covers the main battlefield jobs without relying on later recruits, while alternative specializations and an Astromech swap let you adapt it to individual missions.
Respecialize and equip the squad before deployment
Visit the Personnel screen at the Den before deploying and change each operator into the intended specialization. Specializations, weapons, and focus-point distributions can be changed freely for almost everyone, as can many talents. Authored-character talents and unique specializations such as Astromech or Jedi Padawan are the notable exceptions.
Follow that with an Armory check. Spend unused focus points, install weapon mods, distribute utility items, and confirm that each operator has an upgraded weapon suited to their role. Early gear is limited, so move your strongest equipment between active operators instead of leaving it on someone sitting out the mission.
Hawks Gunslinger build for cleanup damage
Quick Draw is the heart of this build. It uses Hawks’ pistol to attack a vulnerable enemy, and a kill refunds the action point spent on it. That turns fragile battle droids and other weakened targets into opportunities to remove a threat without sacrificing the rest of Hawks’ turn.
Critical-hit investment supports this role by adding damage to Hawks’ regular attacks, although a critical hit does not simply double the shot. Position Hawks where the pistol has a high hit percentage, then chain Quick Draw kills before moving toward the next safe firing angle.
Open Fire gives Hawks another way to manipulate the turn economy. It costs 9 Advantage rather than action points and fires two shots, either into separate enemies or into the same target. Use it to remove two fragile targets or reduce a tougher enemy to Quick Draw range.
Onslaught increases blaster damage and can build into stronger follow-up attacks. The Fearless Leader talent complements the whole squad by granting every operator +1 assist damage, so Hawks contributes even before taking a shot.
Leave weakened targets for Hawks whenever Quick Draw can secure the kill; the refund preserves your action-point economy while the rest of the squad concentrates on healthier threats.
Kabb Uppercut Soldier build for melee control
Soldier fits Kabb Uppercut because its Strength passive increases melee damage, benefiting both Uppercut and Brutal Strike. Uppercut is more than a direct attack: use its knockback to drive one enemy into another or into a useful piece of terrain for extra battlefield disruption.
Brutal Strike inflicts Daze, preventing the target from attacking. It is limited to one use per battle, so hold it for an elite or another enemy whose next action would put the squad under serious pressure. Against a durable target, Daze creates room to reposition before following with Uppercut.
Grouped enemies are where Kabb’s explosive options shine. The rocket launcher can damage several targets at once, while the Soldier’s Rocket Strike can deliver area damage without consuming an action point once enough Advantage is available. Keep Kabb close enough to exploit his melee strength and close-range gun amplification, but do not send him beyond the squad’s ability to support his retreat.
Trick Heavy build for tanking and retaliation
Invest in health and defense first. The Heavy specialization improves both, while Trick’s Bond upgrades and Conditioning add more health to a character who already benefits heavily from every survivability increase.
Prioritize the third upgrade of For My Brothers. At that rank, Trick returns at full health the first time he is downed and avoids receiving an injury from that initial downing, effectively giving him a second health bar for the mission.
Unstoppable supplies two Retaliation stacks, allowing Trick to fire back when attacked. Pair it with Bulwark, whose wide taunt pulls enemy attention toward him, while remembering that his standard attack can also taunt its target. This converts enemy aggression into extra damage while his Heavy defenses absorb the pressure.
The Repeater suits a turn in which Trick is already positioned and does not need to move, because it spends his available action points on multiple shots. Place him as the squad’s safest deliberately exposed target after activating his defenses; reckless exposure without Retaliation, cover, or support wastes the durability the build provides.
Jay Medic build for sustain and buffs
Keep Jay at range, where she can respond to damage without becoming the next target. Combat Stim increases an ally’s maximum health as well as melee and ranged damage, making it useful on Kabb before a close-range attack, Hawks before a burst turn, or Trick before he absorbs incoming fire.
Morale Boost supplies healing over time and softens the accuracy penalties caused by injuries. These repeatable buffs and reactive healing provide more early value than investing heavily in the situational Life-Saving Measures.
Upgrade Fatal Shot so it activates against enemies at a higher remaining-health threshold. Jay will automatically attack a sufficiently weakened target, giving the squad another finisher without pulling her out of support range. Watch that threshold when planning Hawks’ turn, since Fatal Shot can claim a target that was being prepared for a Quick Draw refund.
Alternative specializations and the Astromech swap
Hawks can become a Sharpshooter when long-range accuracy matters more than mobile cleanup. Scout grows more attractive later as Advantage generation becomes increasingly valuable, while Scoundrel suits a commander-style approach centered on assists and team buffs.
Jay can remain in a more offensive Assault role or switch to Sharpshooter if you prefer another dedicated ranged attacker. Those choices increase direct firepower but give up the Medic’s dependable health and damage support.
An Astromech can replace Jay when action economy and utility matter more than healing. Astromechs can grant additional action points, scan enemies, and carry more utility items with extra uses. The Medic remains the steadier all-round choice, but the Astromech swap is strong when the mission rewards scanning, repeated item use, or an extra action at the right moment.
Weapons, mods, and utility priorities
| Operator | Weapon and mod priority |
|---|---|
| Hawks | Blaster Rifle with Incendiary Modulator; Longarm Blaster as a ranged alternative |
| Kabb Uppercut | Blaster Rifle with Generation Amplifier; Blaster Pistol as an alternative |
| Trick | Repeater with Second Generation Amplifier or Lightweight Stabilizer; Blaster Rifle as an alternative |
| Jay | Blaster Rifle; Ion Modulator if another operator is not carrying one |
Use these loadouts as flexible early-game preferences, not mandatory equipment. Match the strongest available versions to the operators you are actually deploying.
The Incendiary Modulator adds pressure by making a burning target take damage when it acts. Kabb’s Generation Amplifier strengthens shots at close range, while the Lightweight Stabilizer can grant Trick Evasion against an incoming attack. Keep an Ion Modulator somewhere in the squad to improve damage against troublesome ray shields.
Utility items should answer valuable problems rather than routine enemies. Preserve grenades until they can strike multiple targets, damage a high-health group, or destroy cover that is protecting follow-up targets.
How to run the recommended team through an early-game battle
Use this turn flow to preserve action points, control enemy movement, and advance without leaving an easy target behind.
STEP 1/12
Inspect shots and nearby threats
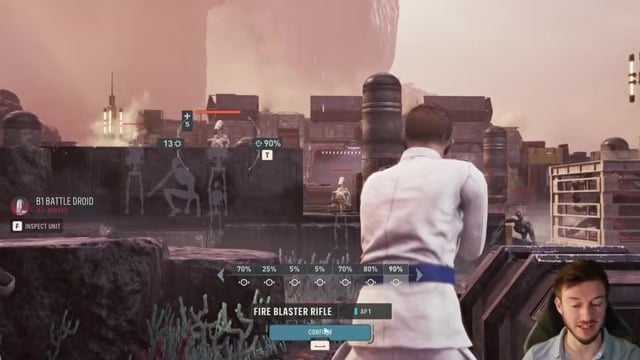
Check hit percentages, cover direction, enemy positions, and any melee unit that can reach the squad before committing an action.
STEP 2/12
Finish a weak enemy with Quick Draw
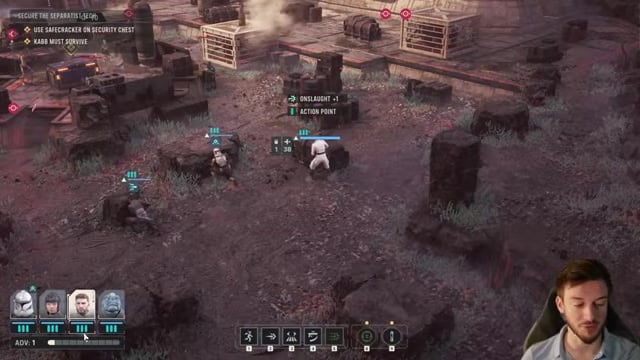
Use Hawks’ pistol on a target within reliable kill range so the elimination refunds the action point.
STEP 3/12
Establish an Overwatch lane
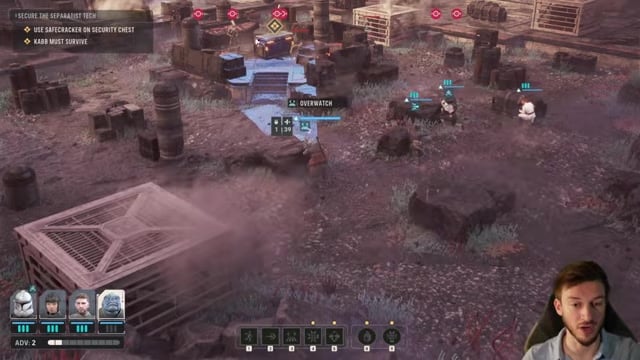
Aim Hawks’ Overwatch cone across the route an enemy is likely to enter, ensuring the targeted area covers its expected movement.
STEP 4/12
Spend a grenade only for high value
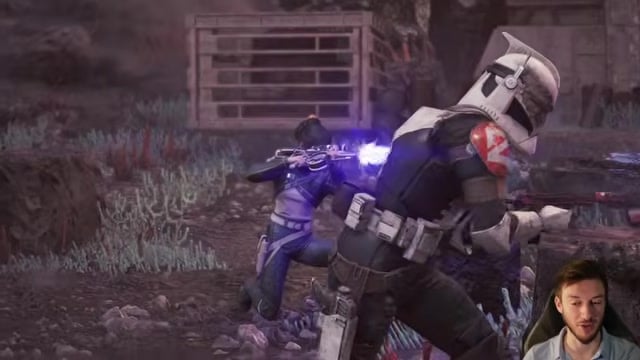
Use an Impact Grenade when it can hit multiple enemies or break cover for the attacks that follow.
STEP 5/12
Apply Combat Stim before burst damage

Buff the operator who is about to attack so the increased health and damage support the rest of the turn.
STEP 6/12
Soften a target for Hawks
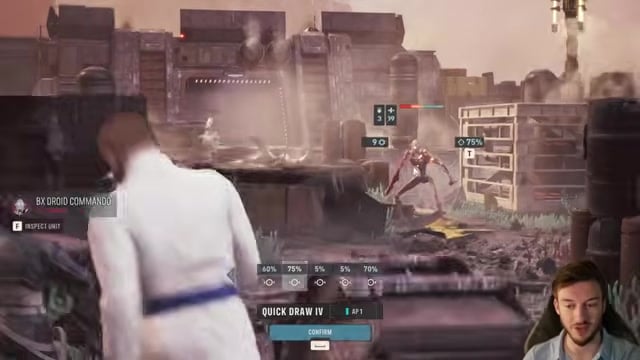
Let Jay reduce an enemy’s health, then preserve the finishing blow for Quick Draw.
STEP 7/12
Use Open Fire before spending regular actions
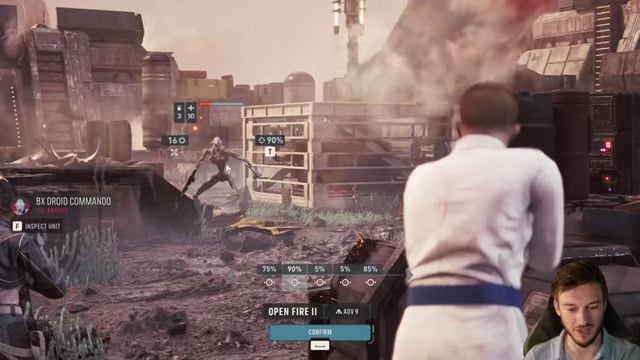
When Hawks has enough Advantage, fire both no-action-point shots into one sturdy enemy or divide them between two targets.
STEP 8/12
Reposition toward the objective
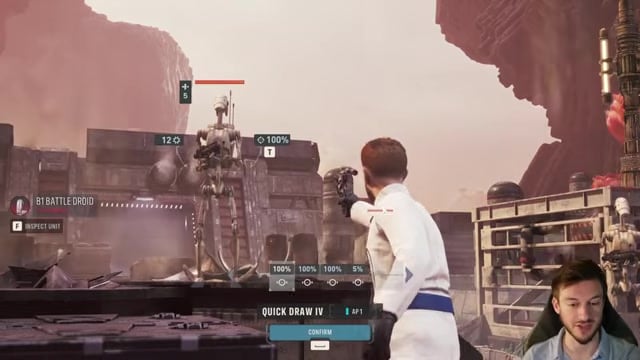
Move Hawks to a protected angle that improves the pistol hit chance, clear nearby droids, and continue toward the interaction point.
STEP 9/12
Lock down the defensive approach
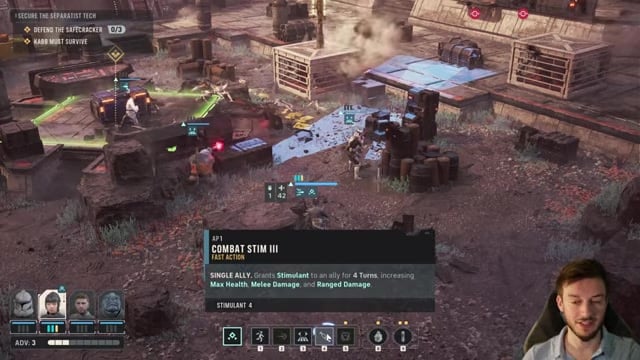
After reaching the objective, place Overwatch across the direction the remaining enemies are likely to push.
STEP 10/12
Prepare Trick for incoming fire
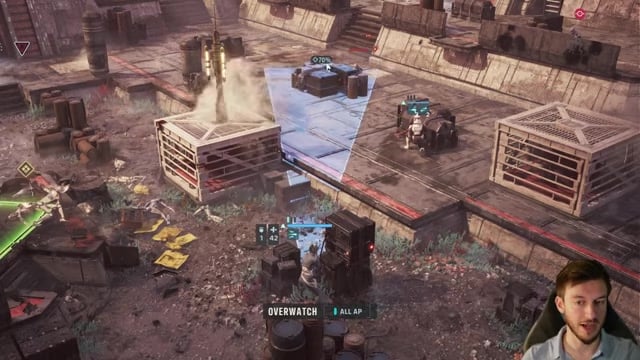
Activate Unstoppable, move Trick slightly closer than the protected operators, and keep everyone else behind cover.
STEP 11/12
Cover the reinforcement lane
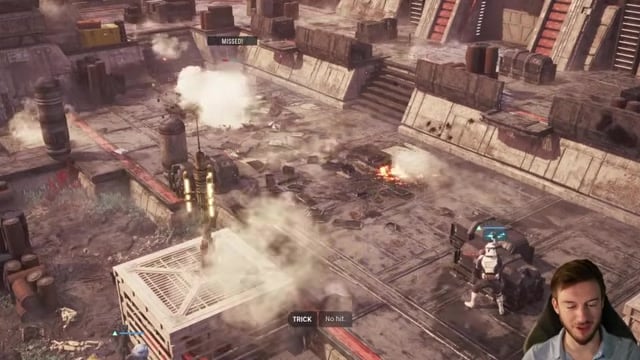
Aim another Overwatch cone at the expected entry route, adjusting it until the lane is actually inside the firing area.
STEP 12/12
Daze the most dangerous attacker
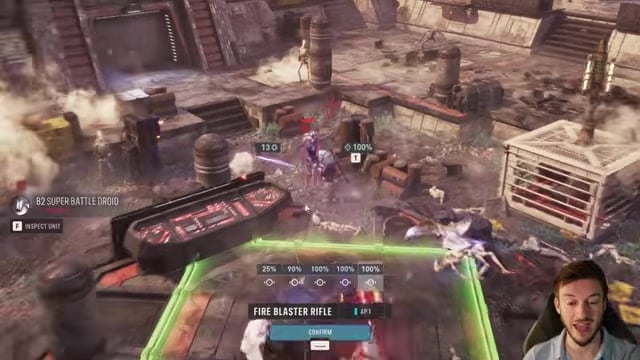
Use Kabb’s Brutal Strike to shut down a high-threat enemy for the turn and create breathing room for the squad.
Video help
Early-game combat mistakes to avoid
Do not overextend Kabb simply because his best damage comes at close range. A melee attack is rarely worth ending beyond squad support or in badly oriented cover. Enemies tend to favor exposed operators, so keep Hawks, Kabb, and Jay protected and make Trick the deliberate target only after his defenses are ready.
A grenade spent on a trivial enemy removes an answer to a later cluster or fortified target. Low-percentage blaster fire can be just as wasteful; when repositioning cannot produce a good shot, cover a likely movement route with Overwatch instead. Reaction fire can behave inconsistently, so inspect the cone carefully and ensure it reaches the tiles enemies must cross.
Do not focus only on visible enemies while leaving a reinforcement route uncovered. Guard the lane that can threaten the objective, maintain usable cover on every operator, and sequence attacks so ordinary shots soften targets rather than consuming kills that could refund Quick Draw.
Related Star Wars Zero Company guides






Leave a Reply